Yashica Electro 35 AF-mini User manual


file:///C|/Documents%20and%20Settings/Tim/Desktop/carburetor-manual-welcome/index.htm[4/25/2009 11:42:20 AM]
www.carburetor-manual.com
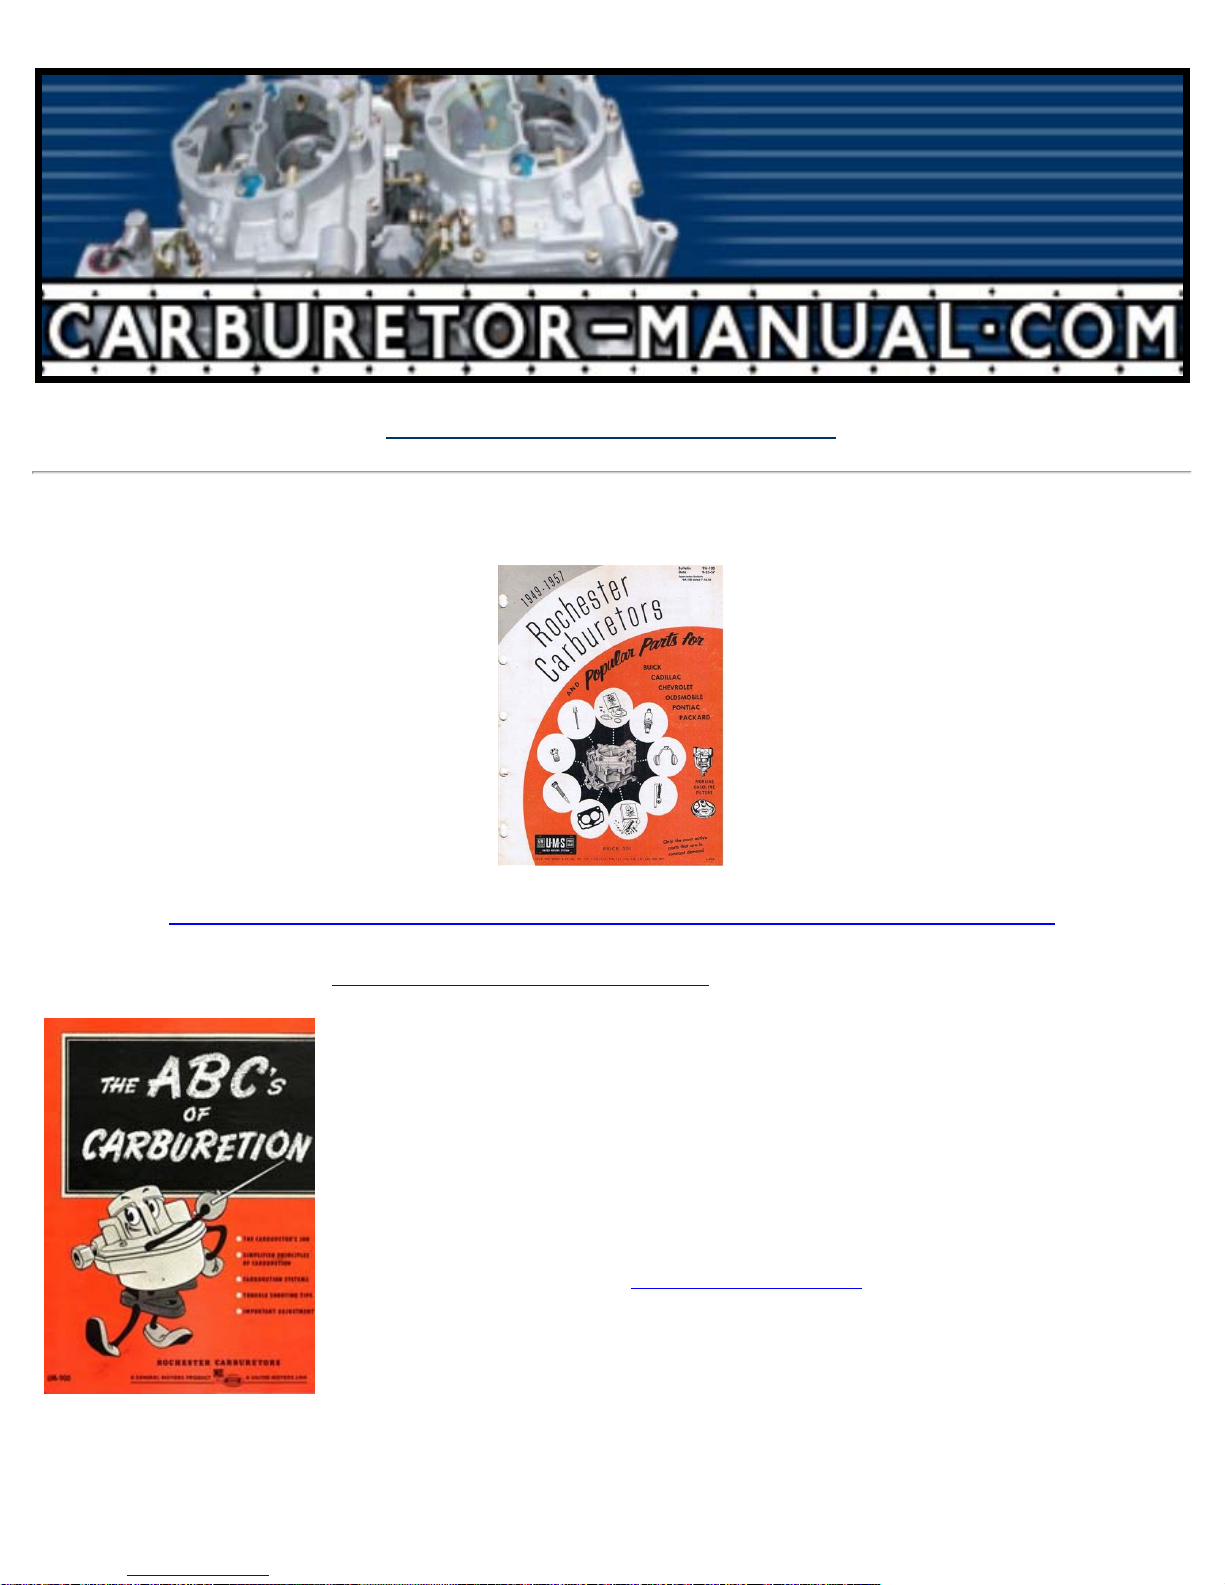
Would you like some Free Manuals?
http://carburetor-manual.com/free-shop-manual-club-t-13.html
Also visit http://freeshopmanual.com for more Free Manuals
Also Visit my website for 7 FREE Download Manuals starting
with this one.
"The ABC's of Carburetion"
Click Here Now

Thank
you
for
your
purchase
of
camera.
Please
read this
leaflet carefully
through
to use
the
camera
correctly.
Vielen Dank.
daB Sie
srch
fur eiue
Kamera
entschieden
haber Biflre
resen S
e d ese;
lnformationsblatt
aulmerksam
durcn Danr wi'c
thnen das Fotografieren
mit dieser
Kamera
vrel
Vergn0ger
bereiten.
[l

d'avoir choisi cet
aooareil.
Veuillez
lrre a manuel d'instructions
afia
Le damos las
qracias por
la
compra

o
Names
of the Parts
O Viewfinder
@
Shutter
Release
@ Exposure Counler
O Self-time
LED
@
Strap
Holder
G)
Light
Sensor
@ Lens Cover
O Autojocus
(AF)
Window
€) Flash
(E
Self-time Button
@ No Flash/Night
Scene Button
(D
Daylight Flash Button
(D
Lens Cover Knob
@ Red Lamp
(Flash
Emission
and
Recharging
Indicator)
(D
Viewllnder Eyepiece
(D
Camera Back Release Lever
(D
Battery Compartment
Cover
(D
Green
Lamp
(Auto
Focus
and
Focus
Lock
Indicator)
(D
Tripod
Socket
@ Film Check Window

Oflr,r--!
,
,

2
3. Loading the
Fitm
open the
'tnt
?L"J.n
rerease
rever
and
:::: l[::il:r,
"""-
3 -lncadlhn llra Film*
lt-.
',6,
tY
-tD
t: i9-l
a-t''
el
CI

a..a^o; ,k ih iha c^r..kate
' li a non Dx-coded film is used,
the

4
CI

l l6a1la
r cll- o +lo r
z I r{!--lrlr-f-
l'r,-l i-l
- at+
r, lto oil r, ilo
,t{-f_ _tE_i!


7
dillicult
to focus with the autojocusing
system To photograph
such objects,
Doint the camera ar an
easv-to-focus
33fili",""xf3
::ile
same distance and
, Focus-lock
photography
is also eifective
when pl'otographing
through
glass.
but
here the camera should be brought ciose
lo the glass
or held a1 an a.g,e to lhe
glass
to erable correct auto
foc.rsing

;'3f?"o$:fntTtt'
can arso be used
in

,[-*-]
-g-J

10. Using
the
Setf-timer
Use tle self-timer
to
include yourseir
rr a
photograph.
'fo siart
the self-timer.
pfess and hotd
down the self-iimer
button, then press
the
shutter
release.
Ine serr.t,mer
Ltu ano the
green
tamp
will lighl
and then start to blink before for
aboJt 10
seconds. oefore
the orctdre is
actually taken.

Camera
Care
. Be careful not to leave finger marks or soil the dust cover
of the AF window since this may impair the focusing
accuracy. To clean a soiled AF window, gently wipe it off
with lens cleansing tissue that has been moistened
with a
lens cleaner. Or remove dust and dirt with a blower or a
lens
brush.
. Clean the camera body by wiping it clean with a piece of
soft cloth. Never use organic solvents such as benzene or
chemical
thinner.
. Clean the camera well after usage it at the seaside or in a
dusty place. Salty air would cause corrosion while sand
and dust would adversely alfect the precision parts of the
camera.
. Avoid exposing the camera to sudden temperature
changes.
. The camera contains a high-voltage
circuit wich is
dangerous. lf lhe camera breaks down, never try to
disassemble it.
. lf you plan to use the camera fdi an important
event such
as an overseas trip or wedding ceremony, check all
functions
of the camera beforehand or take some test
photographs.
. A quartz clock is incorporated
in the auto Date Print
unit.
Therefor the camera should not be placed near or brought
into contact with appliances with magnetic fields such as
television
sets, radios,
or magnets.
<Camera Storage>
. Keep the camera in a well ventilated
place. Avoid humid
or dusty places, or inside
wardrobe drawers containing
mothballs
or laboratory where chemicals are used.
. Do not leave the camera for prolonged period in hot
places (such as near the seashore in summer or inside
a
car under to direct sunlight) since this would lower
performance of the film and battery
as well as adversely
affect thgcarhera.

Specifications
Type: 35mm autojocus, auto-exposure, lens-shutter
camera
Lens: 34mm f/4.5 (3 elements, 3 groups)
Shutter: Programmed electronic
shutter
(2
sec.,
1/z
e
- r/soo
sec.)
Shutter release: Electromagnetic
release
Exposure controi: programmed electronic AE system
Film speed: Automatic
with DX-coded film
(lSO100/200
and
400). Non-DX films
are automatically
set to ISO 100.
Focusing: Auto focusing from '1
.2m to infinity.
Green lamp
lights
up on completion of auto focusing; provided
with
focus lock.
Viewfinder: Albada type bright frame viewfinder.
Display in viewfinder:Picture area frame and focusing
frame.
Film loading:
Auto
loading
by 3 times release.
Film advance: Automatic.
Film rewind: Auto return/auto-stop
system.
Exposure counter: Automatic resetting, additive
type.
Self-timer: Electronic type (providing
a delay of about 10
seconds) with LED indicator.
Flash: Automatic
liring in dim light,
{lash head fixed: flash
range 1.2 to 3.4m
(lSO100)
recycle time o.f approx.
4 seconds
(at normal temperature,
using new battery):
daylight
llash
capability;
red lamp
indicates f lash
{iring
and
recharqrng.
Batteries: One 3V lithium battery
(DL123A or CR 123A)
One 3V lithium battery (CR2025) for the auto dating unit
Power capacity: Provides power for taking about 23 rolls
of 24-exposure lilm,
using the flash
50% of the
iime.
(at
normal temperature
according
to
our testing
standard).
*Auto dating unit: Liquid
crystal display with builfin quartz
oocK.
Print modes... Year-month-day.
day-hour-minute,
no print
month-day-year. day-mOnlh-vs3.
1uo
lc ltse
tsa''01o'
Automatrc conection ol dates ano 0me.
Dimensions: 118
(W)
x
69
(H)
x 48.5
(D)
mm.
.With
Auto dating
unit
118
(W)
x
69
(H)
x 52.5
(D)
mm.
Weight: 2209 (not
including battery).
^
w I th A utodamg-un it 23Og (n
ot i
ncl ud
i nE b
a-tlbiy).
Battery
(DL1
23A, CR1 23A):
About 1 59.

o
I
SET
Date
print
An automatic dating device allows date or time to
be printed
on the film.
<Changing the date display>
Each
press
of the Date
Print
mode among
"year-
month-day",
"day-hour-minute", "no print",
"month-
day-yeai' or "day-month-year".
<Setting ol date and time>
11 Date
thgLtp5
3ni m;.'Jioqris
CisoraverJ
hr,,
pressrng
:le -coe cut:O. arc iren ine date
inours
and
mrnuiesr
io be altered will blink
when
the
select
button
is
depressed
once.
2) Press
the select
button to set the blinking
figures to their correct
values.
3) Pressing
the select
button once more
to change
the blinking
figures
to a steady display The "-"
mark will
appear
indicating the print
condition
. Pressing the select button
after setting the
minutes will cause
the colon
":"
to blink Press the
select button
once
again to set the print
condition.
. lf
the select button
is
pressed
to coincide
with
a
time signal
while the colon
":"
is
blinking, the time
can be set down to the second
<Replacing
the'Battery
for the
Auto Date
Print
Unit>
The auto
Date
print
unit
works
with a 3V lithium
battery
(CR2025).
lt can last
about
4 years
in
normal use. Replace the battery
when'the figures
of
the date aooear
faint
. Correct
the date and time
after
changing the
battery.
" For
data back
model
onlv.
a
MODE
jQl o
\/
|
a
MoDE
iol ,@.
@
\rl
Da
Die
Einr
belir
<Dz
Wer
foigr
"Tac
"
lt4o
<Dz
1)
S
Mit r
war
Andr
2) N
Fest
etnz
3)
v
blinl.
ETSC
Datl
Dr0c
der
Sie
und
einb
gedr
?uf i
<Bi
Dat
Bacl
Fur
Litiu
reicl
Rattr

n
MODE99S
SELECT CT

iii,:r:-i::- ii,1i, i
\-\-...._-
:2 ' -----L '
ttrtt-:-:=- "ttiT::F
Other manuals for Electro 35 AF-mini
3
Table of contents
Other Yashica Film Camera manuals