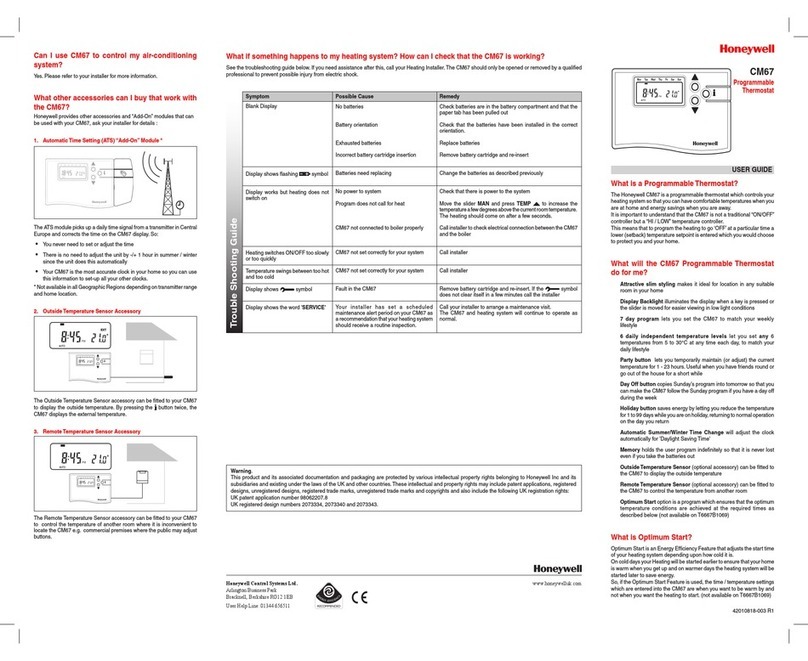
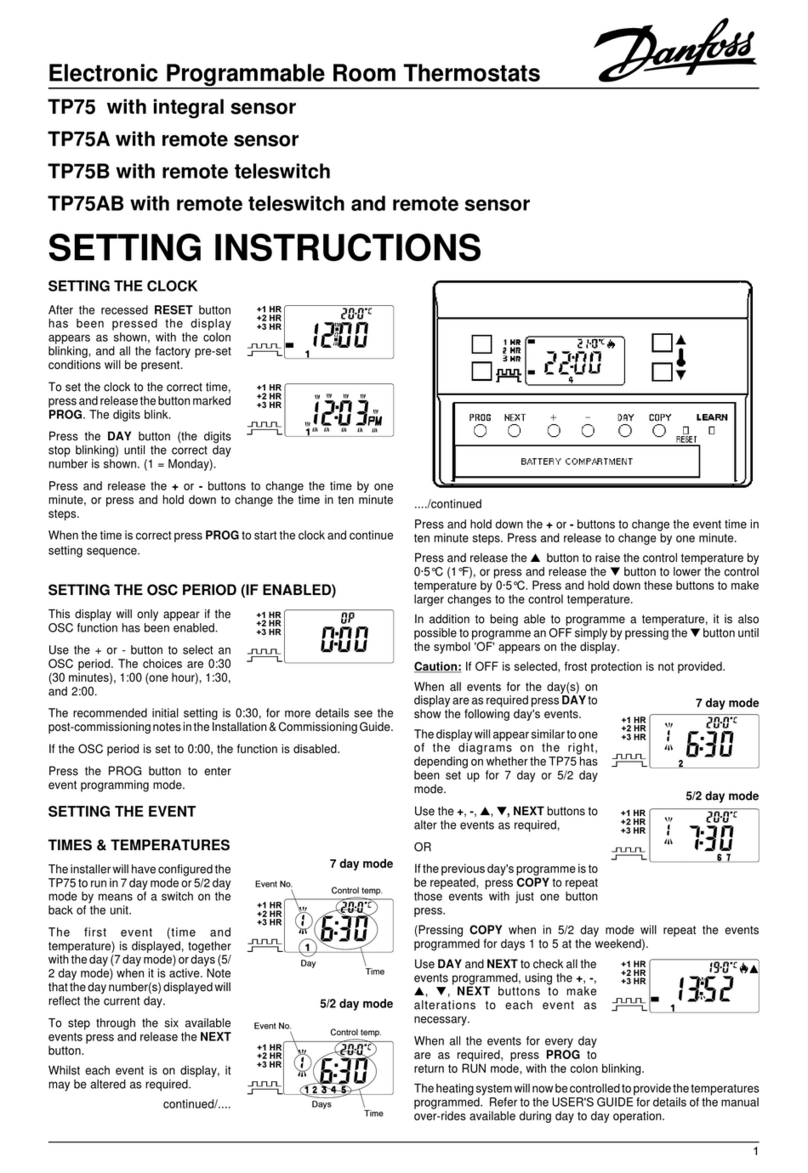
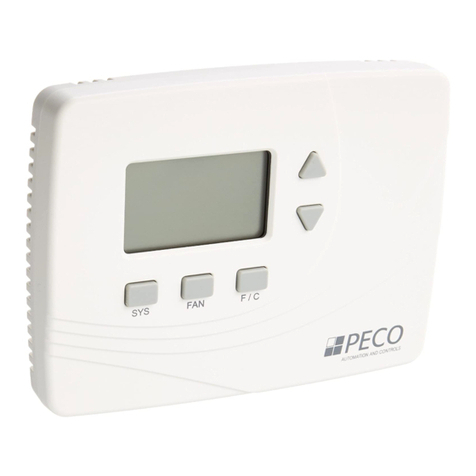
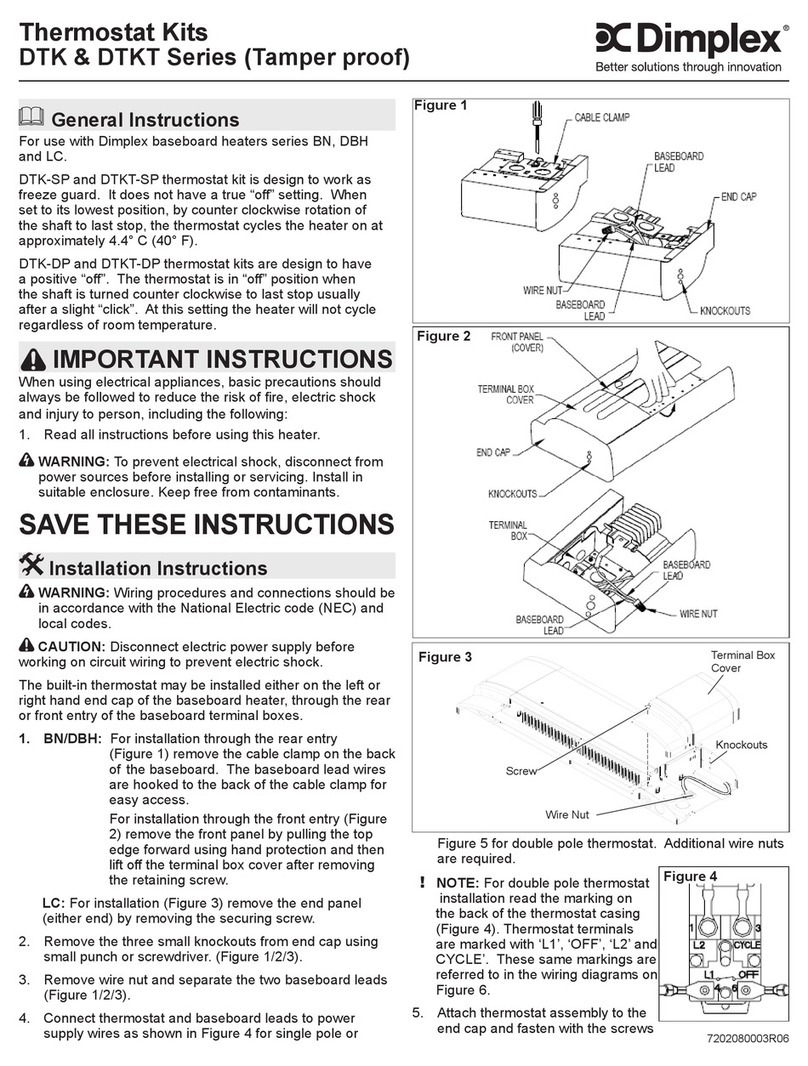
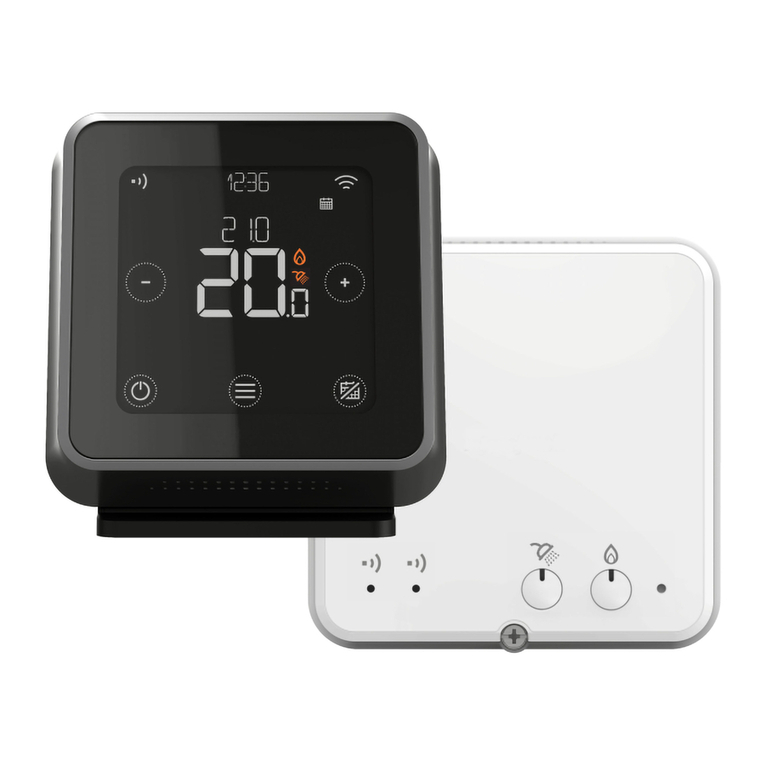
Yolink YS4002-UC User manual

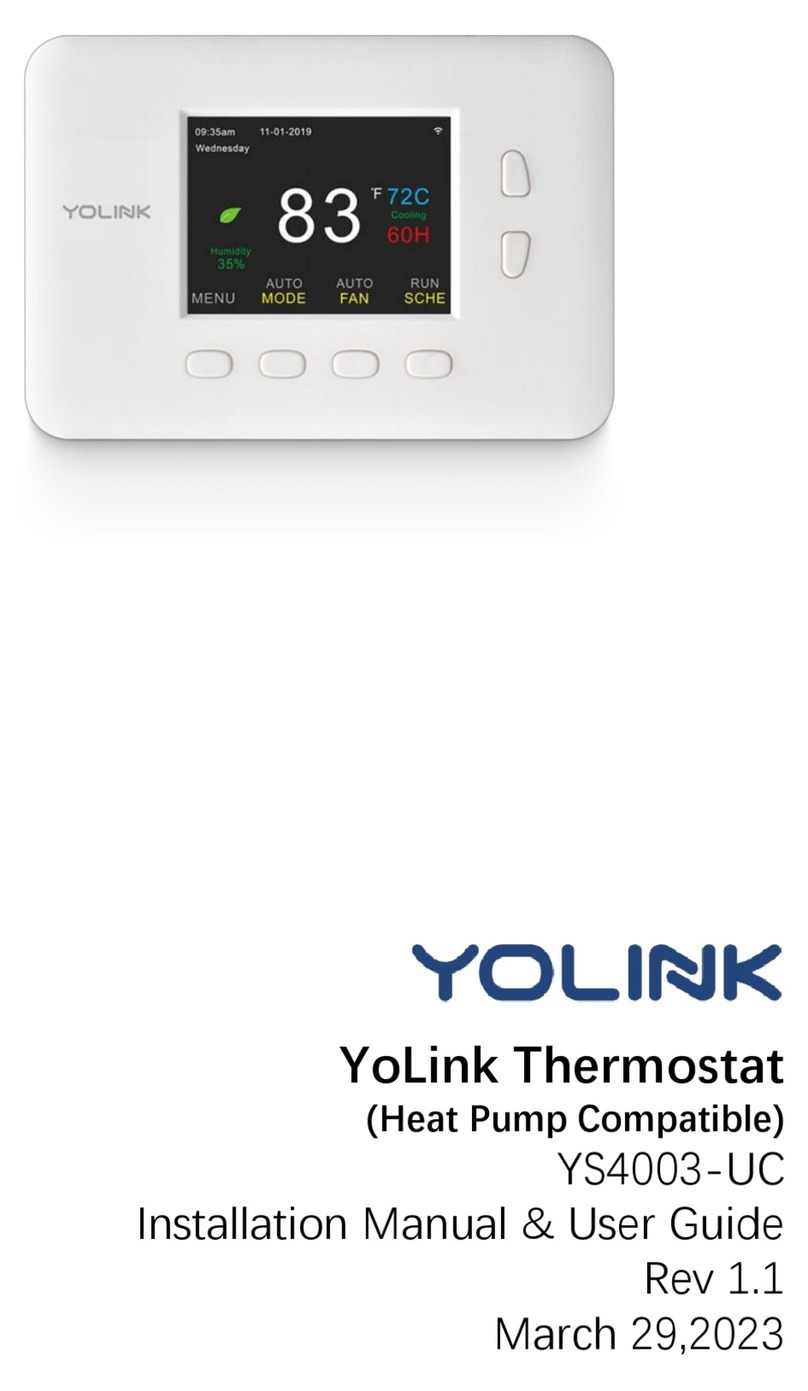
YoLink Thermostat
User Guide
YS4002-UC
MENU MODE FAN SCHE
AUTO AUTO RUN
09:35am
Wedn esd ay
11-01 -20 19
83
Humidity
35
%
72C
60H
Cooling
F

Contents
Product Required····························· ··· · · ·· ················· ···· ·· ···· ··· ·2
Features······························································· ···· ··· ·· ·4· ·· · ·
Set Up YoLink Thermostat······························ ··· · ················· ····· ·5
What’s In The Box······· ····· · ·· · · ··· ··1······················ ····· ·········· · ··· ···· ·
Using YoLink A with pp YoLink Thermostat·····································15
Set the YoLink Thermostat························································23
Specifications····································· ·········· ·······················35
Maintaining the ·········· · ·· YoLink Thermostat·········· ···· ········· ········34
Troubleshooting ·················· ····· ······················ 36··········· ····· ······ ·
WARNING··········· ····· ······ ·· ·· ··················· ····· ·· ·· ····················· 37
Customer Service & Warranty ····· ·· ······················ 38················ ·· ··· ·
Introduction··········································· · ·· · ·· 3············ ···· ··· ···· ···
Install the ···········································9YoLink Thermostat···········

What’s In The Box
1
Drywall Anchor * 2
Quick Start Guide * 1
YoLink Thermostat * 1
Wall Screw * 2
Backplate * 1
WGY C RC

Product Required (not included)
2
A smartphone or tablet
running iOS 9.0 or higher; (
Android 4.4 or higher)
YoLink Hub
(Connecting to internet) Screwdriver

Introduction
YoLink Thermostat replaces old thermostat, just a tap of the button on the device or YoLink App
lets you remotely access, change or set your temperatures at anytime anywhere. Designed to
work with HVAC equipment in most homes (U.S. & Canada only).
3
SWITCH BUTTON
MENU
All settings
FAN
Switch auto or always run the fan
SCHE
Switch activate or deactivate schedules
MODE
Switch different mode: Auto, Heat, Cool, Off
MENU MODE FAN SCHE
AUTO A UTO RUN
09:35am
Wednesday
11-01-2019
83
Humidity
35
%
72C
60H
Cooling
F
R: Live wire; C: Common wire
Y: Cool; G: Fan; W: Heat
Y
G
W
CR C

Features
Control from anywhere - Control your YoLink Thermostat remotely via YoLink App on your
iOS or Android device.
Schedule - Automatically keep your HVAC a comfortable temperature at certain times.
Voice Control - Use Alexa or Google Assistant to control your devices with voice commands.
ECO - Automatically adjust your schedules according to ECO settings.
4
Work with IFTTT - Set up rules for “If This Then That” function via IFTTT App.

Set Up YoLink Thermostat
Follow the steps below to set up your YoLink Thermostat via YoLink App.
Step 1: Set up YoLink App
Download the YoLink App from the Apple App Store or Google Play.
5

If you don’t have a YoLink account, tap Sign up for an account and follow the steps
to sign up for an account.
Open the App. Log in your YoLink account.
Step 2: Log in or sign up with YoLink account
6

Step 3: Add device to YoLink App
b. Room - Choose a room for .YoLink Thermostat
a. Name - Name .YoLink Thermostat
You can customize the name, set the room, add to/remove from favourite.
Tap the “ ” in YoLink App. Scan the QR Code on the thermostat.
Tap the “Bind Device” to add the device to your YoLink account.
c. Favourite - Click “ ” icon to add/remove from Favourite.
Please add your YoLink
Thermostat to YoLink App
first before you install it.
Note
7
a
b
c
YG
W
CR C

Step 4: Set up connection
Turn on YoLink Thermostat and the device will be ready to use.
Note
YoLink Hub is required to set up YoLink Thermostat. Please set up your YoLink Hub first.
8
MENU MODE FAN SCHE
AUTO AU TO RUN
09:35am
Wed nes day
11-0 1-2 019
83
Hum idi ty
35
%
72C
60H
Coo lin g
F
YoLink
Cloud
DATA
(YoLink)
DATA
(Internet)
DATA
(Internet)

Step 1: Turn off power
Install the YoLink Thermostat
This protects you and avoids blowing a fuse in your equipment. Press any button on your
old thermostat to make sure your system is off.
9
Turn off the power

10
Remove cover, peel off the labels below and attach them to the thermostat’s matching
wires.
Step 2: Label wires
Label wires
R
WG
YC
R - 24V AC Live
C - 24V AC Common
W - Heat
G - Fan
Y - Cool

Step 3: Mount the backplate
Mount the backplate by screwing it onto the wall using the provided screws. Wall anchors
are included for drywall.
Wall Anchors
(Drywall installs)
Mount the backplate
WG
YC RC
11

Step 4: Connect your wires
Connect the wires in ordered to make sure your controller works well.
C - Common Wires. Not all systems have a C wire. Common wires are often labeled “C”
or “Com”. You can insert them into the “C” terminals.
R - Live Wires. Live Wires are often labeled “R” or “Live”. You can insert them into any of
the “R” terminals.
G - Fan Wires. Fan wires are often green wires, wire it into the “G” terminal.
W - Heat wires. Heat wires are often white wires, wire it into the “W” terminal.
Y - Cool Wires. Cool wires are often yellow wires, wire it into the “Y” terminal.
12

Wiring diagram (C-wire needed)
WGY C RC
24V AC Live Wire (R)
24V AC Common Wire (C)
Cool (Yellow)
Fan (Green )
Heat (White)
13

Step 5: Install the new and turn on power
Gently push the new, wired thermostat back onto the backplate and turn .power on
Turn on the powerInstall the new
14

Using YoLink App with YoLink Thermostat
Controls
Show you the current running mode, temperature and humidity. Also you can adjust
the set point for both cool temperature and heat temperature.
15

Mode
Yo u c a n s e t r u n n i n g m o d e s a c c o r d i n g t o yo u r
need.
Tap “ ” icon to enable/disable Cool mode,
tap “ ” icon to enable/disable Heat mode.
Both Cool mode and Heat mode are enabled,
thermostat will run Auto mode. Neither Cool
mode nor Heat mode is enabled, thermostat
will run Off mode.
a. Aut o - Auto run cooling or he ati ng.
b. Cool - Cooling only.
c. Heat - Heating only.
d. Off - Will not run cooling or heating.
Tap the “YoLink Thermostat” in App to go to its
controls.
COOL OFF
AUTO HEAT
16

ECO MODE is ONECO MODE is OFF
ECO
Under ECO mode, HVAC will automatically adjust
the cool or heat temperature to a more cool or
more heat temperature according to the ECO
setting via YoLink App.
Tap the “YoLink Thermostat” in App to go to its
controls.
Tap “ ” icon to enable/disable ECO mode.
There will be a green leaf on the Control screen
when ECO mode is on.
Note
Through Detail screen, you can edit adjust
temperature and also you can enable/disable
ECO mode.
17

FAN
You can switch auto or always run the fan.
Tap the “YoLink Thermostat” in App to go to its controls.
AUTO RUN the FAN ALWAYS RUN the FAN
- Thermostat will always run the fan.On
Auto - Thermostat will run the fan automatically when thermostat is running cooling.
Tap “ ” icon to switch auto or always run the fan.
18
Table of contents
Other Yolink Thermostat manuals
