6
II. Preparations for Flying
Aircraft power-on, initialization is completed, backlight state, then you can unlock motors
After the motors has been unlocked ,backlights state, then you can push up the throttle to take off
During flying ,voltage alarm
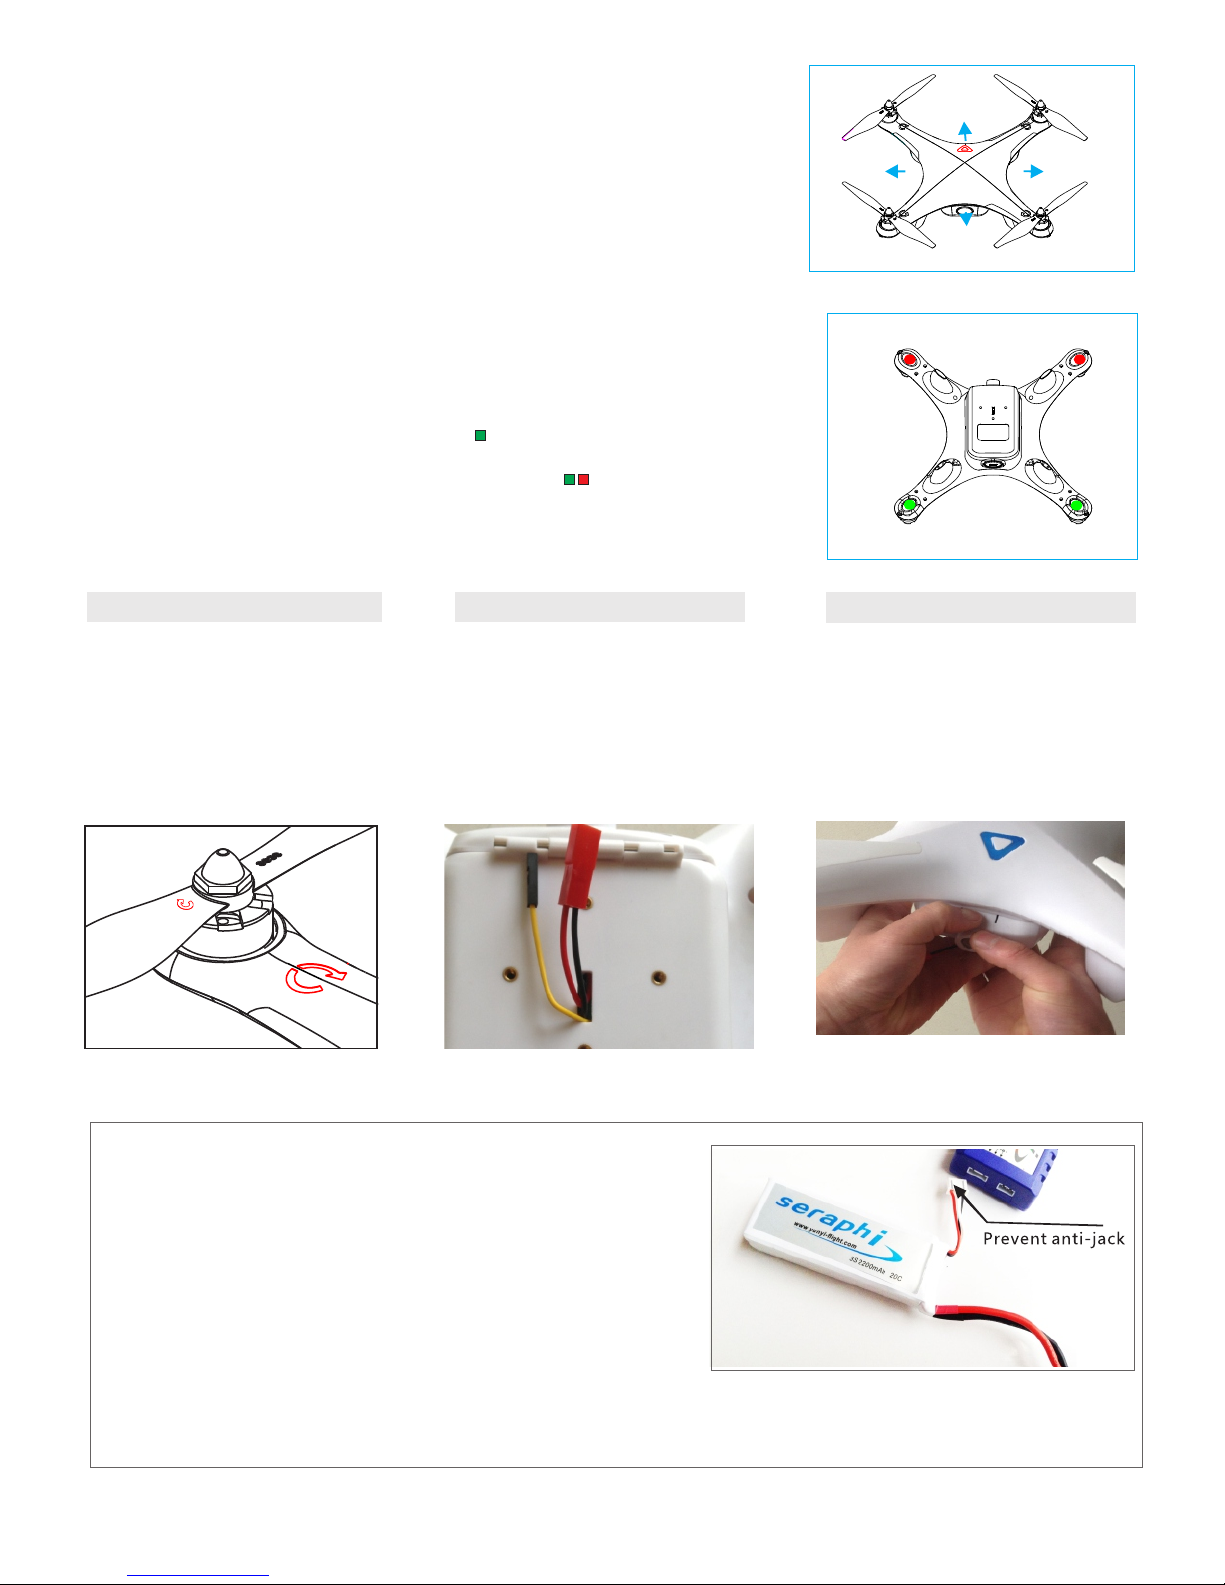
Aircraft backlight Signal indication
A.Backlight flashes RED-YELLOW-GREEN this indicates initialization is completed but without GPS signal.
A.Backlight flashes this indicates Seraphi is unlocked, but no GPS signal.
B.Backlight turn off , this indicates Seraphi is unlocked ,with GPS signal.
A.During flying,backlight flashes RED-GREEN this indicates voltage alarm,no GPS signal.
B.Backlight flashes GREEN this indicates initialization is completed. with GPS signal.
B.During flying,backlight flashes GREEN this indicates voltage alarm,with GPS signal.
I.Flying warnings
1.For the first flying, beginners are strongly suggested taking necessary trainings by professionals or doing some pre-exercises on
simulators until you can skillfully operate the aircraft or the simulator and the remote controller
2. During flying, please make sure that Seraphi is always within sight and its back light always faces its operator so that he could
determine its flight attitude and adjust its flight directions when necessary.
3. During flying, what's more, please watch the flash of back light at any time and keep alert to Low-Voltage signals. Low-Voltage Alert is
to indicate that the battery cannot provide enough power for the aircraft and you should land the aircraft to avoid or reduce crashes ASAP
4. Sensors in the heart of SeraphI are damageable, so be sure not to hit or drop the aircraft heavily. Otherwise, the inertial measuring unit
(IMU) might be destroyed. If Seraphi flies in an abnormal way after being hit or dropped Seriously, please return it to Yunyi-Flight to repair
immediately.
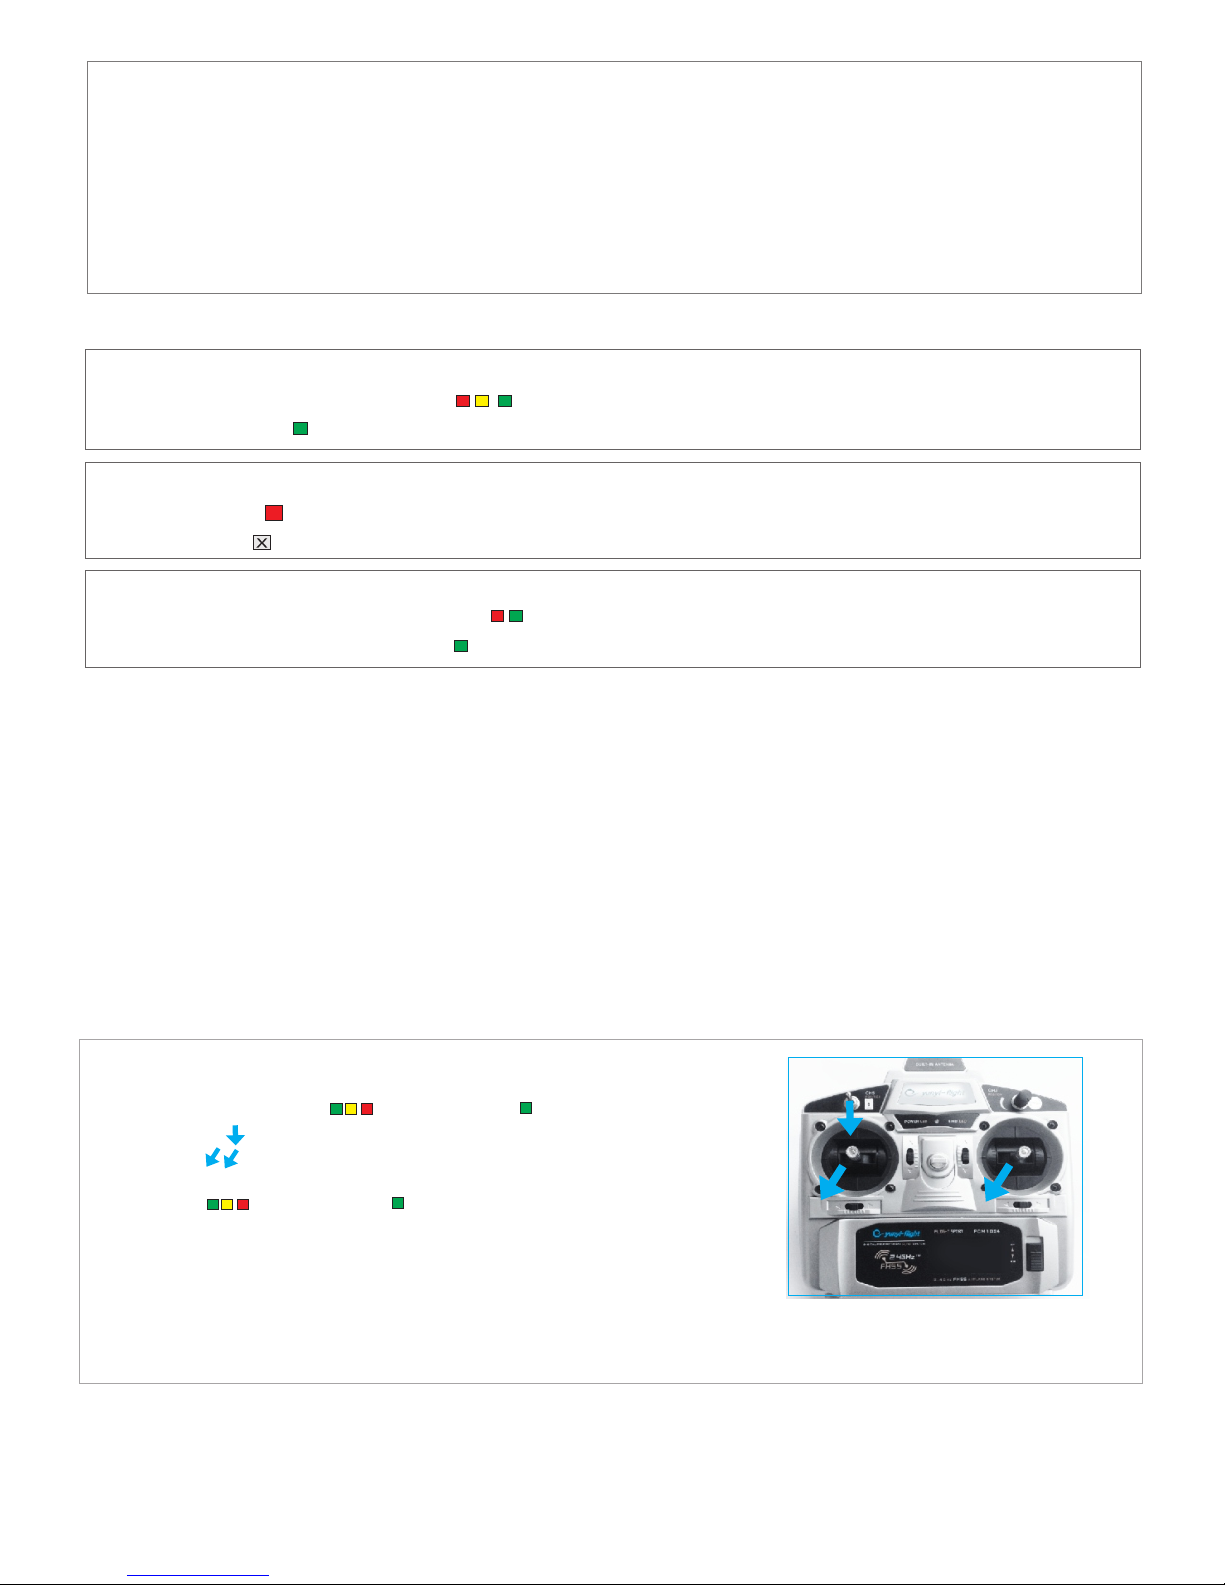
Place seraphi on horizontal ground, power on .when backlight
flashes GREEN-YELLOW-RED or flashes GREEN Pull the
up switch bottom in GPS mode , Pull the left and right stick to
the left bottom at same time, back light flash rapidly, release
the sticks, Afer 10 seconds, when backlight flashes GREEN-
YELLOW-RED or flashes GREEN ,horizontal calibration is
successful.
Horizontal calibration Steps
NOTE:
1.In any Drop or rollover cases or the first use or did not use it for a long time.You should carry out this step. This will ensure a stable
flight .
2.you should ensure the aircraft put on a horizontal ground,keep it still,do not move seraphi during calibrating.
Battery
1. Do not disassemble or reconstruct battery.
2. Do not short-circuit battery
3. Do not use or leave battery nearby fire, stove or heated place(more
than 80 ℃)
4. Do not immerse the battery in water or sea water , or get it wet
5. Do not charge battery nearby the fire or under the blazing sun
6. Do not drive a nail into the battery. Strike it by hammer, or tread it
7. Do not give battery impact or fling it
8. Do not use the battery with conspicuous damage or deformation
10. Do not reverse charge or overdischarge the cell
11. Do not reverse-charge or reverse-connect
12. Do not connect battery to the plug socket or car-
cigarette-plug
13. Do not use battery for unspecified equipment
14. Do not use Lithium ion battery in mixture
15. Keep the battery away from babies
16. Do not get into a microwave or a high pressure
container
17. Do not use a leaked battery nearby fire
18. Do not use an abnormal battery