manuals.online logo
Brands
  1. Home
  2. •
  3. Brands
  4. •
  5. Zanussi
  6. •
  7. Dishwasher
  8. •
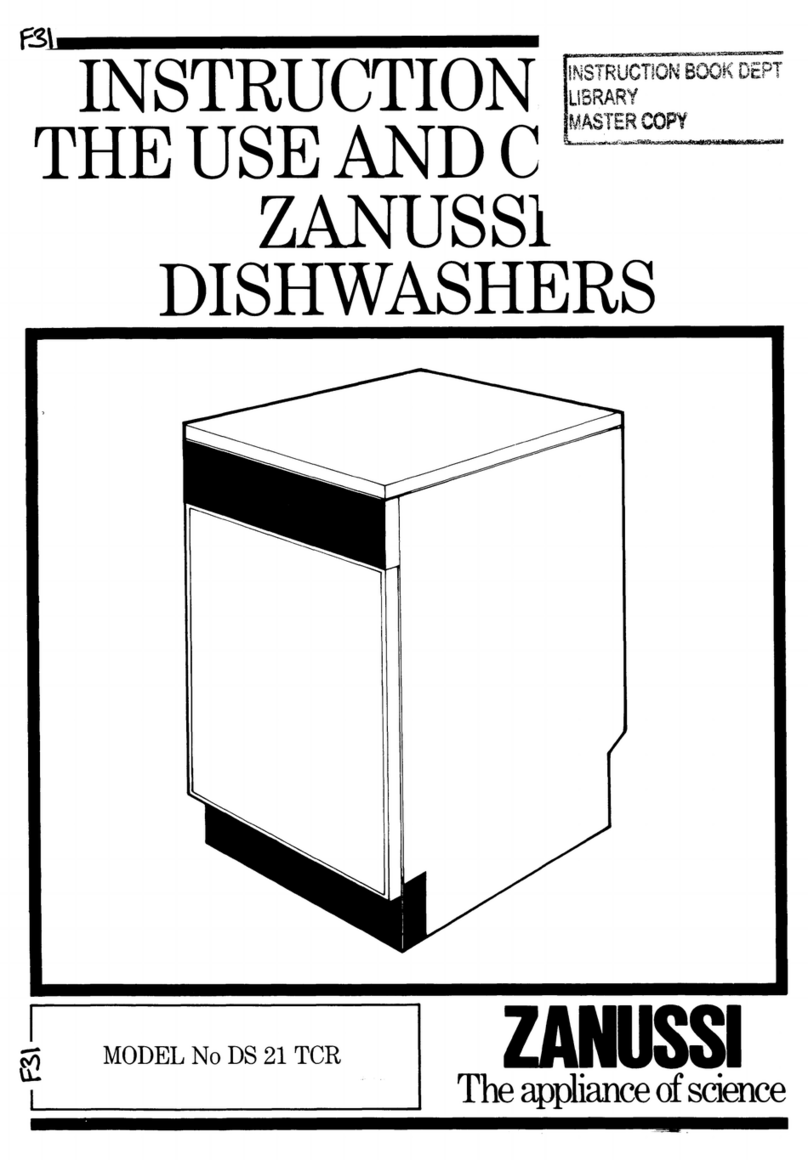
  9. Zanussi DW 925 User manual

Zanussi DW 925 User manual

INSTRUCTION
BOOKLET
ZANUSSI
DISHWASHER
DW
925
CONTENTS
Warnings
\.
6%
254-4
Roe
ee
a
ww
YS
ee
Se
AD
Ame,
Ge
ee
oe
Page
3
Installation...
33...
sp
40%
we
eho
cs
i
a
ew
oe
eet
oe
eo.
Zpage
4
Positioning,
levelling,
adjusting
the
worktop,
installing
and
securing
the
machine
under
a
kitchen
unit,
fitingadecorpanelonthedoor.
.
. . .
.
2...
ee
ee
Page
4
Water
supply
connections,
water
outlet
connection
.
.
2. 2.
2...
2
eee
ee ee
ee
page
5
The
electricalconnections
.
2 2 6 1
we
ee
ee
eee
ee
page
6
W565
ek
te
eg
el
EO
A
BOP
rin
POR
Ey
te
Be
Eo
oye
eS.
de:
YF,
The
water
softener,
filling
withsalt
2. 2. 2.
2.
2
2...
eee
ee
ee
page
8
Use
of
rinse
aid,
use
of
detergent.
© 2
2...
1
eee
ee
ee
Page
9
Loading
the
machine,
use
of
the
lower
basket,
use
of
the
upper
basket.
. . . . .
..
. .
=.
.page
10
Adjusting
the
height
of
the
upper
basket
. .
2. 2. 2. 2.
2
2.
ee
ee ee
ee
page
1
Helpfulhints.
.............0.2.0000
0.2.2.4...
2.
.page
11
Washing
programmes
.............2.2....
2... 4...
.
.page
12
Operating
sequence.
.
2
g.4¢04
BOA
BR
ee ee
a
we we
A
pe)
Re
Ww
page
=
13
Maintenance
andcleaning
.............2..2.2..
2.4...
=.
.page
14
Cleaning
the
central
filters,
cleaning
the
large
filter,
internal
and
externalcleaning
. . . . . . .
.page
14
Servicing...
2...
2
ee
ee
ee
ee
page
§=—
16
Peace
of
mindfortwelve
months
....................
.page
17
TECHNICAL
SPECIFICATIONS
DIMENSIONS
Width
cm
60
Height
with
worktop
cm
85
Height
without
worktop
cm
82
Max
depth
em
60
Max
depth
with
door
open
cm
119
WEIGHT
Gross
kg
55
Net
kg
52
ELECTRICAL
CONNECTION
Voltage
220-240
V
/
50
Hz
POWER
OF
HEATING
ELEMENT
2570
W
OVERALL
POWER
2770
W
WATER
SUPPLY
PRESSURE
minimum
7
psi-
49
KN/cné
maximum
110
psi
-
758
KN/cn?
CAPACITY
(STANDARD
IEC
PLACE
SETTINGS)
12
CONSUMPTION:
Water
22
It
Electricity
1.5
kW/h
C €
This
appliance
complies
with
the
following
E.E.C.
Directives:
-
73/23
of
19.2.73
(Low
Voltage
Directive)
and
subsequent
modifications;
-
89/336
of
3.5.89
(Electromagnetic
Compatibility
Directive)
and
subsequent
modifications.
WARNINGS
It
is
most
important
that
this
instruction
book
should
be
retained
with
the
appliance
for
future
reference.
Should
the
appliance
be
sold
or
trans-
ferred
to
another
owner,
or
should
you
move
house
and
leave
the
appliance,
always
ensure
that
the
book
is
left
with
the
appliance
in
order
that
the
new
owner
can
get
to
know
the
functioning
of
the
appliance
and
the
relevant
warnings.
These
warnings
are
provided
in
the
interest
of
safety.
You
must
read
them
carefully
before
install-
ing
or
using
the
appliance.
=
Unplug
the
appliance
and
turn
off
the
water
after
use.
=
Any
plumbing
work
required
to
install
this
appliance
should
be
carried
out
by
a
qualified
plumber
or
competent
person.
=
Any
electrical
work
required
to
install
this
appliance
should
be
carried
out
by
a
qualified
electrician
or
competent
person.
=
This
appliance
is
designed
to
be
operated
by
adults.
Children
should
not
be
allowed
to
tamper
with
the
controls
or
play
with
the
product.
=
This
product
should
be
serviced
by
an
authorised
Zanussi
Service
Force
Centre,
and
only
genuine
Za-
nussi
spare
parts
should
be
used.
®
It
is
dangerous
to
alter
the
specification
or
modify
the
product
in
any
way.
=
Care
must
be
taken
to
ensure
that
the
appliance
does
not
stand
on
the
electrical
supply
cable.
=
Zanussi
dishwashers
are
designed
to
be
used
for
washing
normal
household
utensils.
Items
that
are
contaminated
by
petrol,
paint,
steel
or
iron
debris,
corrosive,
acidic
or
alkaline
chemicals
are
not
to
be
washed
in
a
dishwasher.
=
When
finishing
loading
or
unloading
close
the
door,
as an
open
door
can
be
a
hazard.
=
If
your
house
is
fitted
with
a
water
softening
unit
or
if
you
live
in
a
soft
water
area,
it
is
not
necessary
to
add
salt
to
the
water
softening
unit
in
the
dishwash-
er.
=
Do
not
put
in
your
dishwasher:
Cutlery
with
wooden
or
horn
handles
or
glued
parts,
bronze
cutlery,
saucepans
with
wooden
handles
unless
they
are
sold
as
dishwasher
proof,
aluminium
ware,
crystal
ware,
leaded
glass,
plastic
articles
unless
sold
as
dishwasher
proof,
antique
china
or
fine
decorated
china
unless
sold
as
dishwasher
proof.
Always
check
with
the
manufacturer
of
the
item
if
in
any
doubt.
=
A
chemical
reaction
can
occur
between
silver
cut-
lery
and
stainless
steel
cutlery.
As
a
precaution
do
not
wash
together.
Under
no
circumstances
should
you
open
the
door
whilst
the
appliance
is in
operation.
Always
turn
off
the
appliance
before
opening
the
door.
Care
should
be
taken
when
cleaning
the
bottom
door
seal
and
hinge
area
as
any
exposed
metal
edges
may
cut
if
care
is
not
taken.
Built-in
dishwashers
only:
The
appliance
must
be
secured
to
the
underside
of
the
worktop
using
the
brackets
provided.
Failure
to
do
this
could
result
in
an
unstable
appliance
which
may
cause
damage
or
injury.
Under
no
circumstances
should
you
attempt
to
re-
pair
the
appliance
yourself.
Repairs
carried
out
by
inexperienced
persons
may
cause
injury
or
more
serious
malfunctioning.
Refer
to
your
local
Zanussi
Service
Force
Centre.
Always
insist
on
genuine
spare
parts.
INSTALLATION
Remove
all
packaging
before
positioning
the
ma-
chine.
Positioning
If
possible,
position
the
machine
next
to
a
water
tap
and
a
drain.
The
sides
and
the
back
of
the
dishwasher
can
rest
against
the
adjacent
furniture
or
the
wall.
The
dishwasher
features
fill
and
drain
hoses
which
can
be
turned
either
to
the
left
or
the
right
to
suit
the
installation.
Levelling
Good
levelling
is
essential
for
correct
closure
and
sealing
of
the
door.
Loosen
or
tighten
the
adjustable
support
feet,
until
the
machine
is
perfectly
level.
Adjusting
the
Worktop
You
can
move
the
work-
top
forward
or
backward
by
25
mm
in
order
to
align
the
machine
with
other
kitchen
units.
Simply
unscrew
the
two
front
retaining
screws,
(
move
the
top
to
the
re-
son
:
quired
position
and
then
retighten
the
screws.
Installing
and
Securing
the
Machine
Un-
der
a
Kitchen
Unit
(Sink-Worktop
Unit)
By
removing
the
machine’s
worktop,
you
can
install
it
under
a
close
fitting
sink
unit
or
a
pre-existing
top,
if
the
dimensions
of
the
recess
correspond
to
those
shown
in
the
picture.
Then
proceed
as
follows:
Remove
the
machine
worktop
by
unscrewing
the
two
front
retaining
screws,
pull
from
the
front
and
slide
out
of
the
rear
slots,
lifting
the
worktop.
Insert
the
machine
after
adjusting
the
height
and
level-
ling
with
the
adjustable
feet.
When
inserting
the
ma-
chine,
ensure
that
the
water
inlet
and
drain
hoses
are
not
kinked
or
squashed.
Caution
Once
the
machine
has
been
installed,
ensure
that
it
can
be
accessed
easily
for
servicing.
Fitting
a
Decor
Panel
on
the
Door
The
door
of
this
machine
has
frames
for
fitting
a
plas-
tic
laminate
decor
panel
in
the
colour
required
to
match
the
dishwasher
with
the
rest
of
the
kitchen
fur-
niture.
If
you
wish
to
do
this
you
must
provide
the
panel
yourself.
Width:
588
mm
Height
586
mm
Max
thickness:
4mm
To
Fit
the
Panel
Take
the
door
frame
off
after
removing
the
retaining
screws
around
the
edge.
Position
the
panel,
refit
the
frame
and
tighten
the
re-
taining
screws
around
the
edge.
SS
Note
The
panel
should
be
fitted
before
positioning
the
ma-
chine.
Water
Supply
Connections
This
dishwasher
must
be
plumbed
into
a
cold
water
supply
and
it
is
preferable
for
it
to
be
permanently
plumbed
in.
The
water
pressure
must
be
within
the
limits
given
in
the
technical
specifications,
as
it
will
not
function
cor-
rectly
if
pressure
is
outside
these
specifications.
Your
local
Water
Authority
will
advise
you
on
the
aver-
age
mains
pressure
in
your
area.
Where
the
water
is
supplied
via
a
cold
water
storage
cistern,
you
can
work
out
the
pressure
yourself
by
measuring
the
verti-
cal
distance
(or
«head»)
between
the
machine’s
inlet
hose
and
the
outlet
from
the
cold
water
storage
cis-
tern,
allowing
roughly
1
psi
for
every
2
feet.
For
making
the
connec-
tion
itself,
the
coupling
nut
fitted
to
the
machine’s
supply
hose
is
designed
to
screw
onto
either
a
3/4
inch
gas
thread
spout,
or
to
a
purpose-made
quick-
coupling
tap
such
as
the
fan
Press-Block.
To
make
this
easier,
the
hose
itself
may
be
turned
to
the
left
or
the
right.
In
either
case,
be
sure
to
incorpo-
rate
the
strainer
(A)
supplied
with
the
machine
into
the
joint.
See
picture.
Caution:
the
retaining
ring
must
be
correctly
fitted
to
avoid
water
leaks.
Avoid
bends
or
kinks
in
the
hose
which
could
pre-
vent
or
slow
down
the
flow
of
water.
If
the
machine
is
connect-
ed
to
new
pipes
or
pipes
which
have
not
been
used
for
along
time,
you
are
ad-
vised
to
run
the
water
fora
few
minutes
before
con-
necting
the
inlet
hose.
This
will
prevent
deposits
of
sand
or
rust
clogging
the
inlet
hose
filter.
Water
Outlet
Connection
The
end
of
the
drain
hose
can
be
connected
as
fol-
lows:
to
the
sink
outlet
siphon,
securing
it
if
necessary
with
aclip;
to
a
wall
outlet
provided
with
vent-hole,
minimum
in-
ternal
diameter
4
cm;
hooked
over
the
edge
of
the
sink
using
the
special
curved
plastic
guide
provided.
The
waste
connection
must
be
at
a
height
of
between
30
cm
(minimum)
and
100
cm
(maximum)
from
the
floor.
It
makes
no
difference
which
way
the
drain
hose
faces,
either
to
the
right
or
left
of
the
dishwasher.
Avoid
bending
or
kinking
the
hose
as
this
could
pre-
vent
or
slow
down
the
discharge
of
water.
If
you
use
a
drain
hose
extension
it
must
be
no
longer
than
2
metres
and
its
internal
diameter
must
be
no
smaller
than
the
diameter
of
the
hose
provided.
Likewise
the
internal
diameter
of
the
couplings
used
for
connection
to
the
waste
outlet
must
be
no
smaller
than
the
diameter
of
the
drain
hose.
+2mmax
Note:
The
sink
plug
must
not
be
in
place
when
the
machine
is
draining
as
this
could
cause
the
water
to
siphon
back
into
the
machine.

Other manuals for DW 925

1

Other Zanussi Dishwasher manuals

Zanussi ZDT16030FA User manual

Zanussi

Zanussi ZDT16030FA User manual

Zanussi DA4552 User manual

Zanussi

Zanussi DA4552 User manual

Zanussi Di 445 TCR User manual

Zanussi

Zanussi Di 445 TCR User manual

Zanussi DI 720 Operating and safety instructions

Zanussi

Zanussi DI 720 Operating and safety instructions

Zanussi ZDI 6053 SX User manual

Zanussi

Zanussi ZDI 6053 SX User manual

Zanussi DWS 939 User manual

Zanussi

Zanussi DWS 939 User manual

Zanussi ZT 617 User manual

Zanussi

Zanussi ZT 617 User manual

Zanussi DA6242 User manual

Zanussi

Zanussi DA6242 User manual

Zanussi DWS 6804 User manual

Zanussi

Zanussi DWS 6804 User manual
Zanussi ZDT24001FA User manual

Zanussi

Zanussi ZDT24001FA User manual

Zanussi ZDT15010FA User manual

Zanussi

Zanussi ZDT15010FA User manual

Zanussi DW927 User manual

Zanussi

Zanussi DW927 User manual

Zanussi NHT8 User manual

Zanussi

Zanussi NHT8 User manual

Zanussi ZDS 689 EX User manual

Zanussi

Zanussi ZDS 689 EX User manual

Zanussi ZDI 6895 QA User manual

Zanussi

Zanussi ZDI 6895 QA User manual

Zanussi ZDF301 User manual

Zanussi

Zanussi ZDF301 User manual

Zanussi ZDT21006FA User manual

Zanussi

Zanussi ZDT21006FA User manual

Zanussi 534260 User manual

Zanussi

Zanussi 534260 User manual

Zanussi DS 15 TCR/A Assembly instructions

Zanussi

Zanussi DS 15 TCR/A Assembly instructions

Zanussi ELECTROLUX DE 6855 User manual

Zanussi

Zanussi ELECTROLUX DE 6855 User manual

Zanussi ZDT 5044 User manual

Zanussi

Zanussi ZDT 5044 User manual

Zanussi ZDLN1512 User manual

Zanussi

Zanussi ZDLN1512 User manual

Zanussi DS 17 User manual

Zanussi

Zanussi DS 17 User manual

Zanussi ZDF12001XA User manual

Zanussi

Zanussi ZDF12001XA User manual

Popular Dishwasher manuals by other brands

Samsung DW-FN320T user manual

Samsung

Samsung DW-FN320T user manual

LG LDS 5811WW Service manual

LG

LG LDS 5811WW Service manual

Elba EDW-B1462D owner's manual

Elba

Elba EDW-B1462D owner's manual

VESTEL NOVUS Series Service manual

VESTEL

VESTEL NOVUS Series Service manual

Bosch SMS4EMW00E Instructions for use

Bosch

Bosch SMS4EMW00E Instructions for use

Global-Tek GT-CR 2 manual

Global-Tek

Global-Tek GT-CR 2 manual

Smeg Dishwasher 85028 Instructions for installation and use

Smeg

Smeg Dishwasher 85028 Instructions for installation and use

LG LD-4080W Service manual

LG

LG LD-4080W Service manual

Bauknecht GCF 625 operating instructions

Bauknecht

Bauknecht GCF 625 operating instructions

Sharp QW-HX13F47EI-EU user manual

Sharp

Sharp QW-HX13F47EI-EU user manual

Asko D5536XLFI operating instructions

Asko

Asko D5536XLFI operating instructions

Modena WP 7134 WVM User manual book

Modena

Modena WP 7134 WVM User manual book

Beko DFN39340X instruction manual

Beko

Beko DFN39340X instruction manual

AEG FAVORIT 65050 VI1P user manual

AEG

AEG FAVORIT 65050 VI1P user manual

Siemens SN23HI37VE user manual

Siemens

Siemens SN23HI37VE user manual

Maytag MDB4651AWB - Tall Tub Dishwasher User instructions

Maytag

Maytag MDB4651AWB - Tall Tub Dishwasher User instructions

Hotpoint Ariston LL 42 Instruction book

Hotpoint Ariston

Hotpoint Ariston LL 42 Instruction book

Siemens SN45ZW56CS user manual

Siemens

Siemens SN45ZW56CS user manual

manuals.online logo
manuals.online logoBrands
  • About & Mission
  • Contact us
  • Privacy Policy
  • Terms and Conditions

Copyright 2025 Manuals.Online. All Rights Reserved.