HW SERIES SURGE PROTECTORS
Custom Surge protection is our specialty. Custom versions are available including mixed or
special voltages, different connectors or wiring options. Contact us for details.
OPERATION:
The Zap-Tech protector will repetitively protect and reset without
degradation up to it's maximum repetitive self-reset surge. If it is
subjected to more than it's maximum repetitive self-reset surge, the
device will remain in a clamped mode indicating that it should be
removedor replaced while keeping the equipment safe from
subsequent surges.
INSTALLATION:
Zap-Tech protectors should be installed in series with the incoming
communication line at the port of the equipment being protected. The
protector's grounding wire must be connected to the chassis ground
of the protected equipment.
IMPORTANT!
It is important that the protector and the chassis of the equipment to be
protected are both properly grounded to a properly earthed electrical
safety ground via the equipment's 3-prong power cord and/or a ground
wire of 14 AWG or larger. Protectors should be installed at both ends of
communication lines to ensure equipment protection at each end.
All specifications are subject to change without notice.
Detailed specifications for specific versions available on request.
© Copyright 2013, Zap-Tech Corporation all rights reserved.
888-727-1951
www.zap-tech.com
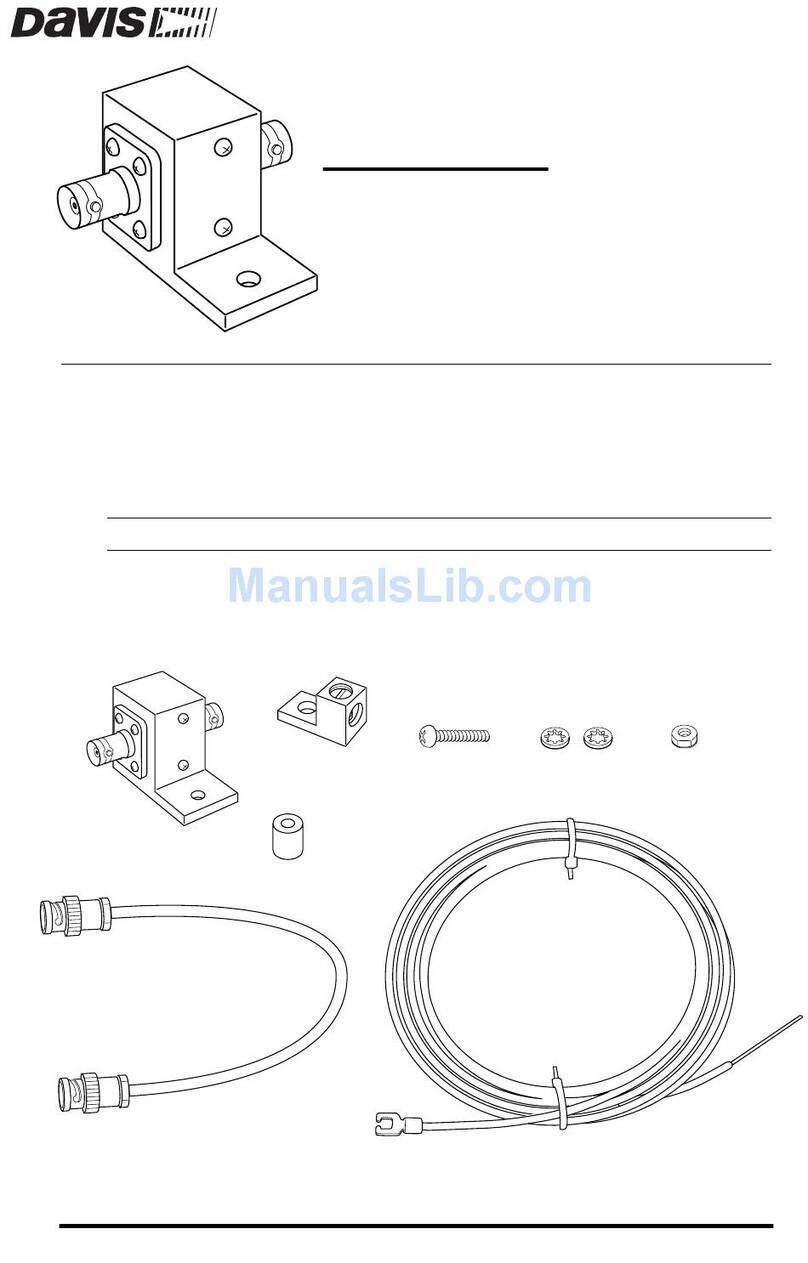
HARDWIRED IN LINE PROTECTOR
SHOWN WITH OPTIONAL DIN RAIL MOUNTING CLIP
HW SURGE ARRESTOR
MODEL HW8-18C
ATTACH GROUND WIRE TO GROUNDED
CHASSIS OF PROTECTED EQUIPMENT
ELECTRICAL SPECIFICATIONS
PART NUMBER SELECTION:
FORMAT: HW4-18C
HW(# of wires)-(clamp voltage)(C for optional DIN Clip)
APPLICATION
MAX
OPERATING
VOLTAGE
MODEL CLAMP
VOLTAGE
RS422, RS423,
RS232, RS485
DIGITAL
CURRENT LOOP
ANALOG
CURRENT LOOP
LEASED LINE,
ISDN, T-1, DDS
DIAL UP,
POTS LINE HW(_)-260
HW(_)-62
HW(_)-27
HW(_)-18
HW(_)-7
260V
7V
5.5V
25.5V
60.0V
250V
62V
27V
18V
16.0V
MAXIMUM REPETITIVE SELF RESET SURGE:
3500 Volts,1750 Amps for 100 pulses using 2 V source.
per: EN61000-4-5 Specification (all lines common mode).
*MAXIMUM FAIL SAFE SURGE (all lines common mode):
4000 Volts 2000 Amps for 100 pulses using 2V source.
per EN61000-4-5 Specification. Exceeds EN6100-4-5, level 4.
CLAMPING VOLTAGES:
Common Mode - Line to line.
Differential Mode - Line to ground.
*CAPACITANCE:
Line/line: <40pF.
Line/Ground: <40pF.
COMPONENT RESPONSE TIME:
Less than 10 Nanoseconds.
OPERATING TEMPERTURE:
(-40ºC TO +85ºC).
*Applies to all devices except 62V and 260V.
MECHANICAL SPECIFICATIONS
1/4” GROUND BRAID, 8.0” (+/-0.25”) INCH
LENGTH, GREEN W/ 10-32 RING TERMINAL.
WIRE ENTRY GROMMET
(BOTH ENDS)
UNIT WITH COVER REMOVED
TO SHOW WIRE INSTALLATION
STRAIN RELIEF ZIP TIES
(BOTH ENDS)
PAIR A: 1,2
PAIR B: 3,4
PAIR C: 5,6
PAIR D: 7,8
PAIR E: 9,10
PAIR F: 11,12
INSTALLATION
11
12
11
12
F
F
PROTECTION PAIRING ASSIGNMENTS:
Just splice the HW series unit
in line with your existing cable.

