6 7
Use
• Before the armchair can used, all relevant actions described in the previously
mentioned general delivery instructions must have been carried out.
• No special skills are required to use this armchair.
• There are no contraindications for the use of this armchair. This means that there are no
clinical or specically physical situations in which this armchair should not be used.
• The chair is designed for the purposes of sitting, relaxing and reclining. The riser-recliner
mechanism enables the user to achieve a sitting-to-standing position and vice versa. The
various options/adaptations of the armchair ensure that any functional impairments can
be compensated.
• The manual describes which electrical adjustments your armchair has and how these are
operated. This manual should be read thoroughly before you use the armchair.
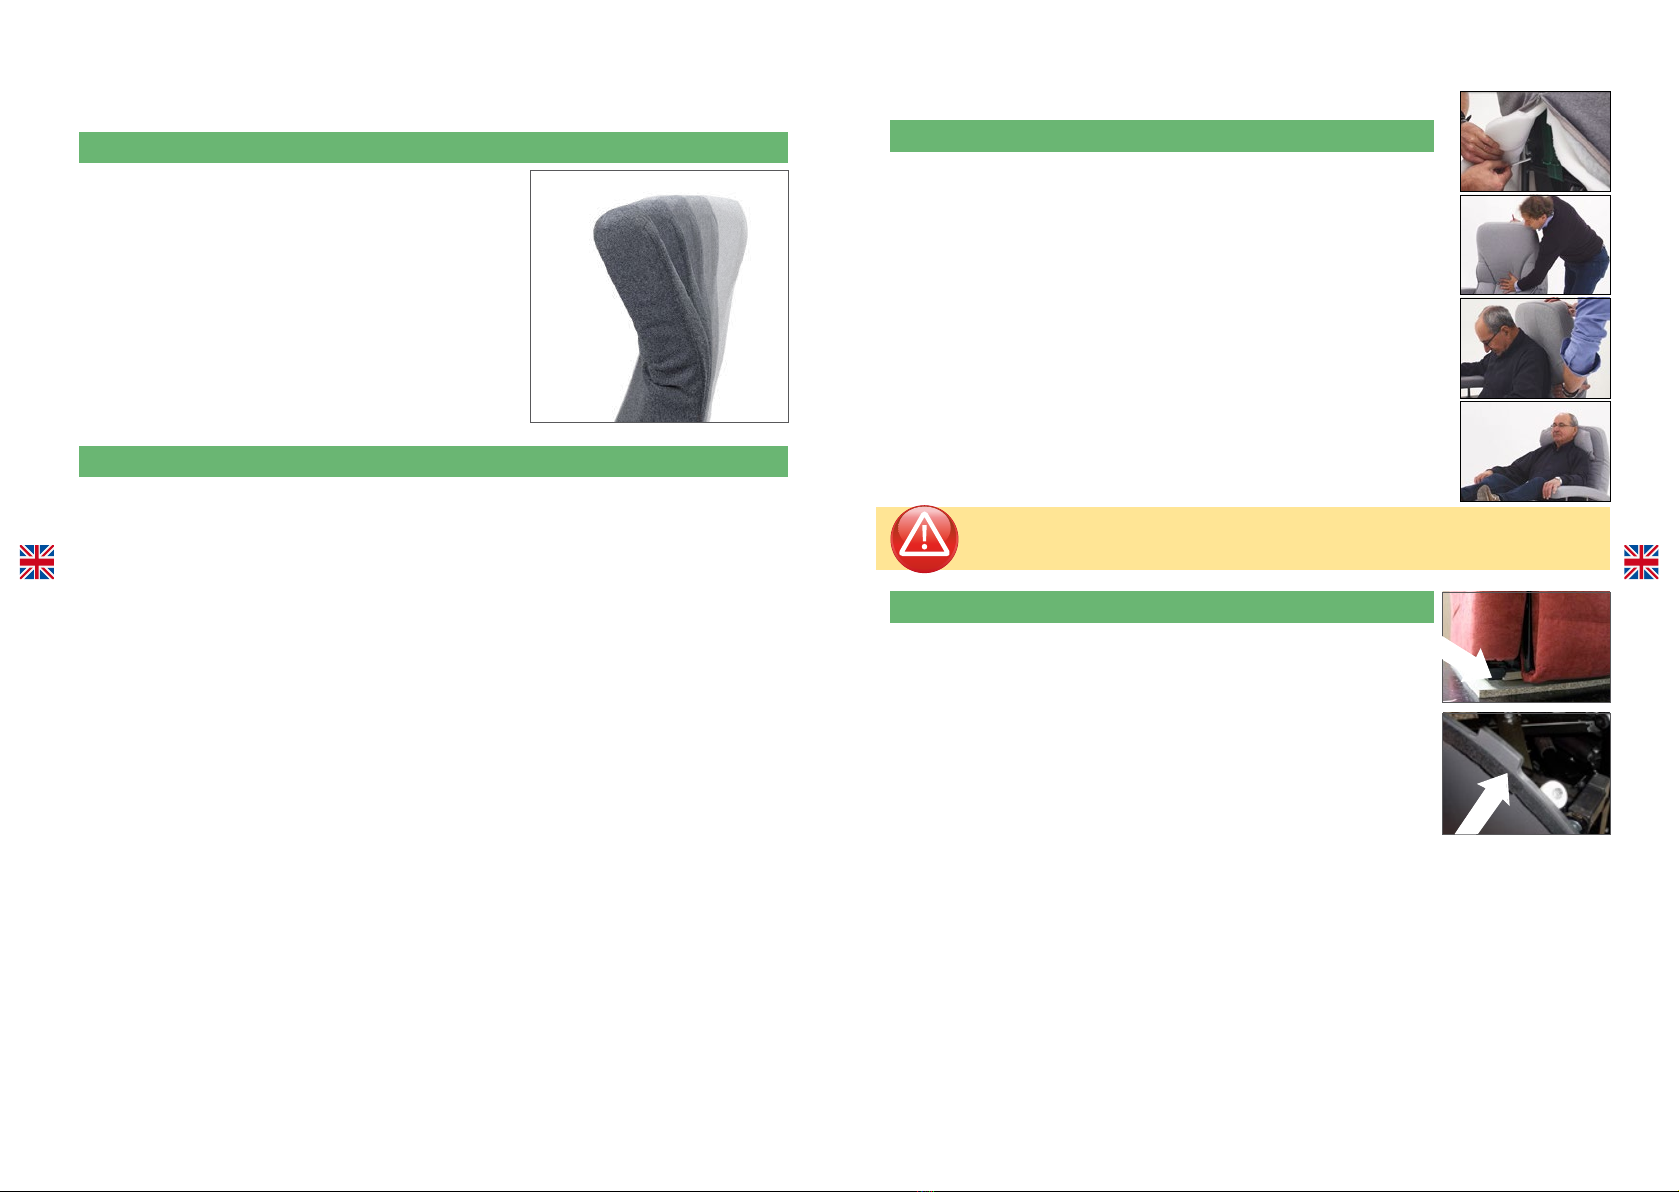
• Never sit down in the armchair with the legrest unfolded, but only when the armchair is
set to its neutral position.
• Do not fall back into the armchair. If you fall back into the armchair, this will place an extra
strain on the chair. Not only will you risk hurting yourself, but you may also damage the
armchair.
• The armchair is designed to be occupied by one person at any one time.
• For armchairs with a seat width of 45 cm, 51 cm and 57 cm, the maximum weight of the
person in the armchair should be no more than 150 kg.
• Do not use the armchair when the weight is any greater than this. This may otherwise
damage the adjustment mechanism.
• Do not overload the actuator by repeatedly pressing the hand-operated buttons, otherwise
it may malfunction.
• The armchair must in no way be modied. Modications should only be carried out by
a Wellco-trained technician with the aid of Wellco service instructions. Wellco service
instructions can be requested from Wellco (contact details on page 4) by Fitform
distributors or downloaded via the special business log-in to which Fitform distributors
have access.
• The armchair’s seating dimensions can be adapted with the aid of standard tools. Special
Wellco service instructions are available for this purpose. If these instructions are not
followed and the adjustments are incorrect as a result, this may lead to the malfunctioning
of the armchair. In addition, certain combinations of dimensions in specic designs may
lead to an unsafe situation occurring. These are described in the Wellco service instruction
“Changing dimensions”. Changing the dimensions of the armchair on the basis of these
Wellco service instruction is always required to be carried out by a technically qualied
technician. The Wellco “Changing dimensions” service instruction can be requested from
Wellco (contact details on page 4). They can also be found on page 26.
• It is not permitted to stand on the chair as the chair may tip over with possible injury to
yourself and resultant damage to the chair.
• It is not permitted to sit on dierent parts of the chair (e.g. armrest, backrest or
legrest) except the seat, as the chair may tip over with possible injury to yourself
and resultant damage to the chair.
• Although the Fitform ZEN Care Chair has been extensively tested and complies with the
IEC-EN-60601-1-2 EMC guidelines, it can never be ruled out that the armchair has an
inuence on the operation of electromagnetic devices (e.g. alarm systems).
• The Fitform ZEN Care Chair has been extensively tested and complies with the
IEC-EN-60601-1-2 EMC guidelines. The chance of the armchair’s movements
being inuenced by strong electromagnetic elds (e.g. mobile phones, electrical
generators or power sources) is extremely small, but nevertheless present.
However, it is not necessary to keep any distance, for example, between a mobile
phone and the armchair. In the unlikely event of your armchair responding to a source of
radiation and demonstrating erratic behaviour, you should pull the plug from the mains
socket immediately and try to nd and then remove the source of radiation.
• In the unlikely event of the armchair’s upholstery causing an allergic reaction when it
comes into contact with your skin, you should refrain from using the armchair and contact
your distributor.
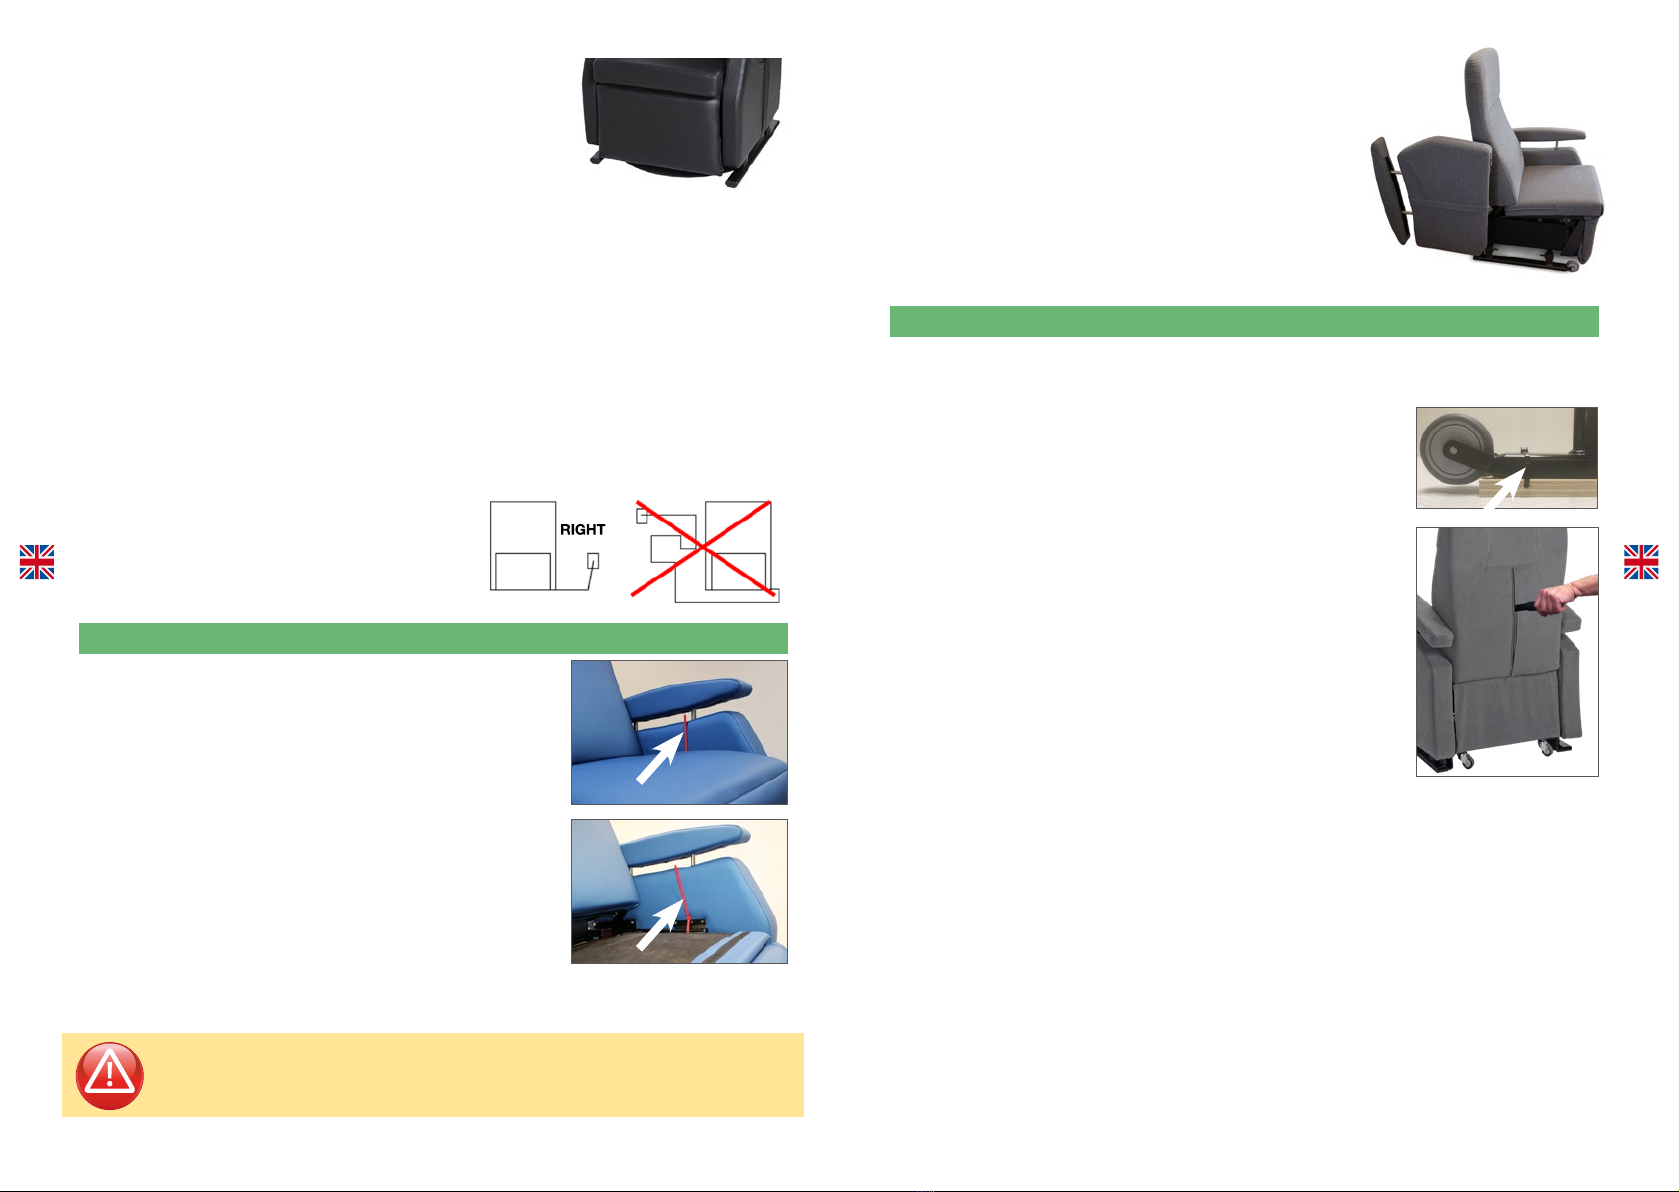
Transport
• If the Fitform ZEN Care Chair has a Vario wheel system, the armchair can be
easily moved indoors, with or without a person in it. When the armchair has to
be transported during a move, the armchair must be treated in the same way as
the other furniture that is being moved. Make sure that the armchair cannot shift
during transport.
• To reduce the risk of a possible imbalance, the chair should be positioned in an upright
position during transport.
• Wellco also advises that you put the chair slightly in its raised position.
• The armchair should never be transported with the legrest unfolded or with the backrest in
a reclining position.
• The armchair should never be transported when occupied by a person.
• Protect the armchair against extremely high or low temperatures, high air humidity
or other adverse weather conditions. For optimum protection against dust and dirt,
it is advisable to cover the armchair with a sheet.
• The armchair must be transported, used and stored in compliance with the following
conditions in order to maximise use of the product:
Storage temperature: -10 degrees Celsius to +50 degrees Celsius
Relative humidity: 20% to 80% (non-condensing)
Air pressure range: 700 hPa to 1060 hPa