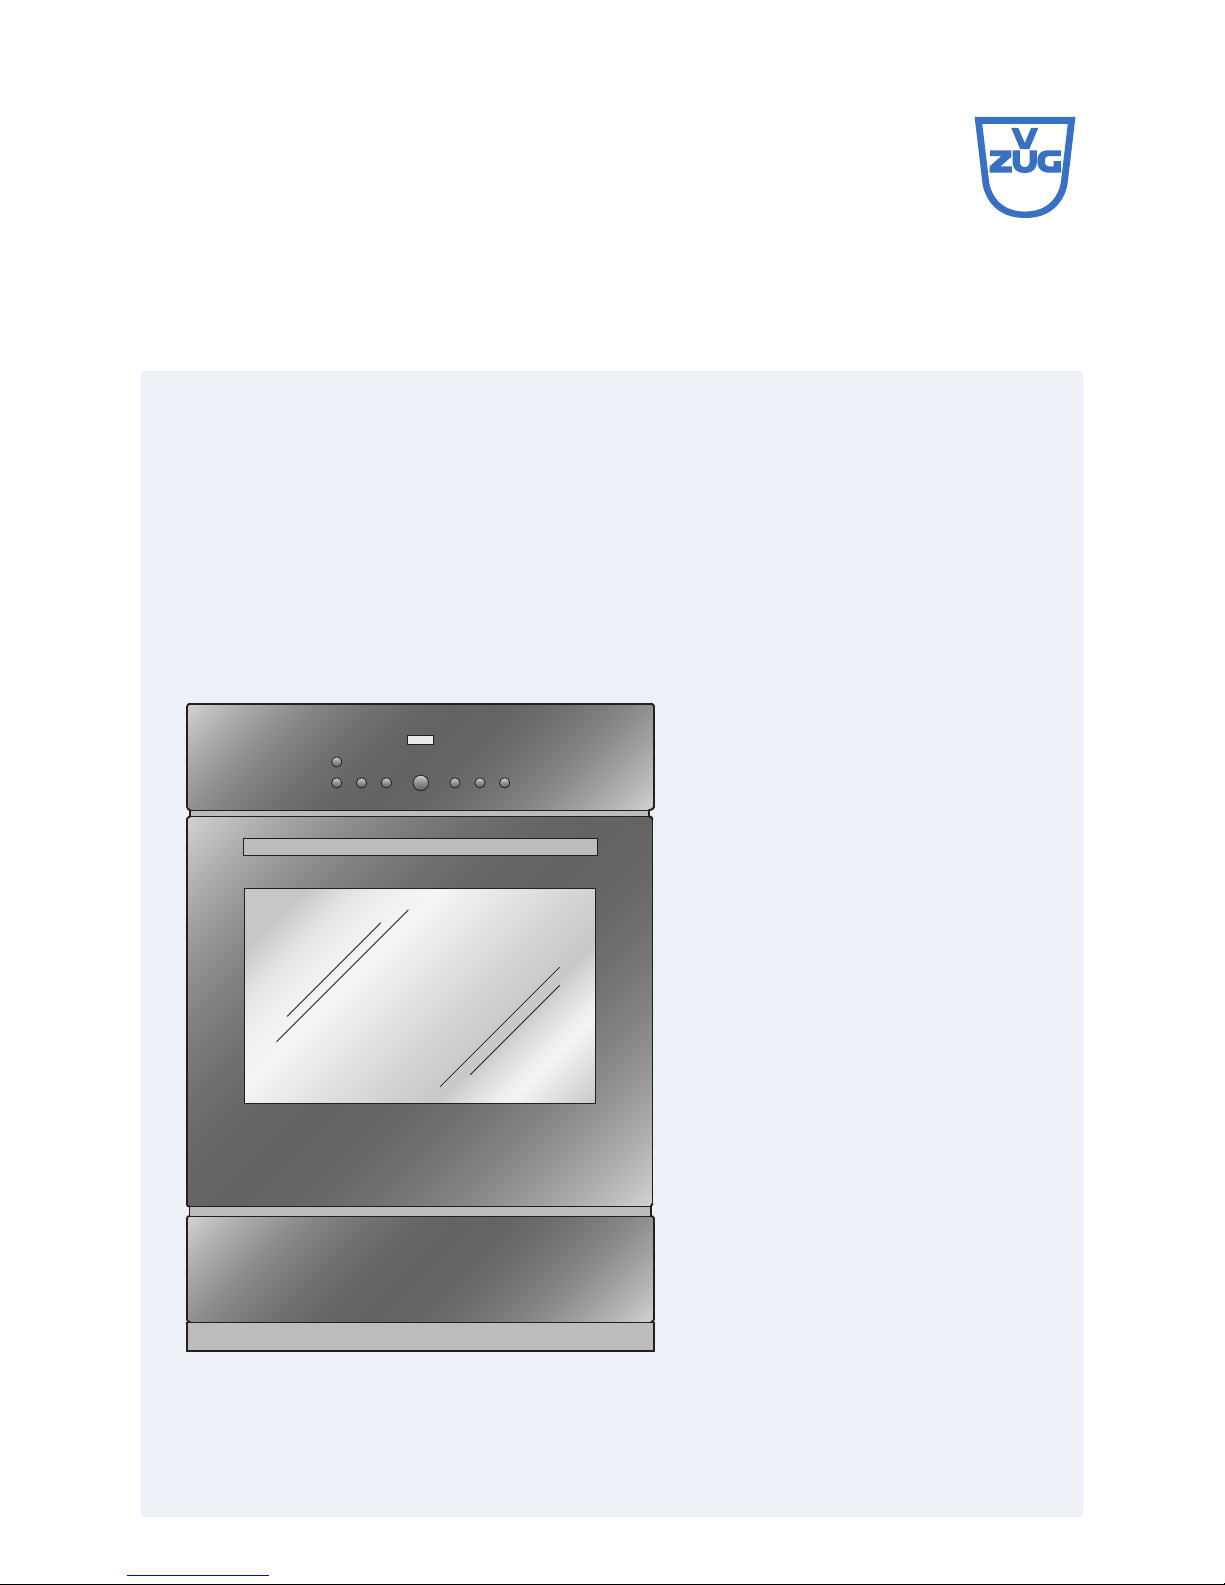
ZUG Combair SG Series User manual

V-ZUG Ltd
Oven
Combair SG
Operating instructions

Thank you for choosing to buy one of our products. Your appliance is made to
high standards and is easy to use. Nevertheless, please take the time to read
these operating instructions in order to familiarize yourself with the appliance
and get the best use out of it.
Please follow the safety precautions.
Modifications
Text, diagrams and data correspond to the technical standard of the appliance
at the time these operating instructions went to press. The right to make tech-
nical modifications for the purpose of the further development of the appliance
is reserved.
Validity
The product family (model number) corresponds to the first alphanumerics on
the identification plate. These operating instructions apply to:
Type Product family Size system
BCSG 21013 55-600/55-762
BCSG60 21014 60-600/60-762
Variations depending on the model are noted in the text.
© V-ZUG Ltd, CH-6301 Zug, 2014
2

Contents
1Safety precautions 6
1.1 Symbols used ......................................................................................... 6
1.2 General safety precautions .................................................................. 7
1.3 Appliance-specific safety precautions ............................................... 9
1.4 Instructions for use ................................................................................ 11
2Disposal 14
3Appliance description 15
3.1 Construction ............................................................................................ 15
3.2 Operating and display elements ......................................................... 16
3.3 Cooking space........................................................................................ 18
3.4 Accessories ............................................................................................. 19
4Operating the appliance 21
4.1 Operating the appliance using the buttons ....................................... 21
4.2 Before using for the first time .............................................................. 21
4.3 To select the operating mode .............................................................. 22
4.4 Selecting the cooking space temperature ........................................ 23
4.5 Checking and changing the cooking space temperature .............. 23
4.6 Changing the operating mode ............................................................. 23
4.7 Switching off ............................................................................................ 24
5User settings 25
5.1 Adjusting user settings .......................................................................... 25
5.2 Childproof lock ....................................................................................... 27
5.3 Time display ............................................................................................ 27
5.4 Time format ............................................................................................. 27
5.5 Acoustic signal ....................................................................................... 28
5.6 Temperature unit .................................................................................... 28
5.7 Factory settings ...................................................................................... 28
6Time functions 29
6.1 Available time functions ........................................................................ 29
6.2 Setting and changing the time ............................................................. 29
6.3 Timer ......................................................................................................... 29
6.4 Operating time ........................................................................................ 31
6.5 Delayed start ........................................................................................... 32
3

7Operating modes 35
7.1 Overview of operating modes .............................................................. 35
7.2 Top/Bottom heat .................................................................................... 35
7.3 Top/Bottom heat humid ........................................................................ 36
7.4 Bottom heat ............................................................................................. 36
7.5 Hot air ....................................................................................................... 37
7.6 Hot air humid .......................................................................................... 37
7.7 PizzaPlus .................................................................................................. 38
7.8 Grill ............................................................................................................ 38
7.9 Grill-forced convection .......................................................................... 39
7.10 Fast heating ............................................................................................. 39
8Tips and tricks 40
8.1 Baking and roasting .............................................................................. 40
8.2 Cakes ...................................................................................................... 40
8.3 Uneven browning ................................................................................... 41
8.4 Saving energy ......................................................................................... 41
9Heatable appliance drawer option 42
10 Care and maintenance 43
10.1 Cleaning the exterior ............................................................................. 43
10.2 Cleaning the door seal .......................................................................... 43
10.3 Cleaning the appliance door ................................................................ 44
10.4 Cleaning the accessories and shelf guides ...................................... 45
10.5 Cleaning the cooking space ................................................................ 45
10.6 Replacing the halogen light bulb ........................................................ 46
11 Trouble-shooting 47
11.1 Procedure ................................................................................................ 47
11.2 What to do if … ....................................................................................... 47
11.3 After a power failure .............................................................................. 50
12 Accessories and spare parts 51
12.1 Accessories ............................................................................................. 51
12.2 Special accessories ............................................................................... 51
12.3 Spare parts .............................................................................................. 52
13 Technical data 53
13.1 Note for testing institutes ...................................................................... 53
13.2 Measurement of the temperature in the cooking space ................ 53
13.3 Automatic energy-saving stand-by ...................................................... 53
4

15 Index 56
16 Repair service 59
5

1Safety precautions
1.1 Symbols used
Denotes important safety precautions.
Failure to observe said precautions can result in injury or in
damage to the appliance or fittings!
Information and precautions that should be observed.
Information on disposal
Information about the operating instructions
Indicates step-by-step instructions.
– Describes how the appliance reacts to the steps taken.
•Indicates a list.
6

1.2 General safety precautions
•Read the operating instructions before using
the appliance for the first time!
•This appliance can be used by children aged
8 and above and by persons with reduced
physical, sensory or mental capabilities, or
lack of experience and/or knowledge,
provided they are supervised or have been
instructed on the safe use of the appliance
and have understood the hazards involved.
Children shall not play with the appliance.
Cleaning and user maintenance shall not be
undertaken by children without supervision.
1 Safety precautions
7

•If an appliance is not equipped with a mains
cable and a plug or other means for discon-
necting from the mains with a contact opening
on each pole complying with the conditions of
overvoltage category III for full isolation, an
isolating device must be incorporated into the
permanently installed electrical installation in
accordance with the installation regulations.
•If the mains cable of this appliance is
damaged, it must be replaced by the manu-
facturer or its Customer Services or a similarly
qualified person in order to avoid hazard.
1 Safety precautions
8

1.3 Appliance-specific safety precautions
•READ THE IMPORTANT SAFETY PRECAU-
TIONS CAREFULLY AND RETAIN FOR
FUTURE USE.
•WARNING: The appliance and its accessible
parts get hot during use. Be careful not to
touch the heating elements. Children under 8
years of age must be kept away from the
appliance unless they are constantly super-
vised.
•WARNING: Accessible parts can get hot
during use. Keep young children away from
the appliance.
•This appliance is intended for use in the home
and similar settings such as: in staff kitchens
in shops, offices and other commercial estab-
lishments; in agricultural establishments; by
guests in hotels, motels and other accommo-
dation establishments; in bed and breakfast
establishments.
1 Safety precautions
9

•A heatable appliance drawer and its contents
get hot.
•Do not use aggressive or abrasive cleaning
agents or sharp metal scrapers for cleaning
the glass in the oven door as they could
scratch the surface. This can destroy the
glass.
•For appliances with pyrolytic self-cleaning:
Excessive soiling and any and all accessories
(tableware, baking trays, runners, shelf
guides) must be removed before carrying out
pyrolytic self-cleaning.
•Only use the food probe recommended for
this oven.
•Under no circumstances use a steam cleaner
to clean this appliance.
•WARNING: Before replacing the light bulb,
ensure the appliance is switched off and
disconnected from the mains power supply to
avoid possible electric shock.
•See the 'Accessories' section for the proper
use of insertable parts.
1 Safety precautions
10

1.4 Instructions for use
Before using for the first time
•The appliance must be installed and connected to the electricity supply in
accordance with the separate installation instructions. Have a qualified fitter/
electrician carry out the necessary work.
Correct use
•The appliance is designed for use in the home for preparing food. Under no
circumstances flambé or cook food using a lot of fat in the cooking space!
No liability is assumed for any damage caused by improper use or incorrect
handling.
•Never use the appliance to dry animals, textiles or paper, etc.
•Do not use the appliance as a room heater.
•The appliance should only be installed and operated at an ambient temper-
ature of 5 °C to 35 °C.
•Any repairs, modifications or manipulations to the appliance, especially any
electrically live parts, may only be carried out by the manufacturer, its
Customer Services or a similarly qualified person. Repairs if carried out
incorrectly may cause serious injury, damage to the appliance and fittings,
as well as affect the functioning of the appliance. If the appliance is not
working properly or in case of a repair order, follow the instructions given in
the «Repair Service» section. Please contact our Customer Services if
necessary.
•Use original spare parts only.
•Retain these operating instructions for future reference.
•The appliance corresponds to recognised technology standards and the
relevant safety regulations. Proper use of the appliance is essential to avoid
damage and accidents. Please therefore follow the precautions given in
these operating instructions.
1 Safety precautions
11

Note on use
•Use the childproof locking facility.
•If the appliance is visibly damaged, do not use it. Contact our Customer
Services.
•If the appliance is not operating properly, disconnect it from the power
supply immediately.
•Ensure there are no foreign bodies or pets in the cooking space before
closing the appliance door.
•Objects that could pose a danger if the appliance were accidentally
switched on should not be stored in the cooking space or the heatable
appliance drawer. Do not store food or any temperature-sensitive or inflam-
mable materials, e.g. cleaning agents, oven sprays, etc., in the cooking
space or the heatable appliance drawer.
•For appliances with grill: leave the appliance door closed when grilling. The
heat could otherwise damage the operating and display elements or the
fitted units above.
Caution: Risk of burns!
•The appliance gets very hot when in use. The appliance door also gets hot.
•Steam and/or hot air may escape from the cooking space when the appli-
ance door is opened.
•The appliance will remain hot for some time after it is switched off and will
only cool down slowly to room temperature. Allow sufficient time for the
appliance to cool down before, for instance, cleaning it.
•Overheated fat and oil can easily catch fire. Heating oil in the cooking
space to sear meat is dangerous and should not be done. Never attempt to
extinguish burning oil or fat with water. Danger of explosion! Smother the
flames with a fire blanket. Keep doors and windows closed.
•Do not pour spirits (brandy, whisky, schnapps, etc.) over hot food. Danger
of explosion!
•Do not leave the appliance unattended when drying herbs, bread, mush-
rooms, etc. If the foodstuff dries out too much, it can pose a fire hazard.
•If you notice smoke possibly coming from the appliance itself or from inside
the cooking space, keep the appliance door closed. Disconnect the appli-
ance from the power supply.
•Accessories get hot in the cooking space. Use protective gloves or oven
cloths.
1 Safety precautions
12

Caution: Risk of injury!
•Be careful not to put fingers in the door hinges, there is otherwise a risk of
injury if the appliance door is moved. Particular care should be taken when
children are around.
•Only leave the appliance door open in the at-rest position. An open appli-
ance door poses a danger of tripping or injury! Do not sit or rest on the
appliance door or use it as a storage surface.
•For hobs: a hob guard can be fitted to protect small children. Hob guards
are available from specialist retailers.
Caution: Risk to life!
•Danger of suffocation! Keep packaging material, e.g. plastic film and poly-
styrene, away from children. Packaging material can be dangerous for chil-
dren.
How to avoid damaging the appliance
•Close the appliance door carefully.
•For appliances with visible bottom heating element: do not place any
objects directly on the bottom heating element.
•Do not use protective aluminium inserts with appliances with no visible
bottom heating element.
•Do not use objects that can rust in the cooking space.
•Using knives or cutting wheels on the baking tray will visibly damage the
surface.
•To prevent corrosion, leave the appliance door open in the at-rest position
until the cooking space has cooled down.
•When cleaning the appliance, make sure no water gets inside it. Use a
moderately damp cloth. Do not spray the outside or the inside of the appli-
ance with water. If water gets inside the appliance, it will cause damage.
1 Safety precautions
13

2Disposal
Packaging
•All packaging materials (cardboard, plastic film (PE) and polystyrene (EPS))
are marked and should, if possible, be collected for recycling and disposed
of in an environmentally friendly way.
Disconnection
•Disconnect the appliance from the mains. With a fixed appliance, this is to
be carried out by a qualified electrician!
Safety
•Disable the appliance to prevent accidents caused by improper use, espe-
cially through children playing.
•Pull the plug out of the mains socket or have the appliance disconnected
from the mains by an electrician. Then cut the mains cable off flush with the
appliance.
•Remove or disable the lock on the appliance door.
Disposal
•The old appliance should not be discarded as worthless rubbish. If
disposed of correctly, the raw materials can be recovered for recycling.
•The symbol on the identification plate warns that the appliance may not
be disposed of in normal household waste.
•The appliance must be disposed of in accordance with local regulations on
waste disposal. For more information on the handling, disposal and recy-
cling of the product, please contact the local authorities, the local recycling
facilities for household waste or the retailer from whom you purchased the
appliance.
14

3Appliance description
3.1 Construction
1
2
3
4
5
1Operating and display elements
2Ventilation opening
3Door handle
4Appliance door
5Appliance drawer/Heatable appliance drawer *
* Depending on model
15

3.2 Operating and display elements
Digital displays
Temperature Time
Operating time
Switch-off time
Timer
Operating mode symbols
Top/Bottom heat Top/Bottom heat humid
Bottom heat Hot air
Hot air humid PizzaPlus
Grill Grill-forced convection
3 Appliance description
16

Symbols
Heatable appliance drawer* Cooking space temperature
Timer Operating time
Switch-off time Time
Buttons
Heatable appliance drawer* Illumination
Cooking space temperature Operating mode
Adjusting knob Timer
Time
Operating time
Switch-off time
Off
* Depending on model
3 Appliance description
17

3.3 Cooking space
Using protective inserts or aluminium foil can damage the appli-
ance!
Do not place any protective insert or aluminium foil on the floor of
the cooking space.
4
3
1
2
3
4
2
1
8
5
7
6
1Appliance door 5Cooking space ventilation
2Door seal 6Grill/Top heat
3Illumination 7Cooking space temperature sensor
4Hot air fan 8Levels (labelled)
The bottom heating element is beneath the cooking space floor.
3 Appliance description
18

3.4 Accessories
Incorrect handling can cause damage!
Do not use knives or cutting wheels to cut food on the accesso-
ries.
Baking tray
•Baking tin for flans and biscuits
•Use together with the wire shelf as a drip tray
•If not fully covered by the baking, its shape can
become distorted during baking. This is normal. As
it cools down, it will go back to its original form.
1
Ensure that the «sloped» side 1of the baking tray is
facing the back of the cooking space.
Only use the normal way round – not upside down.
Wire shelf
1
•For standing roasting and baking tins on
•For standing meat, frozen pizza, etc. on
Ensure that the cross bar 1 is facing the back of the
cooking space. It enables the food to be removed
safely from the cooking space.
•Serves as a cooling rack
3 Appliance description
19

Special accessories
Place any accessories not included in the scope of delivery on the
wire shelf.
•Special accessories can be found at:
www.vzug.com
3 Appliance description
20
Other manuals for Combair SG Series
1
This manual suits for next models
2
Table of contents
Other ZUG Oven manuals