2 Installing and Connecting the NIC
4
Pre-Installation Checklist
1Check that your system meets the hardware and software requirements listed
under “Hardware Requirements” in the previous section.
2Verify that your system is using the latest BIOS.
3Review the information in the readme.txt file on the 3Com Installation CD for
important information not available at the time this user guide was created.
4If your system is active, shut it down.
5When shut down is complete, turn the power off and unplug the system.
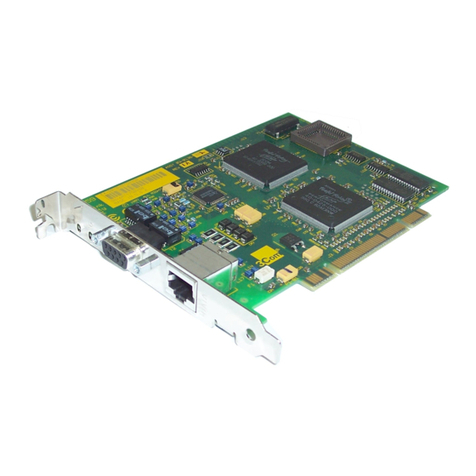
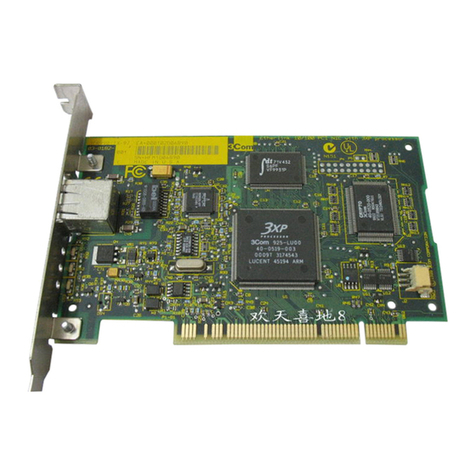
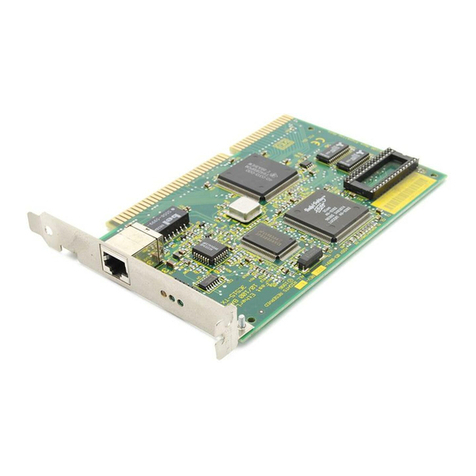
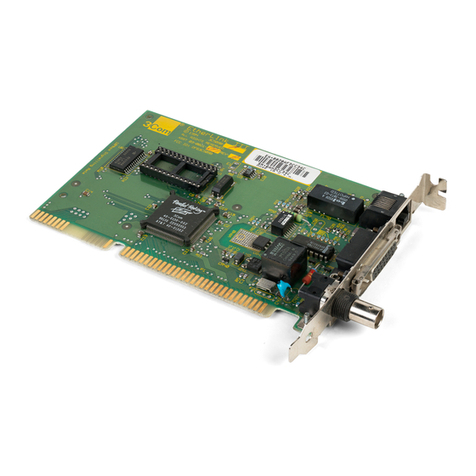
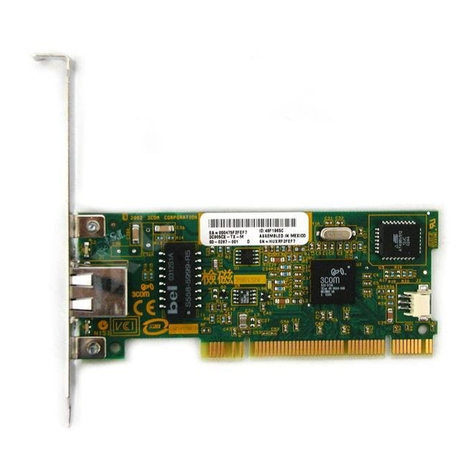
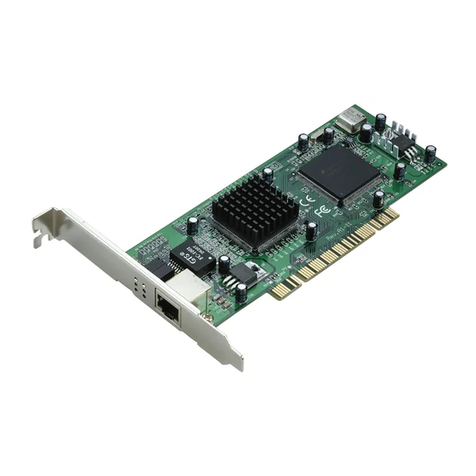
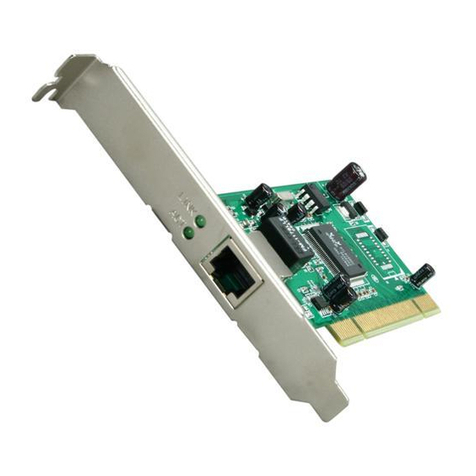
6Holding the NIC card by the edges, remove it from its shipping package and place
it on an anti-static surface.
7Check the NIC for visible signs of damage, particularly on the edge connector.
Never attempt to install any damaged NIC. If the NIC is damaged, report it to your
supplier.
Installing the NIC
1Review the safety precautions and pre-installation checklist.
2Before installing the NIC, ensure the system power is off, the system is unplugged
from the power outlet, and that proper electrical grounding procedures have been
followed.
3Remove the system cover, and select any empty PCI slot. If you do not know how
to identify a PCI slot, refer to your system documentation.
4Remove the blank cover plate from the slot that you selected.
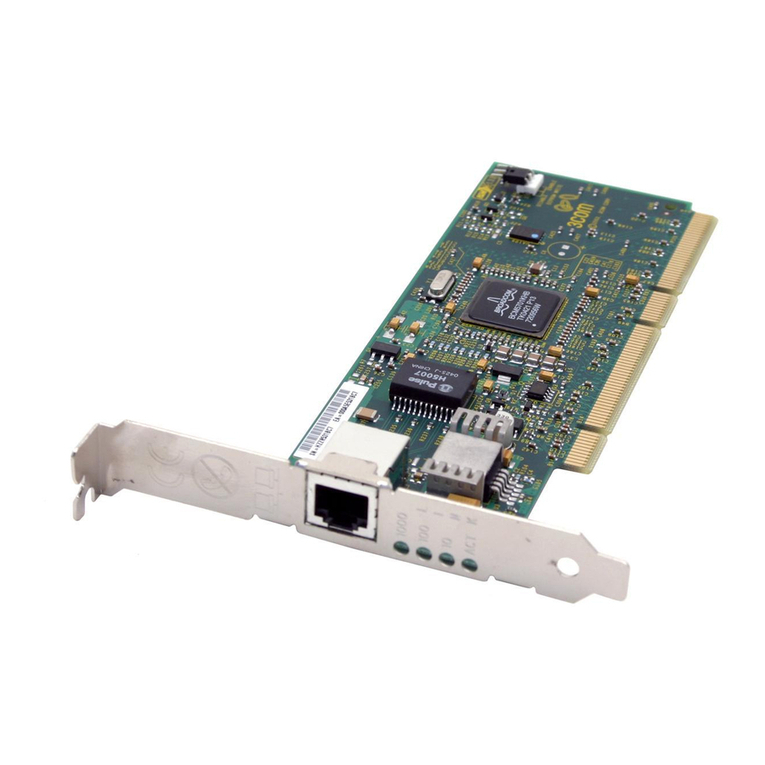
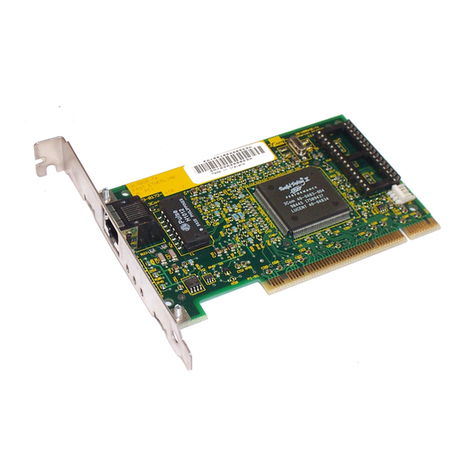
5Holding the NIC by the edges, align the connector edge of the NIC with the PCI
connector dock.
6Applying even pressure at both corners of the NIC, push the NIC until it is firmly
seated in the PCI slot.
When properly seated, the port connector on the NIC will be aligned with the slot
opening, and its faceplate will be flush against the system chassis.
7Secure the NIC in the PCI slot.
8Replace the system cover, disconnect any personal anti-static devices, and plug
the system back in.
9Turn the system power on.
After the system returns to normal operation, the NIC hardware is fully installed.
The next step is to connect the network cable.
CAUTION: Do not use excessive force when seating the NIC, as this may
damage the system or the NIC. If the NIC resists seating, remove it from the
system, realign it, and try again.
