Aaware AEV13MZ User manual

AawareAEV13MZFar-FieldVoiceandSoundCapture
QuickstartGuide
PoweringUp
Connect micro-USB cable to the JTAG-UART USB port (J2) as shown in figure 1, and the other side to a
PC/laptop (see figure 2). If you do not need access to the terminal (i.e. WiFi is setup), a USB battery can
also be used as the power source, and alternately plugged into the MiniZed AUX-PWR USB port (J6).
Figure 1: Power via UART-JTAG USB
Far-FieldVoiceAssistantOperation
Upon power up and boot, the platform will go into voice-assistant mode and start listening for voice
commands based on the Wakeword "Alexa" (or optionally both "Alexa" and "Ok Google"). An LED will
blink in the direction of the detected WakeWord, and noise/interferrence suppressed audio will be
captured from that direction. See the User Guide for more details.
Figure 2: Aaware Wakeword Directional LED Blink

BasicLinuxFeaturesandAdministration
TerminalConnection
If you have connected the USB port to a laptop/USB, then you can use terminal software to log into the
Aaware embedded Linux environment. The terminal serial settings must be 115200,8N1 (115200 baud
rate, 8-bit, no parity bits, 1 stop bit). Once connected you will be logged in as root and will see a linux
prompt:
portis:/dev/ttyUSB1
...
Terminalready
root@aawmz1:~#uname-a
Linuxaawmz14.4.0-aawos+#1SMPPREEMPTFriNov321:28:18PDT2017armv7larmv7larmv7lGNU/Linux
root@aawmz1:~#
...
Note: you will automatically be logged in as root user.
WiFiSetup
The Aaware Linux platform is setup with a network WiFi interface as wlan0, as shown by the ifconfig
command below.
root@aawmz1:~#ifconfig
loLinkencap:LocalLoopback
inetaddr:127.0.0.1Mask:255.0.0.0
inet6addr:::1/128Scope:Host
UPLOOPBACKRUNNINGMTU:65536Metric:1
RXpackets:0errors:0dropped:0overruns:0frame:0
TXpackets:0errors:0dropped:0overruns:0carrier:0
collisions:0txqueuelen:0
RXbytes:0(0.0B)TXbytes:0(0.0B)
wlan0Linkencap:EthernetHWaddre0:e5:cf:00:fb:93
inetaddr:192.168.0.102Bcast:192.168.0.255Mask:255.255.255.0
inet6addr:fe80::e2e5:cfff:fe00:fb93/64Scope:Link
UPBROADCASTRUNNINGMULTICASTMTU:1500Metric:1
RXpackets:200errors:0dropped:0overruns:0frame:0
TXpackets:27errors:0dropped:0overruns:0carrier:0
collisions:0txqueuelen:1000
RXbytes:41146(41.1KB)TXbytes:3842(3.8KB)
root@aawmz1:~#
To set this up for your own basic WiFi network, you can follow the steps below. For networks with more

complex security or more details on wpa_supplicant, some good starting points are:
https://wiki.archlinux.org/index.php/WPA_supplicant
http://manpages.ubuntu.com/manpages/trusty/man5/wpa_supplicant.conf.5.html
https://wiki.debian.org/WiFi/HowToUse
Basic WiFi setup steps:
1. Add your network to /etc/wpa_supplicant.conf using a text editor of choice (vi/vim is available on the
platform). An example entry is shown below for a standard password protected network, just change
the placeholder parameters like myssid to your real network values.
root@aawmz1:~#vim/etc/wpa_supplicant.conf
#####wpa_supplicantconfigurationfile#####
ctrl_interface=/var/run/wpa_supplicant
ctrl_interface_group=netdev
update_config=1
network={
auth_alg=OPEN
key_mgmt=WPA-PSK
psk="mypassword"
ssid="myssid"
proto=RSN
mode=0
}
...
1. Optionally you can protect your access point password using wpa_passphrase, and use the result
psk in wpa_supplicant.conf instead of having the real password:
root@aawmz1:~$wpa_passphrasemyssidmypasswd
network={
ssid="myssid"
#psk="mypasswd"
psk=e39d75850c60012e6164b936d1fcfc3b5c96119026210727ba79081a9f4f8e85
}
1. Rescan for networks using the iw wlan0 scan command. This should automatically connect to your
interface if it is in range.
root@aawmz1:~#iwwlan0scan|grepSSID
SSID:NETGEAR05
SSID:familyabchome
SSID:TurnKeyVacationRentals
...

Stop/Start/RestartWiFiInterface
The standard ifdown, ifup, ifconfig commands will work for stopping and starting the WiFi interface.
root@aawmz1:~#ifdownwlan0
root@aawmz1:~#ifconfig
wlan0Linkencap:EthernetHWaddre0:e5:cf:00:fb:93
UPBROADCASTMULTICASTMTU:1500Metric:1
RXpackets:509errors:0dropped:0overruns:0frame:0
TXpackets:54errors:0dropped:0overruns:0carrier:0
collisions:0txqueuelen:1000
RXbytes:105161(105.1KB)TXbytes:7684(7.6KB)
...
root@aawmz1:~#ifupwlan0
TheAdministrativeUser:aawadm
For nearly all use cases, one should operate as a non-root user. For the Aaware platform, the sound
capture administrator user aawadm is the recommended account for using the platform. The default
passwd is admaaw17.
RemoteLoginwithssh
Once WiFi is up, use secure shell to login as aawadm:
[laptop@vmel6~]$ssh[email protected]
[email protected]'spassword:
WelcometoUbuntu14.04(GNU/Linux4.4.0-aawos+armv7l)
*Documentation:http://www.ubuntu.com
Lastlogin:ThuAug1000:53:022017from192.168.0.106
aawadm@aawmz1:~$
InstallingLinuxApplications
The AEV13MZ provides a standard Ubuntu 14.04 environment with applications available via the Ubuntu
repositories. Simply use apt-get to install your favorite applications or development tools. Many of the
most popular development environments like Python2 and 3 are already installed.
aawadm@aawmz1:~$sudoapt-getinstallpython
[sudo]passwordforaawadm:
Readingpackagelists...Done
Buildingdependencytree
Readingstateinformation...Done
pythonisalreadythenewestversion.
pythonsettomanuallyinstalled.
0upgraded,0newlyinstalled,0toremoveand4notupgraded.

VoiceApplicationDevelopmentandSupport
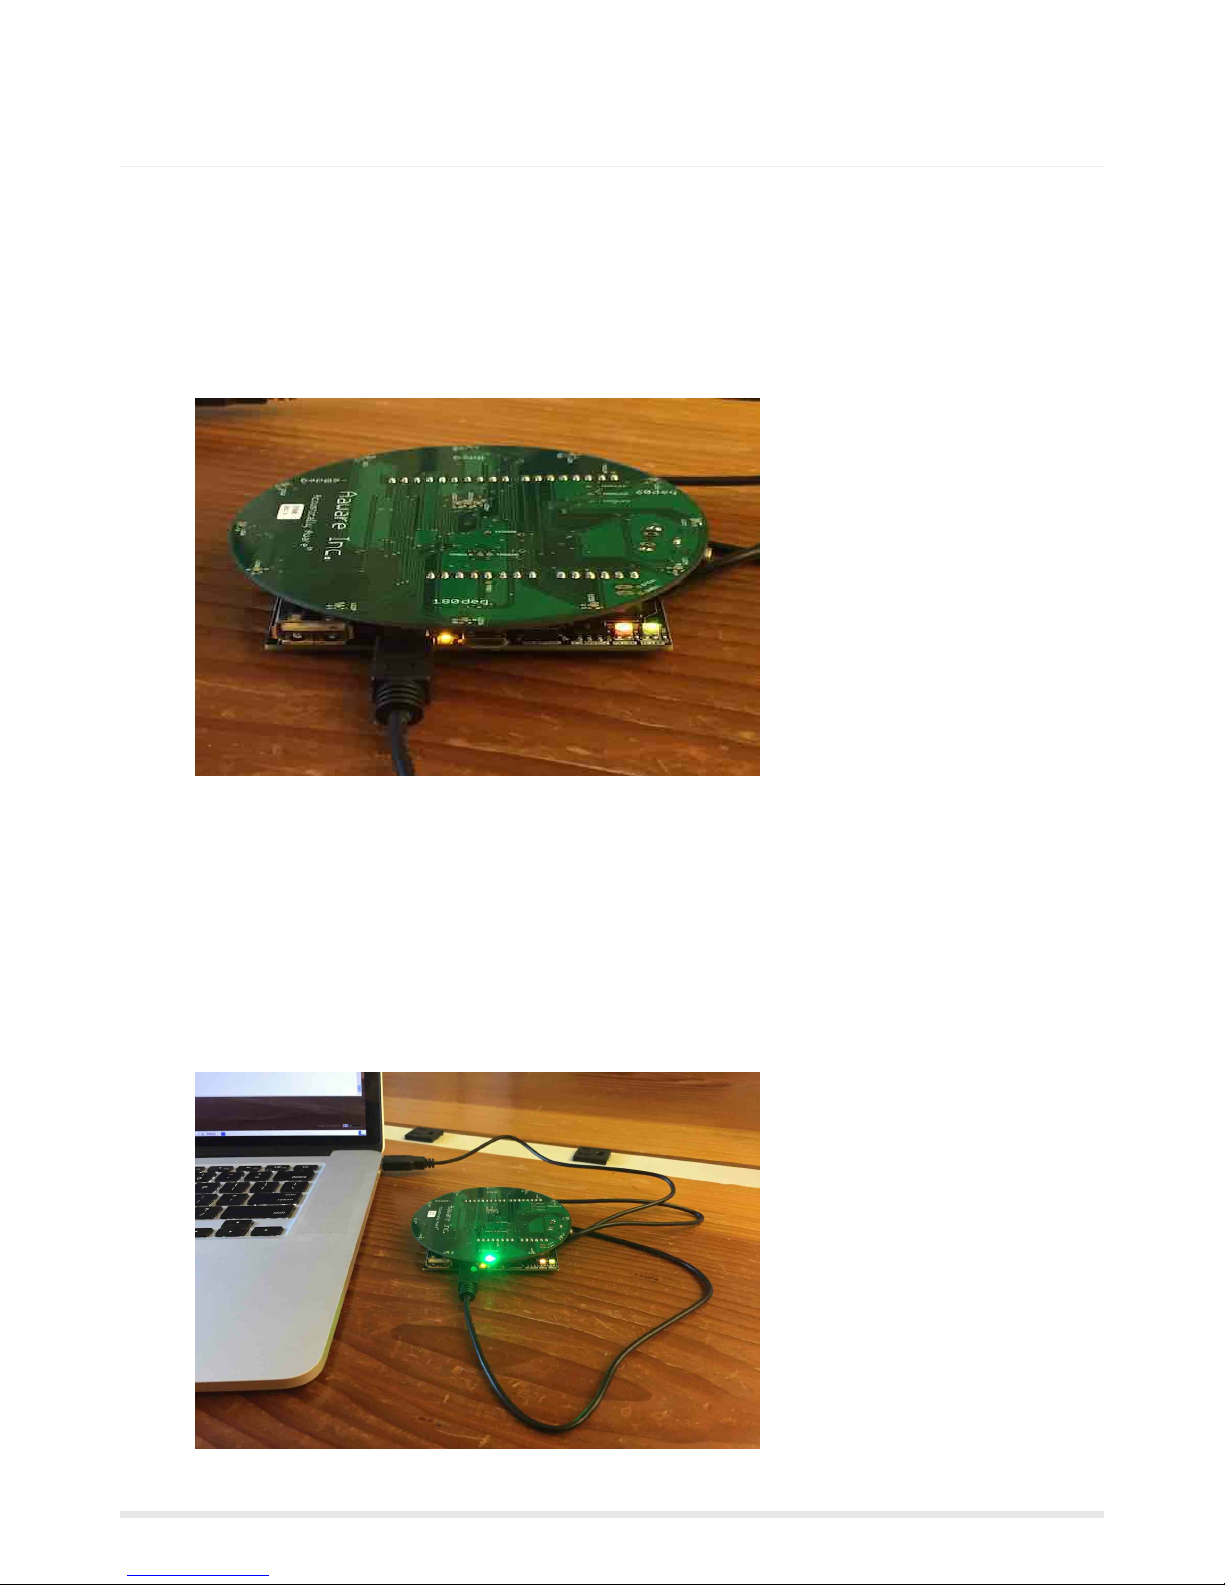
The AEV13MZ platform is a fully integrated far-field voice/sound capture solution ready for voice
application development and is designed for exploration of various configurations.
Standard ALSA (Advanced Linux Sound Architecture) interfaces are provide to deliver "clean" audio
following a wakeword (i.e. after "Alexa" or "OK Google" is spoken). This provides a familiar programming
interface that supports a variety of voice application frameworks like Google Assistant and Amazon Voice
Services. Please see the User Guide for details on how use the API to bring up various voice assistant
frameworks, play audio, and develop your own voice applications.
The default microphone array configuration uses all 13 microphones included on the Aaware board, but is
easily re-configured use a 7-mic subset. Other configurations are possible. See the User Guide on how to
switch configurations. Other array configurations and algorithm customization is possible. Please contact
your Aaware representative for details on algorithm customization.
UserGuideIncludedonAEV13MZ
The User Guide is included on the AEV13MZ in directory /home/aawadm/aev13mz-userguide-vxxx.pdf.
Updates are available by contacting Aaware support.
CommunitySupport
General support for the MiniZed is avialable at: http://zedboard.org/forums/zed-english-forum
and there is an Aaware Voice Kit thread available here: http://zedboard.org/forums/aaware-voice-kit
Contact Aaware Inc. at: support@aaware.com
ver: aev13mz-v1.0
Table of contents