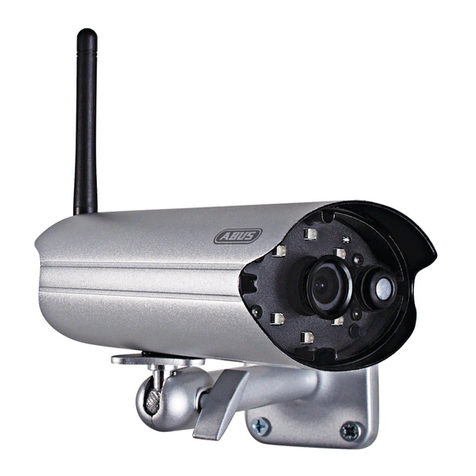
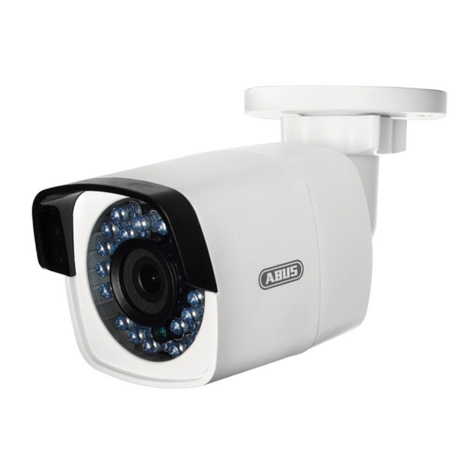
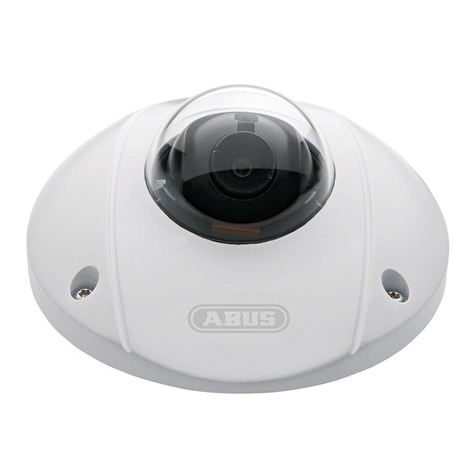
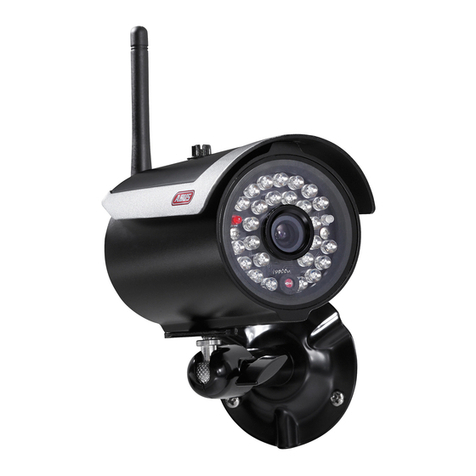
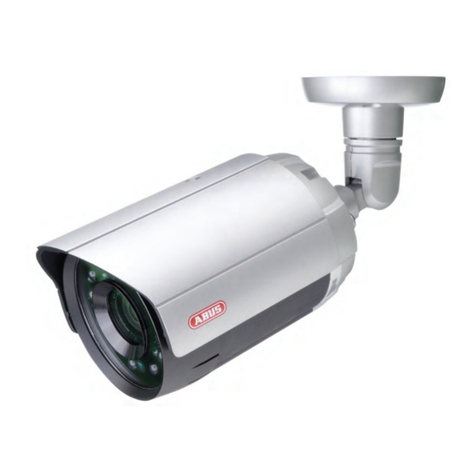
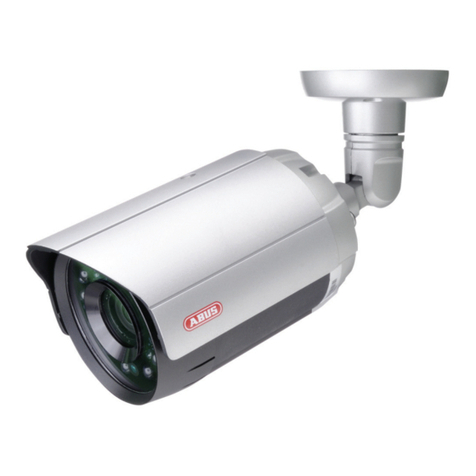
Abus IPCB42500 User manual

IPCB42500 / IPCB42550
User manual
Software
Version 11/2015
English translation of the original German user manual. Retain for future reference.
IPCB42500
IPCB42550

58
Introduction
Dear Customer,
Thank you for purchasing this product.
This device complies with the requirements of the applicable EU directives. The
declaration of conformity
can be obtained from:
ABUS Security-Center GmbH & Co. KG
Linker Kreuthweg 5
86444 Affing
GERMANY
To ensure this condition is maintained and that safe operation is guaranteed, it is your obligation
to observe this user manual.
Please read the entire user manual carefully before putting the product into operation, and pay
attention to all operating instructions and safety information.
All company names and product descriptions are trademarks of the corresponding owner.
All rights reserved.
If you have any questions, please contact your specialist installation contractor or
specialist dealer.
Disclaimer
This user manual has been produced with the greatest of care. Should you discover any
missing information or inaccuracies, please let us know about them.
ABUS Security-Center GmbH & Co. KG does not accept any liability for technical and
typographical errors, and reserves the right to make changes to the product and user manuals
at any time and without prior warning.
ABUS Security-Center GmbH is not liable or responsible for any direct or indirect damage
resulting from the installation, performance and use of this product. No guarantee is made for
the contents of this document.

59
Important safety information
All guarantee claims are invalid in the event of damage caused by non-compliance
with this user manual. We cannot be held liable for resulting damage.
We cannot be held liable for material or personal damage caused by improper
operation or non-compliance with the safety information. All guarantee claims are
void in such cases.
Dear Customer,
The following safety information and hazard notes are not only intended to protect your health but
also to protect the device from damage. Please read the following points carefully:
There are no components inside the product that require maintenance by the operator. Opening or
dismantling the product invalidates the CE certification and guarantee claims/warranty.
The product may be damaged if it is dropped, even from a low height.
Avoid the following adverse conditions during operation:
Moisture or excess humidity
Extreme heat or cold
Direct sunlight
Dust or flammable gases, vapours or solvents
Strong vibrations
Strong magnetic fields (e.g. next to machines or loudspeakers)
The camera must not be installed on unstable surfaces.
General safety information:
Do not leave packaging material lying around. Plastic bags, sheeting, polystyrene packaging, etc.
can pose a danger to children if played with.
The video surveillance camera contains small parts which could be swallowed and must be kept
out of the reach of children for safety reasons.
Do not insert any objects into the device through the openings.
Only use replacement devices and accessories that are approved by the manufacturer. Do not
connect any non-compatible products.
Please pay attention to the safety information and user manuals for the other connected devices.
Check the device for damage before putting it into operation. Do not put the device into operation if
you identify any damage.
Adhere to the normal voltage limits specified in the technical data. Higher voltages could destroy
the device and pose a health risk (electric shock).
When installing the device in an existing video surveillance system, ensure that all devices
have been disconnected from the mains power circuit and low-voltage circuit.
If in doubt, have a specialist technician carry out assembly, installation and connection of the
device. Improper or unprofessional work on the power supply system or domestic installation
puts both you and other persons at risk.
Connect the installations so that the mains power circuit and low-voltage circuit always run
separately
from each other. They should not be connected at any point or become connected as a
result of a malfunction.

60
Contents
1. INTENDED USE................................................................................................................... 62
2. EXPLANATION OF SYMBOLS ........................................................................................... 62
3. FEATURES AND FUNCTIONS............................................................................................ 63
4. INITIAL START-UP.............................................................................................................. 64
4.1 USING THE ABUS IP INSTALLER FOR CAMERA SEARCH .......................................................... 64
4.2 ACCESSING THE NETWORK CAMERA USING A WEB BROWSER.................................................. 65
4.3. GENERAL INSTRUCTIONS FOR USING THE SETTINGS PAGES ................................................... 65
4.4 INSTALLING A VIDEO PLUGIN .................................................................................................. 65
4.5 HOMEPAGE (LOGIN PAGE) ..................................................................................................... 67
4.6 USER ACCOUNTS AND PASSWORDS ....................................................................................... 68
4.7 LINKING UP THE CAMERA WITH ABUS VMS/ABUS VMS EXPRESS......................................... 69
4.8 LINKING UP THE CAMERA WITH ABUS NVR/ABUS HYBRID DVR............................................ 69
4.9 LINKING UP THE CAMERA TO IPCAM....................................................................................... 69
5. USER MENU "USER".......................................................................................................... 70
6. VIEW AND CONFIGURATION MENU USER "MASTER" .................................................. 72
6.1 ADD/CHANGE/DELETE USERS ................................................................................................ 74
6.2 DEACTIVATE/ACTIVATE INSTALLER ACCESS............................................................................ 74
6.3 LOCAL CONFIGURATION ........................................................................................................ 75
6.4 DISPLAYING/DOWNLOADING VIDEO FROM THE INTERNAL MEMORY........................................... 76
7. VIEW AND CONFIGURATION MENUS USER "INSTALLER"........................................... 78
7.1 LIVE VIEW............................................................................................................................. 78
7.2 HELP PAGE........................................................................................................................... 78
7.3 INFO PAGE............................................................................................................................ 78
7.4 SETUP WIZARD ..................................................................................................................... 80
7.5 ADVANCED CAMERA SETTINGS .............................................................................................. 81
7.5.1 VIDEO ............................................................................................................................... 81
7.5.1.1 IMAGE ............................................................................................................................ 81
7.5.1.2 PRIVACY MASKING .......................................................................................................... 82
7.5.1.3 VIDEO STREAM ............................................................................................................... 83
7.5.2 NETWORK ......................................................................................................................... 84
7.5.2.1 IPV4/IPV6SETTINGS....................................................................................................... 84
7.5.2.2 PORTS ........................................................................................................................... 85
7.5.2.3 DDNS............................................................................................................................ 86
7.5.2.4 PPPOE .......................................................................................................................... 86
7.5.2.5 SNMP............................................................................................................................ 87
7.5.2.6 QOS .............................................................................................................................. 87
7.5.2.7 FTP ............................................................................................................................... 88
7.5.2.8 WI-FI (ONLY IPCB42550) ............................................................................................... 89
7.5.2.9 UPNP ............................................................................................................................ 90
7.5.2.10 SMTP/EMAIL................................................................................................................ 90
7.5.2.11 NAT............................................................................................................................. 91
7.5.2.12 HTTPS ........................................................................................................................ 91
7.5.3 SECURITY.......................................................................................................................... 92
7.5.3.1 IP ADDRESS FILTER......................................................................................................... 92
7.5.3.2 AUTHENTICATION............................................................................................................ 92
7.5.3.3 SECURITY SERVICE SETTINGS ......................................................................................... 92
7.5.4 OSD ................................................................................................................................. 93
7.5.5 DATE &TIME...................................................................................................................... 94
7.5.6 SYSTEM ............................................................................................................................ 95
7.5.6.1 GENERAL ....................................................................................................................... 95

61
7.5.6.2 FIRMWARE/RESET .......................................................................................................... 96
7.5.6.3 LOG FILE ........................................................................................................................ 96
7.5.7 EVENTS............................................................................................................................. 97
7.5.7.1 MOTION DETECTION........................................................................................................ 97
7.5.7.2 ALARM INPUT (ONLY IPCB42550) ................................................................................... 98
7.5.7.3 ALARM OUTPUT (ONLY IPCB42550) ................................................................................ 98
7.5.8 ALARM MANAGER............................................................................................................... 99
7.5.9 RECORDING ...................................................................................................................... 99
7.5.9.1 RECORDING SCHEDULE................................................................................................. 100
7.5.9.2 STORAGE MANAGEMENT ............................................................................................... 100
7.5.9.3 NAS............................................................................................................................. 100
7.5.9.4 SNAPSHOT ................................................................................................................... 101
7.5.10 AUDIO ........................................................................................................................... 102
7.5.11 INSTALLER..................................................................................................................... 103
7.5.12 SERVICE........................................................................................................................ 103
7.5.13 LOCAL CONFIGURATION ................................................................................................. 104
8. MAINTENANCE AND CLEANING..................................................................................... 105
8.1 FUNCTION TEST .................................................................................................................. 105
8.2 CLEANING .......................................................................................................................... 105
9. DISPOSAL ......................................................................................................................... 105

62
1. Intended use
This camera is used for indoor and outdoor video surveillance (depending on the model) in
conjunction with a recording device or appropriate display unit (e.g. PC).
Use of this product for any other purpose than that described may lead to damage
to the product and other hazards. All other uses are not as intended and will result
in the invalidation of the product guarantee and warranty. No liability can be
accepted as a result. This also applies to any alterations or modifications made to
the product.
Read the user guide carefully and in full
before putting the product into operation. The user guide contains
important information on installation and operation.
2. Explanation of symbols
The triangular high voltage symbol is used to warn of the risk of
injury or health hazards (e.g. caused by electric shock).
The triangular warning symbol indicates important notes in this user manual which
must be observed.
This symbol indicates special tips and notes on the operation of the device.
This user manual describes the software functions in the
camera browser interface. For information about how to
install the hardware for the respective camera, please read
the quick start manual or the hardware installation manual, if
you have it.
You can download a PDF version of the user manuals in your
language at www.abus.com via the product search.

63
3. Features and functions
WDR DWDR IR, infrared WLAN
IPCB42500 - √√-
IPCB42550 - √√√

64
4. Initial start-up
4.1 Using the ABUS IP Installer for camera search
Install and start up the ABUS IP Installer using the enclosed software CD (or alternatively using
the ABUS website www.abus.com, available for each respective product).
The IP camera should now appear in the selection list without the relevant IP address for the
target network, where appropriate. The IP settings for the camera can be changed using the IP
installer.
The language preference for the camera can also be changed using the ABUS IP installer. This
will change the language preference for the master and installer users at the same time (for an
explanation of master/installer, see chapter "User accounts and passwords"). Individual language
preferences can be amended in the settings menus for master and installer.
Please be aware, that the language preference for the camera homepage is set
automatically depending on the operating system language preference. If this
language is not available in the camera, the homepage will be shown in English.
Using the "Browser" button, a previously selected camera can be opened directly in the internet
browser (the default browser for Windows will be used).

65
4.2 Accessing the network camera using a web browser
Enter the camera IP address into the address bar in the browser (if a different HTTP Port is used
in Internet Explorer you must also enter "http://“ before the IP address.)
4.3. General instructions for using the settings pages
Functional element Description
Save settings that have been made on the page.
Please note that the new settings will only apply after the
save button has been pressed.
Function activated
Function deactivated
List selection
Input field
Slide control
4.4 Installing a video plugin
Internet Explorer
A plugin called ActiveX is used for displaying videos in Internet Explorer. This plugin must be
installed in the browser. You will be asked to confirm the installation directly after entering your
username and password (default: master/master).
If the ActiveX Plugin installation is blocked by Internet Explorer, you will need
to reduce your security settings to install/initialise ActiveX.

66
Mozilla Firefox
A plugin is used to display videos in Mozilla Firefox. You will be asked to confirm the installation
directly after entering your username and password (default: master/master or installer/installer).
Google Chrome
Note relating to Google Chrome (older versions up to Version 42): the video
plugin is only supported by the Windows version of the Google Chrome
browser.
In Google Chrome (up to Google Chrome Version 42), you must
also make sure that the NAPI interface is activated
The most recent version of Google Chrome no longer supports
video plugins. This means that it is not possible to display video.

67
4.5 Homepage (login page)
After entering the IP address in the browser's address bar and opening up the page, the home
page will appear in the language set in the Internet Explorer options (Windows setting).
Each respective user account (installer, master or user) can set their language individually. For
example, the settings pages can be set to English for the "installer" account and German for the
"master" account.
The following languages are supported: German, English, French, Dutch, Danish.
If a language is not supported, the website will be displayed in English.

68
4.6 User accounts and passwords
Overview of the types of user with the username descriptions, the default passwords and
corresponding privileges.
User types Username Default password Privileges
Installer
(for access via web
browser, mobile app
or recording device)
Installer
<can be modified by
installer>
installer
<can be modified by installer>
Video display on web browser
Instant image
Local video recording on PC
Control microphone/Speaker
(optional)
Full screen mode in browser
Zoom/Focus setting (if available)
System overview
Image settings
Video streaming quality settings
Day/night switching
Privacy masking
IP address settings
Network protocol settings
Setting for connection ports
DDNS settings
HTTPS settings
SMTP settings
Displayed text
Date/Time
Export/Import/Restore
Firmware update/Restart
Log file
Motion detection settings
Alarm management (email/switch
output)
Audio parameter
master master
<can be modified by
master>
master
<can be modified by master>
Video display on web browser
Instant image
Local video recording on PC
Control microphone/Speaker
(optional)
Full screen mode in browser
Zoom/Focus setting (if available)
Add, change or delete users
Block and unblock "installer" access
Playback of recordings from the
internal memory
user <assigned by
master>
<assigned and modified by
master>
Video display on web browser
Instant image
Local video recording on PC
Control microphone/Speaker
(optional)
Full screen mode in browser

69
4.7 Linking up the camera with ABUS VMS/ABUS VMS Express
The following information is required to link up the camera with ABUS VMS/ABUS VMS Express:
IP address/domain name
http port (default 80)
rtsp port (default 554, can be changed, is detected automatically)
User name:
Installer
Password:
installer (can be changed via the installer settings)
4.8 Linking up the camera with ABUS NVR/ABUS Hybrid DVR
The following information is required to link up the camera with ABUS NVR/ABUS Hybrid DVR:
IP address/domain name
http port (default 80)
rtsp port (default 554, may not be changed)
User name:
Installer
Password:
installer (can be changed via the installer settings)
4.9 Linking up the camera to IPCam
The following information is required to link up the camera with IPCam:
IP address/domain name
http port (default 80)
rtsp port (default 554)
User name:
Installer
Password:
installer (can be changed via the installer settings)

70
5. User menu "user"
Button/display on screen Function
Information bar
Live display
Help page
Log out as user
Button/display
on screen Function
Instant image function
This function saves an instant image from the current video stream in
JPEG format. The picture is stored in the following folder:
(Save location, see local configuration)

71
Video function
This function saves a video from the current video stream in AVI format.
The video is stored in the following folder:
(Save location, see local configuration)
Activate switching output
This button can be used to manually activate or deactivate the switching
output (e.g. door opener function).
Muting the microphone (if available)
This button can be used to deactivate the microphone in the camera or
the microphone in the optional audio input.
Muting the speaker (if available)
This button can be used to deactivate the speaker in the optional audio
output.
Full screen mode
Switching the video picture on the monitor to full screen mode (you can
also do this by double clicking within the video frame). You can exit full
screen mode by double clicking within the video frame again or pressing
the ESC button.

72
6. View and configuration menu user "master"
Button/display
on screen Function
Instant image function
This function saves an instant image from the current video stream in
JPEG format (see Local Configuration for save location).
Video function
This function saves a video from the current video stream in AVI format
(see Local Configuration for save location).
Muting the microphone (if available)
This button can be used to deactivate the microphone in the camera or
the microphone in the optional audio input.
Muting the speaker (if available)
This button can be used to deactivate the speaker in the optional audio
output.

73
Full screen mode
Switching the video picture on the monitor to full screen mode (you can
also do this by double clicking within the video frame). You can exit full
screen mode by double clicking within the video frame again or pressing
the ESC button.
Live view page for "master" user
Information page with explanations of what the buttons do.
Settings page for "master" user.
Log out as user. Afterwards the login page is displayed again.

74
6.1 Add/change/delete users
Add/edit/delete: Users with the type "User" can be added. The "Master"
user can only be modified. It cannot be added.
User name: Enter the user names here (max. 32 characters, not
allowed: \ : ").
Language: Select the language to be displayed for the user here.
Use a secure password: In order to become active, the password must meet the
following requirements: 8-16 characters, 2x numbers,
2x lower-case letters, 2x upper-case letters, 2x special
characters
Password/confirm: Enter and confirm the password here.
6.2 Deactivate/activate installer access
Block user "Installer": The "Master" user can block installer access (="Installer" user)
when the installation has finished. Access can be activated
again, if required.
If the "Master" or "Installer" user has forgotten their login information, you must load
the factory settings for the camera via the "RESET" button. This will restore all
usernames and passwords to factory settings.

75
6.3 Local configuration
Protocol: Setting the transmission protocol (default: TCP)
Live view performance: Select the priority for display in the browser here (priority on image
stream or image quality).
Live indicator: Display of all event animations in the live image (e.g. frame for
motion detection). These animations are also recorded to the
recording device.
Image format: Select the encoding format for saving single frames using the
browser live interface.
Record file size: Select the size of video sequences for saving videos
using the browser live interface.
Save record files to: Select the path for video recording.
Save downloaded files to: Select the path for video files downloaded from the
SD card.
Save live snapshots to: Select the encoding format for saving images using the
browser live interface.
Snapshots during playback: Select the path for saving images during playback.
Save clips to: Select the path for saving video clips during playback.

76
6.4 Displaying/downloading video from the internal memory
Symbol Explanation
Selection of the date when searching for a recording. If data
are found on the SD card, they are displayed in the playback
bar by record type.
First select a date and then click "SEARCH".
Stop playback
Slow playback (forwards)
Fast playback (forwards)
Frame forwards
Other manuals for IPCB42500
1
This manual suits for next models
1
Table of contents
Other Abus IP Camera manuals

Abus
Abus TVIP52502 User manual

Abus
Abus TVIP71501 User manual

Abus
Abus TVHD60000 User manual

Abus
Abus eyseo TV7144 User manual

Abus
Abus TVIP21502 User manual

Abus
Abus TVAC15000 User manual

Abus
Abus TVIP41560 User manual

Abus
Abus PPIC90000 User manual

Abus
Abus TVAC16010B User manual

Abus
Abus TVIP70000 User manual

Abus
Abus TVAC16010C User manual

Abus
Abus PPIC90000 User manual

Abus
Abus TVIP62000 User manual

Abus
Abus TVAC19100A User manual

Abus
Abus TVHD50000 User manual

Abus
Abus TVIP51500 User manual

Abus
Abus TVVR11000 User manual

Abus
Abus TVIP21502 User manual

Abus
Abus TVIP11561 User manual

Abus
Abus TVAC19000A User manual