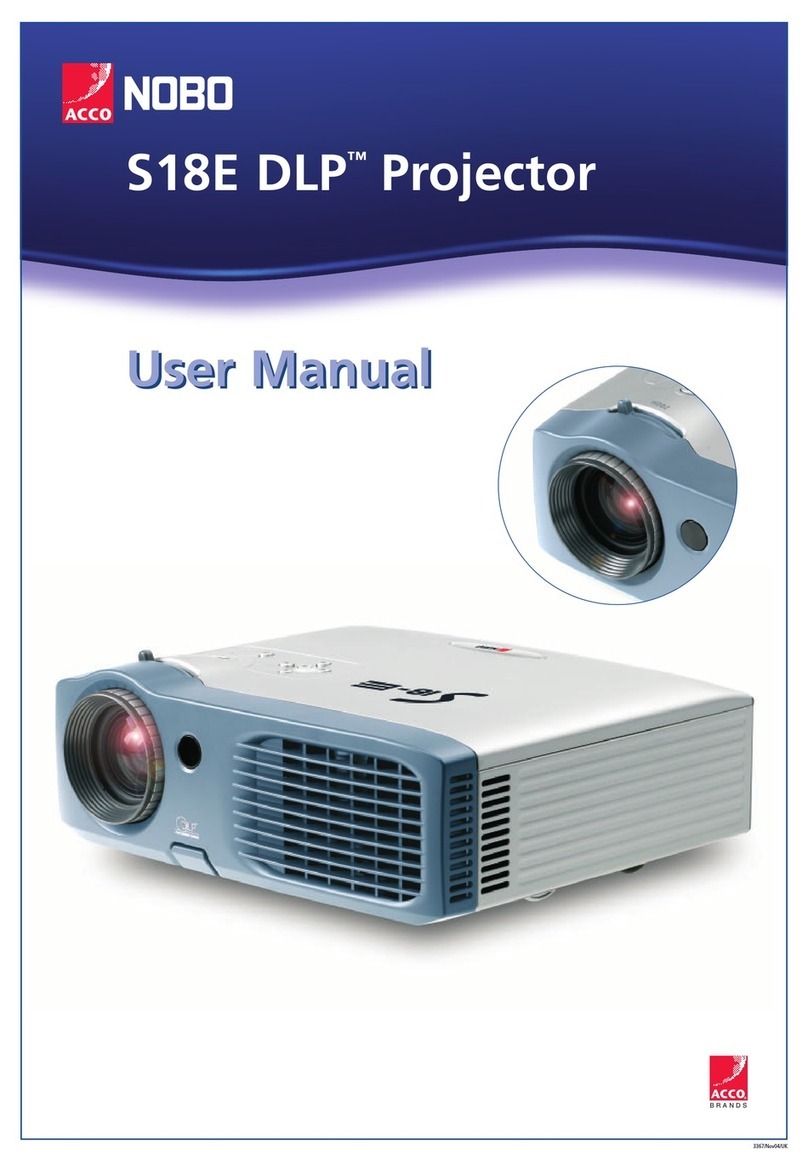
ACCO Brands NOBO User manual

1... English
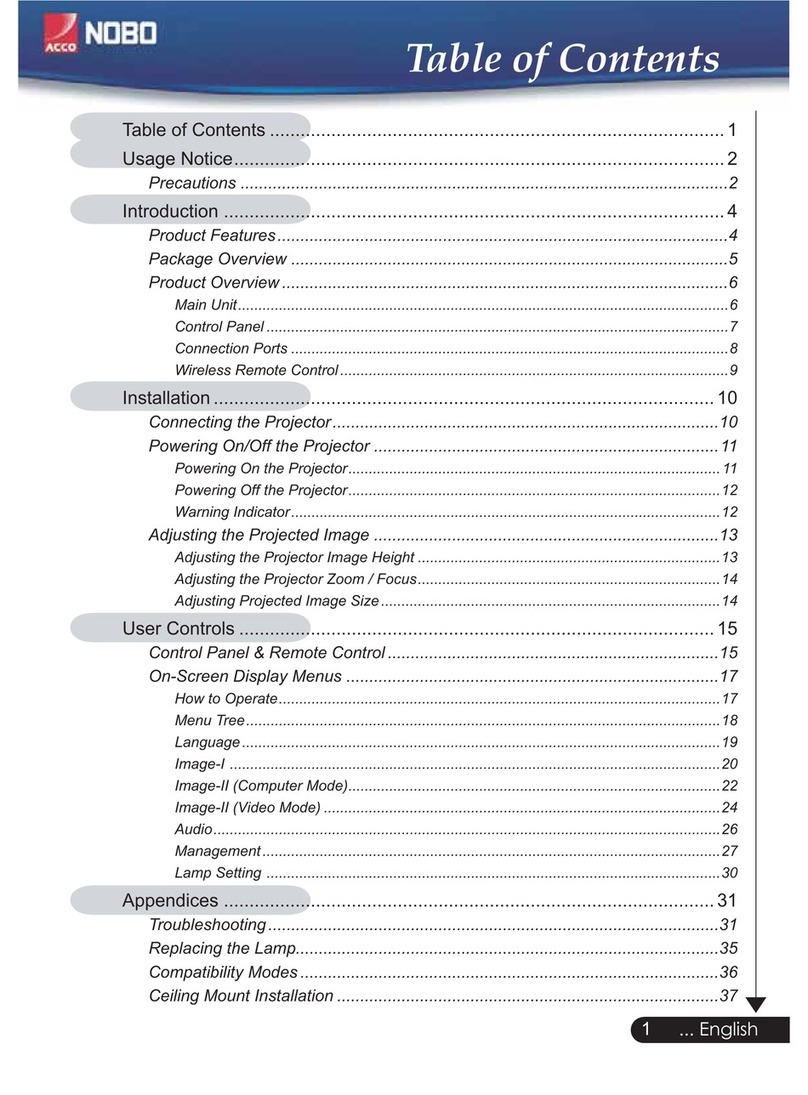
Table of Contents
Table of Contents ....................................................................................... 1
Usage Notice .............................................................................................. 2
Precautions ......................................................................................................... 2
Introduction ............................................................................................... 4
Product Features ................................................................................................. 4
Package Overview ............................................................................................... 5
Product Overview ................................................................................................ 6
Main Unit ......................................................................................................................... 6
Control Panel .................................................................................................................. 7
Connection Ports ............................................................................................................ 8
Remote Control with Mouse Function & Laser Pointer .................................................... 9
Installation ................................................................................................ 10
Connecting the Projector ................................................................................... 10
Powering On/Off the Projector ............................................................................. 11
Powering On the Projector ............................................................................................ 11
Powering Off the Projector ............................................................................................ 12
Warning Indicator ......................................................................................................... 12
Adjusting the Projected Image ........................................................................... 13
Adjusting the Projector Image Height ........................................................................... 13
Adjusting the Projector Zoom / Focus .......................................................................... 14
Adjusting Projected Image Size ................................................................................... 14
User Controls .......................................................................................... 15
Control Panel & Remote Control ........................................................................ 15
On-Screen Display Menus ................................................................................ 17
How to Operate .............................................................................................................. 17
Menu Tree ..................................................................................................................... 18
Language ...................................................................................................................... 19
Colour Setting ............................................................................................................... 19
Image-I ......................................................................................................................... 20
Image-II ........................................................................................................................22
Management ................................................................................................................. 23
Lamp Setting ................................................................................................................ 25
Appendices ............................................................................................... 26
Troubleshooting ................................................................................................. 26
Replacing the Lamp ............................................................................................ 30
Compatibility Modes .......................................................................................... 31

%NGLISH
:DUQLQJ 'RQRWORRNLQWRWKHSURMHFWRU·VOHQVZKHQWKHODPSLV
RQ7KHEULJKWOLJKWPD\KXUW\RXUH\HV
:DUQLQJ 7RUHGXFHWKHULVNRIILUHRUHOHFWULFVKRFNGRQRW
H[SRVHWKLVSURGXFWWRUDLQRUPRLVWXUH
:DUQLQJ 3OHDVHGRQRWRSHQRUGLVDVVHPEOHWKHSURGXFWDVWKLV
PD\FDXVHHOHFWULFVKRFN
:DUQLQJ :KHQFKDQJLQJWKHODPSSOHDVHDOORZXQLWWRFRRO
GRZQDQGIROORZDOOFKDQJLQJLQVWUXFWLRQV
:DUQLQJ 7KLVSURGXFWZLOOGHWHFWWKHOLIHRIWKHODPSLWVHOI
3OHDVHEHVXUHWRFKDQJHWKHODPSZKHQLWVKRZV
ZDUQLQJPHVVDJHV
:DUQLQJ 5HVHWWKH´/DPS5HVHWµIXQFWLRQIURPWKH2Q6FUHHQ
'LVSOD\´/DPS6HWWLQJµPHQXDIWHUUHSODFLQJWKHODPS
PRGXOHUHIHUWRSDJH
:DUQLQJ :KHQVZLWFKLQJWKHSURMHFWRURIISOHDVHHQVXUHWKH
SURMHFWRUFRPSOHWHVLWVFRROLQJF\FOHEHIRUH
GLVFRQQHFWLQJSRZHU
:DUQLQJ 7XUQRQWKHSURMHFWRUILUVWDQGWKHQWKHVLJQDOVRXUFHV
:DUQLQJ 'RQRWXVHOHQVFDSZKHQSURMHFWRULVLQRSHUDWLRQ
:DUQLQJ &KLOGUHQVKRXOGEHVXSHUYLVHGDWDOOWLPHVZKHQ
SURMHFWRULVLQXVH
([FHVVLYHXVHRI\RXUXQLWPD\LQYDOLGDWH\RXUZDUUDQW\
QRUPDOXVHGHILQHGDVKRXUVDGD\GD\VDZHHN
:DUQLQJ :KHQWKHODPSUHDFKHVWKHHQGRILWVOLIHLWZLOOEXUQ
RXWDQGPD\PDNHDORXGSRSSLQJVRXQG,IWKLV
KDSSHQVWKHSURMHFWRUZLOOQRWWXUQEDFNRQXQWLOWKH
ODPSPRGXOHKDVEHHQUHSODFHG7RUHSODFHWKHODPS
IROORZWKHSURFHGXUHVOLVWHGXQGHU´5HSODFLQJWKH/DPSµ
8VDJH1RWLFH
3UHFDXWLRQV
)ROORZDOOZDUQLQJVSUHFDXWLRQVDQGPDLQWHQDQFHDVUHFRPPHQGHG
LQWKLVXVHU·VJXLGHWRPD[LPL]HWKHOLIHRI\RXUXQLW

3... English
Do:
Turn off the product before cleaning.
Use a soft cloth moistened with mild detergent to clean the
display housing.
Disconnect the power plug from AC outlet if the product is not
being used for a long period of time.
Don’t:
Block the slots and openings on the unit provided for
ventilation.
Use abrasive cleaners, waxes or solvents to clean the unit.
Use under the following conditions:
- In extremely hot, cold or humid environments.
- In areas susceptible to excessive dust and dirt.
- Near any appliance that generates a strong magnetic field.
- Place in direct sunlight.
Usage Notice

4
English ...
Product Features
This product is an XGA single chip 0.7” DLPTM projector.
Outstanding features include:
True XGA, 1024 x 768 addressable pixels
Single chip DLPTM technology
NTSC/NTSC4.43/PAL/PAL-M/PAL-N/SECAM and
HDTV compatible (480i/p, 576i/p, 720p, 1080i)
Multi-Auto functions: Auto detection, Auto image and
Auto saving the adjustments
Full function remote with mouse control and laser
pointer
User friendly multilingual on screen display menu
Advanced digital keystone correction and high
quality full screen image re-scaling
User friendly control panel
SXGA+, SXGA compression and VGA, SVGA re-sizing
Mac compatible
Introduction

5... English
Composite Video Cable
1.8m
Projector with lens cap
Package Overview
This projector comes with all the items shown below. Check
to make sure your unit is complete. Contact your dealer
immediately if anything is missing.
Carrying Case
Documents :
;User’s Guide
;Quick Start Card
;Warranty Card
SCART RGB/S-Video
Adaptor
(For European Use Only)
Due to the differ-
ence in applica-
tions for each
country, some
regions may have
different
accessories.
Power Cord 1.8m VGA Cable 1.8m
Remote Control with
Mouse Function & Laser
Pointer
2 x Battery
Introduction

6
English ...
1. Control Panel
2. Zoom Lever
3. Focus Ring
4. Zoom Lens
5. Lens Cap
6. Elevator Foot
7. Elevator Button
8. IR Receivers
9. Connection Ports
10. Power Socket
Main Unit
Product Overview
8
2
4
3
6
7
1
9
5
10
18
Introduction

7... English
Control Panel
1. Temp Indicator LED
2. Power Indicator LED
3. Lamp Indicator LED
4. Power/Standby
5. Menu (On/Off)
6. Re-Sync
7. Keystone Correction
8. Four Directional Select Keys
9. Source
10. Enter
21 3
4
5
78
9
7
6
10
Introduction

8
English ...
7 6 5 4 3 2
1
Introduction
Connection Ports
1. IR Receiver
2. Power Socket
3. PC Analog signal/SCART RGB/HDTV/Component Video
Input Connector
4. Composite Video Input Connector
5. S-Video Input Connector
6. USB Input Connector
7. KensingtonTM Lock Port

9... English
Remote Control with Mouse Function & Laser
Pointer
1. IR LED
2. Laser Pointer
3. Laser Indicator LED
4. Laser Button
5. Auto Image
6. Enter
7. Freeze
8. Power
9. Source
10. Menu
11. Four Directional Select
Keys
12. Keystone Correction
13. Mouse Right Click
14. Mouse Left Click
15. Hide
16. Mouse
4
5
6
12
13
8
9
10
15
14
7
1116
3
1
1
Introduction

10
English ...
7
2 1
3
5
4
RGB
Due to the differ-
ence in applica-
tions for each
country, some
regions may have
different
accessories.
1. ............................................................................................................. Power Cord
2. .............................................................................................................. VGA Cable
3. ......................................................................................... Composite Video Cable
4. ................................ SCART RGB/S-Video Adaptor (For European Use Only)
5. .................................................................... S-Video Cable (Optional Accessory)
6. .......................................................................... USB Cable (Optional Accessory)
7. ..................................... D-15 to RCA Adapter for YPbPr (Optional Accessory)
USB
6
Connecting the Projector
To ensure the projector works well with your computer, please
set the display mode of your graphic card less than or equal to
1024 X 768 resolution. Make sure the timing of the display mode is
compatible with the projector. Refer to the “Compatibility Modes”
section on page 31.
S-Video Output
Video Output
DVD Player, Settop Box,
HDTV receiver
Installation

11 ... English
Powering On the Projector
1. Remove the lens cap. n
2. Ensure that the power cord and signal cable are securely
connected. The Power LED will turn Orange.
3. Turn on the lamp by pressing “Power/Standby” button on
the control panel. o
The startup screen will display for 10 seconds and the
Power LED will turn green.
4. Turn on your source (computer, notebook, video player,
etc.). The projector will detect your source automatically.
If you connect multiple sources at the same time, use the
“Source” button on the control panel or remote control to
switch.
Powering On/Off the Projector
Turn on the
projector first and then
the signal sources.
1
Power/Standby
2
Lens Cap
Installation

12
English ...
Installation
Warning Indicator
When the “TEMP” indicator turns red, it indicates the projector has
overheated. The projector will automatically shut itself down.
When the “LAMP” indicator flashes red (0.5 second intervals), it
indicates a problem with the lamp. Turn off the projector and
disconnect the power cord from the electrical outlet, then contact
your local dealer or our service center.
When the “LAMP” indicator flashes red (1 second intervals),
it indicates the fan failed. Stop using the projector and discon-
nect the power cord from the electrical outlet, then contact your
local dealer or our service center.
Powering Off the Projector
1. Press the “Power/Standby” button to turn off the projector
lamp, you will see a message as below on the on-screen
display.
2. Press the “Power/Standby” button again to confirm.
Otherwise the message will disappear after 25 seconds.
3. The cooling fans continue to operate for about 120 seconds
for cooling cycle and the Power LED will flash orange.
When the light stops flashing, the projector has entered
standby mode.
If you wish to turn the projector back on, you must wait
until the projector has completed the cooling cycle and has
entered standby mode. Once in standby mode, simply
press “Power/Standby” button to restart the projector.
4. Disconnect the power cord from the electrical outlet and
the projector.
5. Do not turn on the projector immediately following a
power off procedure.

13 ... English
Adjusting the Projected Image
Adjusting the Projector Image Height
Tilt Adjusting Wheel
Elevator Foot
2
3
Elevator Button
The projector is equipped with an elevator foot for adjusting
the image height.
To raise the image:
1. Press the elevator button n.
2. Raise the image to the desired height angle o, then release
the button to lock the elevator foot into position.
3. Use pto fine-tune the display angle.
1
To lower the image:
1. Press the elevator button.
2. Lower the image, then release the button to lock the elevator
foot into position.
3. Use pto fine-tune the display angle.
Installation

14
English ...
63.4"
(160.9cm)
105.6"
(268.2cm)
147.8"
(375.5cm)
169.0"
(429.2cm)
211.2"
(536.5cm)
36.9"
(93.8cm)
73.8"
(187.5cm)
123.0"
(312.5cm)
172.2"
(437.5cm)
196.9"
(500.0cm)
246.1"
(625.0cm)
4.92'
32.81'
26.25'
22.97'
16.40'
9.84'
(1.5m)
(10.0m)
(8.0m)
(7.0m)
(5.0m)
(3.0m)
31.7"
(80.5cm)
Max. 36.9"(93.8cm) 73.8"(187.5cm) 123.0"(312.5cm) 172.2"(437.5cm) 196.9"(500.0cm) 246.1"(625.0cm)
Min. 31.7"(80.5cm) 63.4"(160.9cm) 105.6"(268.2cm) 147.8"(375.5cm) 169.0"(429.2cm) 211.2"(536.5cm)
Max.(WxH) 29.52" x 22.14"
(75.0 x 56.3cm)
59.04" x 44.28"
(150.0 x 112.5cm)
98.40" x 73.80"
(250.0 x 187.5cm)
137.76" x 103.32"
(350.0 x 262.5cm)
157.52" x 118.14"
(400.0 x 300.0cm)
196.88" x 147.66"
(500.0 x 375.0cm)
Min.(WxH) 25.36" x 19.02"
(64.4 x 48.3cm)
50.72" x 38.04"
(128.7 x 96.5cm)
84.48" x 63.36"
(214.6 x 160.9cm)
118.24" x 88.68"
(300.4 x 225.3cm)
135.20" x 101.40"
(343.4 x 257.5cm)
168.96" x 126.72"
(429.2 x 321.9cm)
4.92'(1.5m) 9.84'(3.0m) 16.40'(5.0m) 22.97'(7.0m) 26.25'(8.0m) 32.81'(10.0m)
Screen
(Diagonal)
Screen
Size
Distance
Diagonal
Focus Ring
Zoom Lever
Adjusting the Projector Zoom / Focus
You may turn the zoom lever to zoom in or out. To focus the
image, rotate the focus ring until the image is clear. The projec-
tor will focus at distances from 4.9 to 32.8 feet (1.5 to 10.0 meters).
Adjusting Projection Image Size
This graph is for user’s reference only.
Installation

15 ... English
Using the Control Panel
Power/Standby
Refer to the “Power On/Off the Projector” section on pages
11-12.
Source
Press “Source” to choose RGB, Component-p, Component-i,
S-Video, Composite Video and HDTV sources.
Menu
Press “Menu” to launch the on screen display (OSD) menu.
To exit OSD, press “Menu” again.
Keystone /
Adjusts image distortion caused by tilting the projector (±8
degrees).
Four Directional Select Keys
Use to select items or make adjustments to
your selection.
Enter
Confirm your selection of items.
Re-Sync
Automatically synchronises the projector to the input source.
User Controls
Remote ControlControl Panel
Control Panel & Remote Control
There are two ways for you to control the functions: Remote
Control and Control Panel.

16
English ...
Using the Remote Control
Power
Refer to the “Power On/Off the Projector” section on pages
11-12.
Source
Press “Source” to choose RGB, Component-p, Component-i,
S-Video, Composite Video and HDTV sources.
Auto
Automatically synchronizes the projector to the input source.
Keystone
Adjusts image distortion caused by tilting the projector (±8
degrees). Press “Keystone” button, then use to adjust the
setting.
Hide
“Hide” immediately turns the screen black. Press “Hide” again
to restore the displayed image.
Laser Button
Aim the remote at the viewing screen, press and hold this
button to activate the laser pointer.
Freeze
Press “Freeze” to pause the screen image.
Mouse/Mouse Right Click/Mouse Left Click (*)
These functions are the same as a mouse of PC or Mac.
Four Directional Select Keys
Use to select items or make adjustments to
your selection.
Enter
Confirm your selection of items.
Menu
Press “Menu” to launch the on screen display menu. To exit
OSD, press “Menu” again.
Remark : “*” this is
computer mode only.
And these functions
are only available
when the projector is
connected to a
computer via an USB
cable.
User Controls

17 ... English
The Projector has multilingual On Screen Display menus
that allow you to make image adjustments and change a
variety of settings. The projector will automatically detect
the source.
How to operate
1. To open the OSD menu, press “Menu ” on the remote control
or control panel.
2. When OSD is displayed, use keys to select any item in the
main menu. While making a selection on a particular page, press
or “Enter” key to enter sub menu.
3. Use keys to select the desired item and adjust the
settings by key.
4. Select the next item to be adjusted in the sub menu and adjust as
described above.
5. Press “Menu
” to confirm, and the screen will return to the main
menu.
6.
To exit, press “Menu ”again. The OSD menu will close and the
projector will automatically save the new settings.
On Screen Display Menus
Main Menu
Sub Menu Setting
User Controls

18
English ...
User Controls
Menu Tree

19 ... English
Language
Language
Choose the multilingual OSD menu . Use the or
Colour Setting
Colour Setting
Adjust the Red, Green, Blue, Yellow, Cyan and Magenta colours for
advanced adjustment of the individual colours.
key to select
your preferred language.
Press “Enter” to finalise the selection.
User Controls

20
English ...
Image-I
Display Mode
There are many factory presets optimized for various types of
images.
PC: For computer or notebook.
Movie: For home theater.
sRGB: For standard colour.
User: Memorise user’s settings.
Brightness
Adjust the brightness of the image.
Press the to darken image.
Press the to lighten the image.
Contrast
The contrast controls the degree of difference between the lightest
and darkest parts of the picture. Adjusting the contrast changes
the amount of black and white in the image.
Press the to decrease the contrast.
Press the to increase the contrast.
White Intensity
Use the white peaking control to set the white peaking level of
DMD chip. 0 stands for minimal peaking, and 10 stands for
maximum peaking. If you prefer a stronger image, adjust towards
the maximum setting. For a smooth and more natural image,
adjust towards the minimum setting.
Colour Temp.
Adjust the colour temperature. At higher temperature, the screen
looks colder; at lower temperature, the screen looks warmer.
User Controls
Other manuals for NOBO
2
Table of contents
Other ACCO Brands Projector manuals

ACCO Brands
ACCO Brands NOBO X25M User manual

ACCO Brands
ACCO Brands NOBO User manual

ACCO Brands
ACCO Brands NOBO S15E User manual

ACCO Brands
ACCO Brands X17E DLP User manual

ACCO Brands
ACCO Brands NOBO X23M User manual

ACCO Brands
ACCO Brands NOBO S18E User manual

ACCO Brands
ACCO Brands NOBO S11E User manual

ACCO Brands
ACCO Brands NOBO X20P User manual

ACCO Brands
ACCO Brands X25C User manual

ACCO Brands
ACCO Brands NOBO DLP TM Projector User manual