manuals.online logo
Brands
  1. Home
  2. •
  3. Brands
  4. •
  5. ACECO
  6. •
  7. Measuring Instrument
  8. •
  9. ACECO FC2002 User manual

ACECO FC2002 User manual

Introduction
The Aceco FC2002hand-held frequency counter is a more professional counter, even advanced features such as field
strength measurement and auto hold are incorporated. It is compact, truly pocket-sized, test instrument designed for ease
of use and dependable performance. Supplied as a complete with internal NiCd pack, AC wall charger and 7 section
telescopic antenna.
Specifications
Frequency range: 10 Hz - 3 GHz
Weight: 250 g
Size: 100 mm high x 68 mm wide x 31 mm deep
Impedance: 1 * dual purpose BNC Socket
50 Ohms input for range 1 MHz to 3 GHz
1 Meg Ohm input for range 10 Hz to 50 MHz
Case: Stamped aluminum with black anodized finish
Battery: Internal 4 x AA 600 mAH NiCd pack
Power: 9 VDC 300 mA
Timebase: Less than 1 PPM at room temperature
Features
l10 digit Liquid Crystal Display
lHi-Z low range
lFilter to prevent display of random noise
lAutomatic hold
lMeasures frequency and period
lLED back light
lBeeper
lLow power consumption (Average 6 hour battery life)
lHold switch to lock display
lLow battery indicator
lUltra sensitive synchronous detector 16 section bargraph to show RF signal strength
lHigh speed 300 MHz direct counter with 0.1 Hz resolution
l4 selectable gate speeds
Controls
1. Power Switch - This slide switch turns the counter on and initiates a 2 second test of all the LCD segments.
2. Amp Switch - This slide switch selects either the 1 Meg Ohm high impedance amplifier or 50 Ohm amplifier and
prescale.
3. Range Switch - This should be switched to the 300 MHz position for frequencies between 1 MHz and 300 MHz and
switched to the 3 GHz position for frequencies between 10 MHz and 3 GHz.
4. Lite Switch - This slide switch turns the LCD back light on and off.
5. Filter Switch –This slide switch turns the filter on and off.
6. Function Button - This selects the frequency or period. This button has four settings. One each for displaying
frequency or period as these are received, and two settings for automatic hold of the first frequency or period
captured.
7. Hold Button - This holds the current display and stops the counter from counting.
8. Gate Button - This selects the gate or measurement time. A longer gate time allows counting for longer period and
results in higher accuracy.
9. Calibration - The calibration adjustment opening is located on the front panel of the counter. This allows access to the
trimmer capacitor that provides about a 10 PPM adjustment range of the time base oscillator. This is not usually
necessary but to do so read a signal of aknown frequency before adjusting the trimmer for correct frequency display.
If you calibrate at 4.1943 MHz or above then the counter will be more accurate.
FC2002
Frequency Counter
ACECO
Warranty
Aceco Electronics, Corp. guarantees the counter and its accessories for one year against defects in manufacture. This
warranty does not cover items that have been modified, subject to unauthorized repairs, misuse or abuse. This warranty
does not cover damage caused by excessive power levels applied to the signal input. Never make any kind of connection
between the counter and a transmitter.
Hints and Tips
1. NiCd Operation
This frequency counter can operate for up to six hours from its fully charged NiCd batteries. They are charged when the
unit is plugged into the supplied AC/DC adapter. Full recharge will occur over 12 to 16 hours. Before recharging the
batteries you should be deep cycled occasionally by allowing them to completely discharge to maintain maximum battery
capacity. The NiCd batteries should last for several years. However, it is a good idea to check them every twelve months
for signs of corrosion or leakage. Always replace the whole set if any one cell fails.
2. Signal Input
When using the counter with an antenna for signal pick up, random frequencies may appear on the display. This is quite
normal and is caused by the high gain of the receiver circuits, which amplify noise in the absence of a strong readable
signal. Never get the unit too close to a transmitter as internal damage will result.
3. Antenna Selection
The supplied telescopic antenna is best for general purpose use. This is because its length can be adjusted to suit the
frequency required. Usually you will want a shorter antenna for UHF and a fully extended one for VHF / HF.
4. Reception Distance From Transmitter
The distance from which you will be able to receive frequencies will depend upon the type and location of the transmitting
antenna, transmitter output power and the frequency in use.
Some typical distances are:
Cordless Phone 0.3meters
Cellular Phone 3- 20 m
CB radio 2- 8 m
VHF Two Way Radio 3- 30 m
UHF Two Way Radio 3- 30 m
Input Sensitivity ( Typical )
Amplifier: 1 Meg Ohm 50 Ohm
Impedance: 1 Meg Ohm, 30 pF 50 Ohm VSWR less than 2:1
Range: 10 Hz –50 MHz 1 MHz - 3 GHz
Sensitivity: < 10 mV at 10 Hz –10 MHz < 0.8mV at 100 MHz
< 20 mV at 10 MHz –50 MHz < 6 mV at 300 MHz
< 7 mV at 1.0 GHz
< 100 mV at 2.4 GHz
Max. input: 100 Vrms 15 dBm
RF Signal Strength Bargraph
Frequency 1st Segment Full Scale
27 MHz 7mV 100 mV
150 MHz 5 mV 90 mV
800 MHz 10 mV 200 mV
Frequency Display Resolution
Range Gate Time (Seconds) LSD Sample Display
300 MHz 0.0625 10 Hz 300.00000 MHz
0.25 1 Hz 300.000000 MHz
1.0 1 Hz 300.000000 MHz
4.0 0.1 Hz 300.0000000 MHz
3 GHz 0.0625 1000 Hz 3000.000 MHz
0.25 100 Hz 3000.0000 MHz
1.0 10 Hz 3000.00000 MHz
4.0 10 Hz 3000.00000 MHz

Other ACECO Measuring Instrument manuals

ACECO FC1003 User manual

ACECO

ACECO FC1003 User manual

ACECO FC2002 User manual

ACECO

ACECO FC2002 User manual

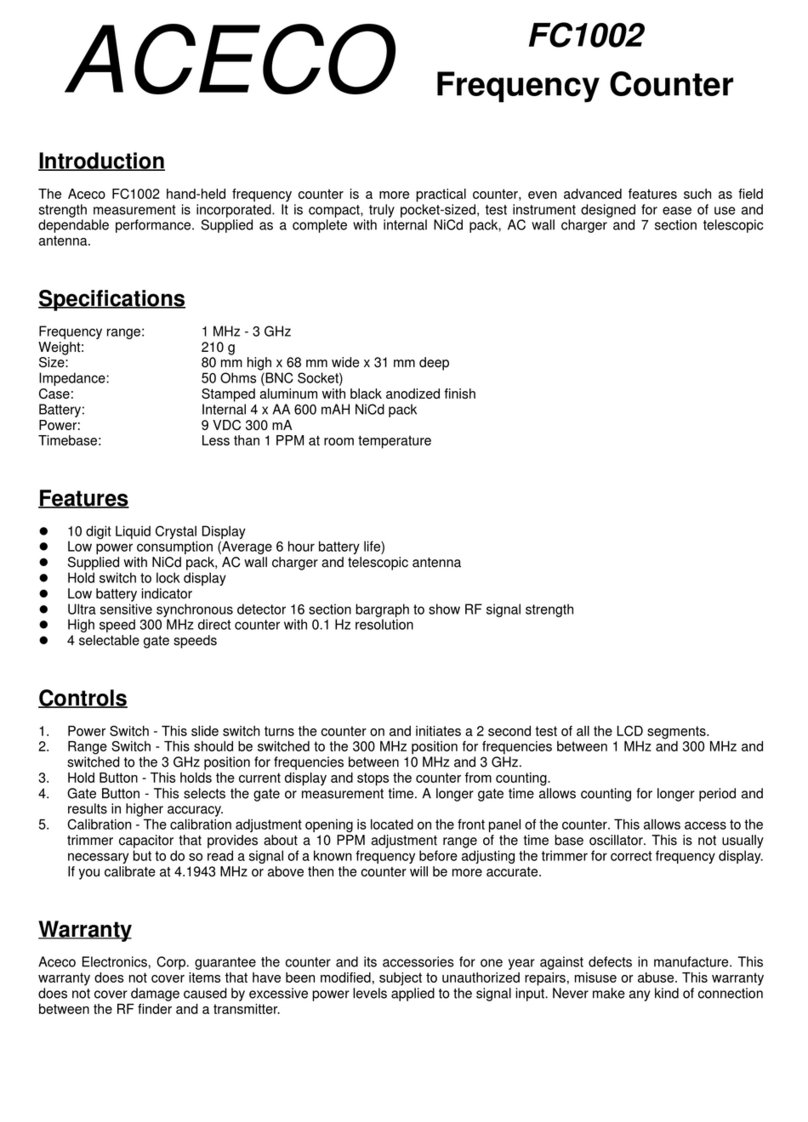
ACECO FC1002 User manual

ACECO

ACECO FC1002 User manual

Popular Measuring Instrument manuals by other brands

Badger Meter 2100 manual

Badger Meter

Badger Meter 2100 manual

Airsafe PAPI-LED-066 Operation manual

Airsafe

Airsafe PAPI-LED-066 Operation manual

brennenstuhl FL Duo operating instructions

brennenstuhl

brennenstuhl FL Duo operating instructions

BMC AMS42/84-LAN manual

BMC

BMC AMS42/84-LAN manual

Temper Koban KP 2203 manual

Temper

Temper Koban KP 2203 manual

Emerson Penberthy Installation, operation and maintenance instructions

Emerson

Emerson Penberthy Installation, operation and maintenance instructions

GLI International P53 Operating instructions manual

GLI International

GLI International P53 Operating instructions manual

ICP DAS USA iSN-713-MRTU quick start

ICP DAS USA

ICP DAS USA iSN-713-MRTU quick start

Ellisys 260 Getting started guide

Ellisys

Ellisys 260 Getting started guide

Acewell ACE-2956 series user manual

Acewell

Acewell ACE-2956 series user manual

MKS Ion Systems 775 instruction manual

MKS

MKS Ion Systems 775 instruction manual

Xylem SI Analytics HandyLab 600 operating manual

Xylem

Xylem SI Analytics HandyLab 600 operating manual

Midcontinent MD23-104 user guide

Midcontinent

Midcontinent MD23-104 user guide

Hioki PQ3100 Measurement guide

Hioki

Hioki PQ3100 Measurement guide

SDR-Kits DG8SAQ VNWA 3 Assembly

SDR-Kits

SDR-Kits DG8SAQ VNWA 3 Assembly

Panasonic KC2S Eco-COUNT METER manual

Panasonic

Panasonic KC2S Eco-COUNT METER manual

Milwaukee MC310 user manual

Milwaukee

Milwaukee MC310 user manual

Apera Instruments LabSen 211 user manual

Apera Instruments

Apera Instruments LabSen 211 user manual

manuals.online logo
manuals.online logoBrands
  • About & Mission
  • Contact us
  • Privacy Policy
  • Terms and Conditions

Copyright 2025 Manuals.Online. All Rights Reserved.