Specification of
ACME-II
Series
Model No. ACMEII-803 / 800
( Special Order )
ACMEII-843 ACMEII-852 / 850
( Special Order )
Motherboard PIII, P4
BLS, SBC + PBP
PIII, P4
Micro ATX
PIII, P4
SBC + PBP
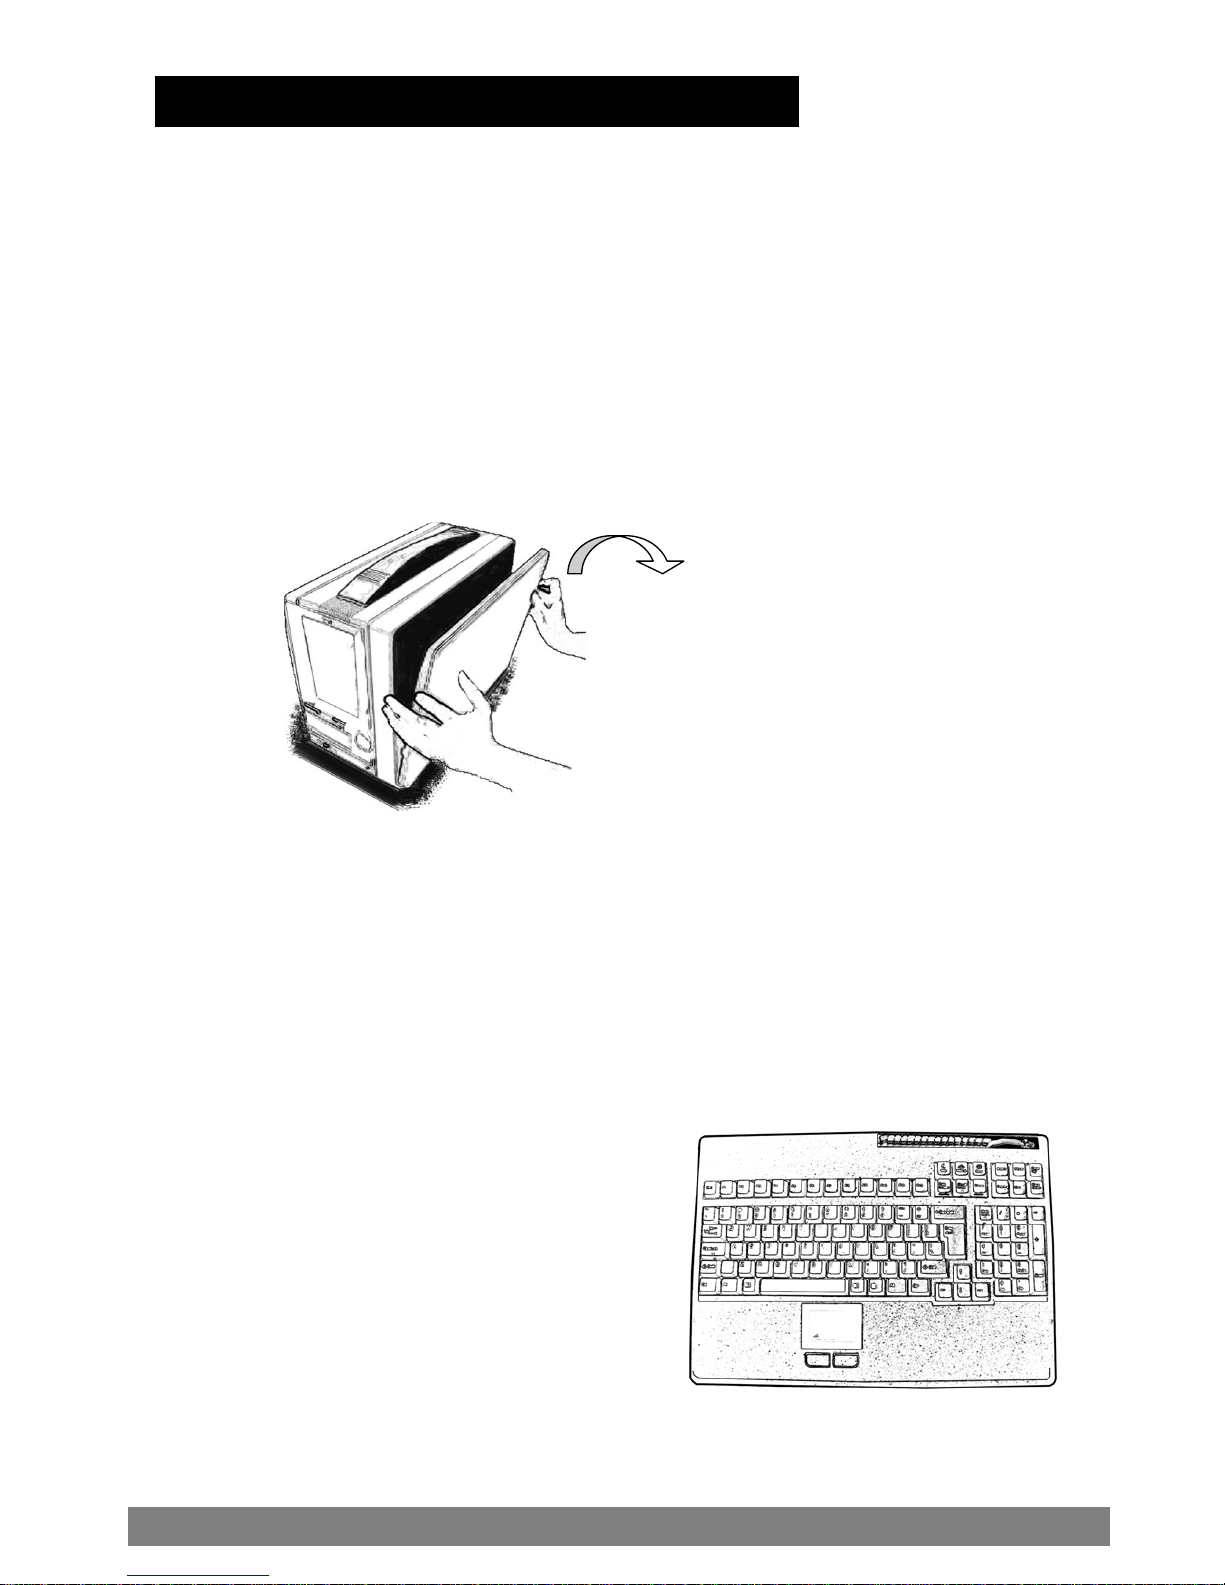
Slot 8 4 12
Drive Bay 1 x 5.25" open
2 x 3.5" open
1 x 3.5" hidden
1 x 5.25" open
1 x NB DVD-RW
1 x NB FDD
1 x 3.5" hidden
1 x NB DVD-RW
1 x NB FDD
Color Charcoal (OEM color available)
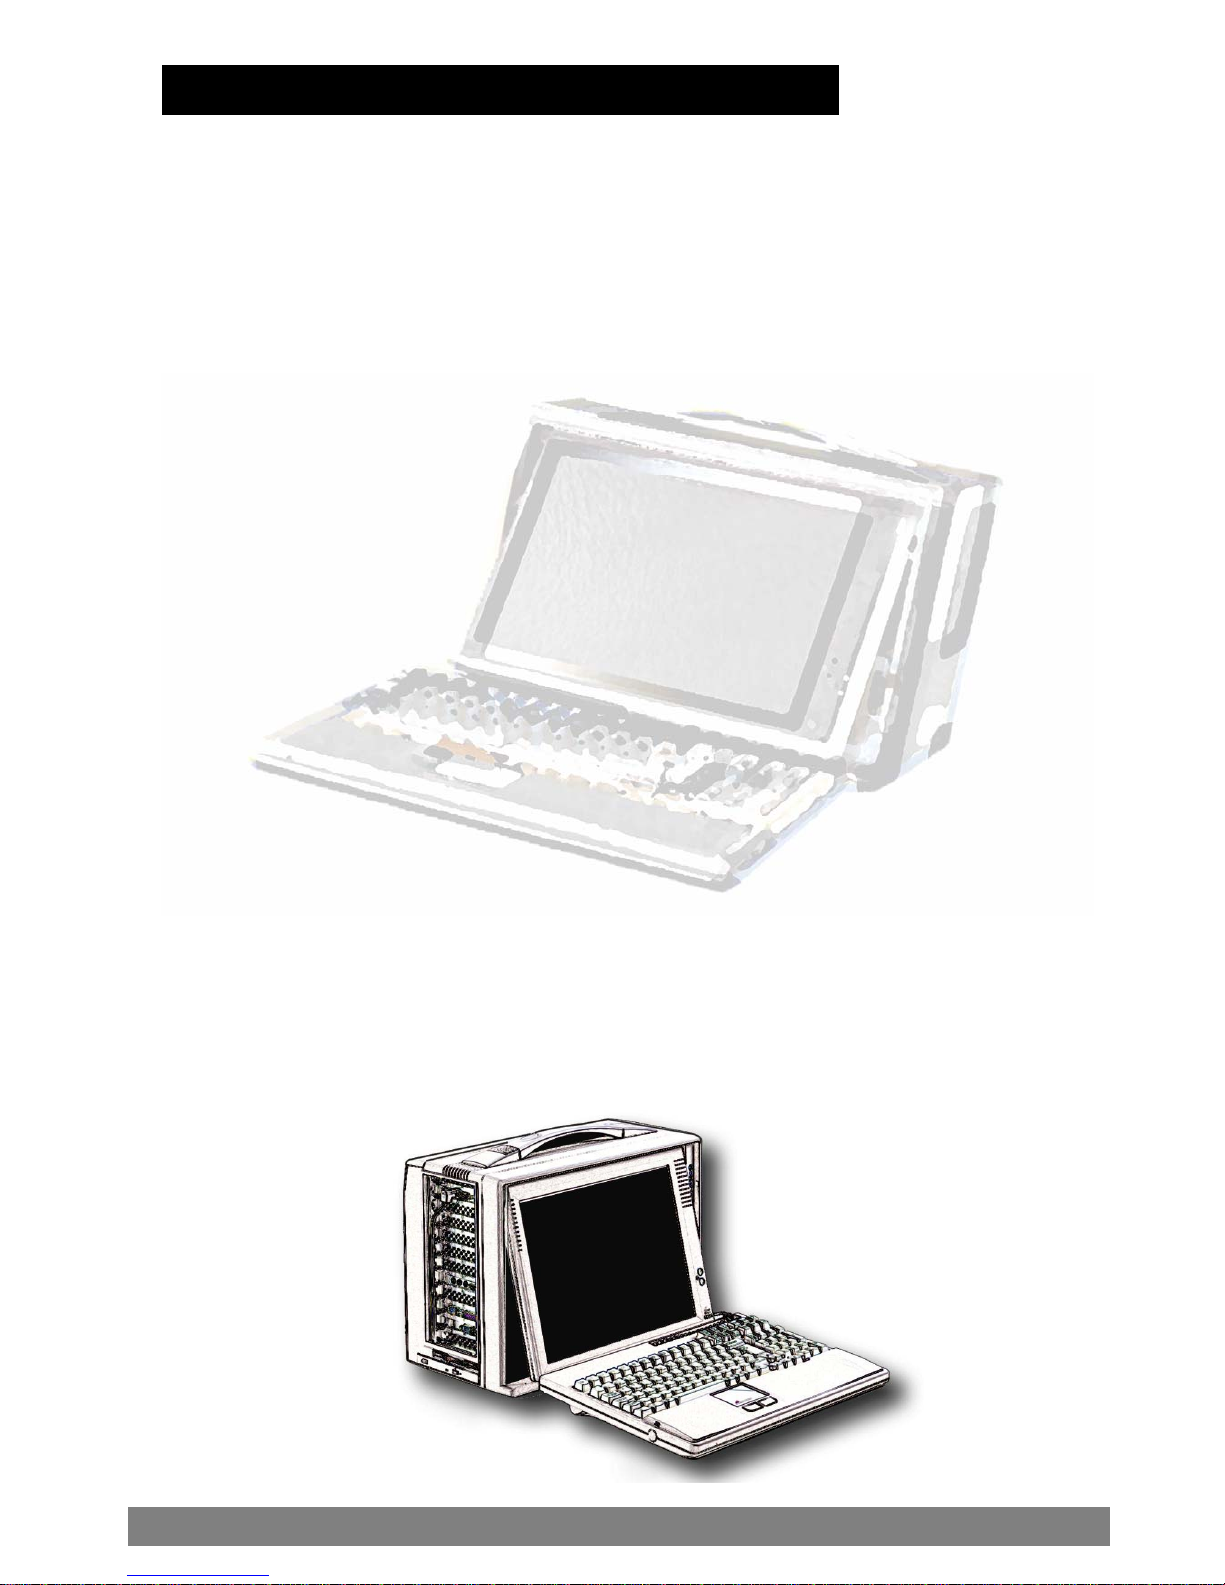
LCD
12", 14", 15" (Tiltable)
12" & 14" LCD, 150 nits brightness, 30,000 hrs of backlight life
15" LCD, 150 nits brightness, 30,000 hrs of backlight life
Resolution 800 x 600, 1024 x 768, 1400 x 1050, 1600 x 1200
D/C
ATI M3 chipset AGP card with 16MB
M6 chipset with 64MB
Analog-to-digital conversion board
C&T PCI D/C with 4MB Video RAM
DVI Interface
Keyboard/Mouse 108 keys, multi-languages/touchpad
Case Size 15.75" x 11.50" x 8.25" (400 x 292 x 210mm)
Power Supply PS/2 400 Watt PS/2 400 Watt 2U 400 Watt
( A u t o S e n s i n g A c t i v e P F C )
SKD Weight 8.8 kg ( 19.5 lbs)
Speaker
Built-in amplified speaker
Amplified board output: 2 x 6 Watt Stereo
Speaker output: 1/2 Watt
Carrying Case Padded carrying case with wheels
Card Stabilize Bars 2
Cooling Fan 1 x 80 x 15 mm 1 x 80 x 15 mm 2 x 80 x 15 mm
Case External chassis-flame retardant ABS
plastic/internal chassis-gold color aluminum alloy
Environmental Specification
Oper. Temp. 0°C-50°C
Relative Lum. 20-80% (non-condensing)
Shock
(operating, all axes) 15g
Vibration
(operating, all axes) 1.25g @ 10-100Hz
Compliance CE & FCC Class B Compliant, UL, CCIB
ACMEII User’s Manual
2