manuals.online logo
Brands
  1. Home
  2. •
  3. Brands
  4. •
  5. Acorn
  6. •
  7. Plumbing Product
  8. •
  9. Acorn Terrazzo-Ware SB Series Instruction manual

Acorn Terrazzo-Ware SB Series Instruction manual

ACORN ENGINEERING FIELD SERVICE
TOLL FREE 800-743-8259 • LOCAL 626-855-4866 • FAX 626-855-4863
INSTALLATION, OPERATIONS & MAINTENANCE MANUAL
Drawing #: 3030-737-000 A 4/20/23
Please visit www.acorneng.com
for most current specifications.
A C O R N E N G I N E E R I N G C O M P A N Y
P. O . B O X 3 5 2 7 • C I T Y O F I N D U S T R Y, C A 91 7 4 4 U . S . A .
T O L L F R E E 8 0 0 - 4 8 8 - 8 9 9 9 : : L O C A L 6 2 6 - 3 3 6 - 4 5 6 1
FA X 6 2 6 - 9 6 1 - 2 2 0 0 : : w w w. a c o r n e n g . c o m
TM
Terrazzo-Ware
SB Series
TM
TERRAZZO-WARE SHOWER BASES
For ADA series (Americans With Disabilities Act) Terrazzo Shower Base Models:
Bases installed for conformance with ADA (Americans With Disabilities Act) require the
Shower Walls to be built out to cover the Shower Base Shoulders in order to maintain the
inside stall dimensions for ADA compliance. Reference 36” Squar Transfer Stall
(SBADA-36) and 60” X 30” (SBADA-6030) Rectangular Roll-in Stall. ADA Compliance is
subject to the interpretation and requirements of the Local Code Authority.
Shower bases are intended to be recessed flush with finished floor or with maximum
threshold rise for ADA conformance (verify requirements). Providing a Floor Drain (by
others) is strongly recommended; Located near the Shower Stall entrance to
accommodate potential run off.
TECHNICAL ASSISTANCE TOLL FREE TELEPHONE NUMBER:
1.800.591.9360
Technical Assistance E-mail: [email protected]
Please refer to the Link or QR code provided.
For Cleaning & Care Guide:
https://www.acorneng.com/uploads/fileLibrary/9900-008-001.pdf
MODEL# SBS-36-3F
(SHOWN)
1
1
REMOVE SHOWER BASE CAREFULLY
FROM CARTON
AVOID STANDING
SHOWER BASE ON END
REMOVE PACKAGING
WITH CARE
ACORN
REINSERT PIPE AND TIGHTEN
WITH AN INTERNAL WRENCH
REMOVE PIPE
FROM TRAP
WARNING!
DO NOT DROP SHOWER BASE OVER
EXPOSED PIPE.
It is advisable to remove drain pipe and set
Shower Base in place. Insert pipe through
drain in Shower Base back into “P” trap.
Tighten with an internal pipe wrench.
2
LEVELING
Level Shower Base carefully. For proper installation, establish a 1/4" clearance between
Shower Base and the walls. A 1/2” layer of mortar or sand must be placed in area where the
Shower Base is to be installed. This procedure is recommended in order to support Shower
Base should the sub floor be uneven. Grout should be exposed along edges.
NOTE: Mortar or sand must cover the entire area between Shower Base and building floor.
*NOTE: Inspect and test for proper drainage.
ADA Shower Base to be recessed. Check local authority for code and installation requirements.
2
2
3
GROUT EXPOSED
SIDES
SUB FLOOR
1/2” SAND OR
MORTAR BED
RECOMMENDED
1/4" SPACE
1/4"
HANDLING
Carefully remove Shower Base from carton at
installation point. Avoid placing Shower Base
on its edge. (This precaution will prevent
damage to corners of Shower Base.)
METHOD FOR CHECKING FACE OF Shower
Base FOR TRANSPORTATION DAMAGE:
A. Wipe face of Shower Base with a wet
cloth (Water).
B. When the water evaporates, any slight
crack in the Shower Base will be
noticeable.
DOTTED AREA IS
FOR MOP SINK
DO NOT DROP
ON PIPE
ACORN ENGINEERING FIELD SERVICE
TOLL FREE 800-743-8259 • LOCAL 626-855-4866 • FAX 626-855-4863
2
1
REMOVE SHOWER BASE CAREFULLY
FROM CARTON
AVOID STANDING
SHOWER BASE ON END
REMOVE PACKAGING
WITH CARE
ACORN
REINSERT PIPE AND TIGHTEN
WITH AN INTERNAL WRENCH
REMOVE PIPE
FROM TRAP
LEVELING
Level Shower Base carefully. For proper
installation, establish a 1/4" clearance
between Shower Base and the walls. A 1/2”
layer of mortar or sand must be placed in
area where the Shower Base is to be
installed. This procedure is recommended in
order to support Shower Base should the
sub floor be uneven. Grout should be
exposed along edges.
NOTE: Mortar or sand must cover the entire
area between Shower Base and building
floor.
*NOTE: Inspect and test for proper
drainage.
ADA Shower Base to be recessed. Check
local authority for code and installation
requirements.
WARNING!
DO NOT DROP SHOWER BASE OVER
EXPOSED PIPE.
It is advisable to remove drain pipe and set
Shower Base in place. Insert pipe through
drain in Shower Base back into “P” trap.
Tighten with an internal pipe wrench.
2
2
2
3
RECOMMENDED
1/4" SPACE
1/4"
GROUT EXPOSED
SIDES
DOTTED AREA IS
FOR MOP SINK
SUB FLOOR
1/2” SAND OR
MORTAR BED
HANDLING
Carefully remove Shower Base from carton at
installation point. Avoid placing Shower Base
on its edge. (This precaution will prevent
damage to corners of Shower Base.)
METHOD FOR CHECKING FACE OF Shower
Base FOR TRANSPORTATION DAMAGE:
A. Wipe face of Shower Base with a wet
cloth (Water).
B. When the water evaporates, any slight
crack in the Shower Base will be
noticeable.
DO NOT DROP
ON PIPE
INSTALLATION, OPERATIONS & MAINTENANCE MANUAL
TM
TERRAZZO-WARE SHOWER BASES
ACORN ENGINEERING FIELD SERVICE
TOLL FREE 800-743-8259 • LOCAL 626-855-4866 • FAX 626-855-4863
3
DO NOT ATTACH
FLANGE TO WALL
LATH,
PLASTER
BOARD, ETC.
#1
#4
#2 & #3
OPTIONAL -KDG or
GASKET BY OTHERS
FINISHED
FLOOR
2" WASTE PIPE
(BY OTHERS)
BASE
1-3/8"
2
5WARNING!
MODELS WITH -TF TILING
FLANGE OPTIONS:
INSTALLATION, OPERATIONS & MAINTENANCE MANUAL
TM
TERRAZZO-WARE SHOWER BASES
RECOMMENDED PROCEDURE.
INSTALLATION INSTRUCTIONS:
1. Cut drain pipe to extend 1-3/8" into drain body.
Drain pipe should be even with top of gasket
when installation is completed. Position Shower
Base over 2" waste pipe making sure that pipe is
centered in drain body.
2. Lubricate gasket with soap solution and stretch
over 2" pipe with letters facing up.
3. Push gasket as far as possible into joint.
4. Using a hammer and caulking tool or 1/4" X 3/4" X
6" piece of wood instead of a caulking tool, work
around the gasket with a series of blows and
gradually drive gasket into drain body until it
bottoms. Drain pipe should be even with the top
of gasket.
5. Test connection before covering or concealing. To
test: plug 2" drain and fill receptor with water.
Check for leaks. Verify proper drainage. This
must be done before finishing walls.
NOTE:
As an alternate, drain connection made be using
Lead and Oakum installed per Industry Standards
of best Practice. Verify local code requirements.
4
Incorrect Method (A) (B)
CAULKING
B
AC
TILE, ETC.
Proper Install Method (C)
A. Do not let rough wall
Material Overlap Flange.
B. Do not attach flange to
building wall.
C. Let finished wall (tile,
etc.)overlap and rest on
shoulder.
Note:
For ADA models refer to
IMPORTANT on page 1
IMPORTANT
Connection of Drain is made completed using Optional KDG2 - 2" Neoprene Flexible Drain
Gasket for 2" IPS waste pipe. Provides quick connection with inside caulk waste outlet on
shower base to 2” drain DWV plastic, Sch. 40, steel or X.H. (extra-heavy) cast iron pipe.
Requires no special tools gluing, threading or lead caulking.(Similar Industry Standard Drain
Gasket products are available off the shelf.)
Optional KDG2 -2”

This manual suits for next models

2

Other Acorn Plumbing Product manuals

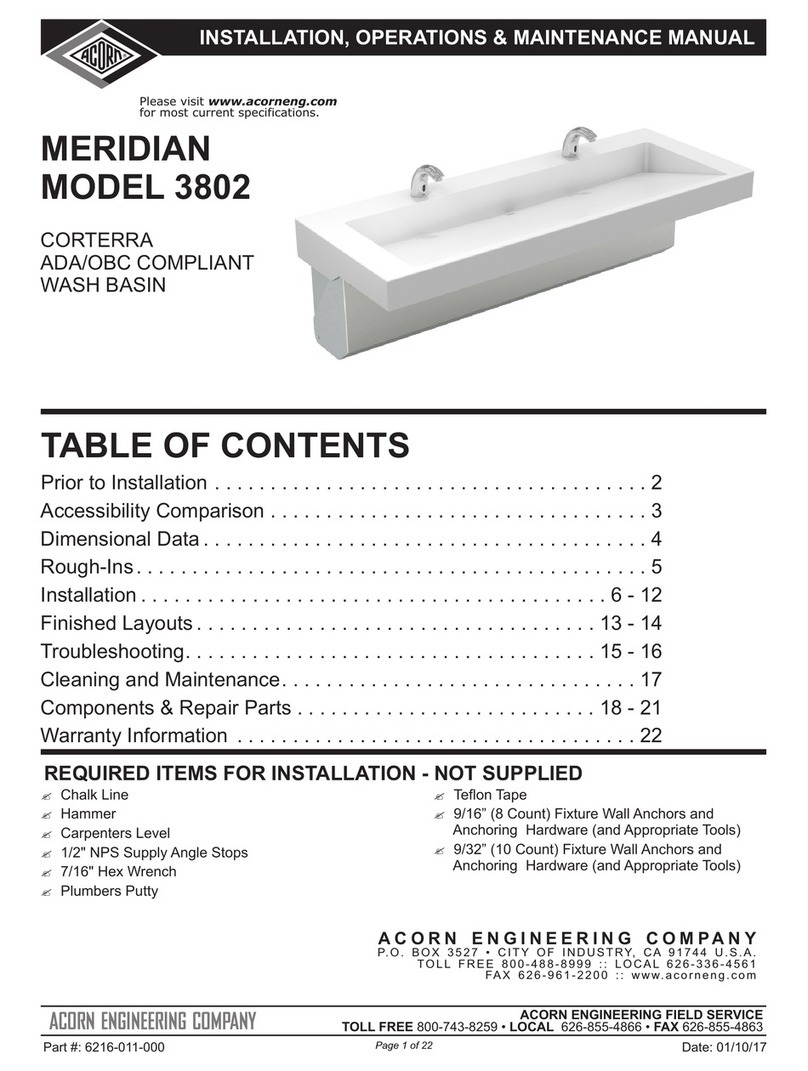
Acorn MERIDIAN 3802 Instruction manual

Acorn

Acorn MERIDIAN 3802 Instruction manual

Acorn Meridian 3792 User manual

Acorn

Acorn Meridian 3792 User manual

Acorn MERIDIAN 3752 CORTERRA Instruction manual

Acorn

Acorn MERIDIAN 3752 CORTERRA Instruction manual

Acorn MERIDIAN 3791-RO Instruction manual

Acorn

Acorn MERIDIAN 3791-RO Instruction manual

Acorn MERIDIAN 3753 Instruction manual

Acorn

Acorn MERIDIAN 3753 Instruction manual

Acorn Meridian 3792 Instruction manual

Acorn

Acorn Meridian 3792 Instruction manual

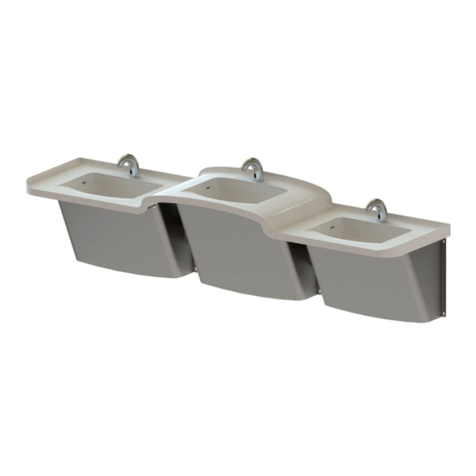
Acorn Neo-Metro WEDGE WSW130 Instruction manual

Acorn

Acorn Neo-Metro WEDGE WSW130 Instruction manual

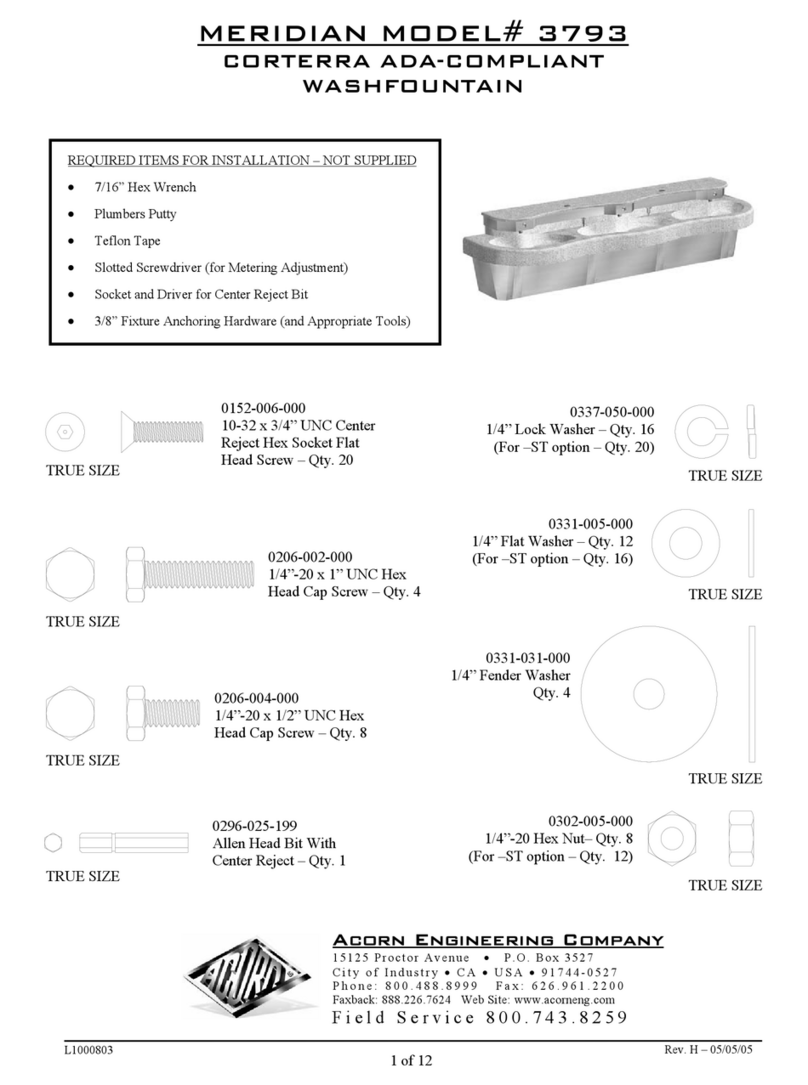
Acorn MERIDIAN 3793 Instruction manual

Acorn

Acorn MERIDIAN 3793 Instruction manual

Acorn Meridian Corterra 3751 Instruction manual

Acorn

Acorn Meridian Corterra 3751 Instruction manual

Acorn Meridian 3791-LO User manual

Acorn

Acorn Meridian 3791-LO User manual

Acorn NEO-METRO SLAB-EDGE 3802 Instruction manual

Acorn

Acorn NEO-METRO SLAB-EDGE 3802 Instruction manual

Acorn MERIDIAN 3793 User manual

Acorn

Acorn MERIDIAN 3793 User manual

Acorn MERIDIAN 3753-HLH User manual

Acorn

Acorn MERIDIAN 3753-HLH User manual

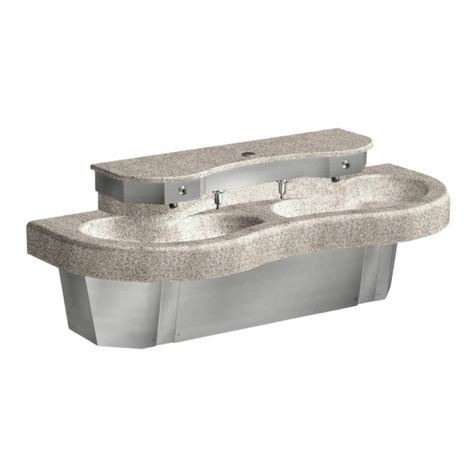
Acorn TERRAZZO-WARE Series Configuration guide

Acorn

Acorn TERRAZZO-WARE Series Configuration guide

Popular Plumbing Product manuals by other brands

LF AquaSource ML-20601 quick start guide

LF

LF AquaSource ML-20601 quick start guide

Viega Advantix base unit Instructions for use

Viega

Viega Advantix base unit Instructions for use

Hans Grohe Decor 240 2jet 31815 3 Series Instructions for use/assembly instructions

Hans Grohe

Hans Grohe Decor 240 2jet 31815 3 Series Instructions for use/assembly instructions

TLV QuickTrap FS3 instruction manual

TLV

TLV QuickTrap FS3 instruction manual

Triton Thames Installation and operating instructions

Triton

Triton Thames Installation and operating instructions

Riobel 37 Series installation guide

Riobel

Riobel 37 Series installation guide

Sanela SLU 44P Instructions for use

Sanela

Sanela SLU 44P Instructions for use

Moen ROTHBURY T923 Series Specifications

Moen

Moen ROTHBURY T923 Series Specifications

Besco VEO BB-VZ-CH installation manual

Besco

Besco VEO BB-VZ-CH installation manual

Graff CANTERBURY 2386000 Instructions for assembly and use

Graff

Graff CANTERBURY 2386000 Instructions for assembly and use

Anzzi Enti L-AZ096 Series Install & Operation Manual

Anzzi

Anzzi Enti L-AZ096 Series Install & Operation Manual

Laufen IL BAGNO ALESSI manual

Laufen

Laufen IL BAGNO ALESSI manual

Sterling Plumbing C711C Specification sheet

Sterling Plumbing

Sterling Plumbing C711C Specification sheet

Kemper 620 Installation and operating instructions

Kemper

Kemper 620 Installation and operating instructions

Signature Hardware MILAZZO 948577 manual

Signature Hardware

Signature Hardware MILAZZO 948577 manual

Glacier bay HD67688W-6004 Installation and care guide

Glacier bay

Glacier bay HD67688W-6004 Installation and care guide

Spectrum Brands Pfister Lindosa F-043-LD Quick installation guide

Spectrum Brands

Spectrum Brands Pfister Lindosa F-043-LD Quick installation guide

AmazonBasics B07F2C8L8T Guide

AmazonBasics

AmazonBasics B07F2C8L8T Guide

manuals.online logo
manuals.online logoBrands
  • About & Mission
  • Contact us
  • Privacy Policy
  • Terms and Conditions

Copyright 2025 Manuals.Online. All Rights Reserved.