manuals.online logo
Brands
  1. Home
  2. •
  3. Brands
  4. •
  5. ACRITEC
  6. •
  7. Bathroom Fixture
  8. •
  9. ACRITEC QUADRA 8R2 User manual

ACRITEC QUADRA 8R2 User manual

QUADRA 8R2
INSTALLATION MANUAL
IMPORTANT
Read all instructions
carefully before starting
the installation.
Throughly inspect
your product before
proceeding with
installation.
The warranty will be void
if the product is installed
with a conspicuous
defect.
CAUTION
To prevent leaks, silicone
must be applied on the
outside of the shower
and not inside!
Save this manual for
future reference.
COMPONENTS AND BOX CONTENTS
1
2
3
4
5
6
7
8
9
10
11
12
13
14
15
17
18
19
20
21
23
22
24
16
Note :
No. Description Qty No . De scri ption Qty
1 Trim strip 2 13 Wall fixing screw(4x30) 16
2Wall profile 2 14 Frame fixing screw(4x12) 10
3 Fixed panel 215 Handle complete inside & outside 1/1
4 Fixed panel upright seal 2 16 Nylon clip 10
5 Moving panel upright seal 2 17 Fixed panel bottom seal 4
6 Moving panel 218 Bottom double roller 4
7 Top and bottom profile 2 19 Roller stop screw(4x12) 8
8Cover caps screw (2.7 x 12) 420 Roller stop 8
9 Wall profile cover cap 221 Roller stop cap 8
10 Upright profile cover cap 222 Fixed glass clip 4
11 Top double rollers 423 Fixed glass clip screw(4x14) 4
12 Wall plug 824 Fixed glass clip cap 4
COMPONENTS AND BOX CONTENTS
No. Description Qty
1 Trim strip 2
2Wall profile 2
3 Fixed panel 2
4 Fixed panel upright seal 2
5 Moving panel upright seal 2
6 Moving panel 2
7 Top and bottom profile 2
8Cover caps screw (2.7 x 12) 4
9 Wall profile cover cap 2
10 Upright profile cover cap
2
11 Top double rollers 4
12 Wall plug 8
No. Description Qty
13 16
14 10
15 1/1
16 10
17 4
18 4
19 8
20 8
21 8
22 4
23 4
24
Wall fixing screw (4 x 30)
Frame fixing screw (4 x 12)
Handle complete inside & outside
Nylon clip
Fixed panel bottom seal
Bottom double roller
Roller stop screw (4 x 12)
Roller stop
Roller stop cap
Fixed glass clip
Fixed glass clip screw
Fixed glass clip cap 4
1
1
x1 x1
Bottom
x1 x1
x4
x4
x4
x4
x4 x4 x4 x8 x4 x4
x1x1x2x4
x4 x16
2.5mm 3mm
x16 x16 x16
4 x 30mm 4 x 12mm 2.7 x 12mm
x1x1
Tools required
• 6mm Masonry drill bit
• Power drill
• Quality silicone
• Pencil
• Spirit level and tape measure
• #2 and #1 Phillips head screw driver
• Spirit level with horizontal and vertical level indicators
• 10mm wrench
IMPORTANT - Installation Site
1.Ensure The top surface of the shower tray on which the enclosure will be installed is level in
every direction.
FIXING KIT COMPONENTS, TOOLS REQUIRED, SITE CONDITIONS
INSTALL FIXED PANEL AND GUIDING RAIL
TRAY MUST BE 100% LEVEL IN
ALL DIRECTIONS
1
s ilic one
2
s ilicone
3
TRAY MUST BE SEALED FULLY AROUND WHERE THE TRAY MEETS THE WALL.
Step 1
(7) (3).
Step 2
(23)
13).
Step 3
Ensure the shower tray is level in all
directions and is properly sealed to the
wall. The wall must be tiled down to the
top edge of the tray. Do not angle out
the bottom tile.
FIXED FRAMEWORK
Step 4
(2) 3/4” from the outside edge of the tray. Ensure
Step 5
Step 6
Drill holes with 6mm masonry drill bit and insert the wall plugs (12).
Step 7
(13)
3/4”
Φ6
4x30
4
5
6
7
I N S ID E
I N S ID E I N S ID E
A
B
C
X
Z
9
Y
10
11
8
9mm
10
I N S I D E
INSTALL MOVING PANEL
Step 8
Place the assembled frame onto the tray and slot into the wall
Step 9
Install the top and bottom double rollers (11) & (18)
To the top/bottom holes of the moving panels. See Xand Z.
(Do not over tighten screw on bottom roller as shown in Z).
rollers as shown in steps A, Band C.
Step 10
Drill 5 equally spaced holes with the included 3mm drill bit
thought the nylon (16
Step 11
1)
Note:
To ensure the correct rolling action and the magnets meet
loosening the nut slightly (max half a turn) as shown in X.
Adjust the top roller up or down with the included hex key
tighten bottom rollers to glass. See Z

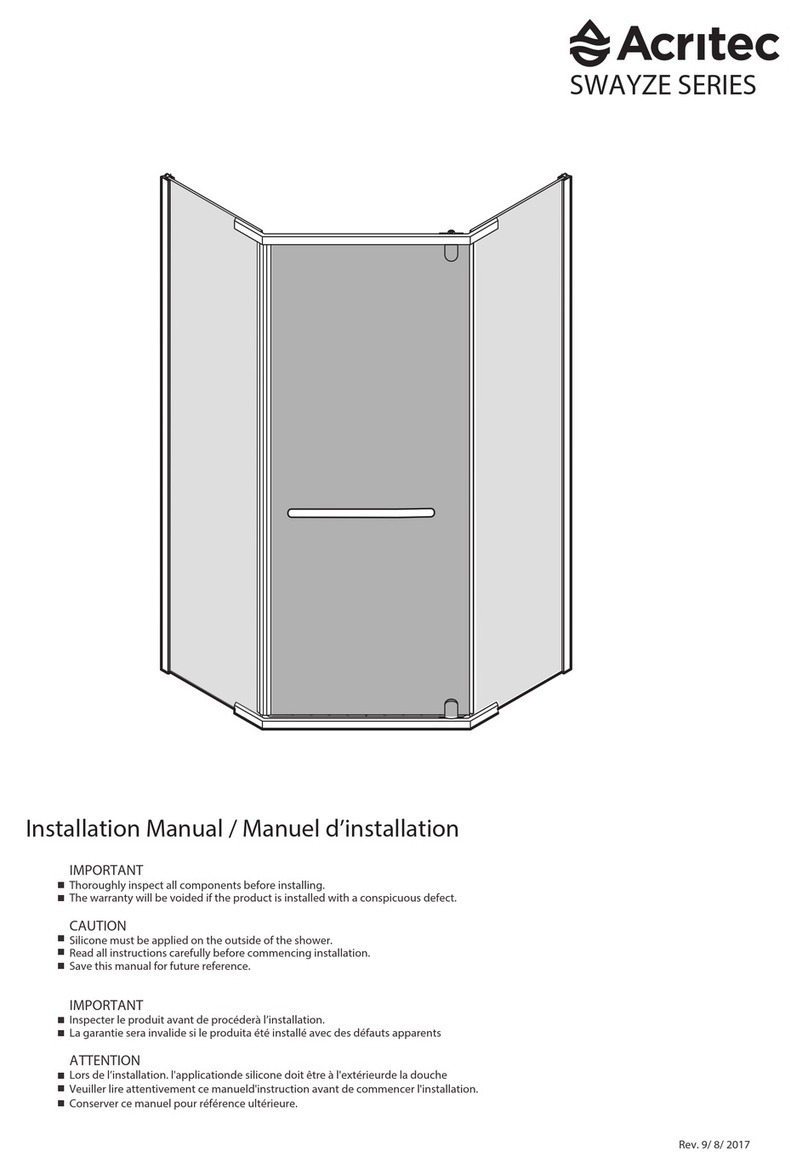
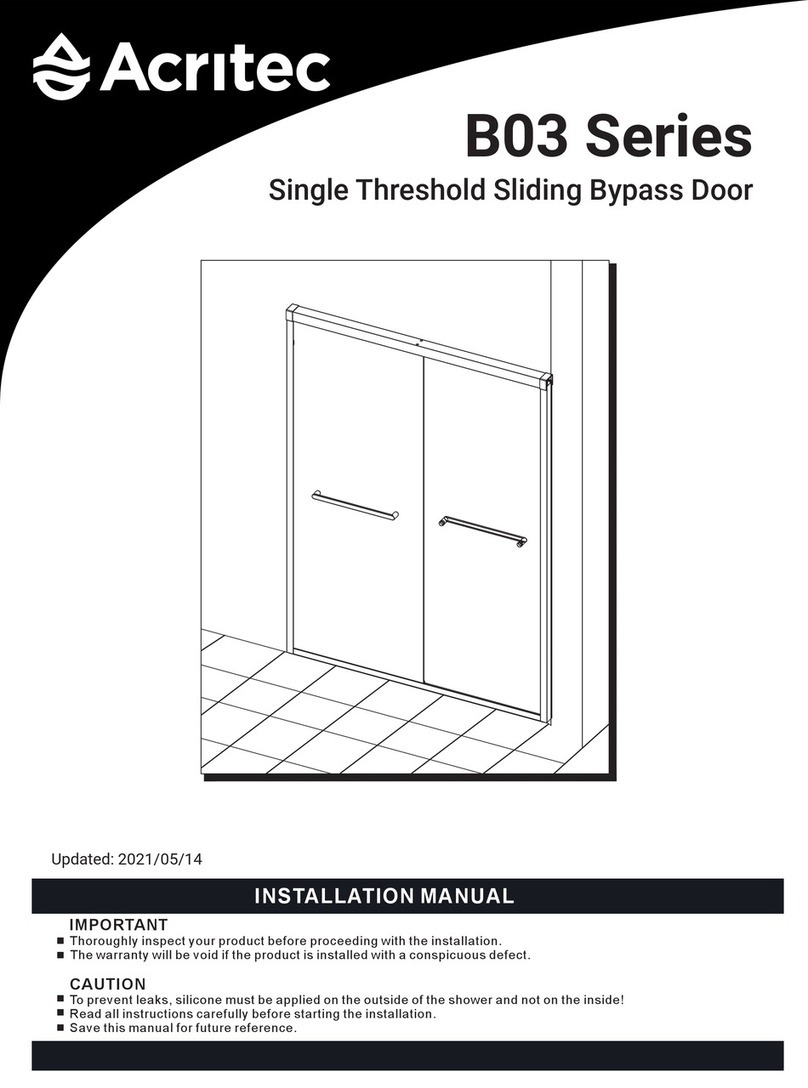
Other ACRITEC Bathroom Fixture manuals

ACRITEC CORTEZ Series User manual

ACRITEC

ACRITEC CORTEZ Series User manual

ACRITEC SWAYZE SERIES: User manual

ACRITEC

ACRITEC SWAYZE SERIES: User manual

ACRITEC B03 Series User manual

ACRITEC

ACRITEC B03 Series User manual

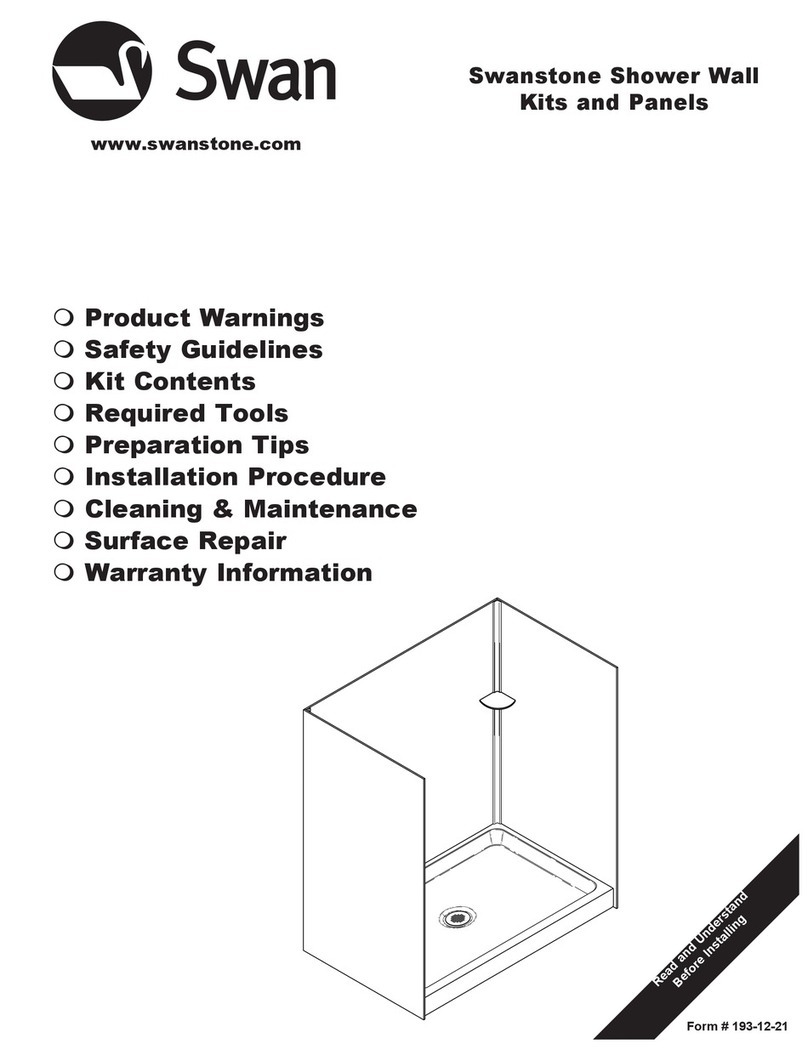
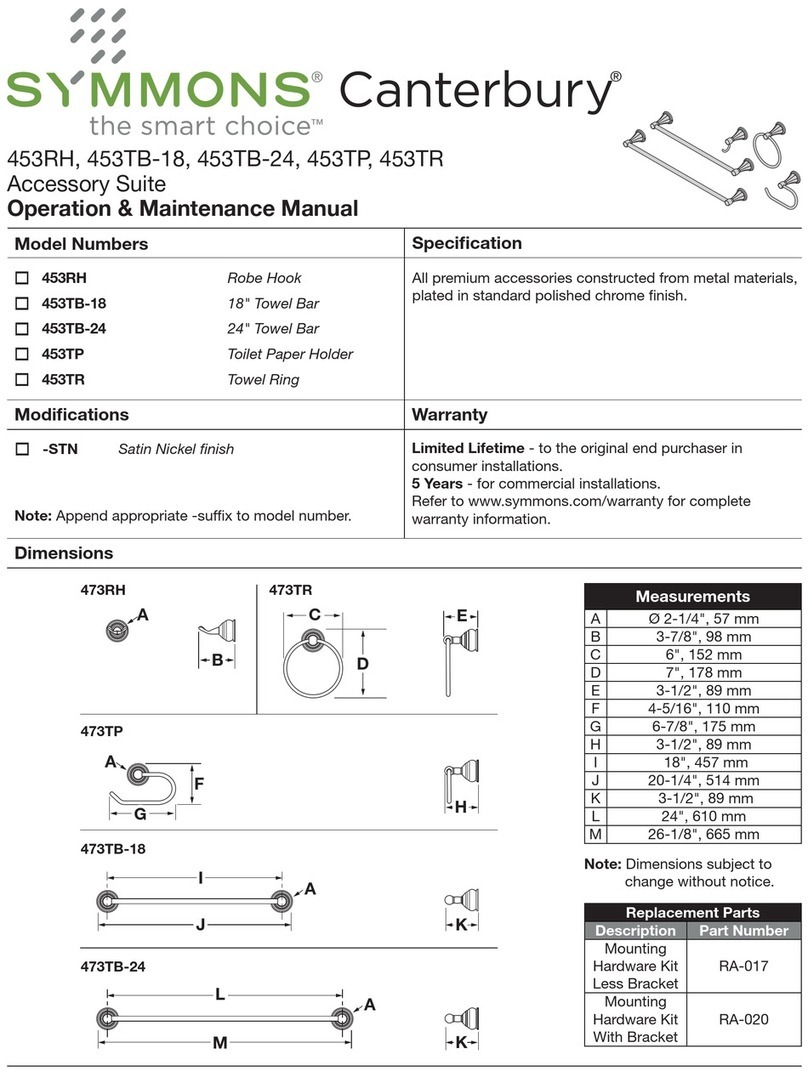
Popular Bathroom Fixture manuals by other brands
Swann Swanstone Series manual

Swann

Swann Swanstone Series manual

Symmons Canterbury 453RH Operation & maintenance manual

Symmons

Symmons Canterbury 453RH Operation & maintenance manual

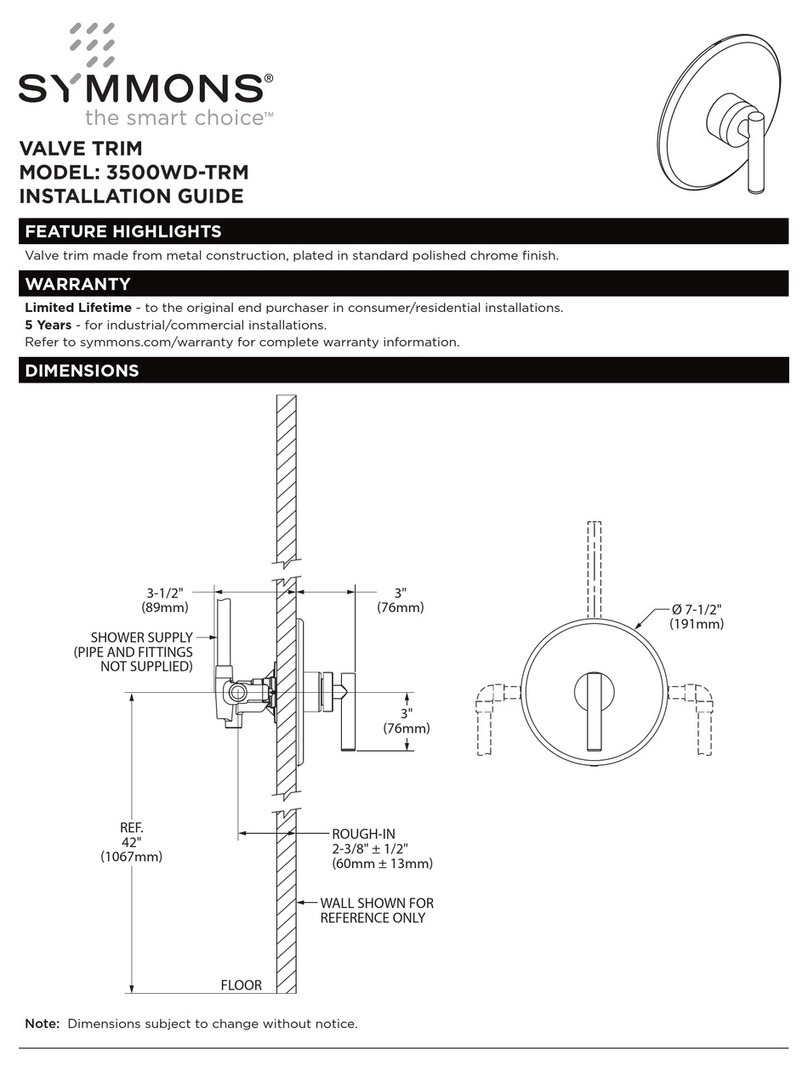
Symmons 3500WD-TRM installation guide

Symmons

Symmons 3500WD-TRM installation guide

Glacier bay HD873X-6401 Installation and care guide

Glacier bay

Glacier bay HD873X-6401 Installation and care guide

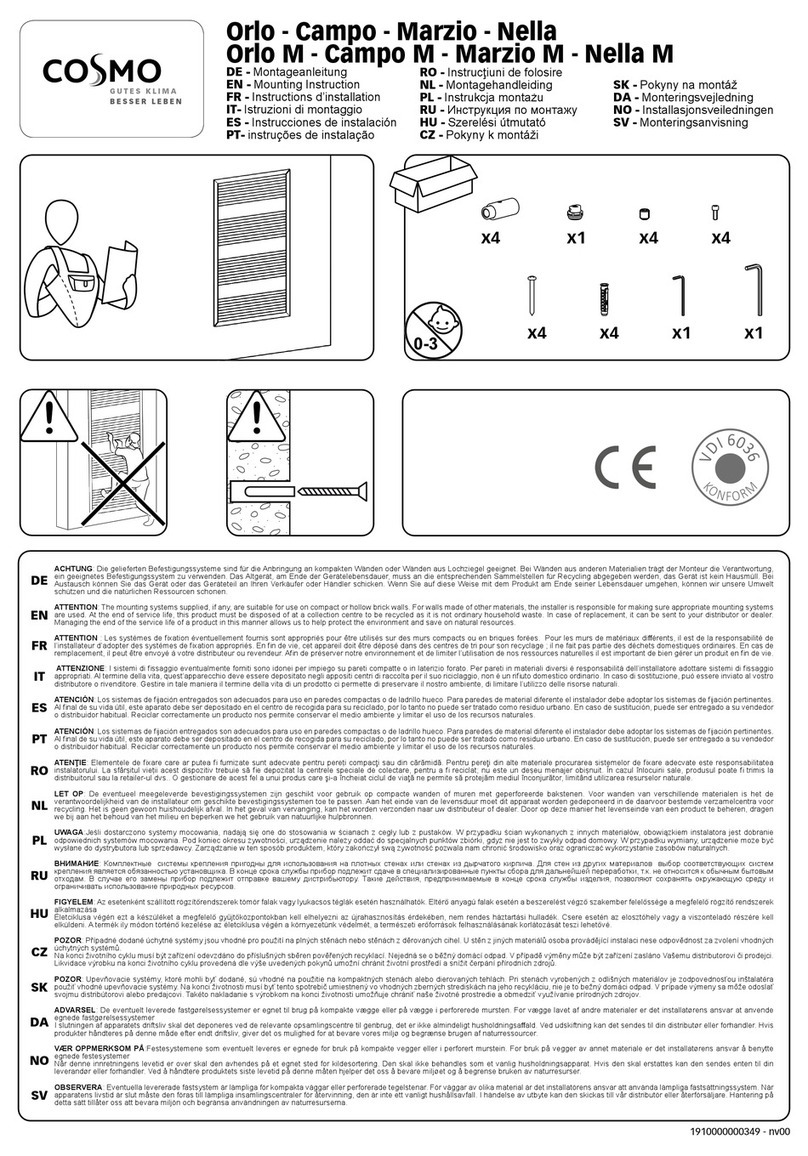
Cosmo Orlo Mounting instruction

Cosmo

Cosmo Orlo Mounting instruction

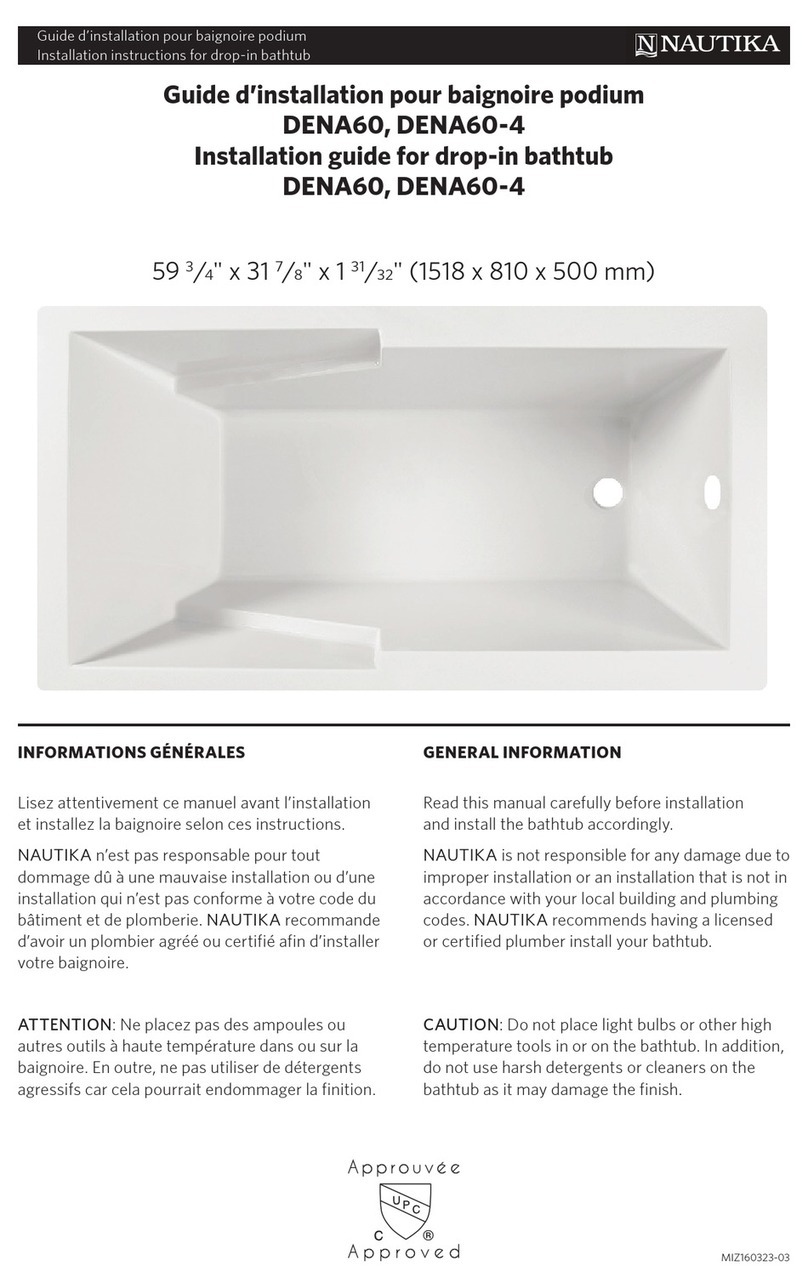
NAUTIKA DENA60 installation guide

NAUTIKA

NAUTIKA DENA60 installation guide

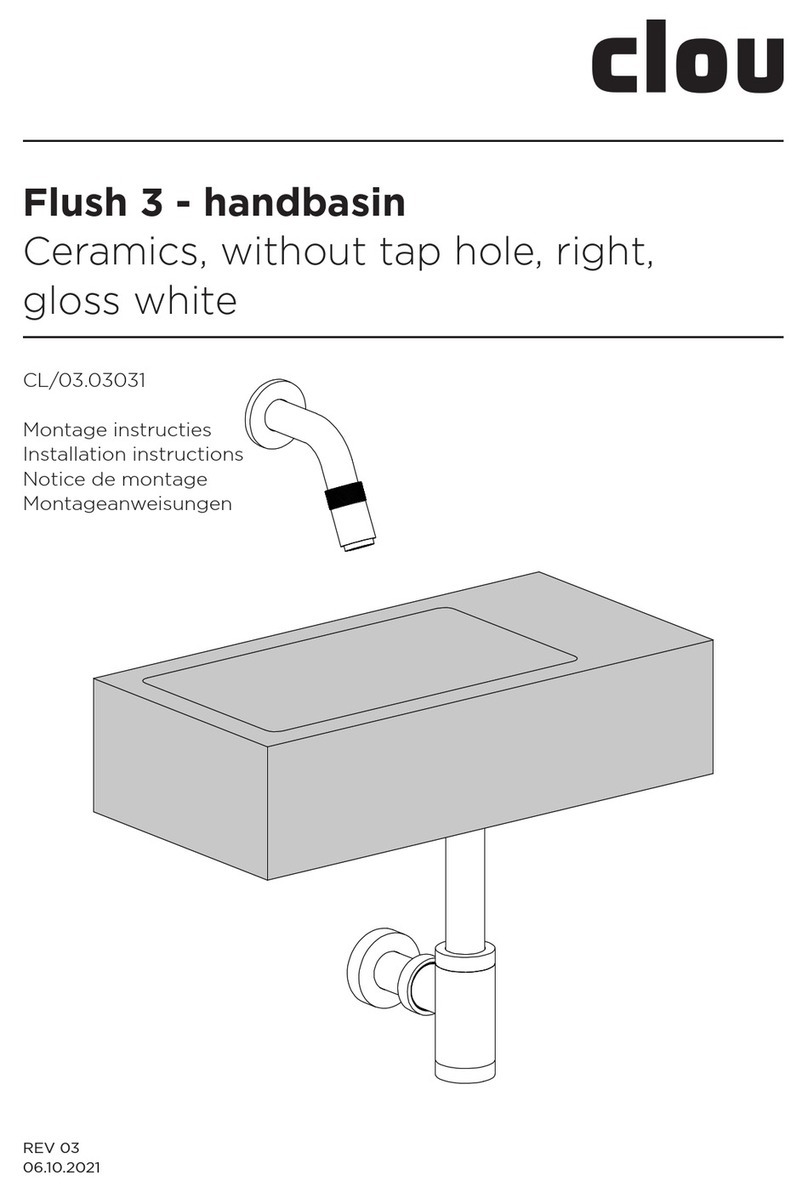
Clou flush 3 CL/03.03031 installation instructions
Clou

Clou flush 3 CL/03.03031 installation instructions

Style selections 9005SSMV instruction sheet
Style selections

Style selections 9005SSMV instruction sheet

Hans Grohe MySelect S Vario 26637400 Assembly instructions
Hans Grohe

Hans Grohe MySelect S Vario 26637400 Assembly instructions

Brizo LITZE 61054LF-BLGL manual

Brizo

Brizo LITZE 61054LF-BLGL manual

Steinbach 049020 ORIGINAL OWNER'S MANUAL

Steinbach

Steinbach 049020 ORIGINAL OWNER'S MANUAL

BEMMA TERRA 36 Assembly instructions

BEMMA

BEMMA TERRA 36 Assembly instructions

Spectrum Brands Pfister Skye F-042-SY Quick installation guide

Spectrum Brands

Spectrum Brands Pfister Skye F-042-SY Quick installation guide

Hewi 950.50.07290 Installation and operating instructions
Hewi

Hewi 950.50.07290 Installation and operating instructions

Bradley Terrazzo WF2613 Installation

Bradley

Bradley Terrazzo WF2613 Installation

Moen 52710 Series installation guide

Moen

Moen 52710 Series installation guide

Brizo Sotria 65351LF Series quick start guide

Brizo

Brizo Sotria 65351LF Series quick start guide

Hans Grohe Verso Mono 28722000 Assembly instructions

Hans Grohe

Hans Grohe Verso Mono 28722000 Assembly instructions

manuals.online logo
manuals.online logoBrands
  • About & Mission
  • Contact us
  • Privacy Policy
  • Terms and Conditions

Copyright 2025 Manuals.Online. All Rights Reserved.