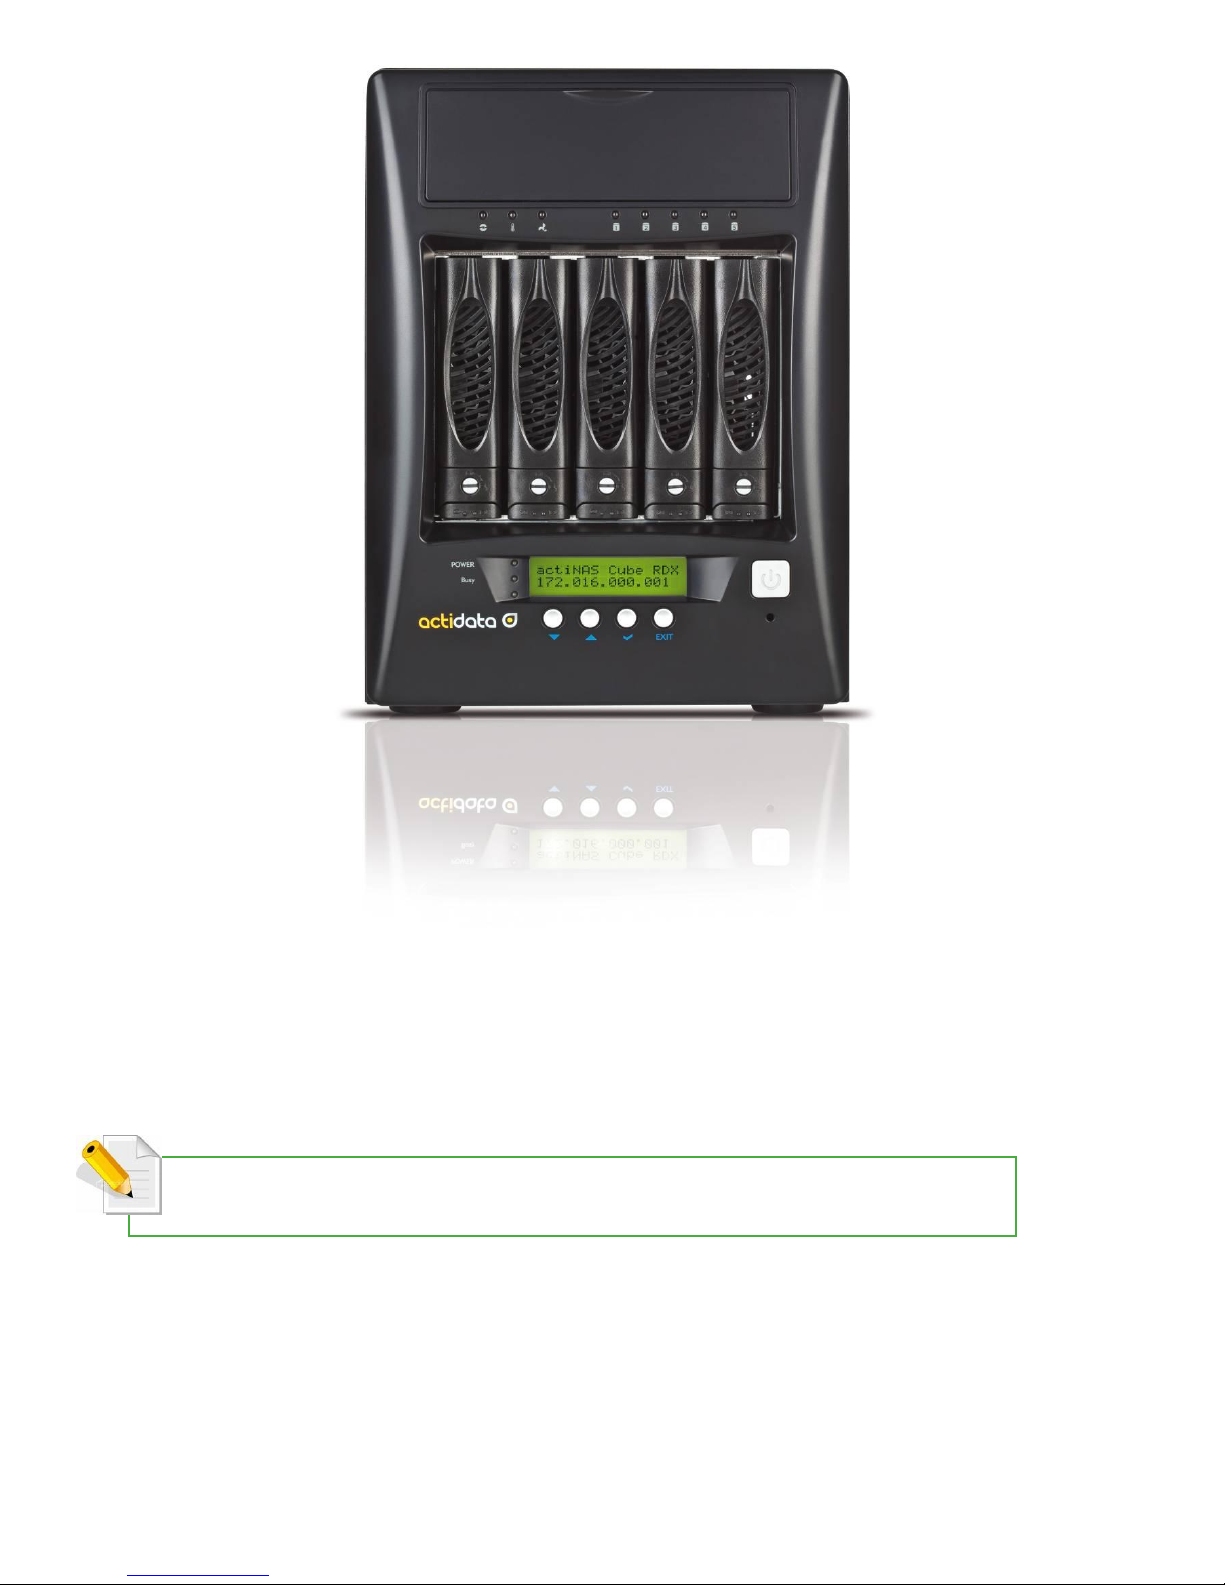
NOTE: The admin password for NAS management GUI login can be changed in Account
Account tab.................................................................................................................................................. 19
Quick Setup ............................................................................................................................................................................. 21
Overview of the NAS Setup Phases................................................................................................................................... 25
Relationship between RAID disks, Storage Pool, Volumes, and Shares ..................................................... 26
RAID disks ................................................................................................................................................................................ 26
Storage Pool............................................................................................................................................................................ 26
Volumes..................................................................................................................................................................................... 28
Shares......................................................................................................................................................................................... 29
actiNAS Manager............................................................................................................................................ 30
Storage/Share............................................................................................................................................................................... 30
RAID / Disk Information .................................................................................................................................................... 30
Create New RAID and Join Disk to Storage Pool............................................................................................ 32
Delete RAID........................................................................................................................................................................ 38
Extend RAID....................................................................................................................................................................... 40
Set a Spare Disk............................................................................................................................................................... 42
Volume....................................................................................................................................................................................... 43
Click the Volume tab. The Volume Configuration screen will be displayed....................................... 43
Join a Disk to Storage Pool........................................................................................................................................ 44
Create a Volume.............................................................................................................................................................. 45
Delete a Volume.............................................................................................................................................................. 46
Extend a Volume Capacity.......................................................................................................................................... 47
Setup Volume as iSCSI Target .................................................................................................................................. 48
Disable iSCSI Configuration in a Volume ............................................................................................................ 51
Remove iSCSI Configuration and Restore to NAS Volume......................................................................... 53
Share/Security......................................................................................................................................................................... 55
Create New Share Folder ............................................................................................................................................ 56
Assign Permission to Share ........................................................................................................................................ 61
Edit Share Folder ............................................................................................................................................................. 64
Delete Share Folder........................................................................................................................................................ 65
Accessing Share Folder from Windows Clients via Samba ......................................................................... 66
Accessing Share Folder from Linux/UNIX Clients via NFS........................................................................... 68
Accessing Share Folder from Mac Clients........................................................................................................... 70
How to Setup Rsync ...................................................................................................................................................... 72
How to Setup the NAS as RsyncServer...................................................................................................... 72
How to Setup the NAS as RsyncClient ................................................................................................................. 74
How to Setup Time Machine..................................................................................................................................... 78
Network .......................................................................................................................................................................................... 84
Device Configuration........................................................................................................................................................... 84
Click the Network icon to display the Network Device Configuration screen................................... 84