adafruit learning system ItsyBitsy 32u4 User manual

Introducing ItsyBitsy 32u4
Created by lady ada
Last updated on 2018-08-22 04:04:57 PM UTC

2
3
6
7
7
8
8
9
9
10
11
12
14
15
16
18
18
20
20
20
20
21
Guide Contents
Guide Contents
Overview
Pinouts
Which do you have?
Power Pins
Adafruit LiIon/LiPoly Backpack Add-On for Pro Trinket/ItsyBitsy
5V Power Pins
3V Power Pins
Logic pins
Other Pins!
Arduino IDE Setup
https://adafruit.github.io/arduino-board-index/package_adafruit_index.json
Using with Arduino IDE
Install Drivers (Windows Only)
Blink
Manually bootloading
Ubuntu & Linux Issue Fix
Downloads
Files
Bootloaders
ItsyBitsy 3V
ItsyBitsy 5V
© Adafruit Industries https://learn.adafruit.com/introducting-itsy-bitsy-32u4 Page 2 of 22

Overview
What's smaller than a Feather but larger than a Trinket? It's an ItsyBitsy! Small, powerful, Arduino-compatible - this
microcontroller board is perfect when you want something very compact, but still with a bunch of pins.
ItsyBitsy 32u4 is only 1.4" long by 0.7" wide, but has 6 power pins, 6 analog & digital pins and 17 digital pins. It packs
much of the same capability as an Arduino UNO. So it's great once you've finished up a prototype on a bigger Arduino,
and want to make the project much smaller.
© Adafruit Industries https://learn.adafruit.com/introducting-itsy-bitsy-32u4 Page 3 of 22

The ItsyBitsy 32u4 uses the Atmega32u4 chip, which is the same core chip in the Arduino Leonardo as well as the
same chip we use in our Feather 32u4. The 5V 16 MHz It runs at the same speed and voltage of an Arduino UNO or
Leonardo. The 3V 8 MHz version is the same speed and voltage as a Feather 32u4. So you'll be happy to hear that
not only is Itsy Bitsy programmable using the Arduino IDE as you already set up, but a vast number of Arduino projects
will work out of the box!
We recommend this as an upgrade from the Pro Trinkets (https://adafru.it/dUf) because this has native USB so it will
work with all computers, USB serial debugging, and a more reliable bootloader. You can even use the Pro Trinket LiPo
backpack with this board to add recharge-able battery. (https://adafru.it/e0w)
Here's some handy specifications:
ATmega32u4 onboad chip in QFN package
USB bootloader with a nice LED indicator, AVR109 compatible (same as Flora, Feather 32u4, Leonardo, etc)
Micro-USB jack for power, USB uploading and debugging, you can put it in a box or tape it up and use any Micro
USB cable for when you want to reprogram.
Can act as a USB HID Keyboard, Mouse, MIDI or plain USB 'CDC' serial device (default)
Power with either USB or external output (such as a battery) into VBAT pin - it'll automatically switch over
On-board red pin #13 LED
23 GPIO total - 6 analog in, 1x SPI port, 1x I2C port, 1x Hardware Serial port and 10 more GPIO, 4 of which have
PWM
Can drive NeoPixels, connect to sensors, servos, etc.
Reset button for entering the bootloader or restarting the program.
For the 5V version:
5V power and logic, 16MHz clock rate, 2KB RAM and 28K FLASH
On-board 5.0V power regulator with 150mA output capability and ultra-low dropout. Up to 16V input, reverse-
© Adafruit Industries https://learn.adafruit.com/introducting-itsy-bitsy-32u4 Page 4 of 22

polarity protection, thermal and current-limit protection.
Low current 3.3V regulator output from chip, for small sensors
For the 3V version:
We have two special pins on the 3V version of this board. There's a VHigh pin, this pin is a power pin whose voltage is
the
higher
of VBAT and VUSB. We also made the digital #5 pin extra special on this board, it connects to a level shifter
so it is
only an output
but the output is that 'high logic'. Basically what this means is if you want to drive NeoPixels, a
picky servo, or a high-dropout-voltage LED from this board, and you want a 5V-logic-level output, this pin is the one
you should use!
3.3V power and logic, 8 MHz clock rate, 2KB RAM and 28K FLASH
On-board 3.3V power regulator with 500mA output capability and ultra-low dropout. Up to 6V input, reverse-
polarity protection, thermal and current-limit protection.
Special Vhigh output pin gives you the higher voltage from VBAT or VUSB, for driving NeoPixels, servos, and
other high-current devices. Digital 5 level-shifted output for high-voltage logic level output.
Once headers are installed they can be fitted into 0.6" wide sockets (https://adafru.it/ync)
© Adafruit Industries https://learn.adafruit.com/introducting-itsy-bitsy-32u4 Page 5 of 22

Pinouts
The ItsyBitsy 32u4's come in two flavors - 5V and 3V.
The pinouts for these are very similar except for the power pins which have different voltages!
© Adafruit Industries https://learn.adafruit.com/introducting-itsy-bitsy-32u4 Page 6 of 22

Which do you have?
Look in the middle of the board, you'll see either 32u4
3V 8MHz or 32u4 5V 16 MHz
Power Pins
Both ItsyBitsy 32u4's have BAT G USB on the top left, right next to the micro USB port
These pins are:
BAT - battery
input
for an alternative power source to USB.
On the 5V itsy, this pin can be 5.5-16VDC
© Adafruit Industries https://learn.adafruit.com/introducting-itsy-bitsy-32u4 Page 7 of 22

On the 3V Itsy, we have a different regulator, so the voltage can only be from 3.5V to 6VDC
GND - Power/data ground
USB - This is the same pin as the MicroUSB connector's 5V USB power pin. This should be used as an
output
to
get 5V power from the USB port. Say if you need to power a bunch of NeoPixels or servos.
You can always put any voltage you like into BAT and the circuitry will switch between BAT and USB dynamically for
you. That means you can have a Batter backup that only gets enabled when USB is disconnected.
If you want to add rechargeable power, a LiPoly backpack can be soldered into these three pins that will let you have a
battery that is
automatically recharged
whenever USB is plugged in, then switches to LiPoly when on the go:
5V Power Pins
In addition to the three standard power pins, the 5V ItsyBitsy has a few more pins available for power sourcing:
5V - this is the regulated output from the onboard regulator
or
the USB connection (if its powered!) You can draw
500mA when USB is connected, or up to 150mA when on battery.
3V - this power pin is in the bottom right corner. It is a small 3V output from the on-chip regulator. It's very low
current, we don't recommend drawing more than maybe 10 mA from this, but it can run small sensors!
EN - connected to the regulator enable, it will let you shut off power -
when running on battery only
. But at least
you don't have to cut a trace or wire to your battery. This pin does not affect power when using USB
Adafruit LiIon/LiPoly Backpack Add-On for Pro
Trinket/ItsyBitsy
$4.95
IN STOCK
ADD TO CART
© Adafruit Industries https://learn.adafruit.com/introducting-itsy-bitsy-32u4 Page 8 of 22

G - these are all Ground pins
3V Power Pins
In addition to the three standard power pins, the 3V ItsyBitsy has a few more pins available for power sourcing:
3V - this is the regulated output from the onboard regulator. You can draw 500mA whether powered by USB or
battery.
Vhi - this is a special pin! It is a dual-Schottkey-diode connected output from BAT and USB. This means this will
always have the higher-of-the-two voltages, but will always have power output. The voltage will
about
5VDC
when powered by USB, but can range from 3.5-6VDC when powered from battery. It's not regulated, but it is
high-current, great for driving servos and NeoPixels.
EN - connected to the regulator enable, it will let you shut off power -
when running on battery only
. But at least
you don't have to cut a trace or wire to your battery. This pin does not affect power when using USB
G - these are all Ground pins
Logic pins
This is the general purpose I/O pin set for the microcontroller. All logic is 3.3V on the 3V Itsy, and 5V on the 5V Itsy.
You can usually use 3V logic as an input to 5V,
but
the 3V Itsy pins should not be connected to 5V!
Along the right edge
#0 / RX - GPIO #0, also receive (input) pin for Serial1 and Interrupt #2
#1 / TX - GPIO #1, also transmit (output) pin for Serial1 and Interrupt #3
#2 / SDA - GPIO #2, also the I2C (Wire) data pin. There's no pull up on this pin by default so when using with I2C,
you may need a 2.2K-10K pullup. Also Interrupt #1
#3 / SCL - GPIO #3, also the I2C (Wire) clock pin. There's no pull up on this pin by default so when using with I2C,
you may need a 2.2K-10K pullup. Can also do PWM output and act as Interrupt #0.
#5 - GPIO #5, can also do PWM output. On the 3.3V ItsyBitsy this is a special OUTPUT-only pin, that is level-
shifted up to Vhi voltage, so its perfect for driving NeoPixels that want a ~5V logic level input.
#7 - GPIO #7. Also hardware Interrupt #4
#9 - GPIO #9, also analog input A9 and can do PWM output.
#10 - GPIO #10, also analog input A10 and can do PWM output.
© Adafruit Industries https://learn.adafruit.com/introducting-itsy-bitsy-32u4 Page 9 of 22

#11 - GPIO #11, can do PWM output.
#12 - GPIO #12, also analog input A11
#13 - GPIO #13, can do PWM output and is connected to the red LED next to the Reset button
Along the left edge
A0 thru A5 - These are each analog input as well as digital I/O pins.
SCK/MOSI/MISO - These are the hardware SPI pins, you can use them as everyday GPIO pins but recommend
keeping them free as they are best used for hardware SPI connections for high speed. Also used to reprogram
the chip with an AVR programmer if you need.
Along the short edge:
#4 - GPIO #4, also analog input A6
#6 - GPIO #6, can also do PWM output and analog input A7
#8 - GPIO #8, also analog input A8
Other Pins!
RST - this is the Reset pin, tie to ground to manually reset the AVR, as well as launch the bootloader manually
ARef - the analog reference pin. Normally the reference voltage is the same as the chip logic voltage (3.3V or
5V) but if you need an alternative analog reference, connect it to this pin and select the external AREF in your
firmware. Don't set it higher than the logic level of the Itsy!
© Adafruit Industries https://learn.adafruit.com/introducting-itsy-bitsy-32u4 Page 10 of 22

Arduino IDE Setup
The first thing you will need to do is to download the latest release of the Arduino IDE. You will need to be using
version 1.8 or higher for this guide
https://adafru.it/f1P
https://adafru.it/f1P
After you have downloaded and installed the latest version of Arduino IDE, you will need to start the IDE and navigate
to the Preferences menu. You can access it from the File menu in
Windows
or
Linux
, or the Arduino menu on
OS X
.
A dialog will pop up just like the one shown below.
© Adafruit Industries https://learn.adafruit.com/introducting-itsy-bitsy-32u4 Page 11 of 22

We will be adding a URL to the new Additional Boards Manager URLs option. The list of URLs is comma separated,
and
you will only have to add each URL once.
New Adafruit boards and updates to existing boards will automatically
be picked up by the Board Manager each time it is opened. The URLs point to index files that the Board Manager uses
to build the list of available & installed boards.
To find the most up to date list of URLs you can add, you can visit the list of third party board URLs on the Arduino IDE
wiki (https://adafru.it/f7U). We will only need to add one URL to the IDE in this example, but
you can add multiple URLS
by separating them with commas
. Copy and paste the link below into the Additional Boards Manager URLs option in
the Arduino IDE preferences.
https://adafruit.github.io/arduino-board-index/package_adafruit_index.json
© Adafruit Industries https://learn.adafruit.com/introducting-itsy-bitsy-32u4 Page 12 of 22

Here's a short description of each of the Adafruit supplied packages that will be available in the Board Manager when
you add the URL:
Adafruit AVR Boards - Includes support for Flora, Gemma, Feather 32u4, Trinket, & Trinket Pro.
Adafruit SAMD Boards - Includes support for Feather M0 and M4, Metro M0 and M4, ItsyBitsy M0 and M4,
Circuit Playground Express, Gemma M0 and Trinket M0
Arduino Leonardo & Micro MIDI-USB - This adds MIDI over USB support for the Flora, Feather 32u4, Micro and
Leonardo using the arcore project (https://adafru.it/eSI).
If you have multiple boards you want to support, say ESP8266 and Adafruit, have both URLs in the text box separated
by a comma (,)
Once done click OK to save the new preference settings. Next we will look at installing boards with the Board
Manager.
Now continue to the next step to actually install the board support package!
© Adafruit Industries https://learn.adafruit.com/introducting-itsy-bitsy-32u4 Page 13 of 22

Using with Arduino IDE
Since the ItsyBitsy 32u4 uses an ATmega32u4 chip running at 8 or 16 MHz, you can pretty easily get it working with
the Arduino IDE. Many libraries (including the popular ones like NeoPixels and display) work great with the '32u4 and
8/16 MHz clock speed.
Now that you have added the appropriate URLs to the Arduino IDE preferences, you can open the Boards Manager by
navigating to the Tools->Board menu.
Once the Board Manager opens, click on the category drop down menu on the top left hand side of the window and
select Contributed. You will then be able to select and install the boards supplied by the URLs added to the
prefrences. In the example below, we are installing support for
Adafruit AVR Boards
, but the same applies to all
boards installed with the Board Manager.
Next, quit and reopen the Arduino IDE to ensure that all of the boards are properly installed. You should now be able
to select and upload to the new boards listed in the Tools->Board menu.
© Adafruit Industries https://learn.adafruit.com/introducting-itsy-bitsy-32u4 Page 14 of 22

Install Drivers (Windows Only)
When you plug in the Feather, you'll need to possibly install a driver
Click below to download our Driver Installer
https://adafru.it/AB0
https://adafru.it/AB0
Download and run the installer
Run the installer! Since we bundle the SiLabs and FTDI drivers as well, you'll need to click through the license
© Adafruit Industries https://learn.adafruit.com/introducting-itsy-bitsy-32u4 Page 15 of 22

Select which drivers you want to install:
Click Install to do the installin'
Blink
Now you can upload your first blink sketch!
© Adafruit Industries https://learn.adafruit.com/introducting-itsy-bitsy-32u4 Page 16 of 22

Plug in the ItsyBitsy 32u4 and wait for it to be recognized by the OS (just takes a few seconds). It will create a
serial/COM port, you can now select it from the dropdown!
Now load up the Blink example
© Adafruit Industries https://learn.adafruit.com/introducting-itsy-bitsy-32u4 Page 17 of 22

And click upload! That's it, you will be able to see the LED blink rate change as you adapt the delay() calls.
Manually bootloading
If you ever get in a 'weird' spot with the bootloader, or you have uploaded code that crashes and doesn't auto-reboot
into the bootloader, click the RST button to get back into the bootloader. The red LED will pulse, so you know that its
in bootloader mode. Do the reset button press right as the Arduino IDE says its attempting to upload the sketch, when
you see the Yellow Arrow lit and the Uploading... text in the status bar.
Don't click the reset button before uploading, unlike other bootloaders you want this one to run at the time Arduino is
trying to upload
Ubuntu & Linux Issue Fix
Note if you're using Ubuntu 15.04 (or perhaps other more recent Linux distributions) there is an issue with the modem
manager service which causes the ATmega32u4 micro to be difficult to program. If you run into errors like "device or
resource busy", "bad file descriptor", or "port is busy" when attempting to program then you are hitting this
issue. (https://adafru.it/sHE)
The fix for this issue is to make sure Adafruit's custom udev rules are applied to your system. One of these rules is
// the setup function runs once when you press reset or power the board
void setup() {
// initialize digital pin 13 as an output.
pinMode(13, OUTPUT);
}
// the loop function runs over and over again forever
void loop() {
digitalWrite(13, HIGH); // turn the LED on (HIGH is the voltage level)
delay(1000); // wait for a second
digitalWrite(13, LOW); // turn the LED off by making the voltage LOW
delay(1000); // wait for a second
}
© Adafruit Industries https://learn.adafruit.com/introducting-itsy-bitsy-32u4 Page 18 of 22

Downloads
Files
EagleCAD files for both 3V and 5V 32u4 ItsyBitsy's (https://adafru.it/BkS)
Fritzing files for both types in the Adafruit Fritzing library (https://adafru.it/aP3)
Bootloaders
https://adafru.it/Apx
https://adafru.it/Apx
https://adafru.it/Apy
https://adafru.it/Apy
ItsyBitsy 3V
Schematic & Fabrication print
The 3.3V schematic regulator should be AP2112K-3.3
© Adafruit Industries https://learn.adafruit.com/introducting-itsy-bitsy-32u4 Page 20 of 22
Table of contents
Other adafruit learning system Microcontroller manuals
Popular Microcontroller manuals by other brands

Altera
Altera Cyclone III user guide
Texas Instruments
Texas Instruments CC1120 quick start guide
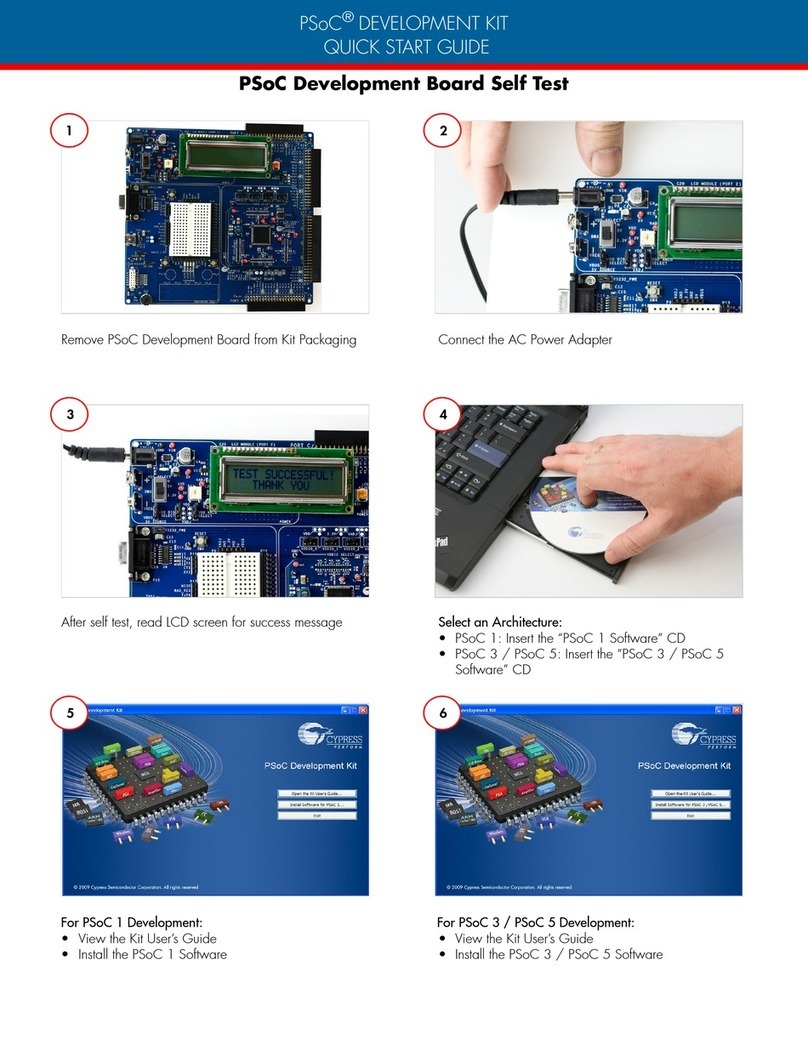
Cypress
Cypress CY8CKIT-001 quick start guide
mikroElektronika
mikroElektronika mikromedia for ARM user guide
NXP Semiconductors
NXP Semiconductors MKL27Z128VFM4 Reference manual
Atmel
Atmel AVR042 Application note

