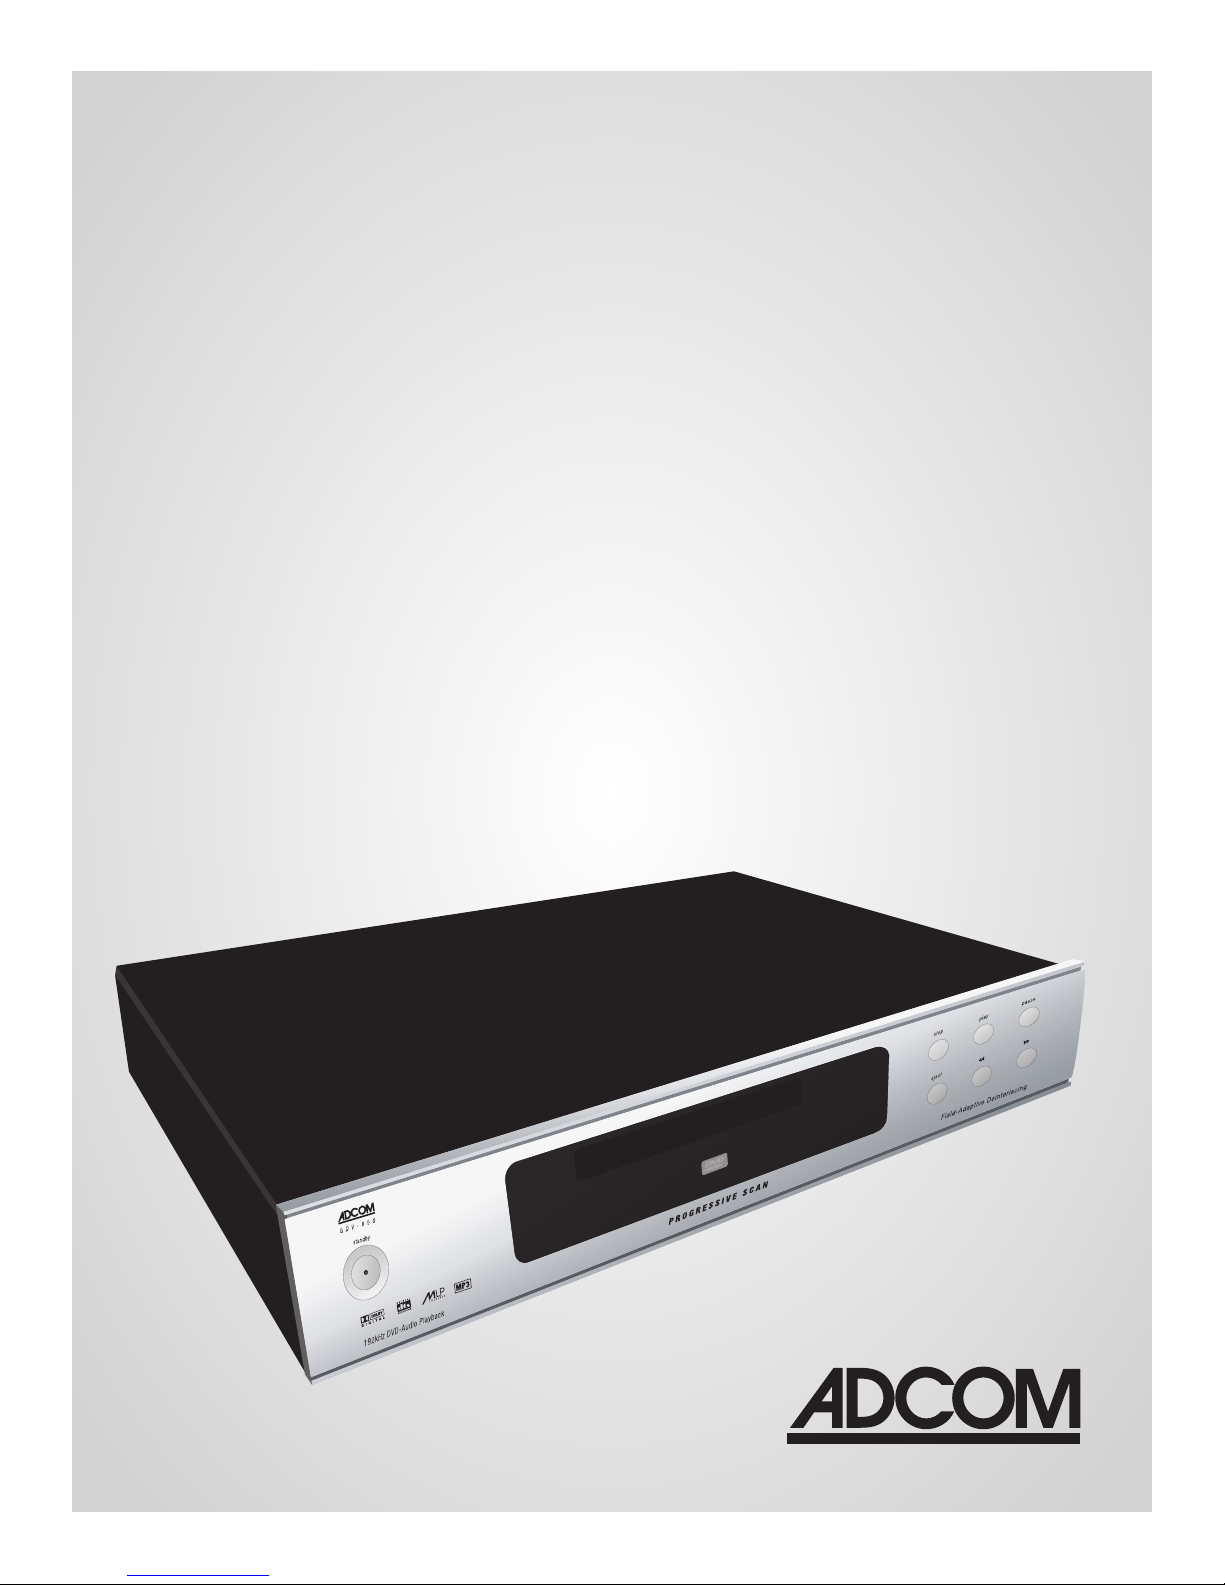
| ADCOM GDV-850 Owner’s Manual4
5ADCOM GDV-850 Owner’s Manual |
Unpacking the GDV-850
Before your new ADCOM DVD player left
our factory, it was carefully inspected
for physical imperfections and tested
for all electrical parameters as a
routine part of ADCOM’s systematic
quality control. This, along with full
operational and mechanical testing,
should ensure a product awless in
both appearance and performance.
After you have unpacked the GDV-850,
inspect it for physical damage. Save
the shipping carton and all packing
material as they are intended to
reduce the possibility of transportation
damage should the DVD player ever
need to be shipped again. In the
unlikely event damage has occurred,
notify your dealer immediately and
request the name of the carrier so
a written claim to cover shipping
damages can be initiated. The right to
a claim against a public carrier can be
forfeited if the carrier is not notied
promptly in writing and if the shipping
carton and packing materials are not
available for inspection by the carrier.
Save all packing materials until the
claim has been settled.
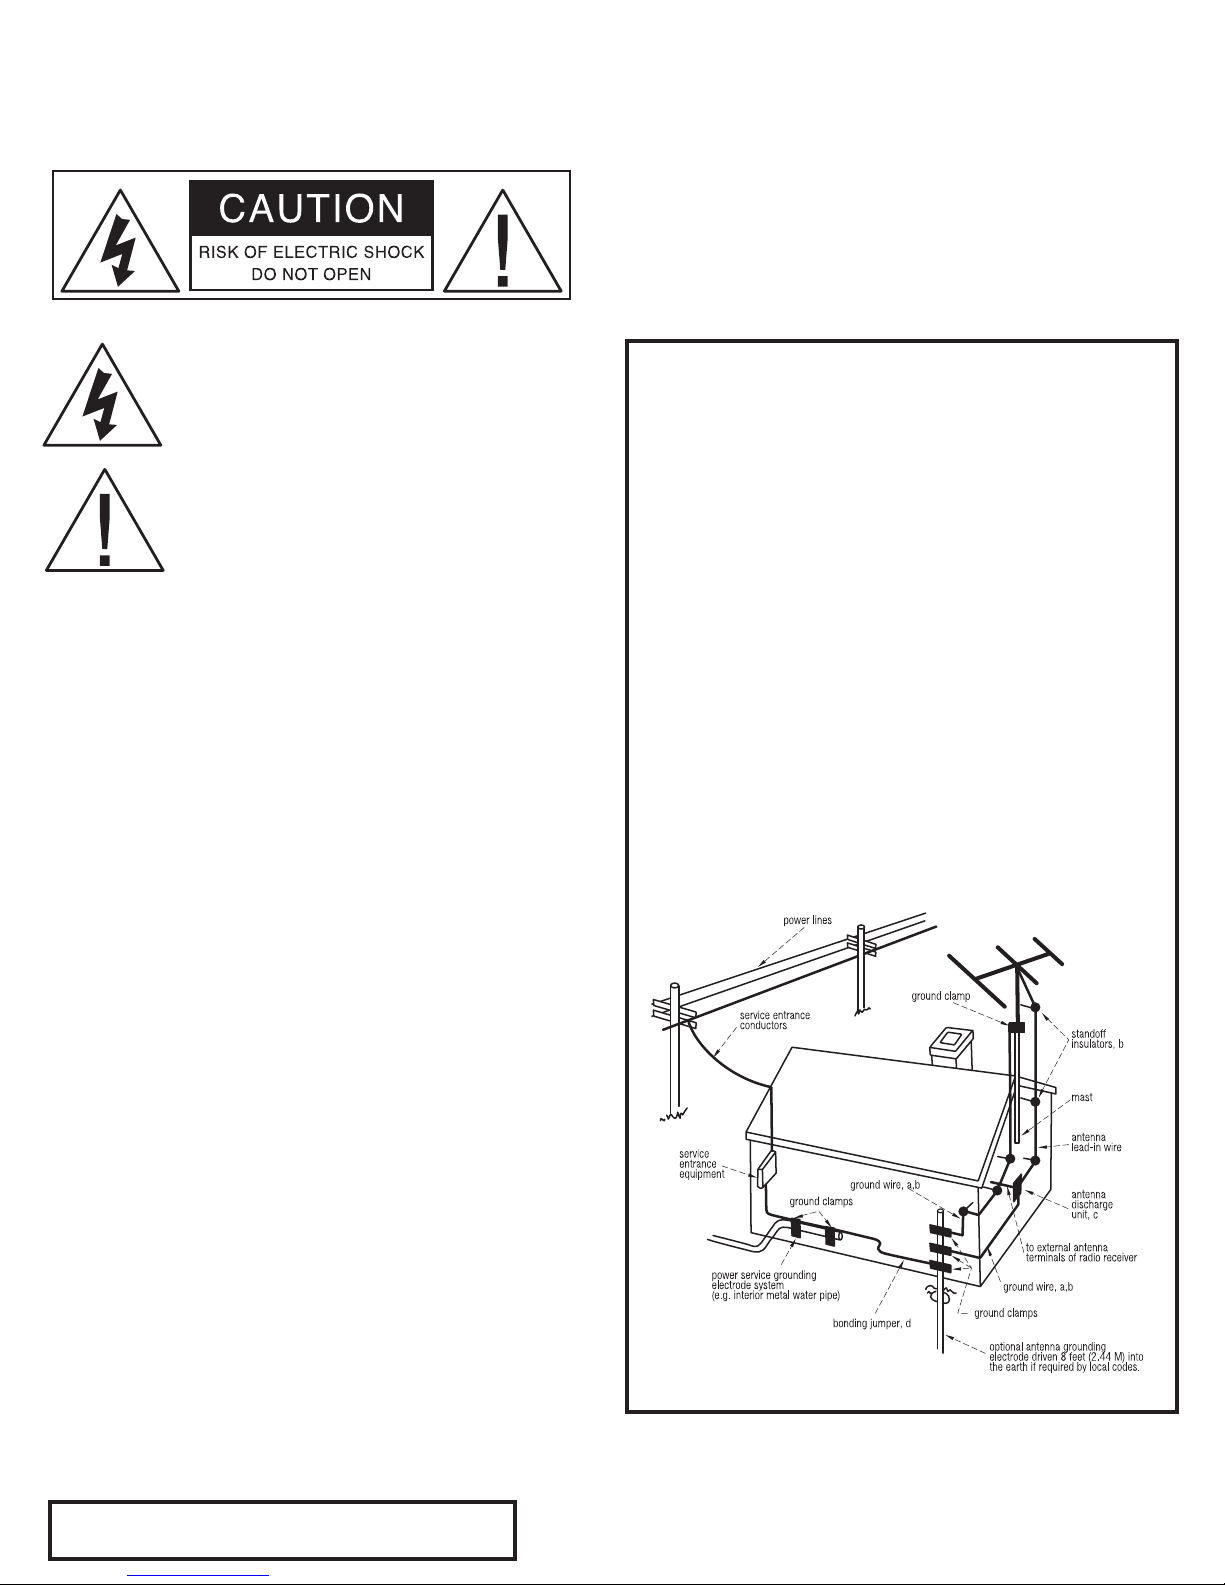
Safety Instructions
DANGER: Visible and invisible laser
radiation when open and interlock
failed or defeated. Avoid direct
exposure to beam.
WARNING: There are no user
serviceable parts inside. Refer
all servicing to qualied service
personnel.
WARNING: To reduce the risk of re
or electric shock, do not expose the
unit to moisture or water. Do not
allow foreign objects to get into the
enclosure. If the unit is exposed to
moisture, or a foreign object gets into
the enclosure, immediately disconnect
the power cord from the wall. Take the
unit to a qualied service person for
inspection and necessary repairs. Read
all the instructions before connecting
or operating the component. Keep
this manual so you can refer to these
safety instructions. Heed all warnings
and safety information in these
instructions and on the product itself.
Follow all operating instructions. Clean
the enclosure only with a dry cloth or a
vacuum cleaner. You must allow 10 cm
or 4 inches of unobstructed clearance
around the unit. Do not place the unit
on a bed, sofa, rug, or similar surface
that could block the ventilation
openings. If the unit is placed in a
bookcase or cabinet, there must be
ventilation of the cabinet to allow
proper cooling. Keep the component
away from radiators, heat registers,
stoves, or any other appliance that
produces heat.
The unit must be connected to a power
supply only of the type and voltage
specied on the rear panel. Connect
the component to the power outlet
only with the supplied power supply
cable or an exact equivalent. Do not
modify the supplied cable. Do not
defeat grounding and/or polarization
provisions. The cable should be
connected to a 3-pin polarized wall
outlet, matching the wide blade of the
plug to the wide slot of the receptacle.
Do not use extension cords. Do not
route the power cord where it will
be crushed, pinched, bent, exposed
to heat, or damaged in any way. Pay
particular attention to the power cord
at the plug and where it exits the back
of the unit. The power cord should be
unplugged from the wall outlet if the
unit is to be left unused for a long
period of time. Immediately stop using
the component and have it inspected
and/or serviced by a qualied service
agency if:
• the power supply cord or plug has
been damaged;
• objects have fallen or liquid has
been spilled into the unit;
• the unit has been exposed to rain;
• the unit shows signs of improper
operation; or
• the unit has been dropped or
damaged in any way.
FCC Information: This equipment
has been tested and found to comply
with the limits for a Class B digital
device, pursuant to Part 15 of the
FCC Rules. These limits are designed
to provide reasonable protection
against harmful interference in
a residential installation. This
equipment generates, uses and
can radiate radio frequency energy
and, if not installed and used in
accordance with the instruction, may
cause harmful interference to radio
communications. However, there is
no guarantee that interference will
not occur in a particular installation.
If this equipment does cause harmful
interference to radio or television
reception, which can be determined
by turning the equipment off and
on, the user is encouraged to try to
correct the interference by one or
more of the following measures:
• Reorient or relocate the receiving
antenna.(TV, radio, etc.)
• Increase the separation between
the equipment and receiver
• Connect the equipment to an outlet
on circuit different from that to
which the receiver is connected.
• Consult the dealer or an
experienced radio/TV technician
for additional help.
Caution: This device complies with
part 15 of the FCC Rules operation is
subject to the following to conditions:
(1) This device may not cause harmful
interference, and (2) this device must
accept any interference received,
including interference that may cause
undesired operation.