Adexa JC-88 User manual

- 1 -
USER MANUAL-EN
Beverage Cooler
JC-88

Instructions manual
beverage cooler
Model: JC-88
Dear Customers,
Before turning on the appliance please take a few minutes to read the following
instructions.
Thank you very much.
BASIC PRECAUTIONS
When using electrical appliances, you should always follow the basic
safety precautions listed below:
1.
Remove all packaging material.
2.
Caution - Risk of suffocation!
The packaging material is not
a toy. Children must not play with packaging material, as
there is a risk of swallowing and suffocating!
3.
Read the instructions carefully before using the appliance
for the first time.
4.
Before using the appliance, check it thoroughly for any
defects. Ensure that the plug and the supply cord are not
damaged. In case of detection of any damage, do not use
the appliance. Contact the point of sale for inspection and
repair by a qualified technician. You should regularly inspect
the supply cord and the plug.
5.
Never operate an electrical appliance, if in doubt about its
safety or proper use. In such a case, contact the point of
sale in order to consult a qualified technician.
6.
Always make sure that the power supply voltage is the
same as that specified on the rating plate. You should only
plug the appliance into an appropriately connected safety
socket with a supply of 220-240V, 50Hz.
7.
Always plug the appliance into the socket before switching
it on. Otherwise, a spark may be caused that can result in a
fire. During use, ensure sufficient ventilation to avoid
overheating.

8.
Caution!
Always unplug the appliance when not in use,
before cleaning, or in the event of any problem. Disconnect
by pulling out the plug and not the cord itself, with dry
hands.
9.
To avoid damaging the supply cord, make sure that it is not
hanging, that it is not twisted and that there is no weight on
top of it. Moreover, make sure that you place the supply
cord correctly so that the appliance will not drop.
10.
If the supply cord suffers any damage, unplug the appliance
from the socket. Do not use the appliance. Contact the
point of sale for replacement of the supply cord by a
qualified technician in order to avoid hazardous damage.
11.
If the appliance suffers any damage, unplug it from the
socket. Do not use any damaged appliance. Contact the
point of sale for inspection and repair by a qualified
technician in order to avoid hazardous damage. Do not
attempt to repair an electrical appliance by yourself.
12.
When cleaning the appliance, you should strictly follow the
instructions in this manual.
13.
To avoid electric shock, never submerge the supply cord or
the plug in water or other liquid. Make sure that the
appliance does not come into contact with water or any
other liquid, apart from its intended use. Never use the
appliance with wet or damp hands.
14.
Caution!
Unless it is clearly stated in the intended use of
the appliance, you should never leave electric appliances in
the rain or extremely humid conditions. Do not use portable
electrical appliances in the bathroom.
15.
Do not let the supply cord come into contact with the hot
part of the appliance or any heat source.
16.
Do not use flammable substances (e.g. any gas operated
appliance) near electrical appliances.
17.
Never leave the appliance and its supply cord within reach
of children. Children should be supervised to ensure they
do not play with the appliance.
18.
Do not attempt to repair an electrical appliance by yourself.
In order to comply with safety regulations and avoid risks,
contact the point of sale. All repairs of electrical appliances
must be performed only by qualified personnel. Repairs not
appropriately performed may result in significant risks for

the user.
19.
Protect the appliance from extreme heat, direct sunlight
and dust.
20.
Use the appliance only as intended, otherwise you may
injure yourself.
21.
This electrical appliance is intended for professional use.
22.
The appliance is used only with its original components and
parts.
23.
Keep the instructions manual, the purchase receipt (evidence
of the warranty validity) and if feasible the box, for possible
future use.
SPECIAL SAFETY INSTRUCTIONS
Warning!
All electrical appliances entail burning, electric shock, fire, injury or
death risks. Follow the safety instructions.
1.
Use, cleaning and maintenance of this appliance is allowed only
by trained persons.
2.
This appliance must not be used by children and persons with
reduced physical, sensory or mental capabilities or lack of
experience and knowledge.
3.
Do not use or keep this appliance outdoors.
4.
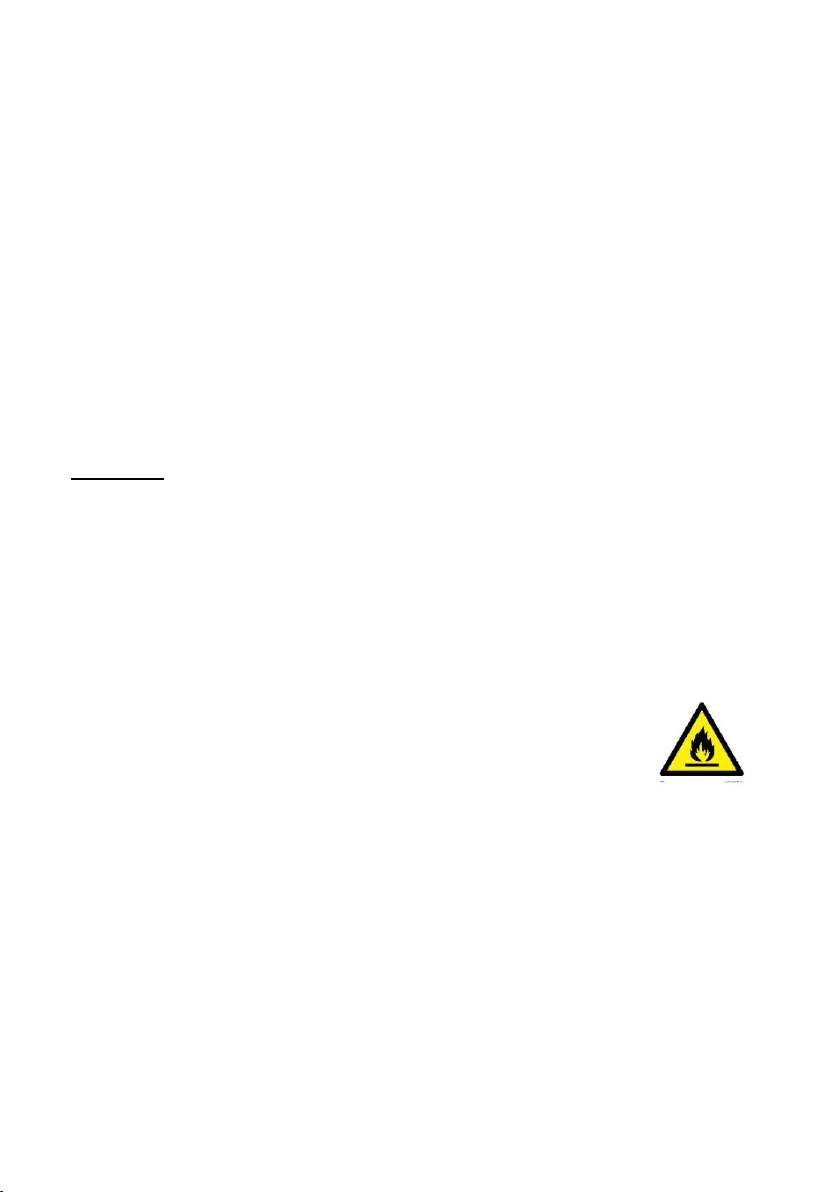
Warning! Risk of fire!
The refrigerant is obutene
(R600a) contained within the refrigerant circuit of
the appliance, as well as the insulation blowing gas
cyclopentane are flammable.
5.
Avoid open flames or ignition sources in the surroundings of
the appliance.
6.
If gas flows out of the appliance, do not pull the power plug
from the outlet as this can cause sparks and fire. Disconnect
the line from the electrical panel.
7.
Warning!
Keep ventilation openings in the appliance enclosure,
clear of obstruction.
8.
Warning!
Do not use mechanical devices or other means to
accelerate the defrosting process or for cleaning, other than
those recommended by the manufacturer.

9.
Warning!
Do not damage the refrigerant circuit.
10.
During transportation and installation of the appliance, assure
that none of the components of the refrigerant circuit becomes
damaged.
11.
This appliance is heavy. Care should be taken when moving it.
12.
Never tilt the appliance more than 45° or turn the appliance on
its side or upside down to avoid damaging the refrigerant
circuit.
13.
Warning!
Do not use other electrical appliances (such as ice
cream makers) inside the food storage compartments of the
appliance.
14.
Do not store explosive substances such as aerosol cans with a
flammable propellant in this appliance.
15.
Warning!
The light bulb supplied with this appliance is a special
type lamp.
To replace the lamp, please contact a qualified
technician.
16.
Do not use excessive force to open the glass door and do not
apply pressure to the glass to prevent it from breaking.
17.
Warning!
Disconnect the appliance from its power source
during cleaning or maintenance and when replacing parts. The
removal of the plug has to be such that an operator can check
from any of the points to which he has access that the plug
remains removed. If this is not possible, due to the
construction of the appliance or its installation, a disconnection
with a locking system in the isolated position shall be provided.
18.
After turning the appliance off, always wait at least 5 minutes
before turning it on again. Otherwise, the compressor may be
damaged.
INSTALLATION
This appliance is intended to operate in climates where the maximum temperature and
the humidity are 25°C and 60% respectively.
The operation and storage room must be well ventilated.
The appliance should be installed well away from heat sources such as
radiators, boilers, direct sunlight, etc.
Make sure air can circulate freely at the back of the appliance.
•
Place the appliance on a wide, even, stable and dry surface able to support the

combined weight of the appliance and its contents.
•
Allow at least 15 cm free space at the back of the appliance and its two sides.
•
Install the appliance in an area where the door can open completely.
•
Accurate horizontal leveling is ensured by two adjustable feet at the base of the
cabinet. If the unit is not installed horizontally, the door does not close properly
and the cooling department is not sealed.
•
The door gasket must seal adequately when the door is closed. If not rearrange
ii appropriately.
Reversing door side
The default left side orientation of the door can be changed to the right side. Proceed as
follows:
1. Turn the temperature knob to position 0 and disconnect the power plug from the
wall outlet.
2. Tilt the appliance backwards (max. 45°) and securely support it.
3. Remove the bigger adjustable foot from the base.
4. Loosen the screws on the base of the appliance and remove the bottom hinge.
5. Place the bottom hinge on the opposite side and retighten it with screws.
6. Reinstall the bigger adjustable foot on the opposite side.
7. Bring the appliance back to an upright position.
8. Remove the door hinge cap at the top of the appliance.
9. Loosen the screws and remove the upper hinge.
10. Place the upper hinge on the opposite side and retighten it with screws. Reinstall
the hinge cap.
11. Make sure that the door is in the vertical position and can be closed easily.
Note: After reversing the door, the door gasket may get loose. If you notice a gap
between the gasket and cabinet, gently pull the gasket out to seal the gap.
Electrical connection
Before using the appliance for the first time, wash the interior and all internal
accessories, then dry thoroughly (CLEANING).
Connect the appliance to a socket with earth terminal according to technical data of
the appliance.
•
It is advisable to wait at least 8 hours after transportation before connecting the
appliance, to allow the oil to flow back in the compressor.
•
Do not connect the appliance to a multi-socket or to an extension cord. The
power plug of the appliance should have its own independent and properly
grounded socket. Using adapters may cause overheating or fire.
•
If the power plug socket is loose, do not insert the power plug. There is a risk of
electric shock or fire.
•
Make sure that the
power
plug is accessible after the installation of the

appliance.
•Make sure that the plug is not squashed or damaged by the back of the
appliance. A squashed or damaged power plug may overheat and cause a fire.
USE
This appliance is designed to refrigerate and display snacks and beverages in
restaurants, canteens and similar catering establishments.
The appliance is intended for commercial and indoor use by trained and skilled
personnel familiar with these instructions.
The appliance is intended to operate in climates where the maximum temperature and
the humidity are 25°C and 60% respectively.
Before first use
Before using the appliance for the first time, wash the interior and all internal
accessories, then dry thoroughly (CLEANING).
When first starting-up or after a period out of use, before putting the product in the
compartment let the appliance run for at least 2 hours on the higher settings
Temperature setting (JC-88)
The internal temperature is controlled by a thermostat.
There are 8 settings:
0: OFF
1: Maximum temperature setting (approx. 10 °C)
7: Minimum temperature setting (approx. 1 °C)
When activating the appliance, first set the temperature
to the max. position (7). After 20 minutes, adjust the
temperature knob to the middle setting (4).
To save energy and avoid food waste, set the thermostat to position:
1-3 during winter
5-7 during summer
4 in intermediate seasons

Interior light
The appliance has an interior light with ON/OFF switch.
Tips for energy saving
•
Locate the appliance in the coolest part of the room, out of direct sunlight, and
away from sources of heat.
•
Level the appliance so that the door closes tightly.
•
From time to time, adjust the temperature in the appliance, since it changes
along with:
- the room temperature
- the frequency at which the appliance’s door is opened and how long it
stays open
- the items inside
•
Place the appliance at least 15 cm away from walls or other articles.
•
Do not cover the appliance’s ventilation openings.
AFTER USE
Cleaning
•
Before cleaning, switch off the appliance and unplug the power plug from the
socket.
•
Remove the food form the appliance.
•
Regularly wipe the outside and inside surfaces of the appliance with a soft damp
cloth. Dry with a soft dry cloth.
•
If the shelves are very dirty, remove them from the appliance and clean them
with warm water and mild detergent, using a soft sponge. Dry with a soft dry
cloth.
•
Use little or no water during cleaning. Make sure that no water enters the
appliance while cleaning it.
•
Do not clean the appliance with abrasive sponges, steel wool, metallic utensils,
strong chemicals, alkali, abrasive or toxic agents or acid substances as they may
damage the surface of the appliance and pose a health hazard.
•
Acid substances can corrode the plastic parts of the appliance. Do not allow this
type of substance (e.g. lemon juice, juice from orange peels) to come in contact
with the appliance.
•
Regularly check the drain pipe at the back panel of the appliance. Clean it
whenever the drain is blocked.
•
To save energy, clean the compressor at the back of the appliance with a soft

brush or a vacuum cleaner once a year.
•
The appliance may only be used again or stored after it is dried completely.
Defrosting
The appliance has a built-in automatic defrosting function, which is activated
automatically when the compressor is not running.
Should the frost layer be more than 3mm thick,
•
Switch off the appliance and unplug it.
•
Remove its contents
•
Wait until the developed ice melts. Wipe the melting water up completely with a
soft dry cloth and clean the appliance.
•
The appliance may only be used again or stored after it is dried completely.
Storage
•
Before storing or when the appliance is not in use, remove all contents from the
appliance, turn the temperature knob to 0 and disconnect the power plug from
the supply.
•
Clean the inside of the appliance thoroughly and dry it.
•
Store the appliance in a dry, protected environment at room temperature and
out of the reach of children.
•
Keep the appliance’s door open to avoid smell or mold.
•
To protect the appliance from dust, cover it with a cloth that allows air circulation
inside the appliance
Professional repair and spare parts
For access to professional repair, information for ordering spare parts (including
information on the minimum period during which spare parts are available) please
go to
www.themart.gr
DISPOSAL
Warning!
The refrigerant R600a as well as the insulation blowing gas
Cyclopentane are flammable.
Unplug the appliance and cut the supply cord (as close to the appliance as
possible).
Do not damage the refrigerating system.
Remove the doors to prevent entrapment of children or animals.
Do not dispose the appliance near open flames or ignition sources.
Follow local regulations concerning environmentally friendly disposal of
various appliances.

TECHNICAL DATA (JC-88)
Product type Beverage cooler
Product model JC-88
Power supply 220-240 V / 50 Hz
Rated current 0,55 A
Protection class I
Energy consumption 1,052 kWh/24 h
Energy class D
Climate class
4,
6
Refrigerant R600a (25 g)
Net capacity 88 L
Net weight 23 kg
Dimensions (WxDxH) 430 x 490 x 830 mm
Use Display and sale
CIRCUIT DIAGRAM
1.Plug
2.Thermostat
3.Motor protector
4.Starter
5.Compressor
6.Yellow green ground wire
7.Blue
8.Brown
9.Red
10.Light switch
11.Light

PRODUCT DESCRIPTION:
Can
loading:
1
st
layer: 25cans
2
nd
layer:25 cans
3
rd
layer:25 cans
Bottom layer: 22 cans
To minimize energy consumption, be sure to
respect the filling capacity of your beverage
cooler–97 cans «
ф
65x120mm,330ml» size.
The combination of drawers, baskets and shelves
that result in the most efficient use of energy for
the appliance.
1.Hinge 6. Glass door 11. Big shelf
2.Temperature box 7. Small foot 12. Inner cabinet
3.Hinge cover 8. Foot
4.Door seal 9. Bar
5.Recessed handle 10. Small shelf

We decline liability for any damage or accident derived from any use of this
product which is not in conformity with the instructions contained in this
booklet.
CORRECT DISPOSAL OF THIS PRODUCT
This
marking
indicates
that
this
product
should
not
be
disposed with other household wastes throughout the
EU.To prevent possible harm to the environment or human
health from uncontrolled waste disposal, recycle it
responsibly to promote the sustainable reuse of material
resources. To return your used device, please use the
return and collection systems or contact the retailer where
the product was purchased. They can take this product for
environment safe recycling.
Table of contents
Other Adexa Accessories manuals
Popular Accessories manuals by other brands

LSI
LSI GS110 manual

Benchmark Scientific
Benchmark Scientific Incu-Shaker 10L Operation manual

STEINEL
STEINEL L 270 S installation instructions

Byron
Byron SX-220B Installation and operation instruction

Krell Industries
Krell Industries 800 Series Owner's reference

American Standard
American Standard Ariana Robe Hook 6097 Specifications