2
Table of Contents
1. Welcome to miCoach 3
2. Your adidas FITSMART 4
2.1 Overview 5
2.1.1 What’s in the box 5
2.1.2 What else is needed 6
2.2 First time use 7
2.2.1 Charging 7
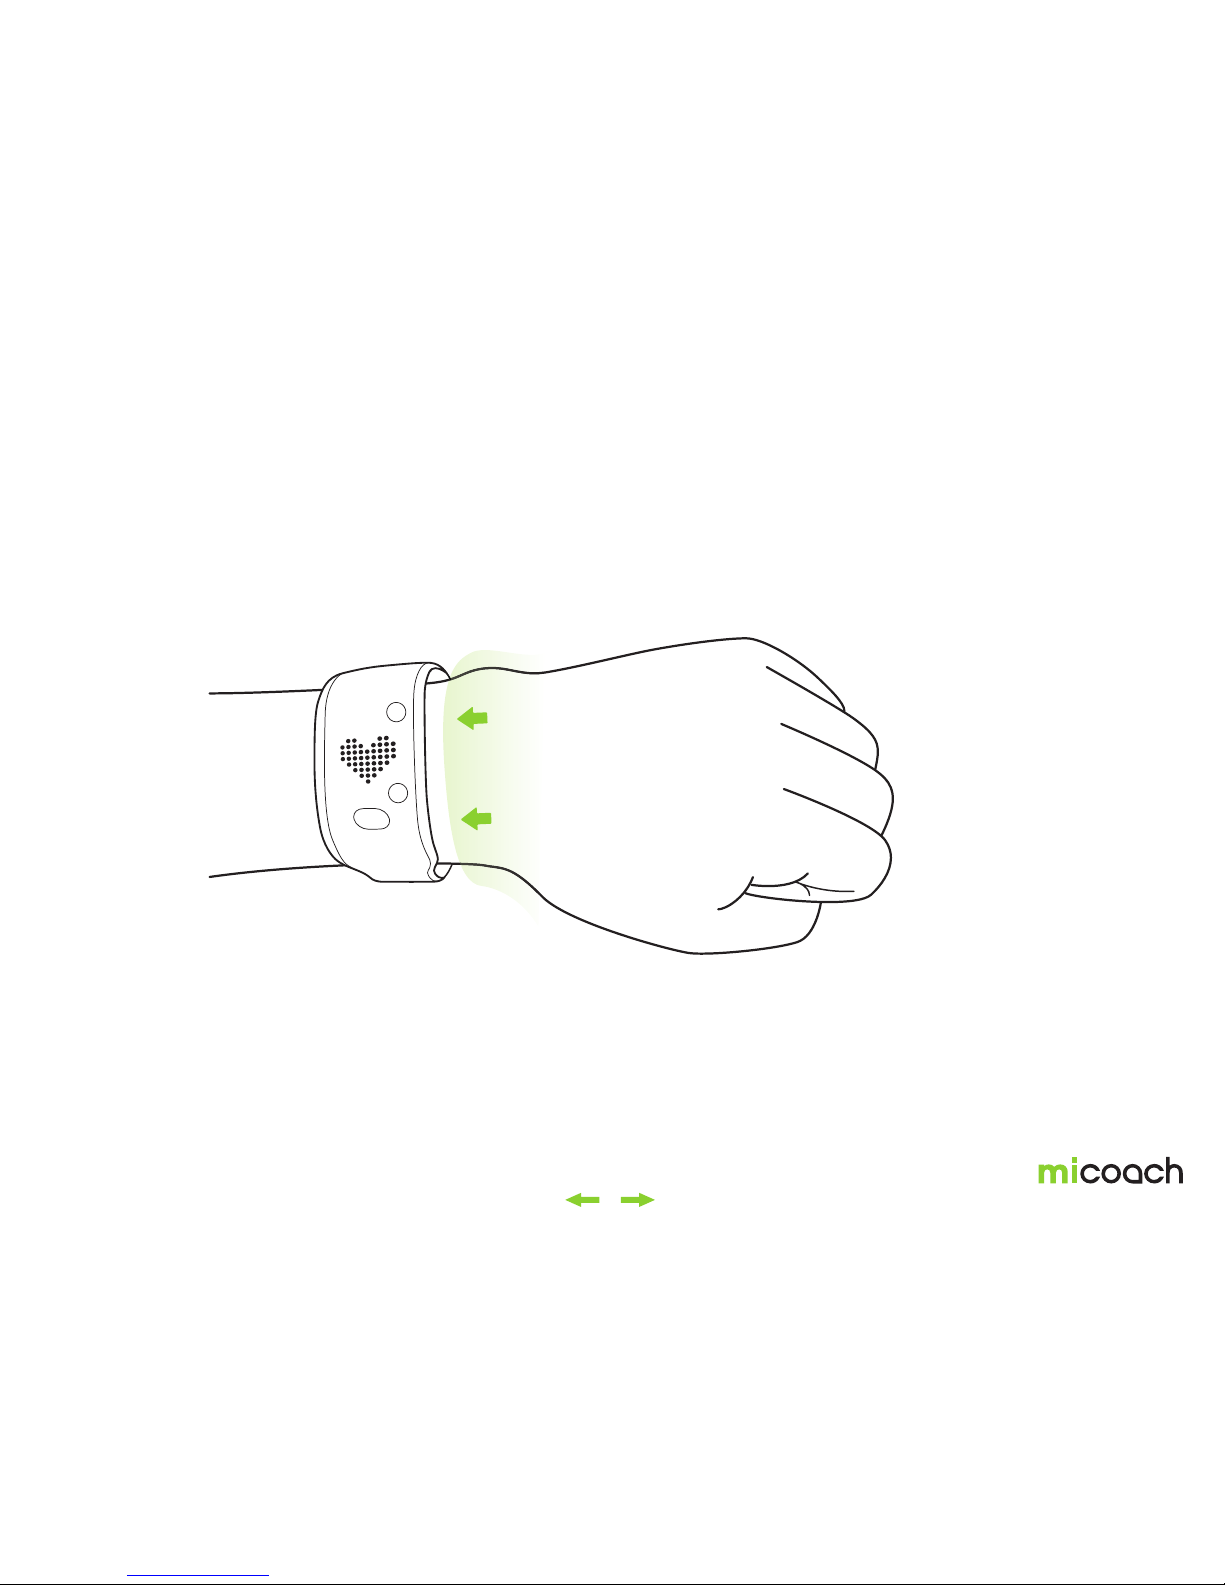
2.2.2 Wearing your FITSMART 8
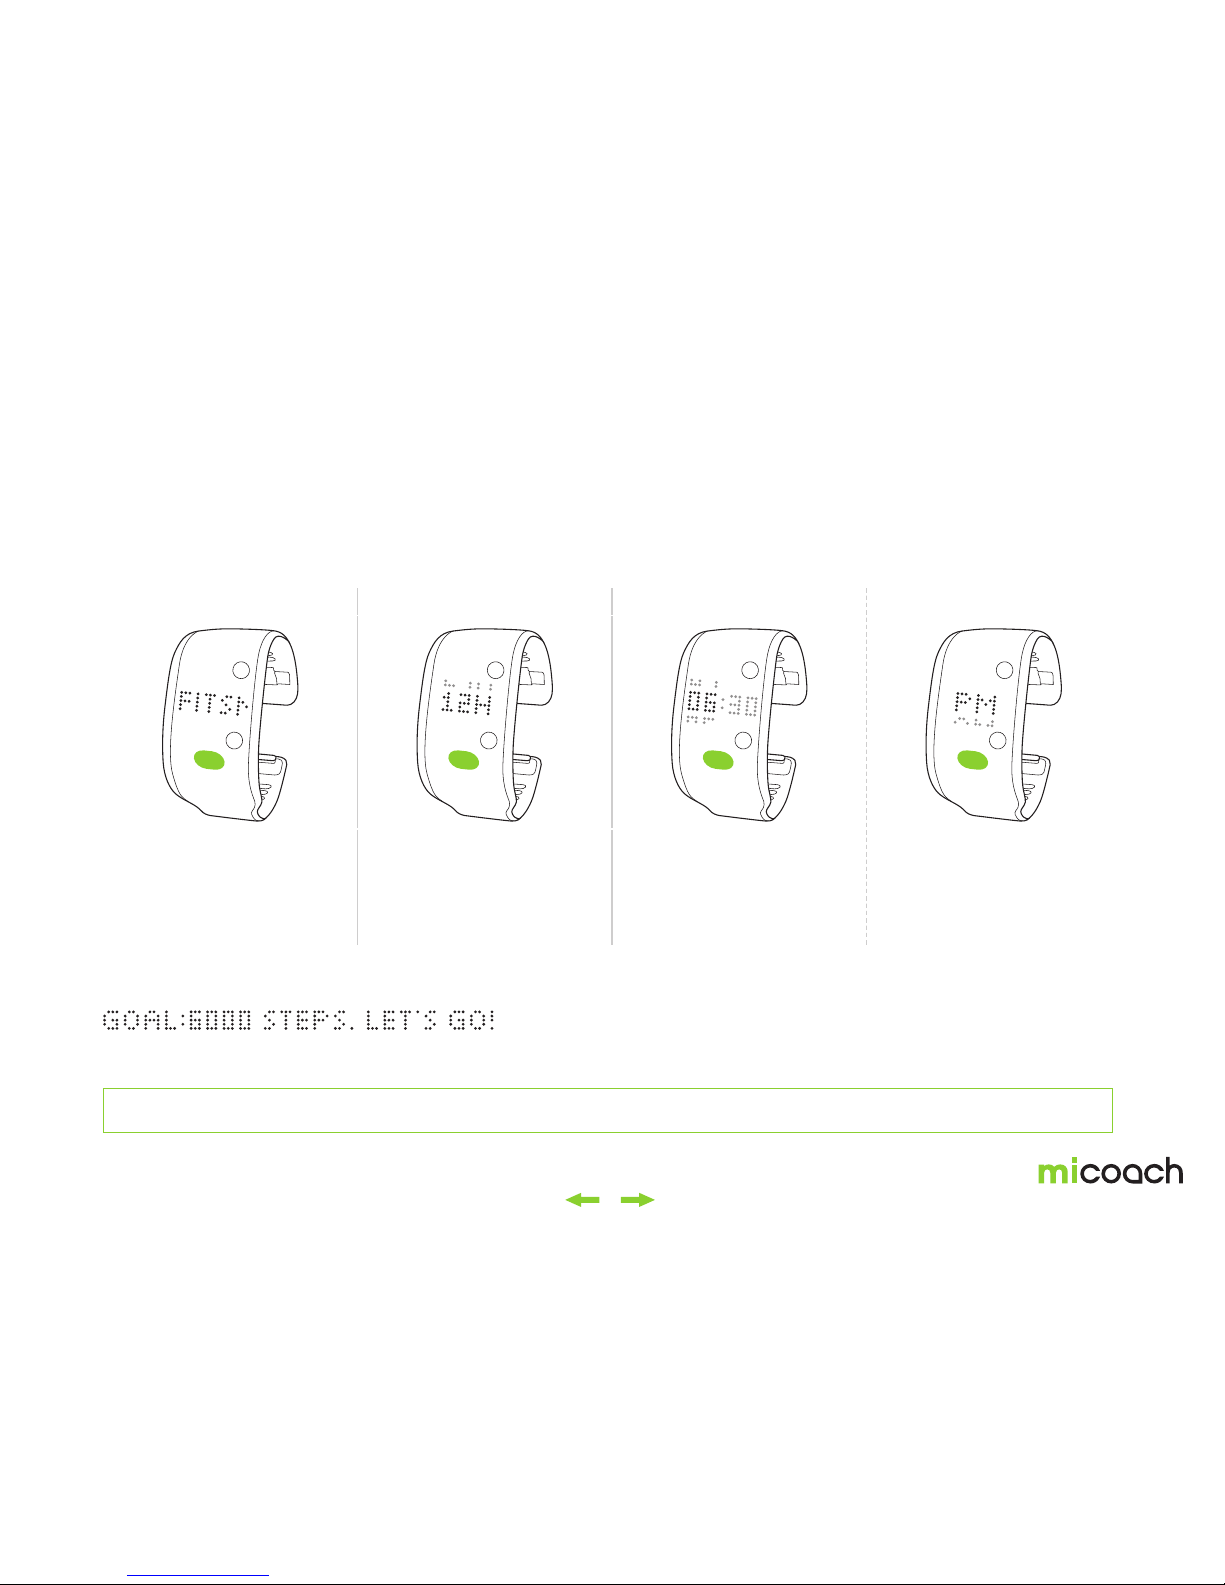
2.2.3 Getting started with your FITSMART –
out of the box setup 9
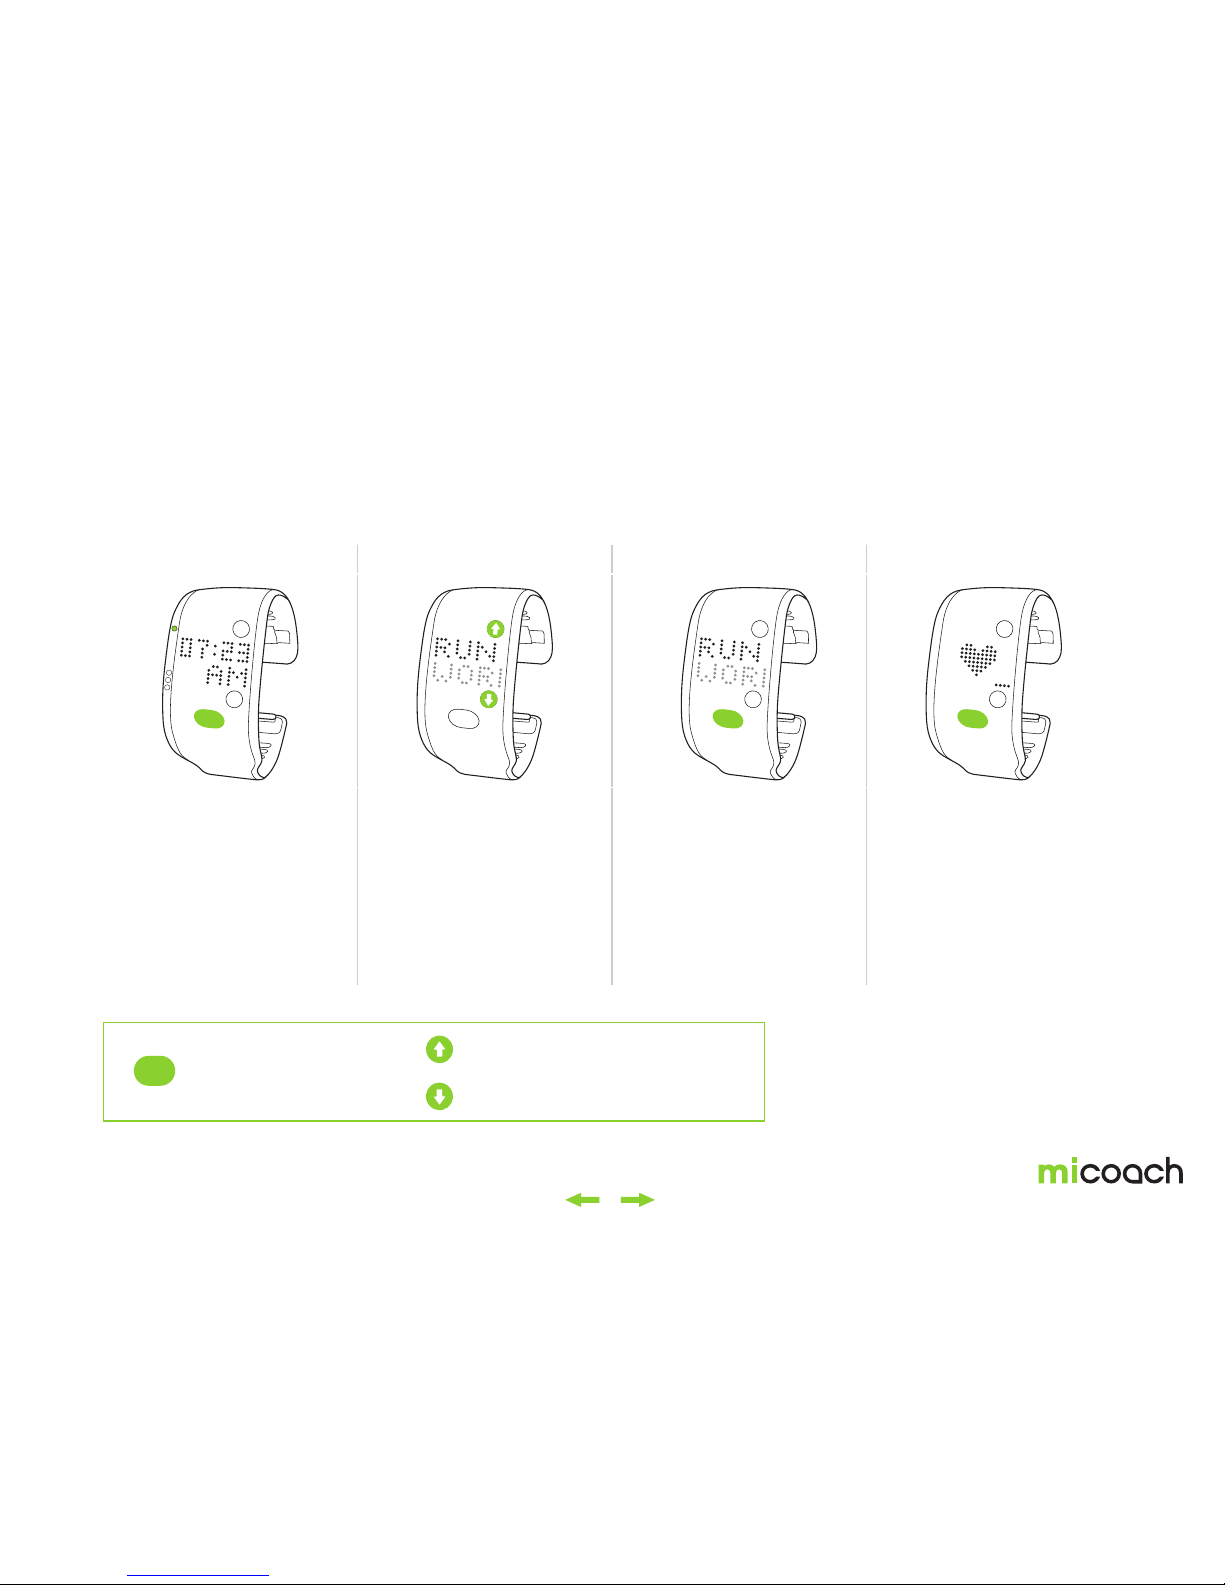
2.2.4 Navigating your FITSMART 10
2.2.5 Adjusting Time after Initial Setup 11
2.3 Pairing & Syncing 12
2.3.1 Manual Pairing 13
2.3.2 Auto-Connect Pairing 14
2.3.3 Syncing 15
3. Using your FITSMART – main menus 17
3.1 Activity Tracking 18
3.1.1 Light pipe & goal reached 19
3.1.2 Changing the activity tracking goal 20
3.1.3 Daily activity goal results in miCoach train & run 21
3.1.4 Disable activity tracking 22
3.2 Coached workout 23
3.2.1 Setting up a Coached Workout plan
on the app and syncing it to your FITSMART 23
3.2.2 Selecting a Coached Workout 24
3.2.3 Starting a Coached Workout 25
3.2.4 Coached Workout Zones 26
3.2.5 Changing zones 27
3.2.6 Staying in the zone 27
3.2.7 Completing a Coached Workout 28
3.2.8 Manual splits 29
3.2.9 Pause, end or resume a workout 30
3.3 Free Workout – Run and Gym 31
3.3.1 Starting a Free Workout 32
3.3.2 Workout results – Run Score 33
3.3.3 Training with your FITSMART and the
miCoach train & run app 34
3.4 Workout Statistics 35
3.5 Check your Heart Rate 36
3.6 Using FITSMART with other mobile apps 37
3.7 Battery Status 38
3.7.1 Battery status during charging 39
3.7.2 Low battery warning 40
4. Special workouts 41
4.1 Assessment Workout (to calibrate speed,
distance and heart rate zones) 41
4.1.1 Adding the Assessment Workout
to your FITSMART 42
4.1.2 Completing an Assessment Workout
with your FITSMART 43
4.1.3 Completing an Assessment Workout
with your FITSMART and the app 46
4.2 Strength & Conditioning workout 47
5. Your FITSMART settings 49
5.1 Auto Laps 50
5.2 Viewing metrics during a workout 51
5.3 Viewing double metrics during a workout 52
6. Additional information 53
6.1 Software update 53
6.2 Memory low 54
6.3 Rebooting 55
6.4 Factory reset 56
6.5 Visual language 57
7. Care and Maintenance 58
8. Specifications 58
9. Customer service information 59
9.1 Warranty 59
9.2 Support 59
10. Legal notes and disclaimer 60
10.1 Trademark and copyright 60
10.2 Regulatory compliance 60
10.3 Medical disclaimer 60
10.4 Precautions 60
10.5 Trademark footnote – Bluetooth® 61
10.6 FCC/IC regulatory notice 61
10.7 1999/5/EC Directive regulatory notices 62
10.8 Open source software notice 63