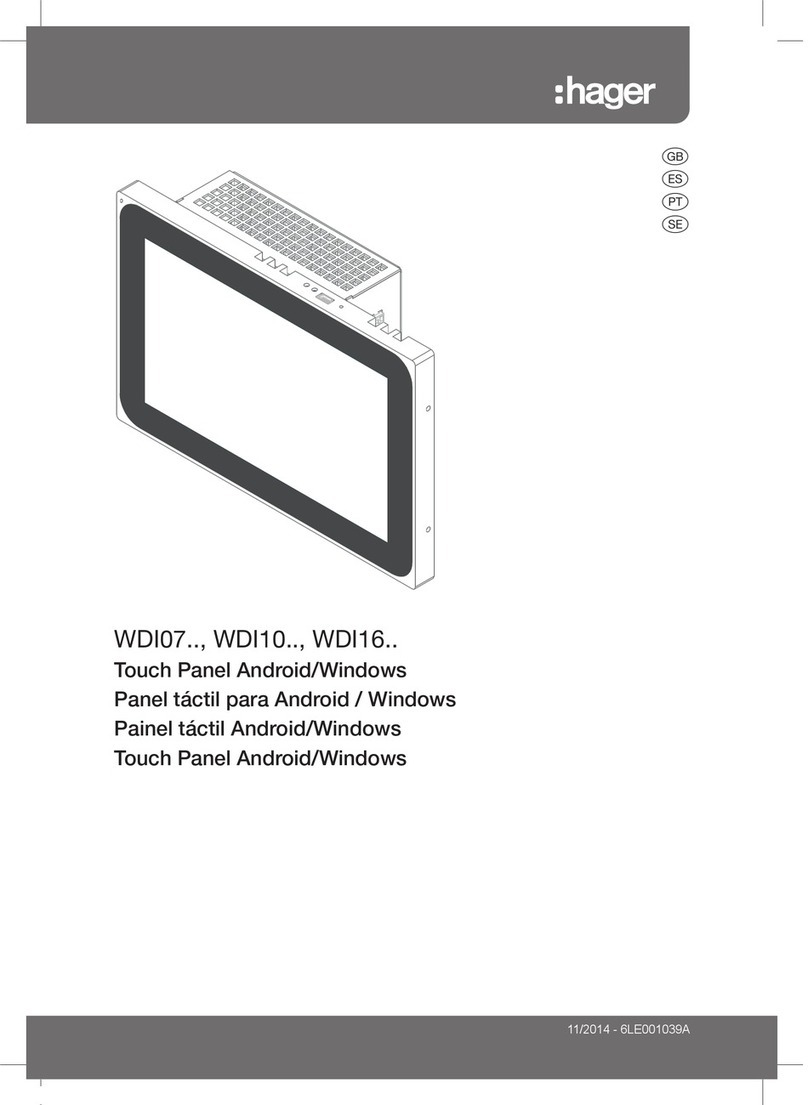
ADT Pulse HS101ADT-1ADNAS User manual

ADT Pulsesm Interactive Solutions Touch Screen
Installation Guide
Model: HS101ADT-1ADNAS

License information available at
www.ADT.com
or by calling
800.ADT.ASAP. CA ACO7155, 974443; PPO17232; FL EF0001121;
LA F1639, F1407, F1640; MA 172C; NY 12000305615; PA 090797;
MS 15019511
©2012 ADT LLC dba ADT Security Services. All rights reserved. ADT, the
ADT logo, 800.ADT.ASAP and the product/service names listed in this
document are marks and/or registered marks. Unauthorized use is
strictly prohibited.
Licence number: RBQ 3019-4070-50. ©2012 ADT Security Services
Canada, Inc. All rights reserved. ADT, the ADT logo, 800.ADT.ASAP and
the product/service names listed in this document are marks and/or
registered marks. Unauthorized use is strictly prohibited.

3
ADT Pulsesm Interactive Solutions Touch Screen Installation Guide
Package Contents – Touch Screen Model HS101ADT-
1ADNAS
Touch Screen 12V Power Adapter
USB Adapter Installation Guide

4
ADT Pulsesm Interactive Solutions Touch Screen Installation Guide
Hardware Features
The Touch Screen includes a Stand, Home button, and controls
shown here and described below.
3. 12V power port
4. USB port
2. Home button
1. Stand

5
ADT Pulsesm Interactive Solutions Touch Screen Installation Guide
Hardware Features (continued)
1. Stand. Open the stand to put the Touch Screen in an upright
position.
2. Home button. The white circle on the front of the Touch Screen
is the Home button. Tap the Home button at any time to perform
the following actions.
•Tap once to return to the previous screen.
•Press and hold the Home button for approximately ten
seconds or more to display a menu.
-Touch Restart to reboot the Touch Screen.
-Touch Power Off to turn off the Touch Screen.
Note: If a selection is not made, the Touch Screen will
automatically restart.
3. 12V power port. Input for the 12V power adapter.
4. USB port. Input for the USB adapter.

6
ADT Pulsesm Interactive Solutions Touch Screen Installation Guide
Configuring the Touch Screen for Installation to the
ADT Pulse System
1. Plug the USB adapter into the USB port located on the back of
the Touch Screen.
2. With an Ethernet cable, connect the USB adapter to the gateway
LAN port.

7
ADT Pulsesm Interactive Solutions Touch Screen Installation Guide
3. Plug the 12V power adapter into the 12V power port.

8
ADT Pulsesm Interactive Solutions Touch Screen Installation Guide
Enrolling the Touch Screen to Your ADT Pulse System
1. Open your web browser. In the address bar, type:
https://portal.adtpulse.com
2. Type your Username and Password, and then click the Sign In
button.
Contact ADTCustomer SupportADT Pulse Terms of UsePrivacy PolicyADT Security Services, Inc.
Sign In
Username: [email protected]
Password:
Please Sign In
Forgot your username or password?
Your use of this site signifies that you accept the ADT Pulse Website Terms of Use Agreement. (c)2010 ADT
Security Services, Inc. and (c)2010 ADT Security Services Canada, Inc. ADT and the ADT logo are registered
trademarks of ADT Services AG and are used under license. Unauthorized us of this site is prohibited and may
be subject to civil and criminal prosecution.
Si
g
n I
n
sername o
r

9
ADT Pulsesm Interactive Solutions Touch Screen Installation Guide
3. Click the System tab, then click the Manage Devices button.
Schedules
Welcome,
Sign Out
AutomationsAlertsHistorySummary System
System
Devices Site Settings
Wednesday, Nov 30
Users My Profile My Profile History
Name
System
Security Panel
Zone
AboutContact UsCustomer SupportTerms of UsePrivacy PolicyADT Security Services, Inc.
Device Type Recent Alarm
Gateway
powered by Control
Manage Devices
Al
arm
arm
rm
m
ag
e Devic
es
?Help
Front Door
Motion Detector
Back Door
Sensors
Remotes
4 Button Remote

10
ADT Pulsesm Interactive Solutions Touch Screen Installation Guide
4. In the Manage Devices Assistant window, click Touch Screens.
Cancel
Manage Devices Assistant
?Help
Touch Screens
Click here to add touch screens.
Cameras
Click here to add wired and wireless cameras.
Lights, Thermostats & more
Click here to add Z-Wave™ devices.

11
ADT Pulsesm Interactive Solutions Touch Screen Installation Guide
5. Select the 7" Touch Screen HS101ADT from the drop-down list,
then click Continue.
Continue
Cancel
Step One
Select Model
Step Two
Name Device
Step Three
Connect Device
Step Four
Adding Device
Step Five
Done
Co
n
t
in
ue
Select Model
Touch Screen
Assistant
This assistant will guide you through the steps to add a Touch Screen.
Note: Only approved devices are supported to work with your ADT Pulsesm system.
Non-approved devices may not perform as expected.
Select the model of the device you are installing:
Step One
- Select Touch Screen -
- Select Touch Screen -
7" GE Touch Screen
7" Touch Screen HS101ADT

12
ADT Pulsesm Interactive Solutions Touch Screen Installation Guide
6. Type a Name for your Touch Screen in the space provided. Type
the MAC ID in the space provided. The MAC ID is located inside
the back of the Touch Screen and has to contain 12 characters,
either numbers or the letters A–F.
MAC ID location

13
ADT Pulsesm Interactive Solutions Touch Screen Installation Guide
Note: The placement of the MAC ID label may differ from the
MAC ID location depicted in Step Two of the Touch Screen
Assistant.
7. Click Continue.
ContinueBack
Cancel
Step One
Step Two
Select Model
Step Two
Name Device
Step Three
Connect Device
Step Four
Adding Device
Step Five
Done
C
ontinu
e
Name Device
Touch Screen
Assistant
Enter a name for your Touch Screen.
Next, locate the MAC ID on the back of the Touch Screen and enter it below.
Name:
MAC ID:
Bedroom Touch Screen
F12345678901

14
ADT Pulsesm Interactive Solutions Touch Screen Installation Guide
8. If you have not done so already, connect the Touch Screen to
the gateway using an Ethernet cable. Then connect the Touch
Screen’s power supply to the Touch Screen and to an electrical
outlet. Be sure the Touch Screen is powered up with the Pulse
Screen displayed. Click Continue.
ContinueBack
Cancel
Step One
Step Three
Select Model
Step Two
Name Device
Step Three
Connect Device
Step Four
Adding Device
Step Five
Done
Co
n
t
in
ue
Connect Device
Touch Screen
Assistant
Connect the USB Ethernet Adapter to your Touch Screen.
Connect the USB Ethernet Adapter to the Device LAN port of your Gateway with an
Ethernet cable (Note: this is a required, but temporary step for a wireless Touch Screen).
Next, connect the touch screen’s power supply to an electrical outlet. Then click Continue.

15
ADT Pulsesm Interactive Solutions Touch Screen Installation Guide
Wait while the Touch Screen is added to your system.
Note: Adding the Touch Screen can take up to one to two
minutes.
Cancel
Touch Screen
Assistant
Step One
Step Four
Select Model
Step Two
Name Device
Step Three
Connect Device
Step Four
Adding Device
Step Five
Done
Adding Device
We are adding your touch screen. This may take a few seconds.

16
ADT Pulsesm Interactive Solutions Touch Screen Installation Guide
9. If you want to add an additional Touch Screen, click the Add
Another button. Otherwise, click the Finish button to return to
the ADT Pulsesm web portal.
FinishAdd Another
Cancel
Step One
Step Five
Select Model
Step Two
Name Device
Step Three
Connect Device
Step Four
Adding Device
Step Five
Done
Fin
ish
Done
Touch Screen
Assistant
Your touch screen has been added. You may now disconnect and move the touch screen
to your desired location.
If you are finished adding touch screens, click Finish.
If you have another touch screen to add, click Add Another.

17
ADT Pulsesm Interactive Solutions Touch Screen Installation Guide
10. Disconnect the Ethernet cable from the USB adapter.
11. Disconnect the USB adapter from the Touch Screen. Move the
Touch Screen and power supply to your desired location.
12. Once you move the Touch Screen to your desired location, it
may take up to 5 minutes to connect to the system. If the Touch
Screen does not connect, refer to Troubleshooting, number 2.

18
ADT Pulsesm Interactive Solutions Touch Screen Installation Guide
Troubleshooting
1. Dark Screen
The screen is blank (dark)
•Reason. The Touch Screen is set to night mode.
•Resolution. Touch the screen to change the mode.
The screen is dark except the logo, time, and a message that
security information is not available from this device
•Reason. The connection between the Touch Screen and the
gateway is lost.
•Resolution. Touch the logo in the top-left corner. Then touch
Version Information on the resulting screen to display
technical information about your Touch Screen.
2. Wi-Fi Connection
Lost or intermittent Wi-Fi connection
Reason.
•If the microwave oven is on, it can disrupt Wi-Fi service.
•2.4 GHz cordless telephones can interfere with the Touch
Screen’s Wi-Fi connection because they operate at the same
frequency as other devices on a LAN.
•A 2.4 GHz Wireless gaming adapter is nearby.

19
ADT Pulsesm Interactive Solutions Touch Screen Installation Guide
•A 2.4 GHz baby monitor is nearby.
•The Touch Screen is too far from the gateway.
Resolution.
•The Touch Screen must be within 50 feet of the Gateway.
•Turn off the microwave oven. No need to unplug it.
•If you determine that your cordless phone is interfering, you
can:
-Change the location of the Touch Screen or the base of the
cordless phone.
-Switch the channel on the access point. If that does not
work, try another channel.
-Operate the phone with the antenna lowered, if that is an
option.
-Use a phone that is not a 2.4 GHz phone.
Note: If the Touch Screen will be mounted outside the range of
the system, consider including the Model WN2RPADT-1ADNAS
Wi-Fi Extender for increased range.

20
ADT Pulsesm Interactive Solutions Touch Screen Installation Guide
Compliance Notification
Regulatory Compliance Information
Note: This section includes user requirements for operating this product in
accordance with National laws for usage of radio spectrum and operation
of radio devices. Failure of the end-user to comply with the applicable
requirements may result in unlawful operation and adverse action against
the end-user by the applicable National regulatory authority.
Note: This product's firmware limits operation to only the channels allowed
in a particular Region or Country. Therefore, all options described in this
user's guide may not be available in your version of the product.
FCC Requirements for Operation in the United States
FCC Information to User
This product does not contain any user serviceable components and is to
be used with approved antennas only. Any product changes or
modifications will invalidate all applicable regulatory certifications and
approvals.
FCC Guidelines for Human Exposure
This equipment complies with FCC radiation exposure limits set forth for
an uncontrolled environment. This equipment should be installed and
operated with minimum distance of 20 cm between the radiator and your
body.
Table of contents
