Pollock Industries, Inc.
Copyright © 2013-2014 Pollock Industries, Inc. All trademarks and service marks are the properties of their respective owners
2
Wiring Instructions
Connecting the TLZ10 Temperature
Controller to TAC-60 Air Conditioners
If the fans are not spinning, unplug the power cord and check the previous
instructions then, if unsuccessful, call us.
We recommend connecting fans directly to the power supply so that they are supplied a
constant nominal 12 Volts. If fans are connected within the loop that’s temperature
controlled the fans may not supply enough airflow to keep the hot-side heatsink cool and
the internal case temperature uniform.
3. Connect the TLZ10 Temperature Controller
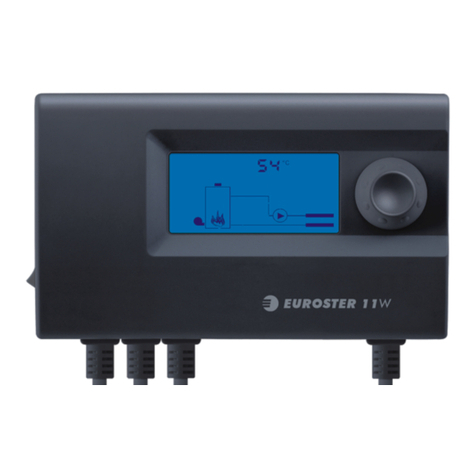
On the top of the TLZ10 Controller you will see the following illustration
Connect the NTC (or PTC) sensor that’s included by opening slots 10 and 11 on the
TLZ10 terminal strip with a small Phillips head screw driver. Insert one lead in each
slot and tighten the screws to hold the leads in place. There is no + or - for the
sensor leads so either wire can go in either slot. Place the actual senor (on the
other end of the wire with a bullet shape) into the location, within the enclosure,
where you want to sample the temperature.
On the TLZ10, slots 1 and 2, marked “SUPPLY” and are for DC power input from the
power supply. Connect one end of the long spare piece of red wire to slot 1 in the
TLZ10 and connect the other end to the +V output at post 6 on the power supply.
Next connect the long spare piece of black wire to slot 2 on the TLZ10 and the
other to the –V output at post 4 of the power supply.
Using the spare short piece of wire, that’s about 3 inches long, make a jumper from
TLZ10 slot 1 (also connected to the power supply) to the TLZ10’s terminal slot 6
(common of SPDT switch).
From the TAC-60, select the pair of leads exiting with blue shrink wrap. These leads
are for the thermoelectric module/s inside the TAC-60. Connect the red, positive
lead/s to TLK10’s slot 4 identified by “NO” (meaning the normally open circuit of the
SPDT relay). Finally, connect the black, negative lead from this pair to –V terminal
post 4 on the power supply (not the controller).
4. Power up and Program the TLZ10
You may now plug in the power cord and begin the programming of the TLZ10 for
your application. See the TLZ10 User Manual at electracool.com/TLZ10Manual.pdf
