Advantec TBS451PA User manual

WATER BATH
MODEL TBS451PA
AC1φ120V
OPERATION MANUAL
No. TS45P-0601
Table of Contents Page
1. Safety instructions 1
2. Specifications 4
3. Wiring diagram & Parts 5
4. Before use 6
5. External views 9
6. Operation 10
7. Troubleshooting 12
8. Self-diagnostic function 13
ADVANTEC TOYO KAISHA, LTD.
TOYO SEISAKUSHO KAISHA, LTD.
1
1. Safety instructions
Before installation or use, read the following Safety Instructions. Not complying with
the instructions in this manual will void the manufacture’s warranty and may pose
dangerous risks to the user.
Safety instructions are illustrated in the following way:
Symbols shown:
WARNING
Failure to observe WARNING signs could result in serious injury
or possible death.
CAUTION
Failure to observe CAUTION signs could result in personal injury
and/or damage to the unit and associated property.
means caution (includes warning).
means an action is prohibited.
means an instruction must be followed.
2
Confirm the unit is electrically grounded.
DO NOT ground the unit through a gas pipe, a water pipe, a lightning rod n
or
a telephone line. An incomplete grounding may cause an electric shock.
To avoid an electric leakage and an electric shock hazard, DO NOT use in
a
humid place nor outdoors.
DO NOT spray nor splash the unit with water or any other liquid.
Seepage of
water or other liquids into the unit would cause a short circuit or an elec
tric
shock hazard.
The unit is not of an anti-explosive design. DO NOT use inflammable
s nor
volatile materials around the unit. Those materials
may cause an explosion or
a
fire.
DO NOT attempt to disassemble, to repair nor to modify the unit.
The unit
contains no user-serviceable parts.
Repairs must be performed by qualified
engineers only.
WARNING
Supply a power source through a dedicated outlet. A mul
tiple outlet or
multiple connections may cause an electric shock hazard or a fire.
Power line sharing with the other electric appliances might lead to voltage
drop of the line and cause a failure of the unit.
To avoid burns, DO NOT touch the bath nor water in it
when the unit is
operated at more than 40℃or just after operation. Attention is also necessary
when handling samples in the bath or when making up water in the bath.
DO NOT apply acidic, alkaline nor corrosive materials including brine,
because the unit is not of an anti-corrosive design. Corrosion might result in
water leakage, electric leakage, an electric shock hazard, a fire or a unit
failure.
3
CAUTION
Before maintenance or inspection, turn OFF the power switch and leakage
breaker, and unplug the unit to avoid an electric shock hazard.
DO NOT operate with wet hands to avoid electric shock hazards.
DO NOT operate the unit without water in the bath.
Absence of water may result in a fire, en electric leakage and/or a unit failure.

4
2. Specifications
Model TBS451PA
Temp. range* [Ambient temp.+7℃] 〜80℃**
Control accuracy* ±0.5℃at 50℃
Temp. deviation* ±1.5℃at 50℃
Temp. climb rate* approx. 100min (20℃→80℃)
Temp. controller Microprocessor-PID control, Pt100Ω
Safety device Overheat prevention (in Temp. controller, setpoint + 5℃)
Heater 1kW in SUS316L pipe
Agitation Propeller drive
Bath Stainless steel (SUS304)
Ext.
W560mm×D320mm×H275mm
Dimensions
Bath
W450mm×D307mm×H100mm
Bath capacity approx. 16L
Power source
(50Hz/60Hz) AC 1φ120V, 8.75A
Weight approx. 9.5kg
Attachment
(No. of pieces) Grounding adaptor (1), Operation manual (1)
* Performances are measured at the ambient temperature of 20℃with no workload.
** Apply an optional lid when operating at 70℃or higher.

5
3. Wiring diagram & Parts
Parts List
Code
Description Quantity
Type
SW Power switch 1 HLN-116A
SSR Solid state relay 1 C-21, AC100V
H heater 1 1kW AC120V
M Agitation propeller motor 1 C-25
TC Temperature controller 1 PXW4NCY2-1Y500
Pt Platinum thermoresistor 1 SP-12-1
TB Terminal base board 1 ML-1765-2P
RY1 Relay 1 LY-2F, AC100V
RY2 Relay 1 MY-2F, AC100V/110V
PT Transformer 1 UD11-100A
TB1
2
13
SW
H
-
+
SSR
M
TB2
A
+
11
5
4
8
7 321
Pt
TC 10
-
BB
PT 100V
RY1 RY2
RY1
RY2 RY2
RY1
120V
6
4. Before use
Please read carefully before attempting to operate the unit.
4.1 Installation area
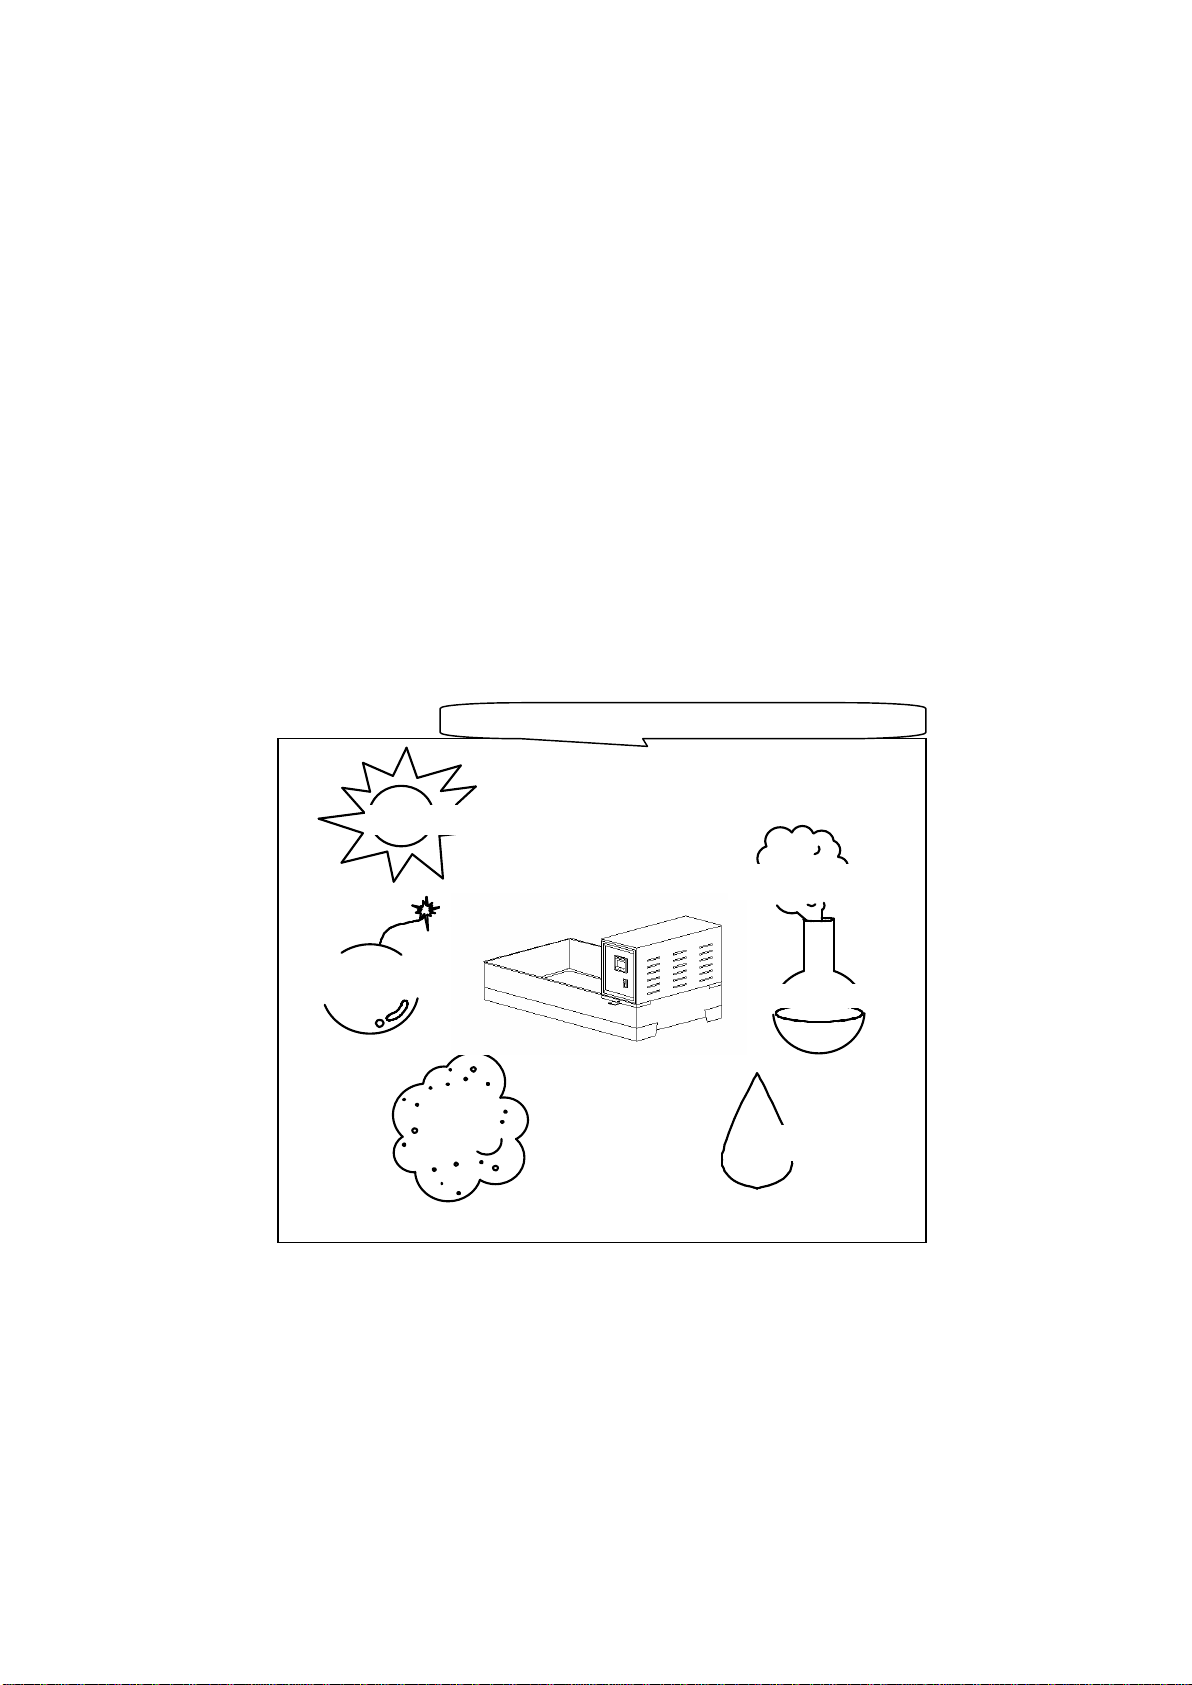
◇Do not install at the following locations :
・outdoors
・where exposed to direct sunlight
・with high humidity
・with ambient temperatures below 5℃or above 35℃
・where exposed to inflammable or corrosive gases
・with excessive dust
・without sufficient clearance around the unit
・where the unit cannot be maintained in a flat and stable position.
4.2 Sample loading
◇The unit is not of an anti-explosive, nor of anti-corrosive design. Therefore,
absolutely do not use in the presence of the followings:
・Explosive materials ・Acidic materials
・Volatile materials ・Alkaline materials
・Inflammable materials ・Other corrosive materials
Directsunlight
Explosive
Donotinstallinthefollowingarea:
Inflammablegas
Corrosivegas
Dust
Humidity

7
4.3 Power source connecting
◇Confirm that the power source breaker is rated for the appropriate voltage and
amperage.
◇Confirm the unit is electrically grounded. Grounding prevents accidents such as
short-circuits and electrical shocks.
Never connect the grounding wire to gas lines.
◇Check the plug once a month or shorter intervals. Dust accumulation in the plug
might cause a tracking between the blades and finally a fire.
◇Loose plug might result in heat generation in the plug. Confirm that the plug is
tightly connected to the power outlet.
4.4 Cautions in operation
◇The unit is not designed to operate beyond the temperature range specified in
Specification table.
◇The unit is not of anti-explosive nor anti-corrosive design. Do not use other than
water in the bath, and keep inflammable materials off the unit.
◇ An appropriate water level is 2cm〜3cm lower than the top ridge of the
bath. Pay attention to the water level especially in operation at high
temperatures.
◇Empty-bath-heating troubles are apt to occur in the following situations:
①Water level is low in the bath.
②The unit is operated at high temperatures.
③The unit is operated for a long period of time.
Make up water in the bath considering water evaporation rate.
◇For the sake of safety do not operate the unit unattended to.
◇ To avoid burns, pay close attention to hot samples in the bath when handling
them.
◇Scales on the temperature sensor and/or the heater might cause a unit failure.
Clean the bath once a week or shorter intervals.
◇Unplug the unit and drain the bath when the unit is out of use for a week or longer.

8
4.5 Care and maintenance
◇ Be sure the unit is unplugged before conducting any maintenance action.
◇Do not spray nor splash the unit with water or any other liquid. The seepage of
liquids into the unit would result in serious accidents.
◇Do not apply alcohol, paint thinner, benzine nor other solvents in order to
clean the unit, because these solvents may cause damage to its coating, etc.
◇Clean the bath in the following manner:
・Drain the bath after the water temperature cools close to ambient.
・Remove the heating block from the bath by release the fixing screws.
・Clean inside of the bath with a soft cloth damped with neutral detergent aqueous
solution followed by the other cloth damped with clean water.
・Do not give stress or damage to the heater and the sensor during cleaning.
・Reassemble the unit by mounting the heating block and tightening the fixing
screws when cleaning is finished.
◇Never modify nor disassemble the unit. Modification and/or disassembly may
cause a functional failure, an electrical leakage, a fire, etc.

9
5. External views
1 2 3
4
5
6
7
8
9
①Bath
②Temperature controller
③Power switch
④Power cord
⑤Grounding adaptor
⑥Fixing screw
⑦Temperature sensor
⑧Agitation propeller
⑨Pipe heater
①
②
③
④
⑤
⑦
⑥
⑧
⑨
Heatingblock

10
6. Operation
6.1 Operation panel
P V
S V
C H L
SEL
℃
1
2
3
4 5 6
7
8
①Overheat indicator
Illuminates when the overheat preventive function in the temperature controller is
active, that is, when the bath temperature exceeds [Setpoint+5℃].
②Heater indicator
Illuminates when the heater is energized.
③Set indicator
Illuminates when SV display reads set temperature.
④Select key
Out of use in this unit.
⑤Up key
Setting value (SV) increases by one (1) when pressed.A long press makes continuous
increase of Setting value.
⑥Down key
Setting value (SV) decreases by one (1) when pressed. A long press makes continu-
ous decrease of Setting value.
⑦SV display
Indicates set temperature (SV, Setting value).
⑧PV display
Indicates bath temperature (PV, Process value).

11
6.2 Operation procedure
1. Place the Bath on MULT-POSITIONSTIRRERSRS261PA/SRS266PA or other level and
stable surface. Put Temperature controller on the Bath and fix it with the two Fixing
screws.
2. Confirm that Power switch is at OFFposition.
3. Fill the bath with water. An appropriate water level is 2cm〜3cm lower than the
top ridge of the bath.
4. Plug the unit. Select the proper power outlet having proper capacities of amperage
and voltage, and also a grounding slot.
5. Turn ON Power switch, then PV display and SV display read and shift
to the bath temperature (PV) and to the set temperature (SV) respectively in five (5)
seconds.
6. Set the bath working temperature by pressing Up key(▲)and/or Down key(▼)on
SV display.Indicated value become valid in three (3) seconds, and the operation
starts.
7. When the bath temperature reaches the setpoint (working temperature), it is
controlled at the point and Heater indicator informs of energizing status of the
heater.
8. Turn OFF Power switch to finish operation. Unplug the unit and drain the bath when
the unit is out of use for a week or longer.
[Note] Do not press Select key (SEL).
When SEL key is pressed for longer than three
(3) seconds, Overheat indicator will flashes.
In such a case, turn OFF Power switch and
ON again. No key operation for longer than
thirty (30) seconds has the same clearing
effect.
6.3 Safety devices
◇Overheat preventive function (programmed in Temperature controller)
When the bath temperature exceeds the setpoint temperature by 5℃, Overheat
indicator illuminates, the heater and the agitation propeller motor are de-energized.
To clear the activated function, turn OFF Power switch, remove the cause of
overheating and restart the unit.
SEL key
・・・・

12
7. Troubleshooting
Problem Possible cause Corrective action
Display panel indicates
nothing. Power switch is turned OFF. Turn ON the switch.
Power source is incorrectly
connected. Connect the appropriate power
source.
Setpoint temperature (SV) is
not proper. Set appropriate working temper-
ature.
Temperature does not
climb.
Overheat indicator illuminates.
Remove the cause of the alarm.
even though Heater
indicator illuminates.
Heater fails unless the
terminal connection is loose. Replace the failed heater.
Temperature climbs too
high. Setpoint temperature (SV) is
not proper. Set appropriate working temper-
ature.
Agitation propeller does
not work.
Water level is low.
Propeller is not fixed to the
driving shaft.
Adjust the water level.
Fix the propeller tightly.

13
8. Self-diagnostic function
Indication Defective part Cause
Bath temperature (PV)
exceeds 84℃.
Indication will disappear
when the temperature
descends.
Samples in the bath gener-
ate heat.
Too much samples are load-
ed in the bath.
Temperature sensor A-line
(red) is open.
Temperature sensor B-line
(white) is open.
Short circuit between A- and
B-lines of the sensor wiring.
Sensor fails unless terminal
connection is loose.
●H
(OverheatindicatorisON.)
Bath temperature exceeds
[Setpoint+5℃].
Setpoint is settled lower than
the present bath temperature
by 5℃or more.
Samples in the bath gener-
ate heat.
Too much samples are load-
ed in the bath.
SSR fails.
Temperature controller fails. Temperature controller
should be replaced.
[Note] When overheat preventive function in the temperature controller is activated,
Overheat indicator illuminate, the heater and the agitation propeller motor are
de-energized. Overheat indicator will be automatically cleared when the bath
temperature descends. Remove the cause and restart the unit.
FAL7
U U U U
L L L L
Table of contents
Other Advantec Laboratory Equipment manuals

Popular Laboratory Equipment manuals by other brands

Dosmatic
Dosmatic Superdos 20 Series operating manual

Plasmapp
Plasmapp ACTILINK Reborn user manual

THARMAC
THARMAC Cellspin II instruction manual

THORLABS
THORLABS RSBF2 Operation manual

Kontron Instruments
Kontron Instruments HPLC GRADIENT FORMER 425 instruction manual

MJS BioLynx
MJS BioLynx LynxSpin user manual


