Contents
3
CONTENTS
Operating Instructions . . . . . . . . . . . . . . . . . . . . . . . . . . . . . . . . . . . . 6
Safety Instructions . . . . . . . . . . . . . . . . . . . . . . . . . . . . . . . . . . . . . . . . . . . . 6
Disposal . . . . . . . . . . . . . . . . . . . . . . . . . . . . . . . . . . . . . . . . . . . . . . . . . . . . . . 8
Environmental Tips . . . . . . . . . . . . . . . . . . . . . . . . . . . . . . . . . . . . . . . . . . . . 8
Description of the Appliance . . . . . . . . . . . . . . . . . . . . . . . . . . . . . . . . . . . . 9
Front View . . . . . . . . . . . . . . . . . . . . . . . . . . . . . . . . . . . . . . . . . . . . . . . . . . . . 9
Detergent Dispenser Drawer . . . . . . . . . . . . . . . . . . . . . . . . . . . . . . . . . . . . . 9
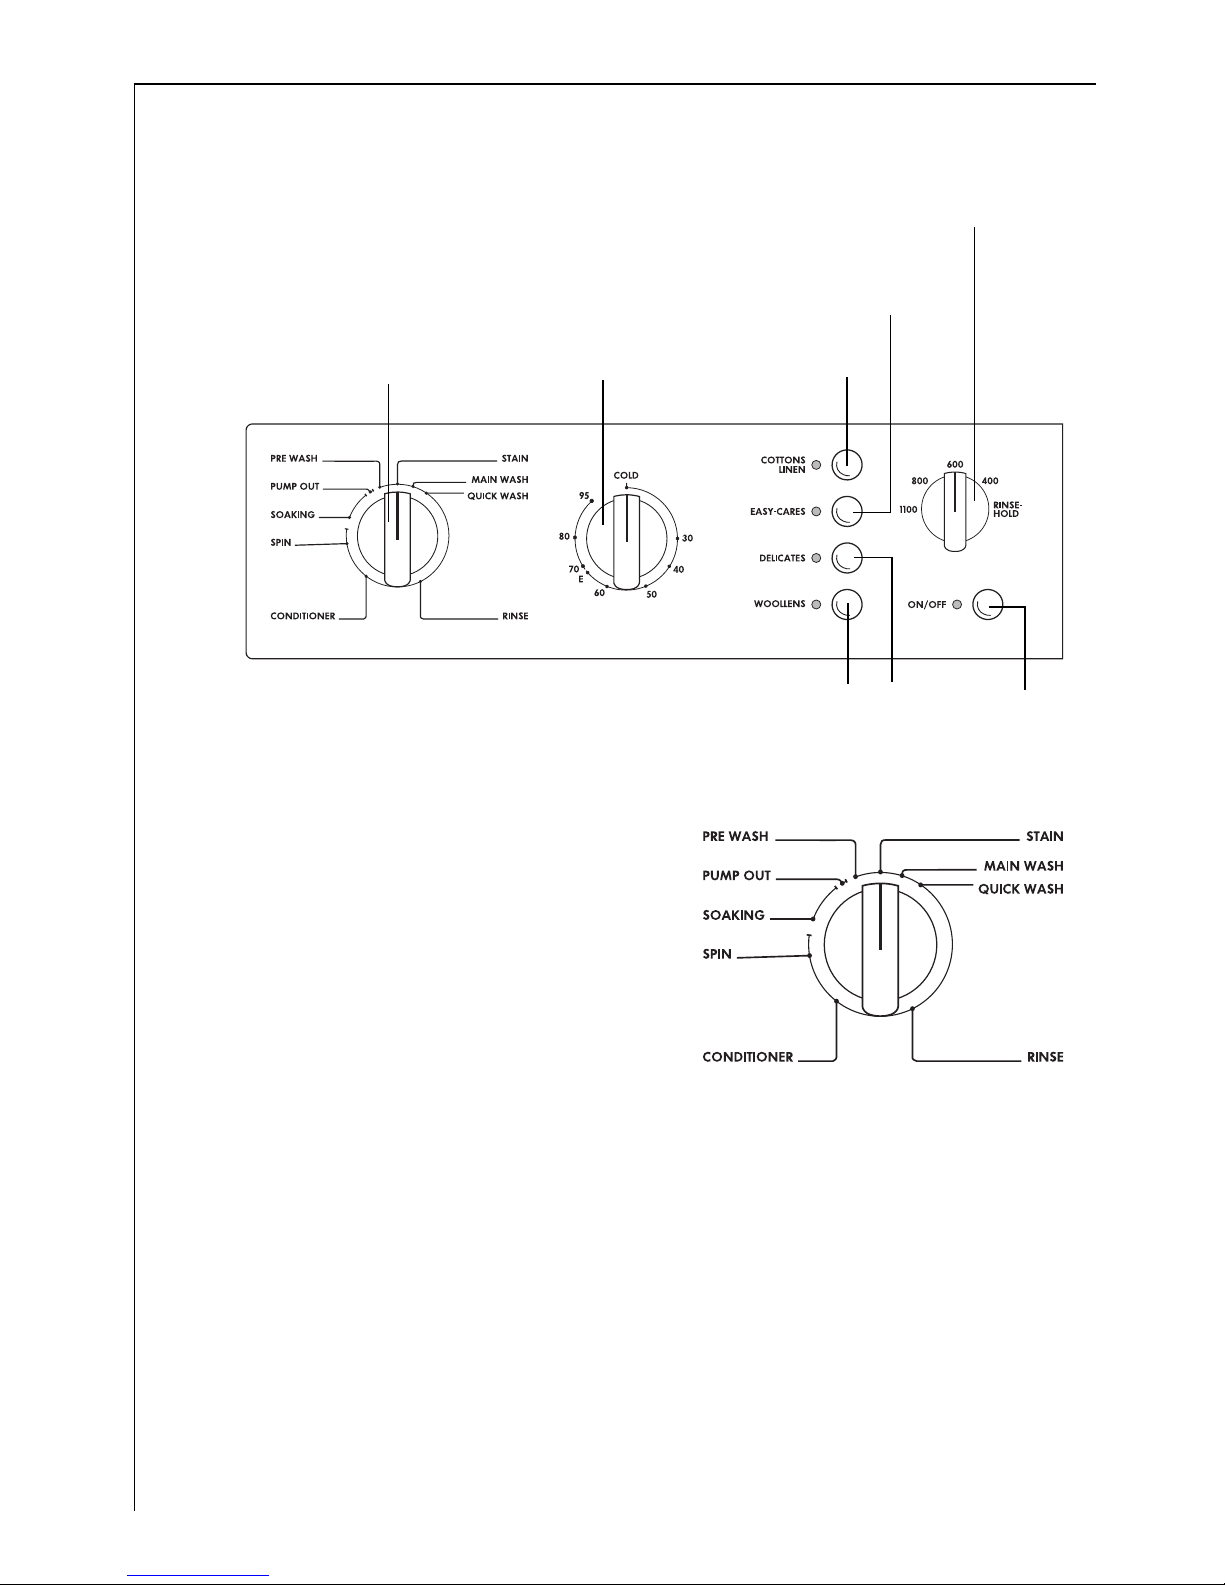
Control Panel . . . . . . . . . . . . . . . . . . . . . . . . . . . . . . . . . . . . . . . . . . . . . . . . . 10
Program Selector . . . . . . . . . . . . . . . . . . . . . . . . . . . . . . . . . . . . . . . . . . . . 10
Temperature Selector . . . . . . . . . . . . . . . . . . . . . . . . . . . . . . . . . . . . . . . . . 12
Type of Washing Buttons . . . . . . . . . . . . . . . . . . . . . . . . . . . . . . . . . . . . . 12
ON/OFF Button . . . . . . . . . . . . . . . . . . . . . . . . . . . . . . . . . . . . . . . . . . . . . 12
Consumption Data and Wash Times . . . . . . . . . . . . . . . . . . . . . . . . . . . . . . 13
Before Using for the First Time . . . . . . . . . . . . . . . . . . . . . . . . . . . . . . . . . 13
Preparing a Wash Load . . . . . . . . . . . . . . . . . . . . . . . . . . . . . . . . . . . . . . . . . 14
Sorting and preparing a wash load . . . . . . . . . . . . . . . . . . . . . . . . . . . . . . . . 14
Washing Types and Care Symbols . . . . . . . . . . . . . . . . . . . . . . . . . . . . . . . . . 15
Detergents and Conditioners . . . . . . . . . . . . . . . . . . . . . . . . . . . . . . . . . . . . . 16
Which Detergent? . . . . . . . . . . . . . . . . . . . . . . . . . . . . . . . . . . . . . . . . . . . 16
And in which form? . . . . . . . . . . . . . . . . . . . . . . . . . . . . . . . . . . . . . . . . . . 17
How much Detergent and Fabric Softener? . . . . . . . . . . . . . . . . . . . . . . 18
Using a Water Softening Agent . . . . . . . . . . . . . . . . . . . . . . . . . . . . . . . . . . . 18
Run wash cycle . . . . . . . . . . . . . . . . . . . . . . . . . . . . . . . . . . . . . . . . . . . . . . . . 19
Brief instructions . . . . . . . . . . . . . . . . . . . . . . . . . . . . . . . . . . . . . . . . . . . . . . . 19
Loading the Washing . . . . . . . . . . . . . . . . . . . . . . . . . . . . . . . . . . . . . . . . . . . . 20
Adding Detergent/Conditioner . . . . . . . . . . . . . . . . . . . . . . . . . . . . . . . . . . . 20
Selecting the Washing Program . . . . . . . . . . . . . . . . . . . . . . . . . . . . . . . . . . . 21
Starting the Washing Program . . . . . . . . . . . . . . . . . . . . . . . . . . . . . . . . . . . 21
Set the Final Spin Speed or Select RINSE HOLD . . . . . . . . . . . . . . . . . . . . . . 22
During the Washing Program . . . . . . . . . . . . . . . . . . . . . . . . . . . . . . . . . . . . . 22
End of Wash Cycle/Removing the Washing . . . . . . . . . . . . . . . . . . . . . . . . . 23