manuals.online logo
Brands
  1. Home
  2. •
  3. Brands
  4. •
  5. Aero-motive
  6. •
  7. Car Spares
  8. •
  9. Aero-motive 11801 User manual

Aero-motive 11801 User manual

Other Aero-motive Car Spares manuals

Aero-motive 11209 User manual

Aero-motive

Aero-motive 11209 User manual

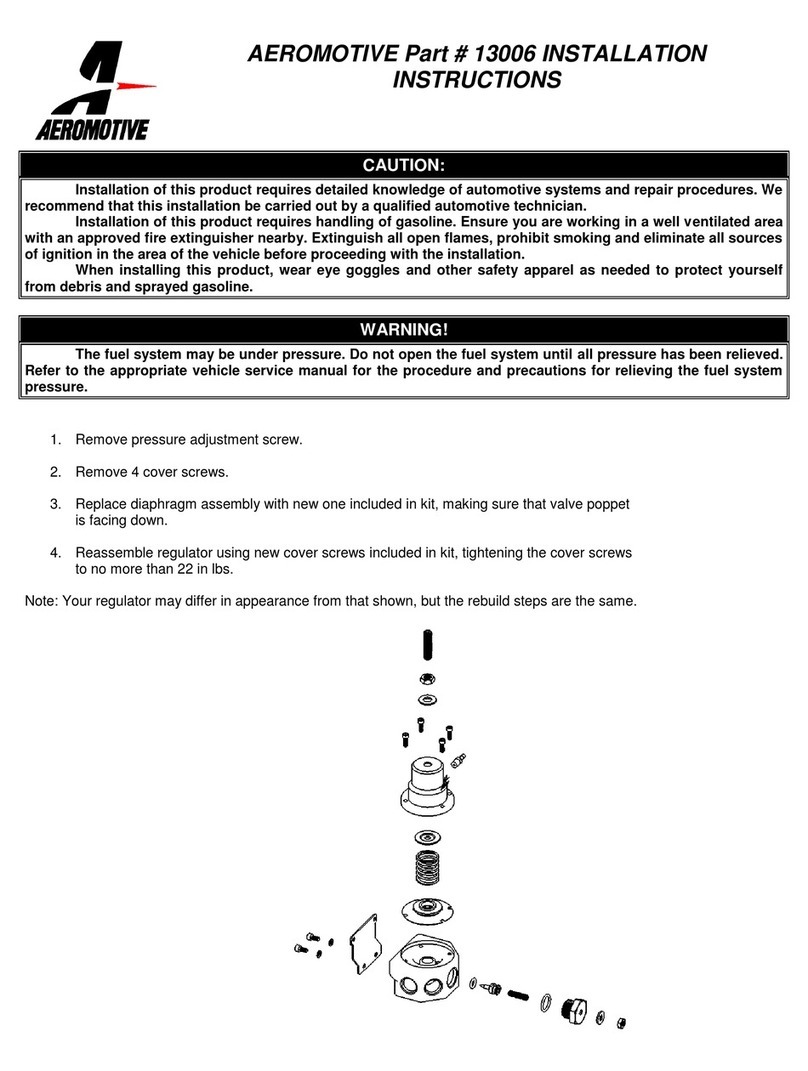
Aero-motive 13006 User manual

Aero-motive

Aero-motive 13006 User manual

Aero-motive 11105 User manual

Aero-motive

Aero-motive 11105 User manual

Aero-motive 17147 User manual

Aero-motive

Aero-motive 17147 User manual

Aero-motive 11703 User manual

Aero-motive

Aero-motive 11703 User manual

Aero-motive 13001 User manual

Aero-motive

Aero-motive 13001 User manual

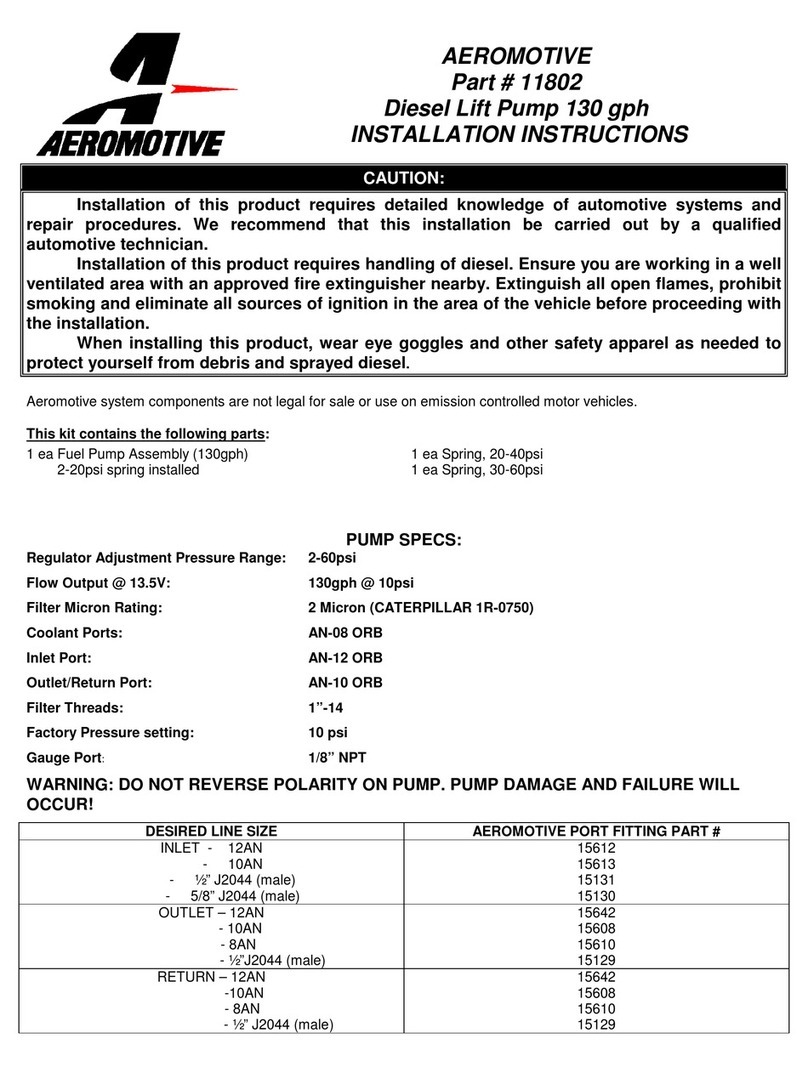
Aero-motive 11802 User manual

Aero-motive

Aero-motive 11802 User manual

Aero-motive 14111 User manual

Aero-motive

Aero-motive 14111 User manual

Aero-motive 13209 User manual

Aero-motive

Aero-motive 13209 User manual

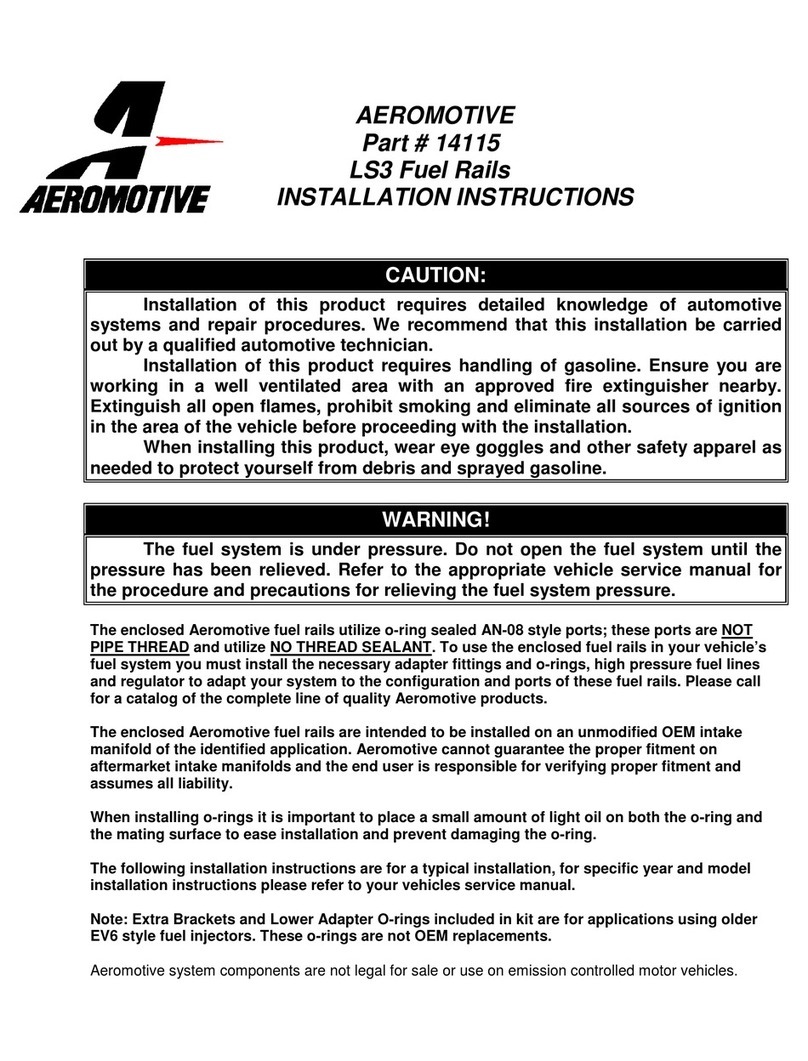
Aero-motive 14115 User manual

Aero-motive

Aero-motive 14115 User manual

Aero-motive 13002 User manual

Aero-motive

Aero-motive 13002 User manual

Aero-motive 11203 User manual

Aero-motive

Aero-motive 11203 User manual

Aero-motive 11107 User manual

Aero-motive

Aero-motive 11107 User manual

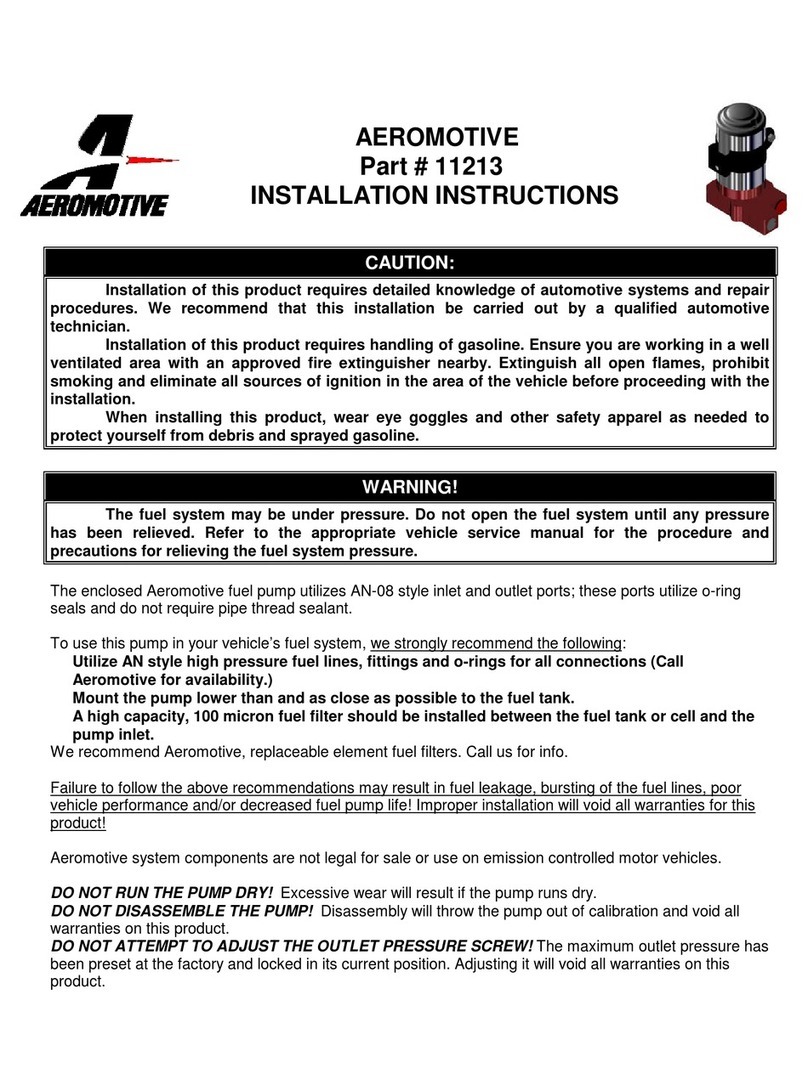
Aero-motive 11213 User manual

Aero-motive

Aero-motive 11213 User manual

Popular Car Spares manuals by other brands

Hellwig 5812 installation instructions
Hellwig

Hellwig 5812 installation instructions

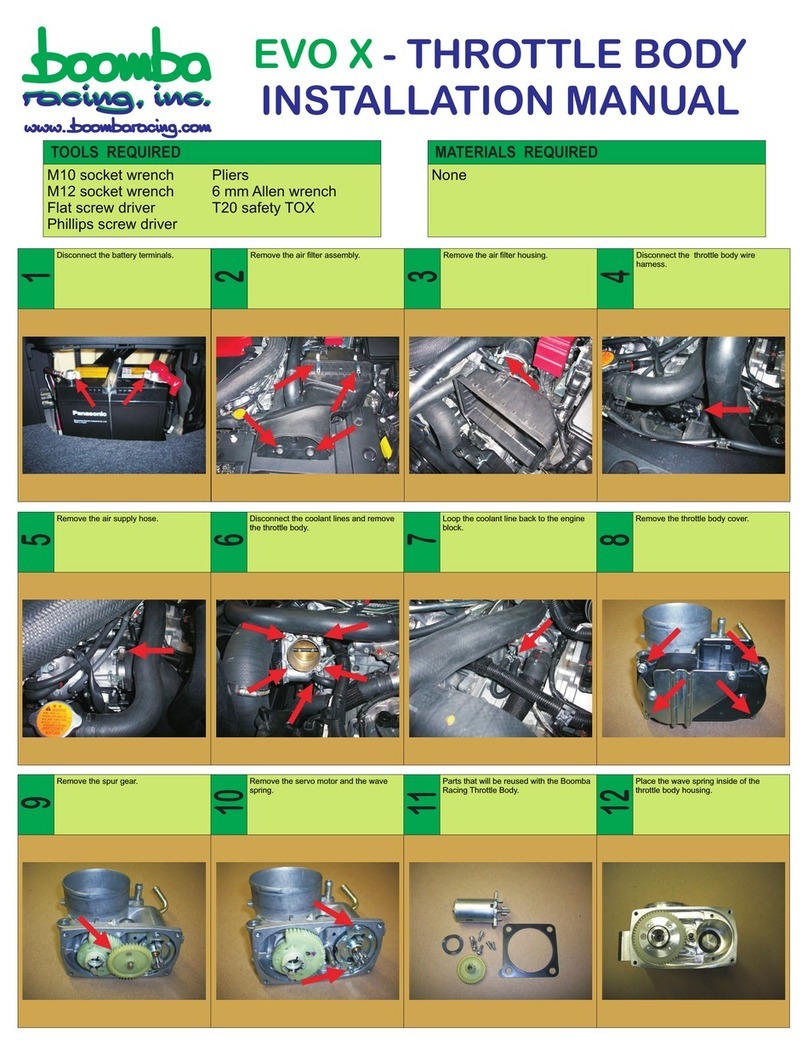
Boomba Racing EVO X installation manual
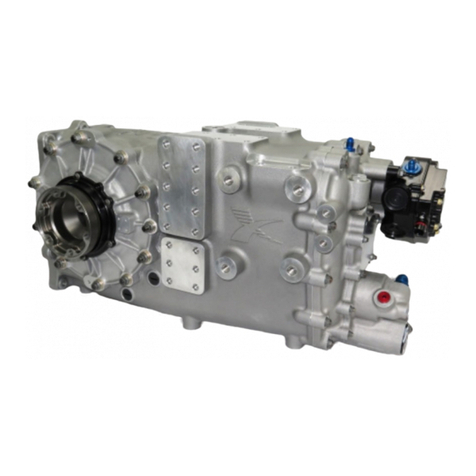
Boomba Racing

Boomba Racing EVO X installation manual

Trans Dapt 4201 installation guide

Trans Dapt

Trans Dapt 4201 installation guide

DU-HA 20115 installation instructions

DU-HA

DU-HA 20115 installation instructions

Spectre Performance 9049 Intake Installation Instructions

Spectre Performance

Spectre Performance 9049 Intake Installation Instructions

Westin 27-1155 instruction sheet

Westin

Westin 27-1155 instruction sheet

Reese R20 instruction manual

Reese

Reese R20 instruction manual

WABCO ABS Maintenance manual

WABCO

WABCO ABS Maintenance manual

Go Rhino DOMINATOR SERIES Assembly/installation instructions

Go Rhino

Go Rhino DOMINATOR SERIES Assembly/installation instructions

Go Rhino DOMINATOR 2 SERIES Assembly/installation instructions

Go Rhino

Go Rhino DOMINATOR 2 SERIES Assembly/installation instructions
Magnaflow 18941 installation instructions

Magnaflow

Magnaflow 18941 installation instructions

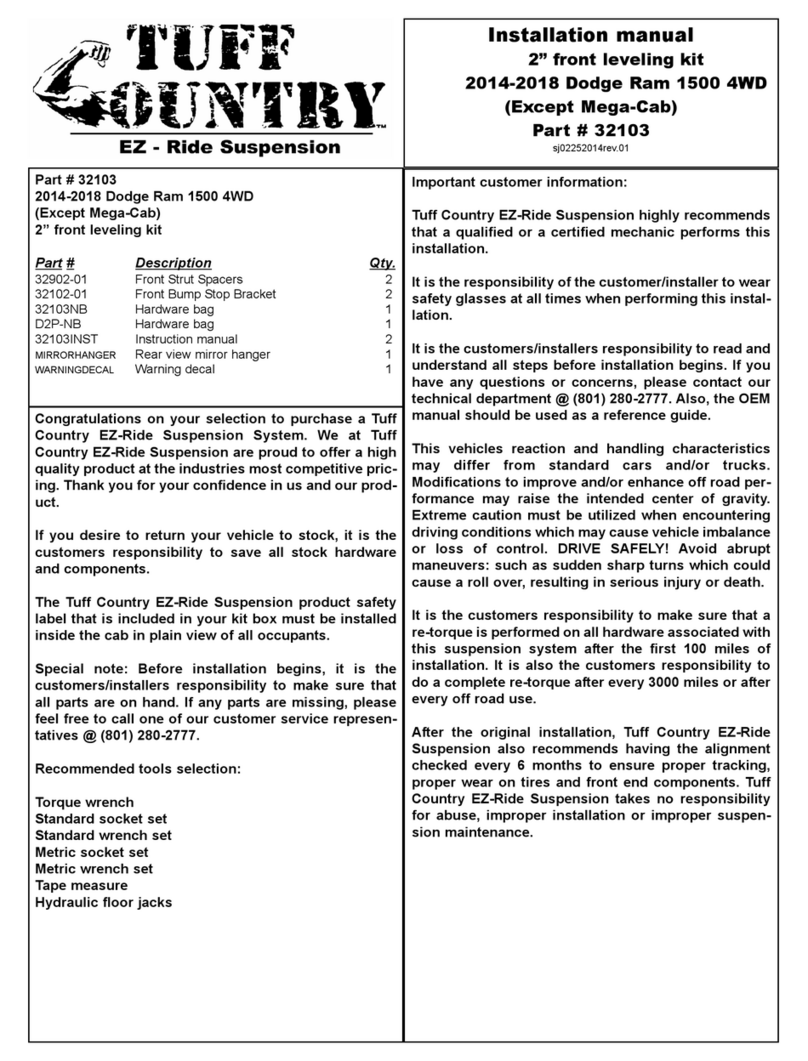
Tuff Country 32103 installation manual

Tuff Country

Tuff Country 32103 installation manual

ADD 2003 – Current Chevy 1500/2500 ADD Lite installation instructions

ADD

ADD 2003 – Current Chevy 1500/2500 ADD Lite installation instructions

ADD 2007-2014 Jeep JK venom installation instructions
ADD

ADD 2007-2014 Jeep JK venom installation instructions

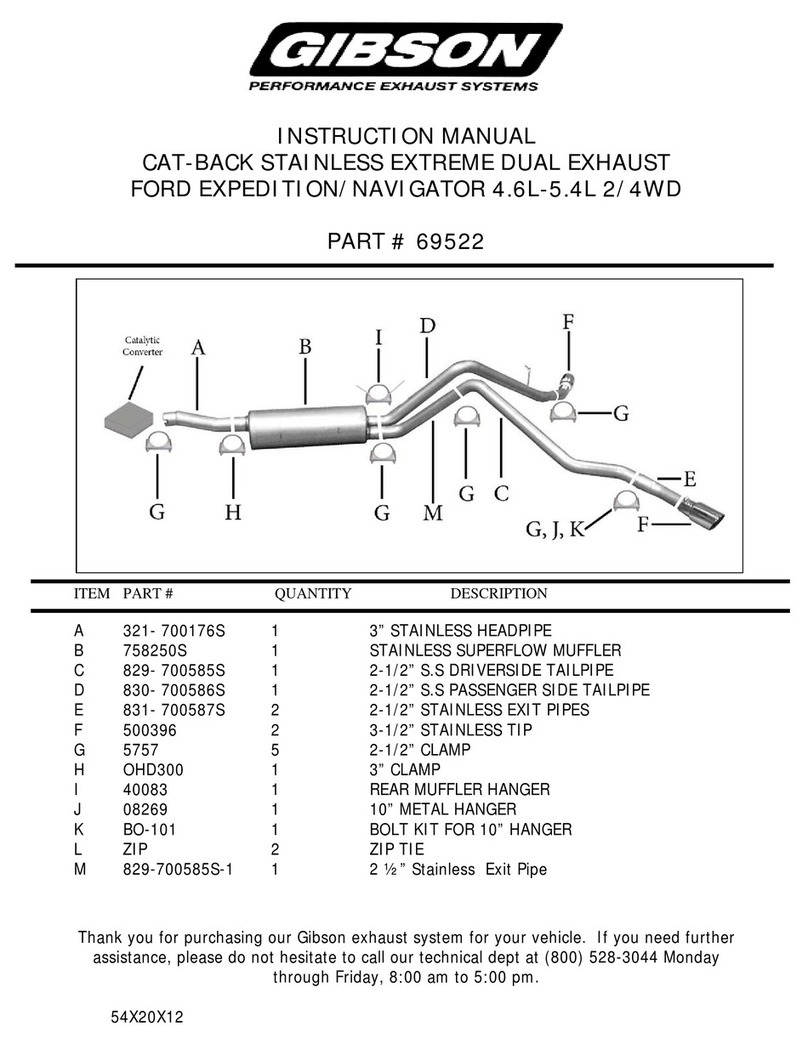
Gibson 69522 instruction manual

Gibson

Gibson 69522 instruction manual
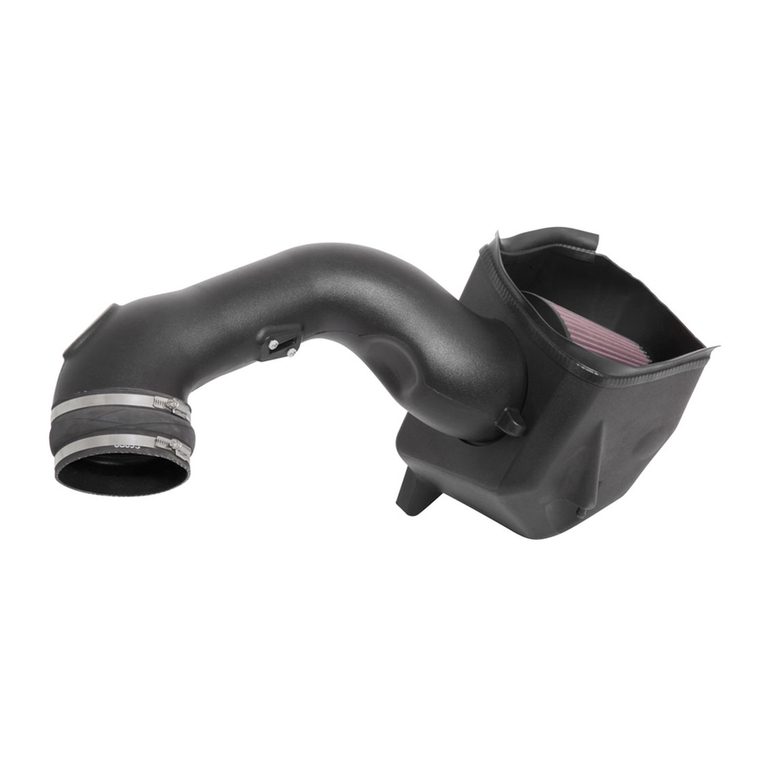
Airaid 400-279 installation instructions
Airaid

Airaid 400-279 installation instructions

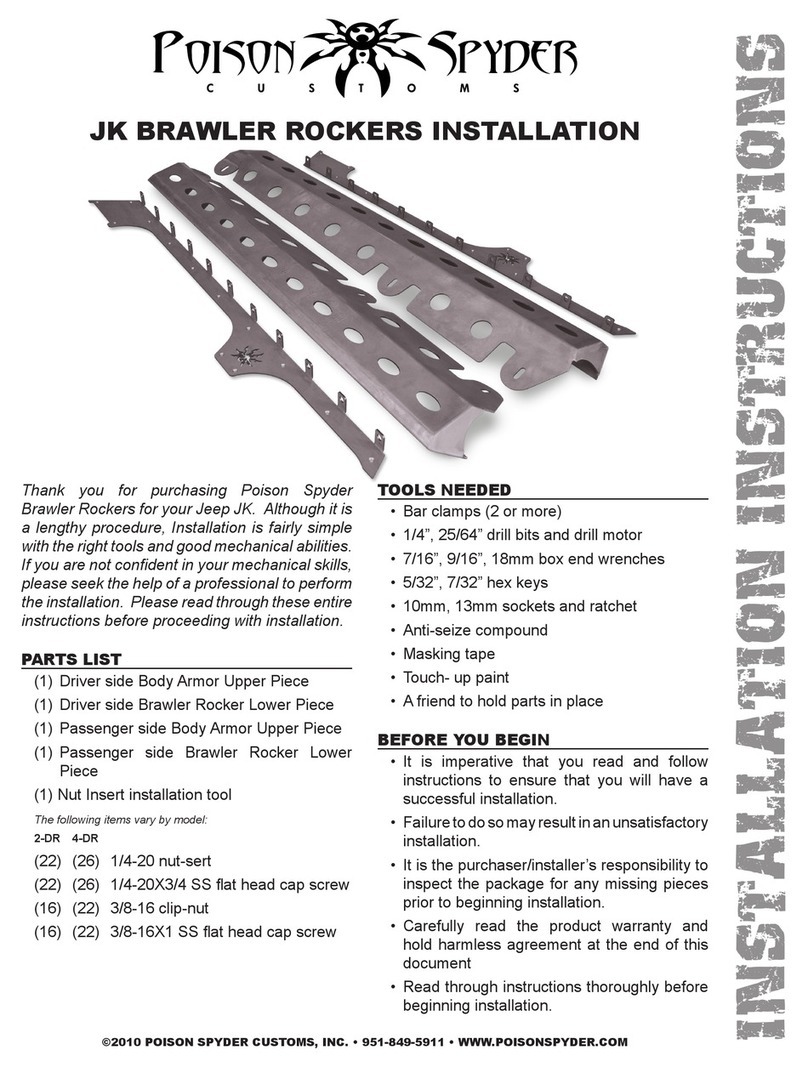
Poison Spyder JK BRAWLER ROCKERS Installation instructions manual
Poison Spyder

Poison Spyder JK BRAWLER ROCKERS Installation instructions manual

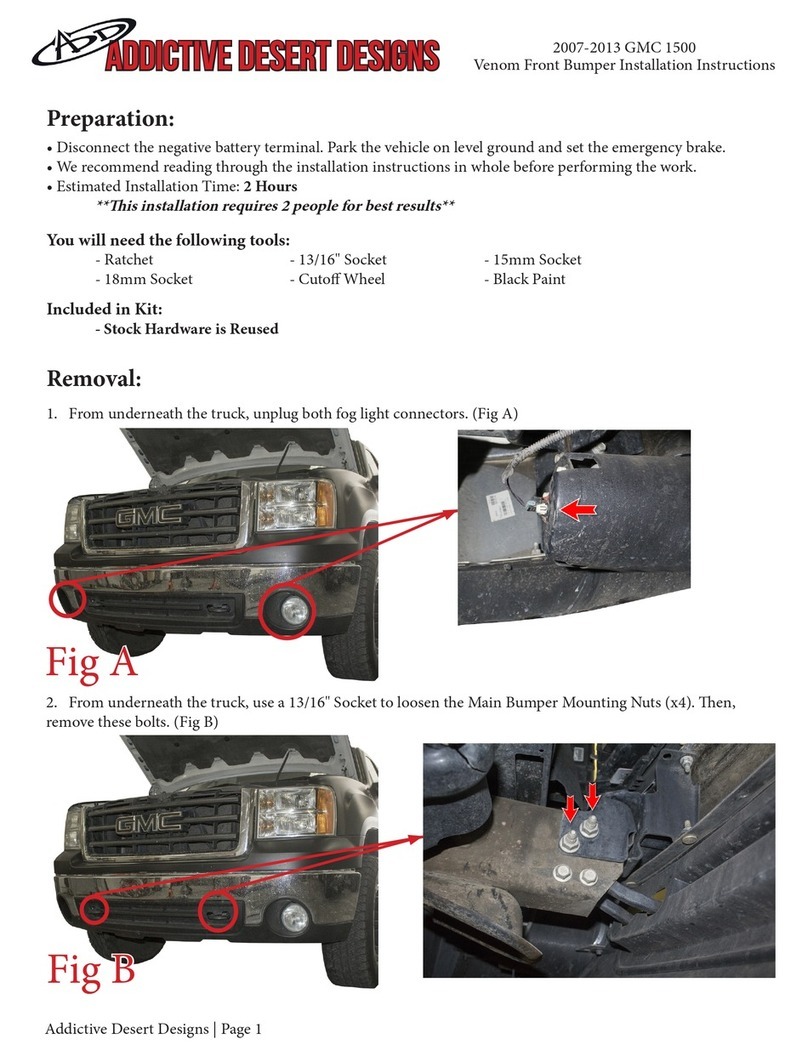
ADD 2007-2013 GMC 1500 installation instructions

ADD

ADD 2007-2013 GMC 1500 installation instructions

manuals.online logo
manuals.online logoBrands
  • About & Mission
  • Contact us
  • Privacy Policy
  • Terms and Conditions

Copyright 2025 Manuals.Online. All Rights Reserved.

AEROMOTIVE
Part # 11801
01-10 CHEVY/GMC Duramax Fuel System Kit
INSTALLATION INSTRUCTIONS
CAUTION:
Installation of this product requires detailed knowledge of automotive systems and
repair procedures. We recommend that this installation be carried out by a qualified
automotive technician.
Installation of this product requires handling of diesel. Ensure you are working in a well
ventilated area with an approved fire extinguisher nearby. Extinguish all open flames, prohibit
smoking and eliminate all sources of ignition in the area of the vehicle before proceeding with
the installation.
When installing this product, wear eye goggles and other safety apparel as needed to
protect yourself from debris and sprayed diesel
.
Aeromotive system components are not legal for sale or use on emission controlled motor vehicles.
This kit contains the following parts:
1 ea Frame Bracket 1
1 ea Frame Bracket 2
1 ea ¾” Pickup Tube
1 ea Bottom Plate Baffle
2 ea 2” Bracket Spacers
1 ea Fuel Pump Assembly (130gph)
1 ea ½” Return Hose Assembly
1 ea ½” Feed Hose Assembly
1 ea 5/8” Suction Hose Assembly
1 ea Intank Return Assembly
1 ea Boxed, Pickup Tube Assembly
1 ea Wiring Harness
1 ea ½” Fuel Line Cap
1 ea Pump Power Harness
2 ea P/N 15129 AN10 to ½” J2044 Quick Connect
1 ea P/N 15130 AN12 to 5/8” J2044 Quick Connect
1 ea 15632 0-15psi, 1/8” npt, Fuel Pressure Gauge
1 ea Basket
1 ea Foam Core
3 ea 3/8-16 Zinc Plated Jam nut
2 ea AN-10 o-ring
1 ea AN-12 o-ring
3 ea 3/8-16 x 4” Hex Head Bolt
2 ea 3/8-16 x 3” Tapered Socket Cap Screw
12 ea Tie-Wraps
3 ea Zinc Plated Lock Washer
PUMP SPECS:
Regulator Adjustment Pressure Range: 2-20psi
Flow Output @ 13.5V: 130gph @ 10psi
Filter Micron Rating: 2 Micron (CATERPILLAR 1R-0750)
Coolant Ports: AN-08 ORB
Inlet Port: AN-12 ORB
Outlet/Return Port: AN-10 ORB
Filter Threads: 1”-14
Factory Pressure setting: 10 psi
Gauge Port: 1/8” NPT
WARNING: DO NOT REVERSE POLARITY ON FUEL PUMP! PUMP DAMAGE WILL ACCUR.
WARNING!
Always be aware of flammable situations. Drilling and grinding can be
potential ignition sources. Extinguish all open flames, prohibit smoking and
eliminate all sources of ignition in the area of the vehicle and workspace before
proceeding with the installation. Ensure you are working in a well ventilated area
with an approved fire extinguisher nearby.
WARNING!
Installation of this product requires modification to a fuel tank, failure to
satisfy all safety considerations will result in fire, explosion, injury and/or loss of
life to yourself and/or others.
WARNING!
Mechanical and hydraulic lifting devices can tip over or lower accidentally
due to incorrect maneuvering or technical errors. A falling object can cause
injury and/or loss of life to yourself and/or others. When working under the
vehicle always use stands and ensure that the ground or floor is stable and level.
Never crawl under a vehicle which is only supported by a jack.
CAUTION:
Make sure all batteries are disconnected before starting installation. Most diesel
truck have two 12v batteries.
1. Find a suitable mounting location on the driver side frame rail. The pump can be mounted on the inside or outside of
the frame (typical mounting on the inside).
2. Assemble the bracket to the frame as illustrated in FIGURE 1-1. Use the 3/8” x 4” bolt, lock washers and nuts.
NOTE: When installing the top bolts in the mounting plate, be sure not to pinch any tubes or wiring between
the plate and frame.
FIGURE 1-1
3. Choose the holes that best set the pump height closest to the floor pan. This will allow maximum clearance for
road debris (on or off road). Feed the tapered head 3/8” bolts thru the back side of the bracket. FIGURE 1-2
FIGURE 1-2
4. Slide the two spacers over the two bolts to space the pump away from the frame and wiring. Now tighten the pump to
the bracket. FIGURE 1-3
FIGURE 1-3
5. Screw the three port fittings into the pump. Ensure that the fitting have the o-rings installed on them. If not, do that at
this time. FIGURE 1-4
FIGURE 1-4
6. Before removing the fuel tank from the vehicle, mark the tank where there is adequate room between it and the bed.
These locations will be used to determine the best spot for the feed and return tubes. Remove the fuel tank from the
vehicle and place it on the ground. Remove the factory fuel level sending unit and set aside (careful not to damage it
and note the orientation of the float arm). Choose a location that’s close to the factory tank opening because you have
to reach the backside to install a nut. Before drilling your holes make sure the factory fuel level arm will not come in
contact with the Aeromotive baffled pickup assembly (Location marks are examples only). Failure to do so will
result in the gas gauge not working. FIGURE 1-5
FIGURE 1-5
7. Find a spot on the tank suitable for the pickup tube assembly. Make sure you have enough room for the 100 micron
pre-filter and baffle assembly inside the tank (tank wall clearance and factory basket clearance). Drill a 1” hole for the
pickup tube assembly (clean out all debris after drilling hole).
8. Measure the depth of the tank through the hole you just drilled. Add 1” to the measurement and cut the pickup tube.
FIGURE 1-6
NOTE: The tube will be longer than needed and is a built in cushion. You can shorten the pickup tube to
better fit your vehicle.
FIGURE 1-6
9. Insert the pickup tube assembly as illustrated in FIGURE 1-7. Place one PTFE washer, lock nut and filter assembly
into tank using the factory fuel module (do not tighten anything yet). Lightly oil the pickup tube and insert it thru the
pickup tube clamp. There will be some resistance because of the two sealing o-rings. Lube the end of the tube and
push it into the filter assembly and tighten the filter clamp (tube can be tilted toward the factory open to aid in
assembly). Now tighten the pickup tube clamp lock nut.
FIGURE 1-7
10. Assemble the baffled pickup assembly and insert it into the tank. FIGURE 1-8
FIGURE 1-8
Note: The round bottom plate can be trimmed to fit down in the tank or cut in half and assembled in the tank.
11. Push the pickup tube assembly down into the baffle until the filter rest on the bottom plate. Position the outlet toward
the middle of the vehicle and tighten the tube clamp on top of tank. FIGURE 1-9
FIGURE 1-9
12. Attach the 5/8” J2044 connector onto the pickup tube. Use light oil to ease the installation, tighten clamp.
FIGURE 1-10
FIGURE 1-10
13. Find a location on the tank approximately 2.5-3” away from the pickup tube. Mark this spot and drill a ¾” hole for the
return tube assembly.
14. Measure from the top of the hole you just drilled to half way down the black Aeromotive basket. Cut the return tube
assembly to length. Insert it into the tank as shown in FIGURE 1-11.
FIGURE 1-11
15. As you are inserting the return tube into the tank, guide the tube in between the black rubber basket and yellow foam.
Once installed, tighten lock nut inside of tank. FIGURE 1-12
FIGURE 1-12
16. Reinstall the factory pickup assembly noting the position of the fuel level as it was removed. Position the tank under
the vehicle and attach the feed and return lines. Place rubber cap over factory feed line connection and secure with tie
wrap. Raise tank and position it into place. FIGURE 1-13
FIGURE 1-13
17. Route line away from moving parts and hot exhaust and secure in place with provided zip ties.
18. Now attach the feed and return lines to the pump and install fuel pressure gauge in the 1/8” npt gauge port. Route the
lines as such to take out excess length. FIGURE 1-14
FIGURE 1-14
19. Disconnect the factory J2044 connector with the appropriate ½” fuel disconnect tool about mid frame on the drivers
side (where the soft line meets the steel line). Connect the last Aeromotive red fuel line to the factory steel line and
then to the outlet on the pump. Route the line to take up excess slack. FIGURE 1-15
FIGURE 1-15