Aeropro N851NP Instruction Manual

Fig 1.
Operating Instruction and safety manual
WIDE CROWN STAPLER –Model No. N851NP
Contain:
◎Technical Data
◎Important Safety Rules
◎Operating Instruction
◎Maintenance
◎Troubleshooting
◎Parts List
※Technical Data
Type:
N851NP
Max. working pressure
8.3bar(120psi)
Capacity
50pcs
Operation pressure
4.8-7.5bar(70-110PSI)
Staple length
25-50mm(1’’-2’’)
Air inlet
1/4”
Fastener size
16Ga (1.60×1.40mm)
Dimension
362×340×80mm
Weight
2.1kg
※Important Safety Rules
1. KEEP CHILDREN AWAY. All children should be kept away from the work area. Don’t let them
handle the tool.
2. USE SAFETY GLASS AND EAR PROTECTION: Air tool operators and others in work area
should always wear safety glass to prevent the injury from fastenersand flying debris when
loading and unloading this tool. Maybe the noise would harm your hearing, wear the ear
IMPORTANT:
Upon receipt of the product, read and follow all safety rules,
operating instructions before first use it. And retain this manualfor
future reference.
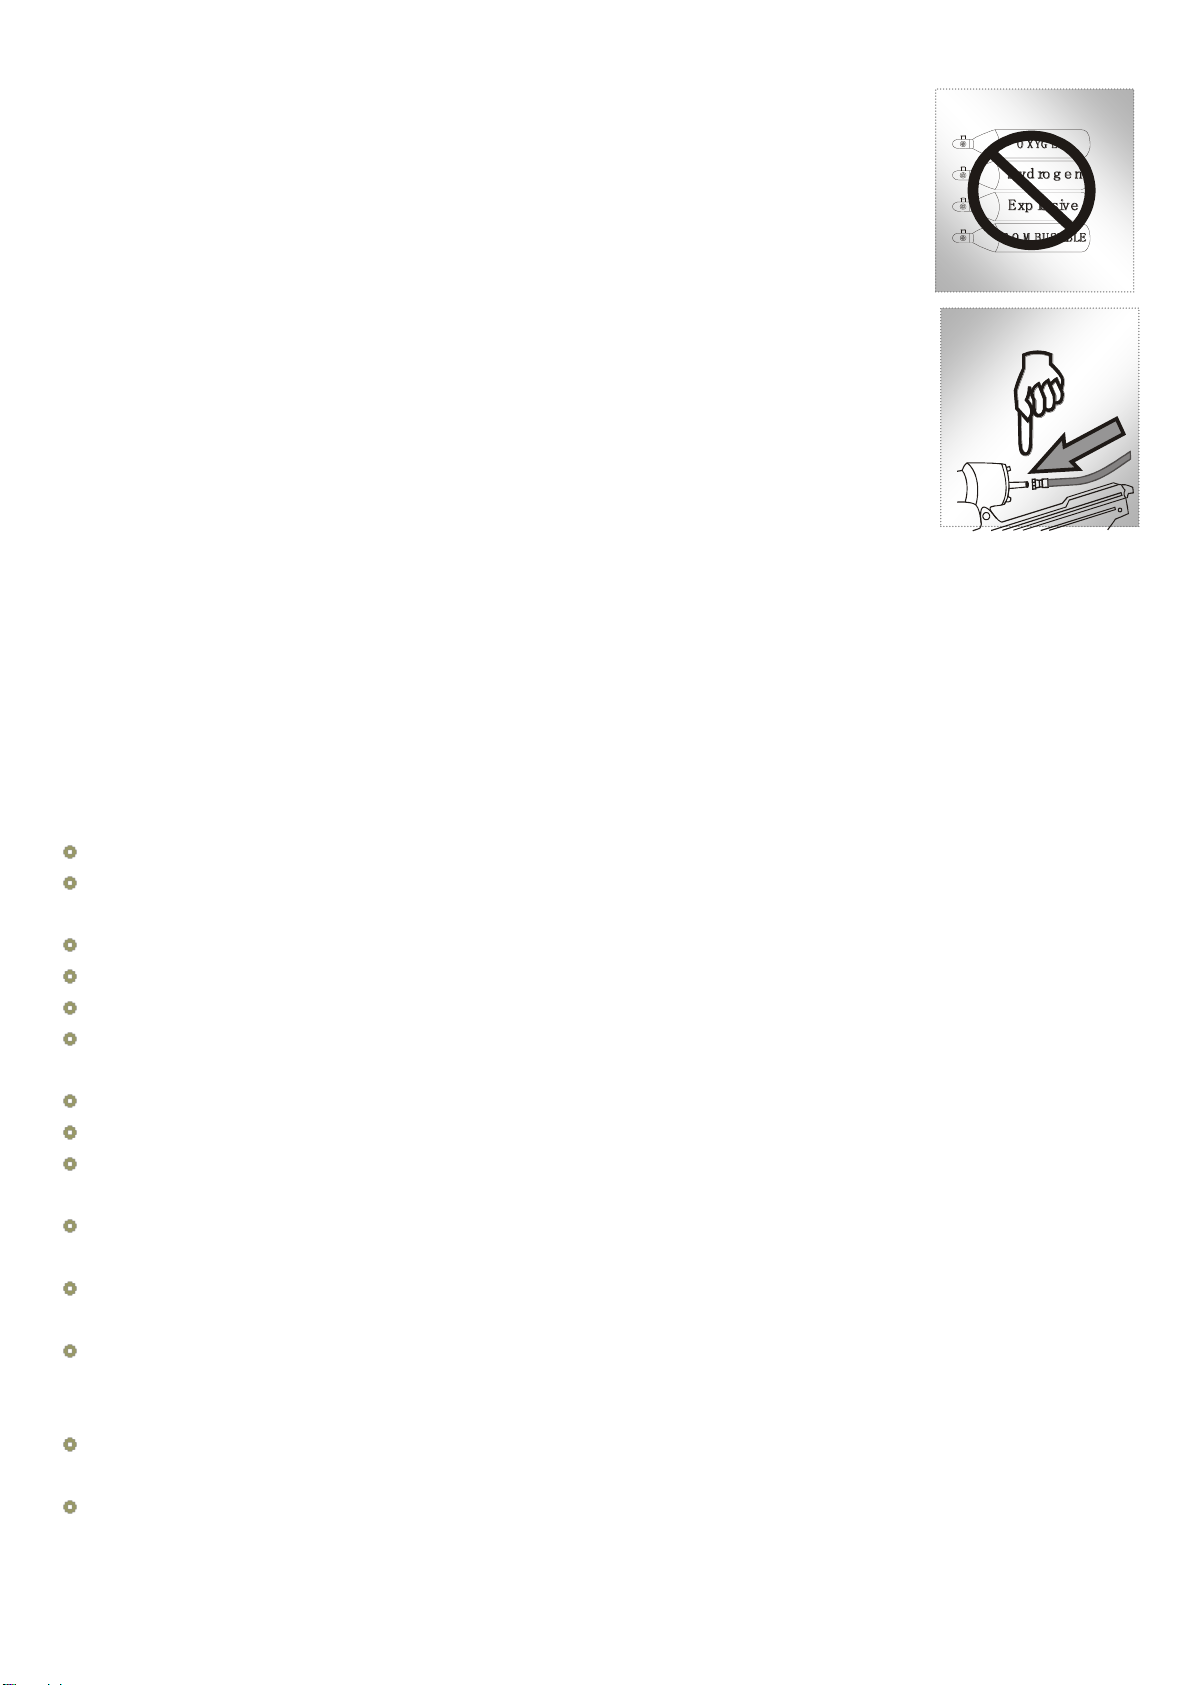
Fig 2.
Fig 3
protection to safeguard. (See fig 1.)
3. NEVER USE OXYGEN, COMBUSTIBLE OR ANY OTHER BOTTLE GAS as a power source
or would cause explosion and serious personal injury. (See fig 2.)
4. DO NOT CONNECT TOOL TO COMPRESSED AIR which pressure exceeds 120psi.
5. DO NOT PLACE OVER-LONG AIR HOSE in working area in case of the operator’s
unexpected tripping .Make sure all connections are tight
6. CARRING TOOL ONLY BY THE HANDLE do not keep the trigger pull on safety yoke
mechanism to avoid unintentional firing of fastener.
7. KEEP THE TOOL POINTED AWAY FROM YOURSELF and others at all time and keep hands,
any body parts away rear area to Safety guard against possible injury.
8. DISCONNECT TOOL FROM AIR SUPPLY BEFORE LOADING fasteners to prevent a
fastener from being fired during connection. (See fig3.)
9. DO NOT KEEP THE TIRGGER OR SAFETY DEPRESSED during loading fasteners or the
unintentional firing of a fastener would cause personal injury.
10. DO NOT KEEP THE TIRGGER OR SAFETY DEPRESSED during loading fasteners or the
unintentional firing of a fastener would cause personal injury.
11. DISCONNECT TOOL FROM AIR SUPPLY HOSE and close the compressor before performing maintenance, alter the
accessories or during non-operation.
12. DO NOT DRIVE FASTENER ON SCAFFOLDINGS,LADDERS and on such similarly construction, not working on
airtight case, and vehicles.
13. DO NOT DRIVE FASTENER ON TOP OF NAILED FASTENER, or the fastener can ricochet causing personal injury.
14. NEVER USE A TOOL that is leaking air, had missing or damaged parts or requires repair and make sure all the screws
and securely tightened.
15. ONLY USE PARTS AND ACCESSORIES recommend by manufacturer.
※ADDITIONAL SAFETY INSTRUCTIONS FOR PNEUMATIC POWER TOOLS
Air under pressure can cause severe injury.
Always shut off air supply, drain hose of air pressure and disconnect tool from air supply whenever not in use, before
changing accessories or where making repairs.
Never direct air at yourself or anyone else.
Whipping hoses can cause severe injury. Always check for damaged or loose hoses and fittings.
Cold air should be directed away from the hands.
Whenever universal twist couplings(claw couplings) are used, lock pins shall be installed and whip check safety
cables shall be used to safeguard against possible hose-to-tool and hose-to-hose connection failure.
Do not exceed the maximum air pressure stated on the tool.
Never carry an air tool by the hose.
Only fasteners listed in the specifications may be used in the fastener driving tool. The fastener driving tool and the
fasteners specified in the specifications are to be considered as one unit safety system.
Quick action couplings shall be used for connection to the compressed air system and the non-sealable nipple must
be fitted at the tool in such a way that no compressed air remains in the tool after disconnection.
Oxygen or combustible gases shall not be used as an energy source for compressed air operated fastener driving
tools.
Fastener driving tools shall only be connected to an air supply where the maximum allowable pressure of the tool
cannot be exceeded by more than 10%; in the case of higher pressure ,a pressure reducing valve which includes a
downstream safety valve shall be built into the compressed air supply.
Only the main energy and the lubricants listed in the operating instructions may be used for the maintenance of
fastener driving tools. Only spare parts specified by the manufacturer or his authorised representative shall be used.
Repairs shall be carried out only by the manufacturer's authorized agents or by other experts, having due regard to
the information given in the operating instructions.

Stands for mounting the fastener driving tools to a support, for example to a work table, shall be designed and
constructed by the stand manufacturer in such a way that the fastener driving tools can be safely fixed for the
intended use, thus for example avoiding damage, distortion and displacement.
Check prior to each operation that the safety and triggering mechanism is functioning properly and that all nuts and
bolts are right.
Do not carry out any alterations to the fastener driving tool.
Do not disassemble or make inoperative any parts of the fastener driving tool such as the safety yoke.
Do not perform any ¡°emergency repairs¡±without proper tools and equipment.
The fastener driving tool should be serviced properly and at regular intervals in accordance with the manufacturer¡¯s
instructions.
Avoid weakening or damaging the tool, for example by:
-punching or engraving;
-modification not authorized by the manufacturer;
-guiding against templates made of hard material such as steel;
-dropping or pushing across the floor;
-using the tool as a hammer;
-applying excessive force of any kind.
Never point any fastener driving tool at yourself or at any other person or animal.
Hold the fastener driving tool during the work operation in such a way that no injuries can be caused to the head or to
the body in the event of possible recoil consequent upon a disruption in the compressed air supply or hard areas
within the workplace.
Never actuate the fastener driving tool into free space.
This will avoid any hazard caused by free flying fasteners and excessive strain of the tool.
The tool shall be disconnected from the compressed air system for the purpose of transportation, especially where
ladders are used or where an unusual physical posture is adopted whilst moving .
Carry the fastener driving tool at the workplace using only the handle, and never with the trigger actuated.
Take conditions at the workplace into account. Fasteners can penetrate thin work pieces or slip off corners and edges
of workplaces, and thus put people at risk.
For personal safety, use protective equipment such as hearing and eye protection.
Fastener driving tools are operated by actuating the trigger using finger pressure.
In addition, fastener driving tool is fitted with a safety yoke which enables the driving operation to be carried out only after
the safety yoke of the tool is pressed against a work piece, These tools are marked with an inverted triangle (▽)behind the
serial number and are not permitted for use without an effective safety yoke. A safety yoke is not required on fastener
driving tools which accelerate the heaviest usable fasteners to a free flight velocity below an admissible risk of injury.
Those fastener driving tools are not marked with an inverted triangle.
※Operating instruction
Description
Model N851NP drives Ga.16 finish nails from 25mm to 50mm length. Large cast aluminum body provide more power to
easily drive nails in to hard wood. Quick and easy pushing follower for fast loading. Comfort grip rubber handle for
improved control and comfort even during extended use. Fasteners system can shoot frequently. Narrow nose is ideal
for door and window trims, exterior trims, and cabinet work, finish paneling, decorative trims, furniture making and etc.
Air supply
1. Use clean, Dry and Regulated compressed air at 4.8-7.5bar (70-110psi). Never exceed maximum permissive
operating pressure 8.3bar (120psi).
2. Never exceed maximum and minimum pressure. Too low or too high pressure would cause noise, fast-worn or
misfiring.
3. When connecting air supply always keep hands and body from discharge area of tool.
4. A filter-regulator-lubrication is required and should be located as close to tool as possible.(see fig.4)

5. Keep air filter clean. Adirty filter will reduce the air pressure to the tool causing a reduction in power and efficiency.
6. For better performance, install a quick connector in your tool and quick coupler on the hose if possible.
7. Be sure all connections in air supply system are sealed to prevent air loss.
Loading fastener and operation
WARNING: Always disconnect the tool from the compressed air before loading. When loading the tool always point
the tool away from yourself and others. Make sure that you are not holding the tool with trigger depressed while loading the
tool.
1. Insert a strip of fasteners into magazine Keeping it point down.
2. Release the latch and pusher, slid the pusher against the nails.
3. Connect the tool to the air supply. Make sure the air pressure is in the correct range denoted in the Technical Data.
4. Then test the driving depth in a sample piece of wood before using. If the fasteners are being driven too far or not far
enough, adjust the regulator to provide less air pressure or more air pressure.
5. Never operate tool unless safety nose is contact with workpiece. Do not operate tool without fasteners or damage to
tool may result.
6. Never fire fasteners into air because fasteners may injury operator or others and damage to tool may result.
※Maintenance
WARNING: Disconnect the tool from the air compressor before adjusting, clearing jams, servicing, relocating and
during non operation.
·Regular lubrication, if your tool without using the in-liner automatic oilier, place 2 or 6 drops of pneumatic tool oil into
the air inlet before each work day or after 2 hours of continuous use depending on the characteristic of workpiece or type of
fasteners.
·Check and change all worn or damaged o-rings, seals, etc. Tight all the screws and caps in case personal injury.
·Inspect trigger and safety mechanism to assure safe system is complete and functional: no loose and missing parts,
no building or sticking parts.
·Keep magazine and nose of tool clean and free of any dirt lint or abrasive particles.
※Troubleshooting
The following form lists the common operating system with problem and solutions. Please read the form carefully and
follow it.
WARNING: If any of the following symptoms appears during your operating, stop using the tool immediately, or
serious personal injury could result. Only a qualified persons or an authorized service center can perform repairs or
replacement of tool.
Disconnect tool from air supply before attempting repair or adjustment. When replacing O-rings or Cylinder, lubricate with
air tool oil before assembly.

SYMPTOM
PROBLEM
SOLUTIONS
Air leak near top of tool or
in trigger area
1.O-ring in trigger valve are damage.
2.Trigger valve head are damage.
3.Trigger valve stem ,seal or O-ring are
damaged.
1.Check and replace O-ring.
2.Check and replace.
3.Check and replace trigger valve stem,
seal or O-ring
Air leak near bottom of tool.
1. Loose screws.
2. Worn or damaged O-rings or
bumper.
1.Tighten screws.
2.Check and replace O-rings or bumper.
Air leak between body and
cylinder cap.
1. Loose screws.
2. Worn or damaged O-rings or seals.
1.Tighten screw.
2.Check and replace O-rings or bumper.
Blade driving fastener too
deep.
1. Worn bumper.
2. Air pressure is too high.
1.Replace bumper.
2.Adjust the air pressure.
Tool does not operate well:
can not drive fastener or
operate sluggishly.
1. Inadequate air supply.
2. Inadequate lubrication.
3. Worn or damaged O-rings or seals.
4.Exhaust port in cylinder head is
blocked.
1.Verify adequate air supply.
2.Place 2 or 6 drops of oil into air inlet.
3.Check and replace O-rings or seal.
4.Replace damaged internal parts.
Tool skips fasteners.
1.Worn bumper or damaged spring.
2.Dirt in front plate.
3.Dirt or damage prevents fasteners
from moving freely in magazine.
4.Worn or dry O-ring on piston or lack
of
lubrication.
5.Cylinder cover seal leaking.
1.Repalce bumper or pusher spring.
2.Clean drive channel on front plate.
3.Magazine needs to be cleaned.
4.O-ring need to be replaced.
And lubricate.
5.Replace Sealing washer.
Tool jams
1.Incorrect or damaged fasteners.
2.Damaged or worn driver guide.
3.Magazine or nose screw loose.
4.Magazine is dirty.
1.Change and use correct fastener.
2.Check and replace the driver.
3.Tighten the magazine.
4.Clean the magazine.

N851NP Explosive View and Parts list
Issue date:
Version no.:
No.
Figure number
Description
Qty.
No.
Figure number
Description
Qty.
No.
Figure number
Description
Qty.
No.
Figure number
Description
Qty.
accessories
Note:If you need spare parts of this model, pls feel free to contact us or the distributor where you bought this tool. Tks!
Hex bolt
Bearing
O-ring 9X1.8
Exhaust cap
Hex bolt
Spring washer
Cylinder cap
Compressed spring seat
Compressed spring
O-ring 38.7x2.65
Valve
O-ring 48.7X2.65
Cylinder seal ring
Lining ring
O-ring 57.5x3
O-ring 41.7x3
O-ring 46.2x3.55
Cylinder
O-ring 35.5x3.55
Piston-Driver
Bumper
Cylinder washer
Gun body
Oriented washer
O-ring 1.7x2
Oriented seat
Trigger pin
Safety spring
Safety assembly
Trigger
Pin 3x16
Safety stand
Switch seal ring
Valve seat
O-ring 16x1.6
O-ring 6.1x1.8
O-ring 6.4x2
Valve case
Switch spring
O-ring 2.5x1.5
Switch Lever
O-ring 18x2.65
Switch seat
Trigger handle spring
Hex bolt
Spring washer
Plate
Nose
Hex bolt
Hex bolt
Safety cover
Fixed plate
Hex bolt
Limit bolt
Spring roller
Pusher
Hex bolt
Magazine
Hex bolt
Stand
Plate
Stand bumper
Stand pin
Fixed seat
Rubber handle Grip
End cap washer
End cap
Hex bolt
Air coupler
oiler
wrench M5
wrench M6
Table of contents
Other Aeropro Power Tools manuals


