manuals.online logo
Brands
  1. Home
  2. •
  3. Brands
  4. •
  5. AFX
  6. •
  7. Outdoor Light
  8. •
  9. AFX Lennon LNNW0914MB Series User manual

AFX Lennon LNNW0914MB Series User manual

E26 Bulb Outdoor Luminaires
Wall Mount –Motion Sensor & PIR
120VAC / 60Hz
Page 1 of 2 8061436 R0
Part #: LNNW0914MBxx#
Limited Factory Warranty
AFX Inc. hereby warrants that this fixture is free from defects in materials and workmanship when installed and used under normal operating conditions
for a period of 2 years from date of purchase. This warranty covers all component parts and extends only to replacement of defective fixture or
components; it does not cover failure due to improper installation, misuse, mishandling or damage incurred in transit. For questions, please call AFX
1-800-873-2326.
Safety Precautions
Read all safety precautions and installation instructions carefully before installing or servicing this fixture. Failure to comply with these instructions could result in potentially fatal
electric shock and/or property damage.
It is recommended that a qualified electrician perform all wiring. This fixture must be wired in accordance with all national and local electrical codes.
Do not handle any energized fixture or attempt to energize any fixture with wet hands or while standing on a wet or damp surface or in water.
This fixture is designed for use in a 120VAC / 60Hz circuit. This fixture is not compatible with a dimming circuit.
Make sure that the power source conforms to the requirements of the fixture. (See labels on the fixture housing).
To reduce the risk of electrical shock, and to assure proper operation, this fixture must be adequately grounded. To accomplish proper grounding, there must be a separate ground
wire (green) contact between this fixture and the ground connection of your main power supply panel.
This fixture is intended to be used for general outdoor lighting in dry, damp, or wet locations. For wet locations, fixture must be mounted at least 48 inches above ground level.
Assembly Instructions
Step 1 –Preparing for installation
A. Disconnect electrical power at fuse or circuit breaker box before installing or
servicing any part of this fixture.
B. Carefully remove the fixture from the carton, remove components from
hardware kit.
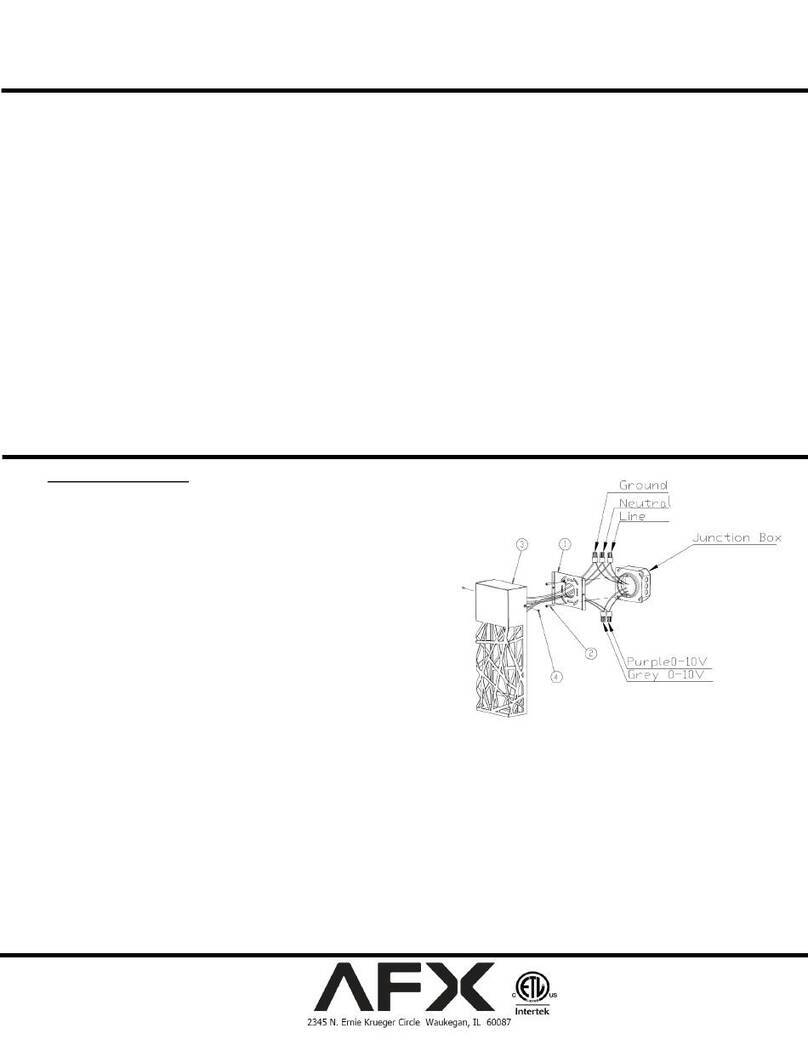
C. Install the flat mounting bar (1) to the junction box (not included) using two
screws (3) to secure it.
D. Position the offset gem bar (2) horizontally and tighten the screws in the center
to secure it.
Wiring –All wiring must take place inside junction box (not included)
Caution: Make sure power is off at fuse or circuit breaker box. Check power
wires for damage or scrapes. Use wire suitable for at least 90°C (194°F).
Note: Most dwellings built before 1985 have supply wire rated to 60°C. Consult
a qualified electrician to ensure correct branch circuit conductor before
installing.
Step 2 –Wiring fixture
A. Make all wire connections to appropriate wire. Secure with wire nuts
(provided).
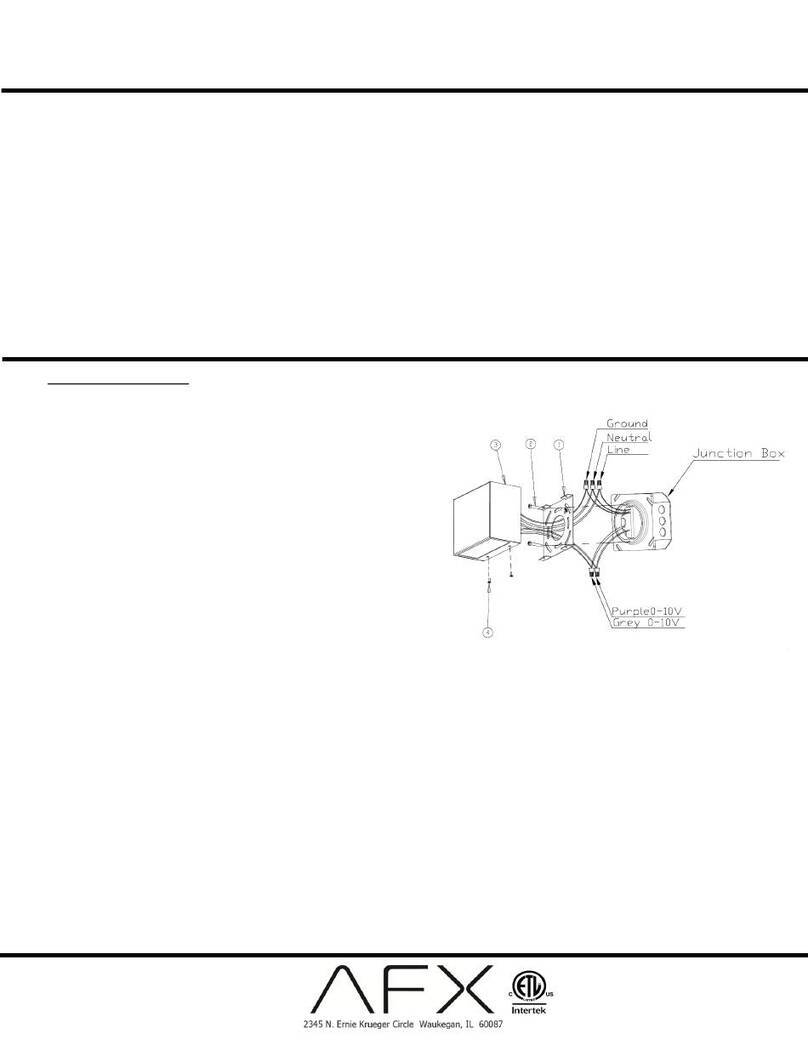
B. Connect the green wire from the fixture to the supply source ground wire.
C. Connect the black wire from the fixture to the black (L) wire from supply power
source.
D. Connect the white wire from the fixture to the white (N) wire from supply power
source.
E. Do not mix wires. Pull on each wire lead to make sure connections are
secure. Make certain no bare wires are exposed outside of wire connectors.
Tuck all connections neatly into the junction box.
Step 3 –Mounting
A. Align the mounting holes on the fixture (4) with the two mounting bracket
screws and use two acorn nuts (5) to secure it.
Step 4 –For wet application
A. Apply a small amount of silicone (not included) per manufacturer’s recommendation around the
perimeter of the fixture where it contacts the surface of the wall.
Step 5 –Lamping
A. Install medium base bulb (E26, 60W max –not included) into the socket and turn clockwise until
secured.
Step 6 –Restore power at fuse or circuit breaker box
Step 7 –See sheet 2 for reference guide to motion sensor and PIR operation modes
E26 Bulb Outdoor Luminaires
Wall Mount –Motion Sensor & PIR
120VAC / 60Hz
Page 2 of 2 8061436 R0
Part #: LNNW0914MBxx#
Step 8 –Testing
A. Note: Sensor has 1-2 minutes warm up period before it
will detect motion. When first turned on, wait one to two
minutes.
B. Set the Time Switch to the “TEST” position and the
Sensitivity Switch to “M” position The lights turn off in
about 5 seconds. Keep in mind a better sensitivity is
achieved by walking across the coverage area, not
walking toward or away from the motion sensor.
C. Set the sensitivity to “H” position for the higher level
and “L” for the lesser. You will reach approximately 30ft
radius from the motion sensor if set to “H” position.
Step 9 –Time selector setup options
A. Set the amount of time you want the lights to stay on
after motion is detected: 2 or 6 minutes. After the
selected amount of time, the light will automatically turn
off.
B. DUSK TO DAWN MODE: Indicated as “D to D”
ensures lights are nonoperational in daylight and only
function at night. To activate, set Timer switch to “D to
D” position.
C. MANUAL ON AND OFF with auto reset. Allows you to
turn on and off your fixture by using the existing wall
switch, regardless the presence of motion. To activate
the feature, turn the wall switch off and then back on
within 3 seconds, light will stay on continuously. The
unit will turn off and reset itself to Auto Detection Mode
after 8 hours. The feature can be manually de-
activated. To do so, turn the wall switch off and then
back on within 3 seconds. The light will turn off and unit
will return to Auto Detection Mode.
OPERATION MODES
Modes
Sensitivity Switch
Position
Timer Switch
Position
Explanation
Stand-by
Mode
L,M or H
Test, 2 or 6
STATE WHEN POWER IS TURN ON: If you have turned off the power for a long period
of time and upon restoring power to the fixture, the light will turn on in 2 seconds and
remain on for approximately 60 seconds regardless of motion. Then it will enter the Auto
Detection Mode or Test Mode (depends on how Timer Switch is set)
Auto Detection
Mode (2’ or 6’)
L,M or H
2 or 6
NORMAL MOTION DETECTION MODE: Motion detector turns your light on
automatically after sensing moving heat sources in its coverage area at dusk, and stays on as
long as motion is detected .When motion stops, light will remain on for the predetermined
time you set (2 or 6 minutes), and then turn off automatically.
Test Mode
(Test)
L,M or H
Test
SENSITIVITY ADJUSTMENT: Allows you to adjust the sensitivity of motion detector to a
desired level at dusk or down. When motion stops, the light will turn off in about 5 seconds.
Manual
Override
Mode with
Auto Reset
L,M or H
2 or 6
MANUAL ON AND OFF with Auto Reset: Allows you to turn on and off your fixture by
using the existing wall switch, regardless the presence of motion. The manual override mode
will work only when it is dark (light intensity level is below 30 Lux). The unit will reset
itself back to Auto Detection Mode after 8 hours. It is also possible you de-activate the
feature manually by the existing wall switch.
Dusk-to-Dawn
Mode (D to D)
L,M or H
Dusk-to-Dawn
DUSK-TO-DAWN OPERATION ONLY: Light turns on at dusk and off at dawn
automatically, regardless the presence of motion.

This manual suits for next models

1

Other AFX Outdoor Light manuals

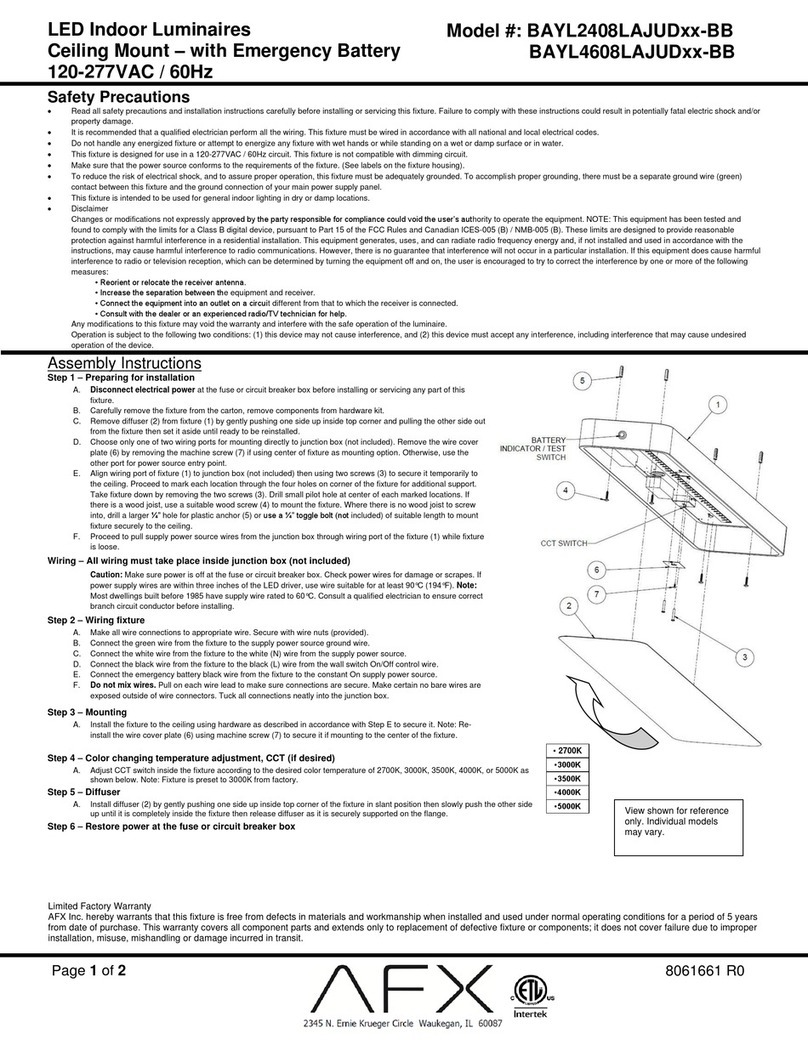
AFX BAYL2408LAJUD MS Series User manual

AFX

AFX BAYL2408LAJUD MS Series User manual

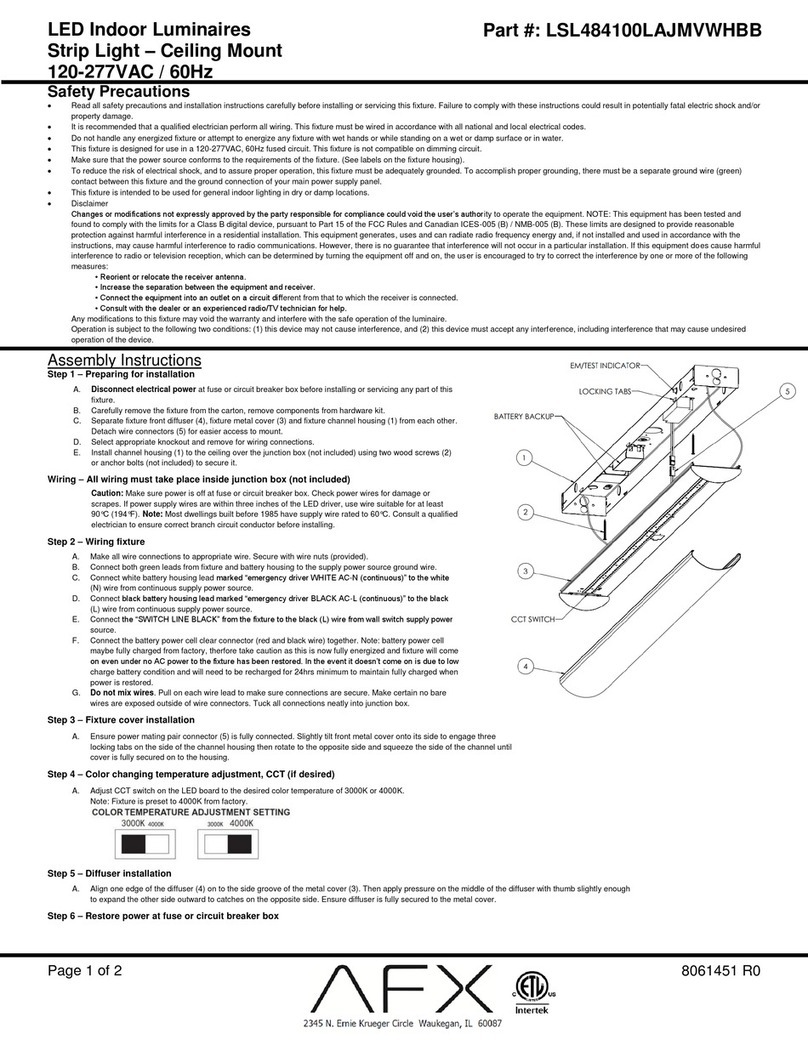
AFX LSL484100LAJD2WH-MSBB User manual

AFX

AFX LSL484100LAJD2WH-MSBB User manual

AFX ODEW0709LAJEN Series User manual

AFX

AFX ODEW0709LAJEN Series User manual

AFX BONW0717L30D2BK User manual

AFX

AFX BONW0717L30D2BK User manual

AFX DKTW050410L30D2 Series User manual

AFX

AFX DKTW050410L30D2 Series User manual

AFX PAXW071223LAJD2xx User manual

AFX

AFX PAXW071223LAJD2xx User manual

AFX LASW051728LAJD2 Series User manual

AFX

AFX LASW051728LAJD2 Series User manual

AFX BAYL2408LAJUD BB Series User manual

AFX

AFX BAYL2408LAJUD BB Series User manual

AFX AUW103643LAJD2 Series User manual

AFX

AFX AUW103643LAJD2 Series User manual

AFX LSL484100LAJMVWHBB User manual

AFX

AFX LSL484100LAJMVWHBB User manual

Popular Outdoor Light manuals by other brands

urban ambiance UQL1105 installation instructions

urban ambiance

urban ambiance UQL1105 installation instructions

Conrad Electronic 311574 operating instructions

Conrad Electronic

Conrad Electronic 311574 operating instructions

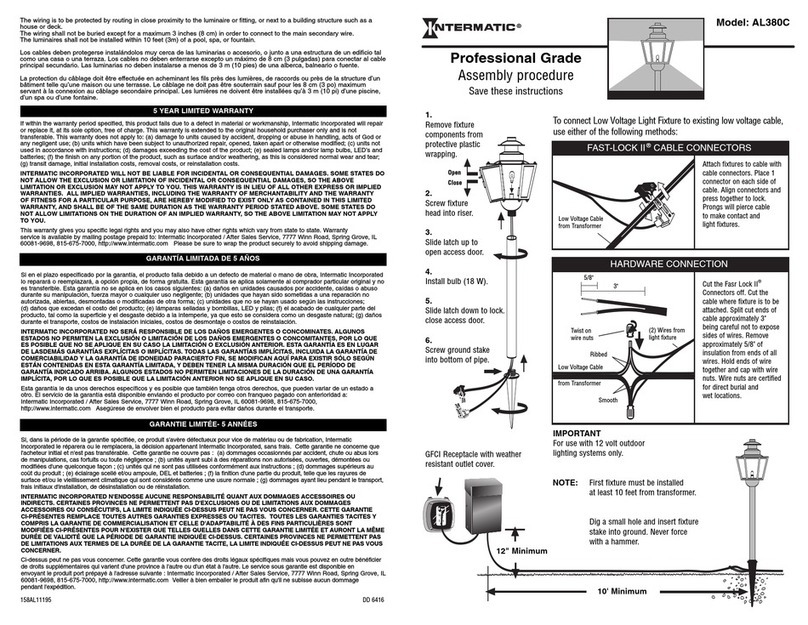
Intermatic AL380C Assembly procedures

Intermatic

Intermatic AL380C Assembly procedures

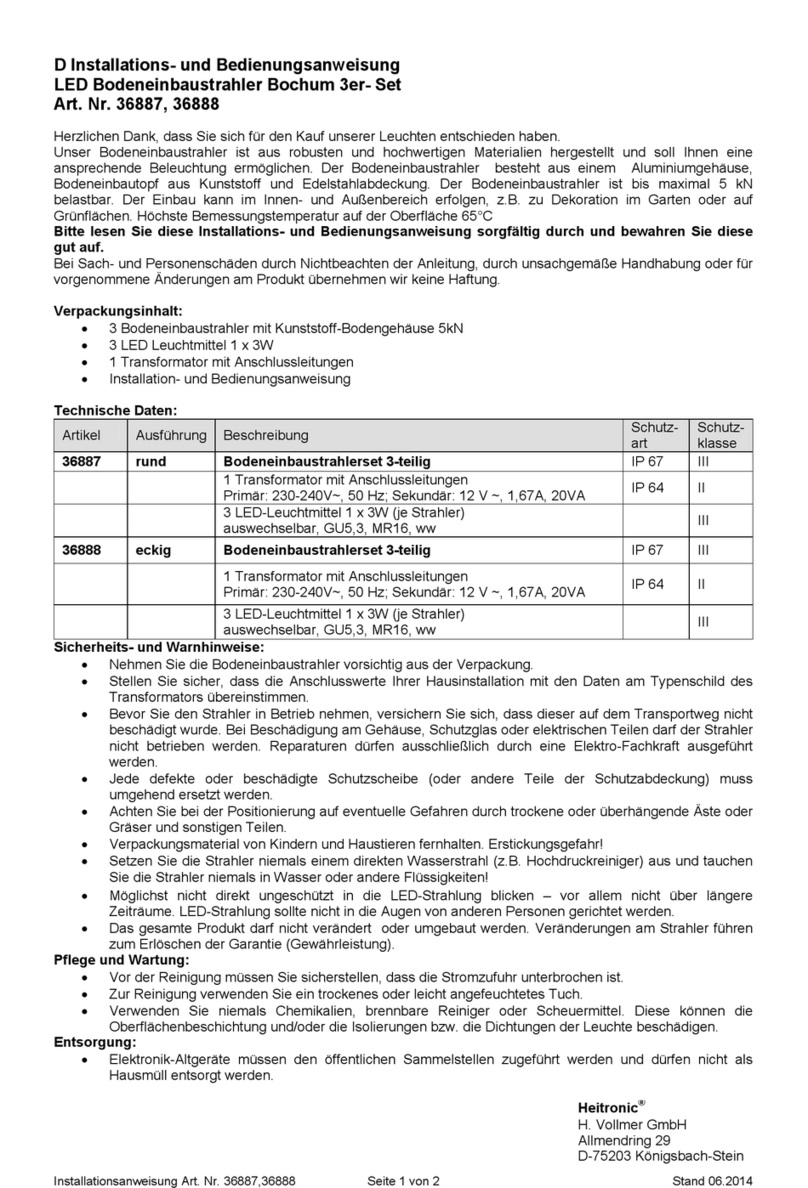
Heitronic 36887 Installation and operating instructions

Heitronic

Heitronic 36887 Installation and operating instructions

Lumena Charleston Brick Light instructions

Lumena

Lumena Charleston Brick Light instructions

Blagdon 1052283 manual

Blagdon

Blagdon 1052283 manual

IKEA SOLVINDEN manual

IKEA

IKEA SOLVINDEN manual

Ingo Maurer I Ricchi Poveri FLY instructions

Ingo Maurer

Ingo Maurer I Ricchi Poveri FLY instructions

Coleman 2000000863 operating instructions

Coleman

Coleman 2000000863 operating instructions

JONATHAN Y JYL6010A instructions

JONATHAN Y

JONATHAN Y JYL6010A instructions

B-K lighting Precision2 DR2 Series installation instructions

B-K lighting

B-K lighting Precision2 DR2 Series installation instructions

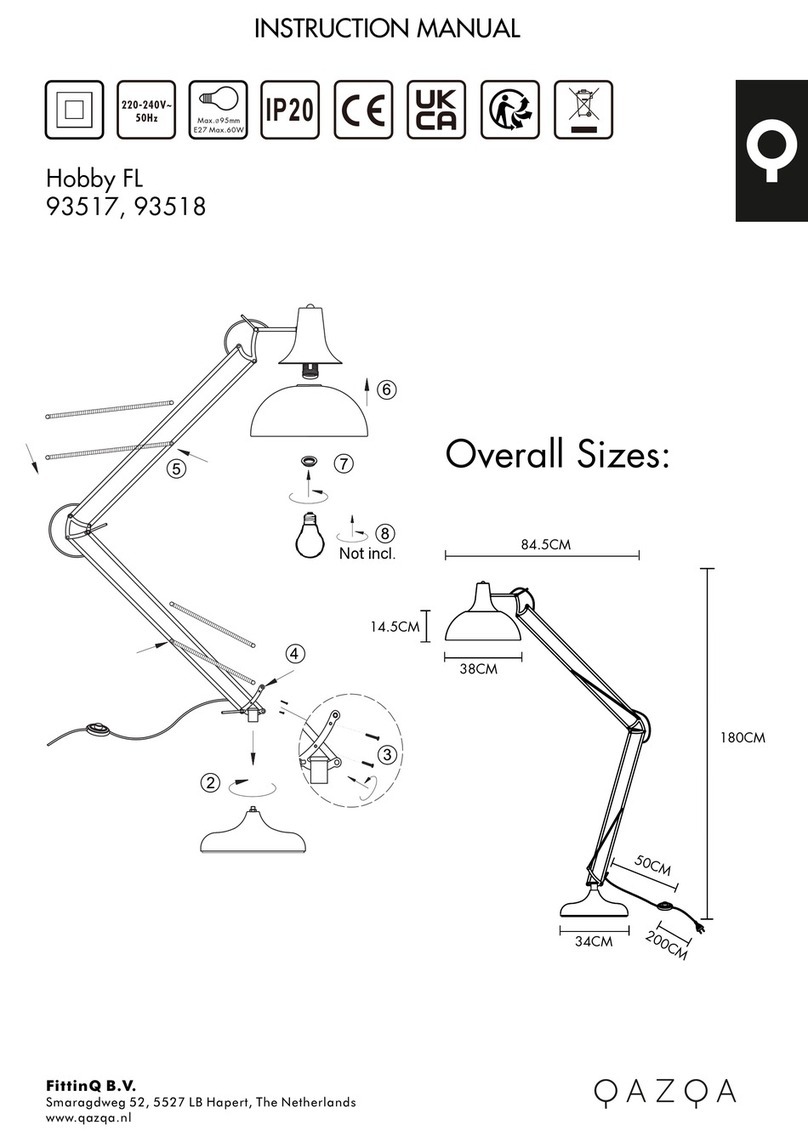
Qazqa Hobby FL 93517 instruction manual

Qazqa

Qazqa Hobby FL 93517 instruction manual

Somogyi Elektronic Home MX 809 instruction manual

Somogyi Elektronic

Somogyi Elektronic Home MX 809 instruction manual

Livoo TEA258 manual

Livoo

Livoo TEA258 manual

LightPro Avior 181S user manual

LightPro

LightPro Avior 181S user manual

IMMAX neo LITE 07905L quick start guide

IMMAX

IMMAX neo LITE 07905L quick start guide

Emerson Appleton EHLED instruction sheet

Emerson

Emerson Appleton EHLED instruction sheet

Gainsborough H286 Assembly instructions/Instructions for use

Gainsborough

Gainsborough H286 Assembly instructions/Instructions for use

manuals.online logo
manuals.online logoBrands
  • About & Mission
  • Contact us
  • Privacy Policy
  • Terms and Conditions

Copyright 2025 Manuals.Online. All Rights Reserved.