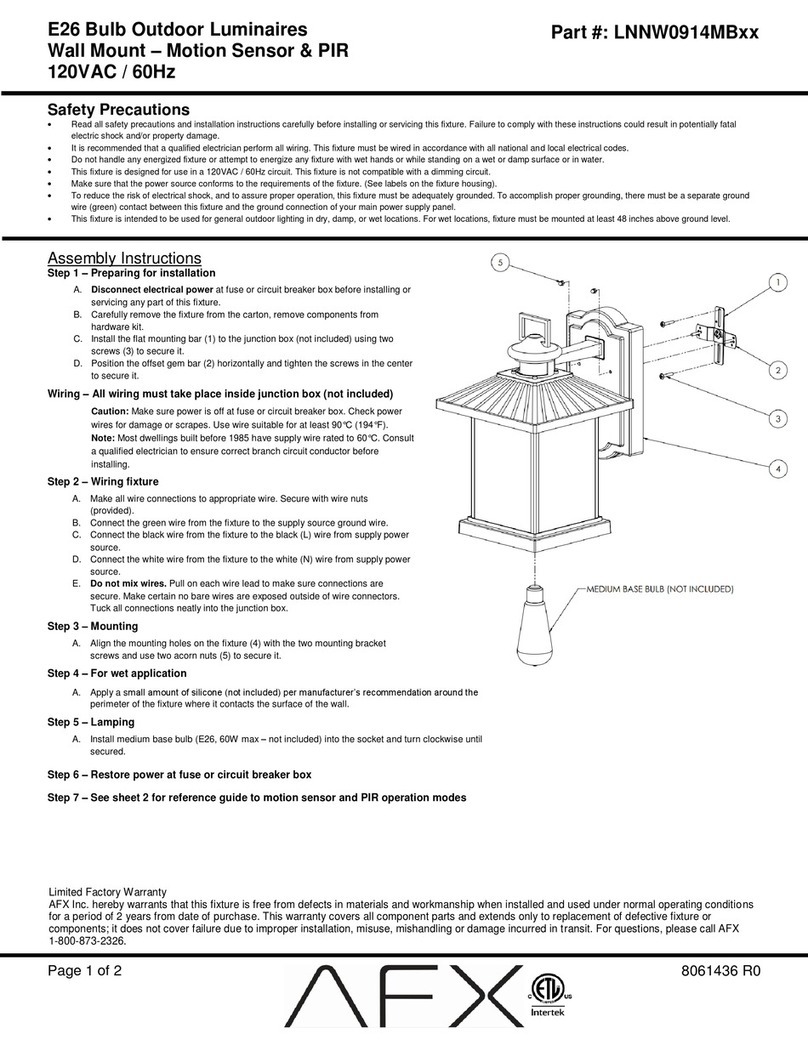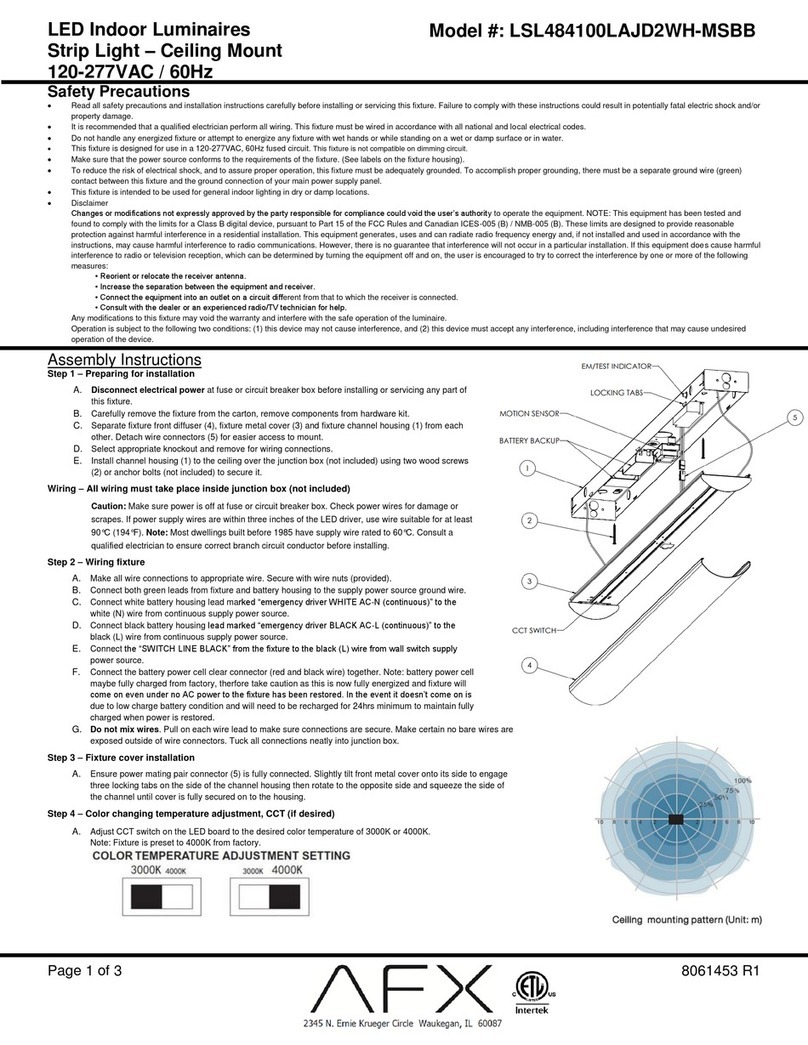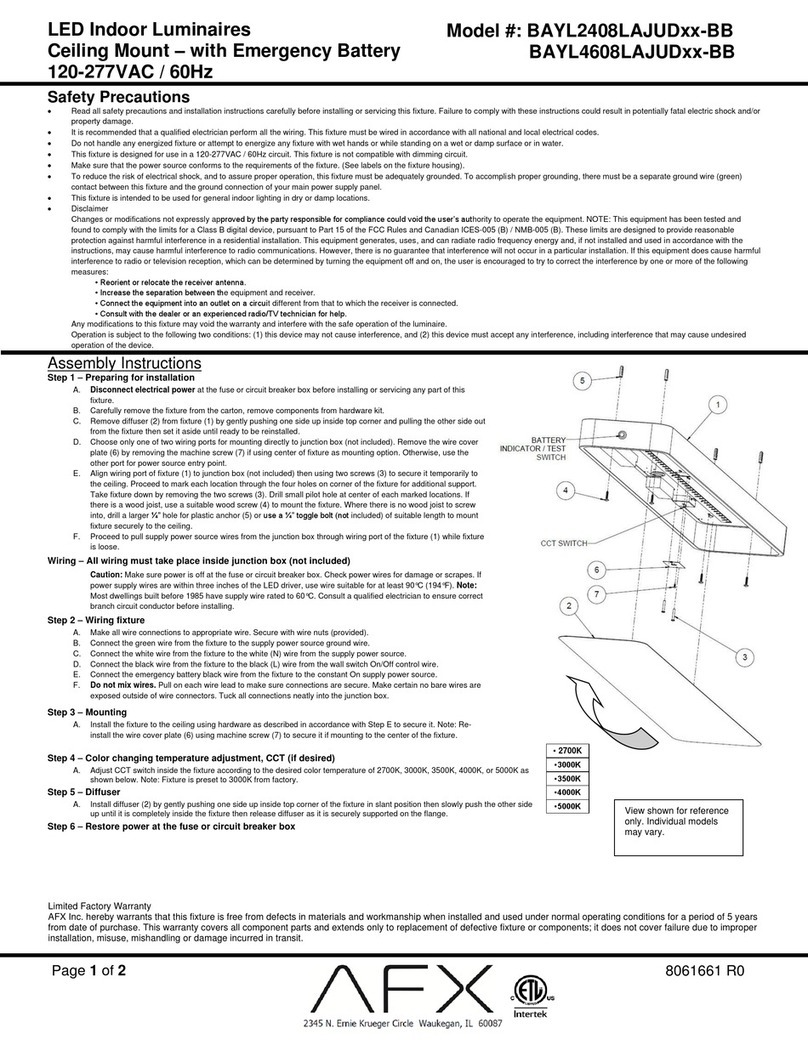
1.
2.
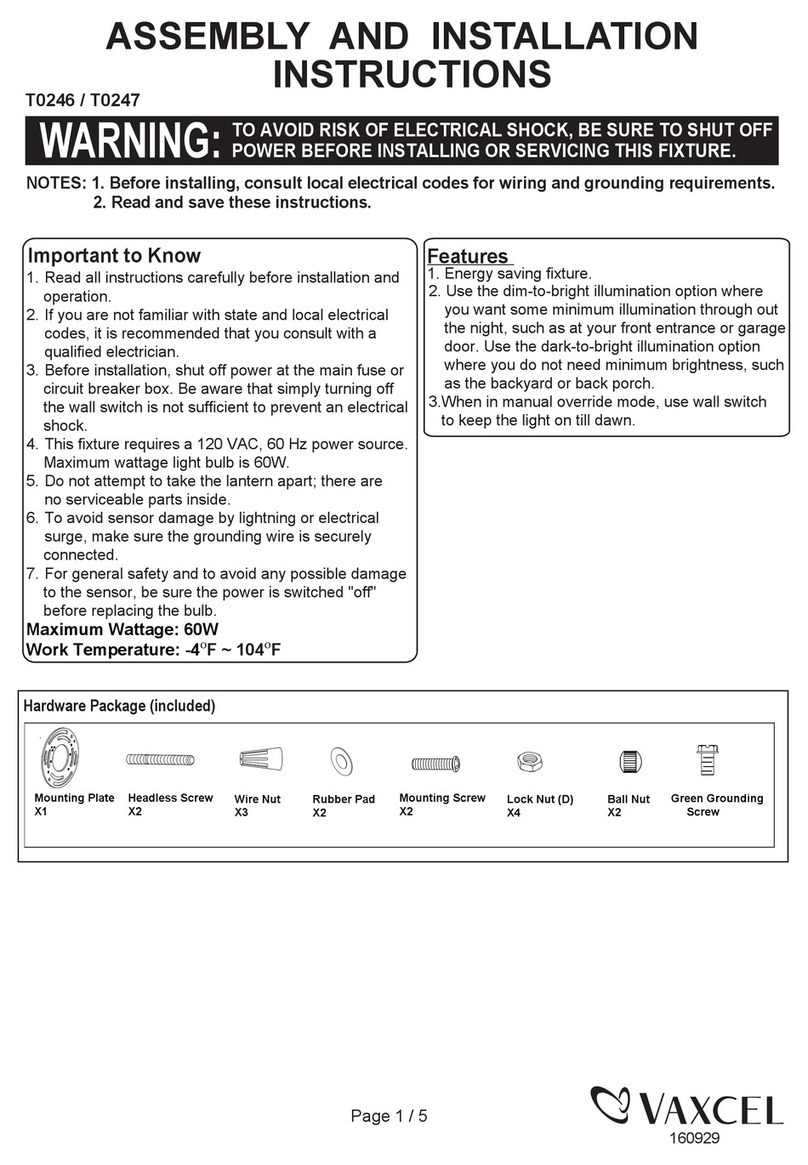
Shut off the main power supply before cleaning the fixture. To prolong
the original appearance, clean the light fixture with clear water and a soft,
damp cloth only.
Do not use abrasive cleaners or cleaners that contain alcohol. Do not
apply paints, solvents, or any other chemicals on this light fixture. They
could cause a premature deterioration of the finish and may void
the warranty. Do not spray the light fixture with a hose or power washer.
CARE AND CLEANING
OPTION2: SWITCH CONTROLLED
OPTION1: DUSK-TO-DAWN OPERATION
SELECTING DUSK-TO-DAWN OR SWITCH-ACTIVATED CONTROL
OPERATION
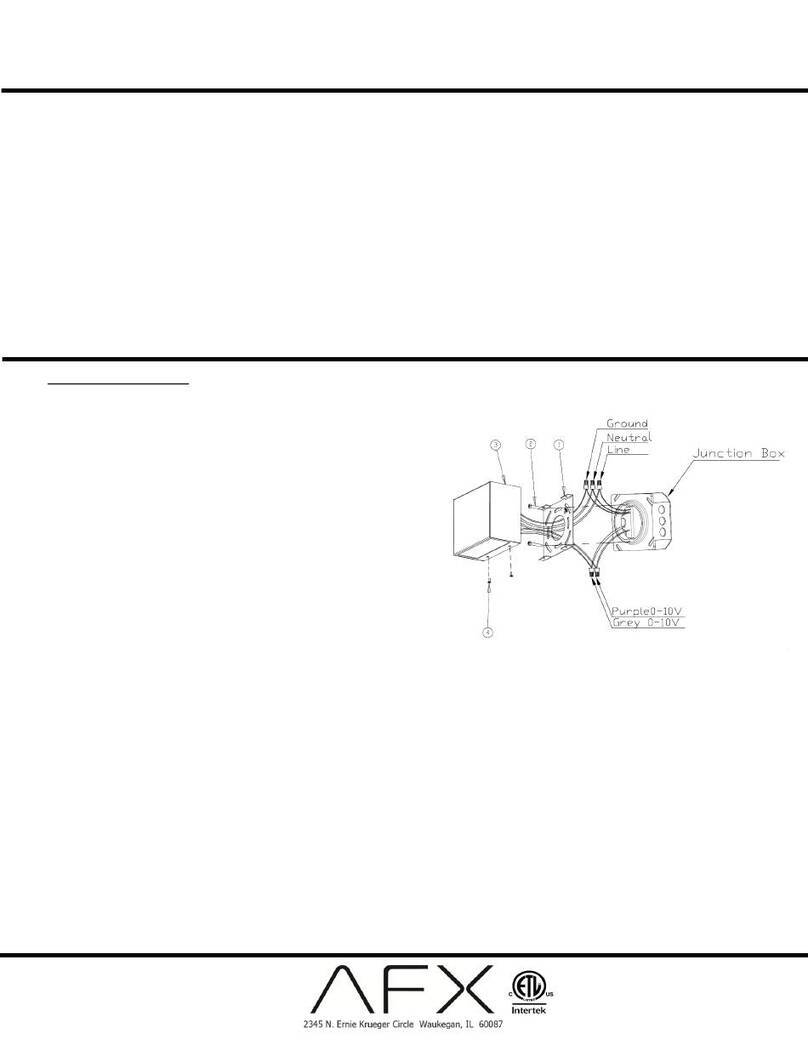
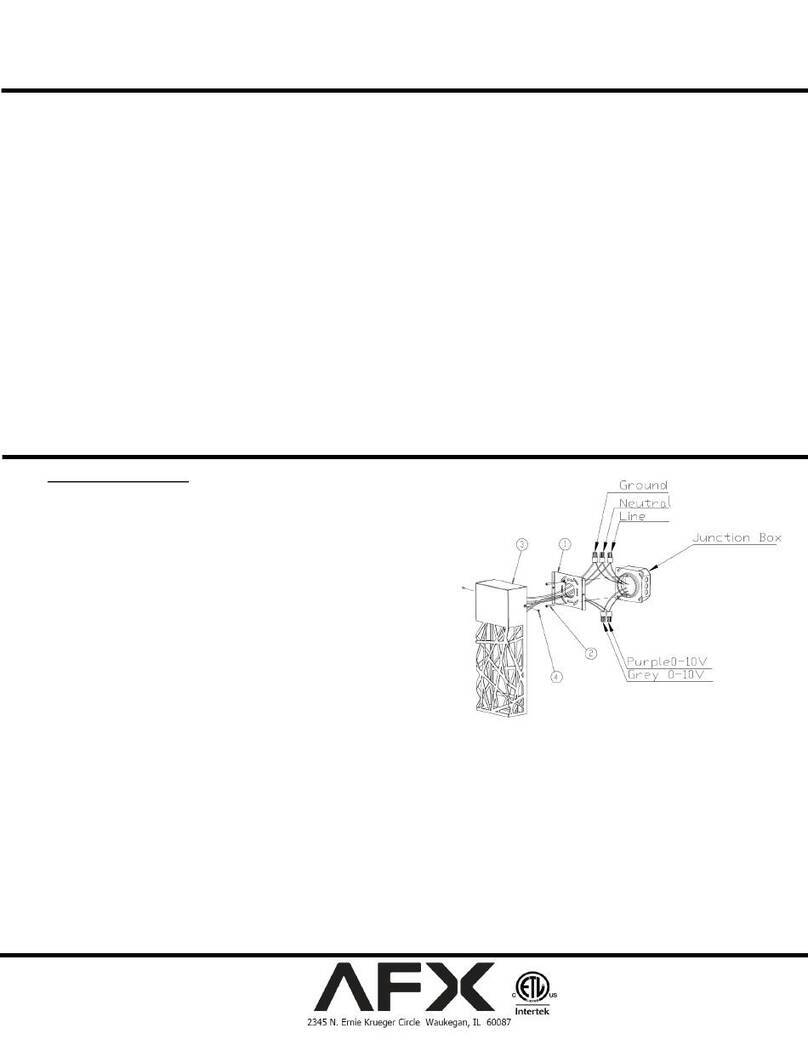
WIRING
Line Black
White Lighting
Fixture
Green
Neutral
Ground
(1) To enable dusk-to-dawn operation, remove the black cap cover installed
on the fixture. Note: Ensure the photocell is unobstructed.
(1) To enable switch activated operation leave the black cap cover on the
photocell
(2) Ensure the switch powering the outlet connected to the light fixture is turned
to the ON position and leave it ON at all times to enable dusk -to-dawn
functionality to operate automatically.
7. Complete the electrical connections per the Fixture Wiring section.
8.
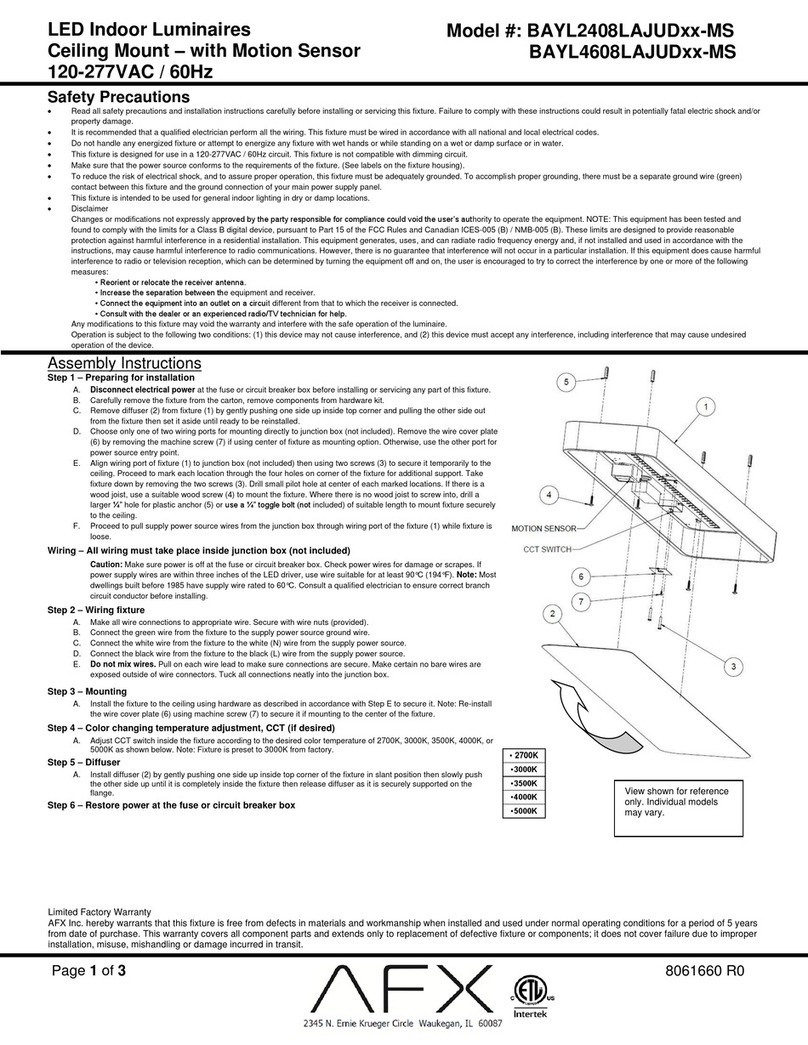
Once wiring connections are done, place the light fixture (A) onto the
CCT switch is located behind the fixture (fig. 5). Adjust the switch to
desired color temperature of 3000K, 4000K, or 5000K. Note: Fixture
is preset to 3000K from factory.
mounting plate (D). Verify the fixture is flush with the mounting surface
(wall or ceiling) and photocell (B) is pointed downward for wall mount
or forward for ceiling mount.
9.
10. Tighten the set screw (C) on bottom of the fixture (A) to secure it.(fig.6)
11. Apply a small bead of silicone (not included) per manufacturer’s instruction
around the perimeter of the fixture (A) where it contacts with the surface of
the wall or ceiling.
11. Restore power at the fuse or circuit breaker box.
(fig 6)
(fig 5)
LED Outdoor Luminaires
Wall / Ceiling Mount
120VAC / 60HZ
Model # ODEW0709LAJENxx
8061712 R0Page 2 of 2
Limited Factory Warranty
AFX Inc. hereby warranty that this fixture is free from defects in materials and workmanship when installed and used under normal operating conditions for a period of 5 years
from date of shipment from factory. This warranty covers all component parts and extends only to replacement of defective fixture or components; it does not cover failure due
to improper installation, misuse, mishandling or damage incurred in transit.
This equipment has been tested and found to comply with the limits for a
Class B digital device, pursuant to Part 15 of the FCC Rules. These limits
are designed to provide reasonable protection against harmful interference
in a residential installation. This equipment generates, uses and can radiate
radio frequency energy and, if not installed and used in accordance with the
instructions, may cause harmful interference to radio communications.
However, there is no guarantee that interference will not occur in a particular
installation. If this equipment does cause harmful interference to radio or
television reception, which can be determined by turning the equipment OFF
and ON, the user is encouraged to try to correct the interference by one or
more of the following measures:
• Reorient or relocate the receiving antenna.
• Increase the separation between the equipment and receiver.
• Connect the equipment into an outlet on a circuit different from that to
which the receiver is connected.
• Consult the dealer or an experienced radio/TV technician for help..
This device complies with part 15 of the FCC Rules. Operation is subject to
the following two conditions: (1)This device may not cause harmful
interference, and (2) this device must accept any interference received.
Including interference that may cause undesired operation.
The users manual or instruction manual for an intentional or unintentional
radiator shall caution the uselthat changes or modifications not expressly
approved by the party responsible for compliance could voidthe user's
authority to operate the equipment.
FCC NOTE
Make all wire connections to
appropriate wire. Secure with
wire nuts (provided). Connect
the white wire from the fixture
to the white (N) wire from the
supply power source. Connect
the black wire from the fixture to
the black (L) wire from the supply power source. Connect the green wire
from the fixture to the supply power source ground wire.

