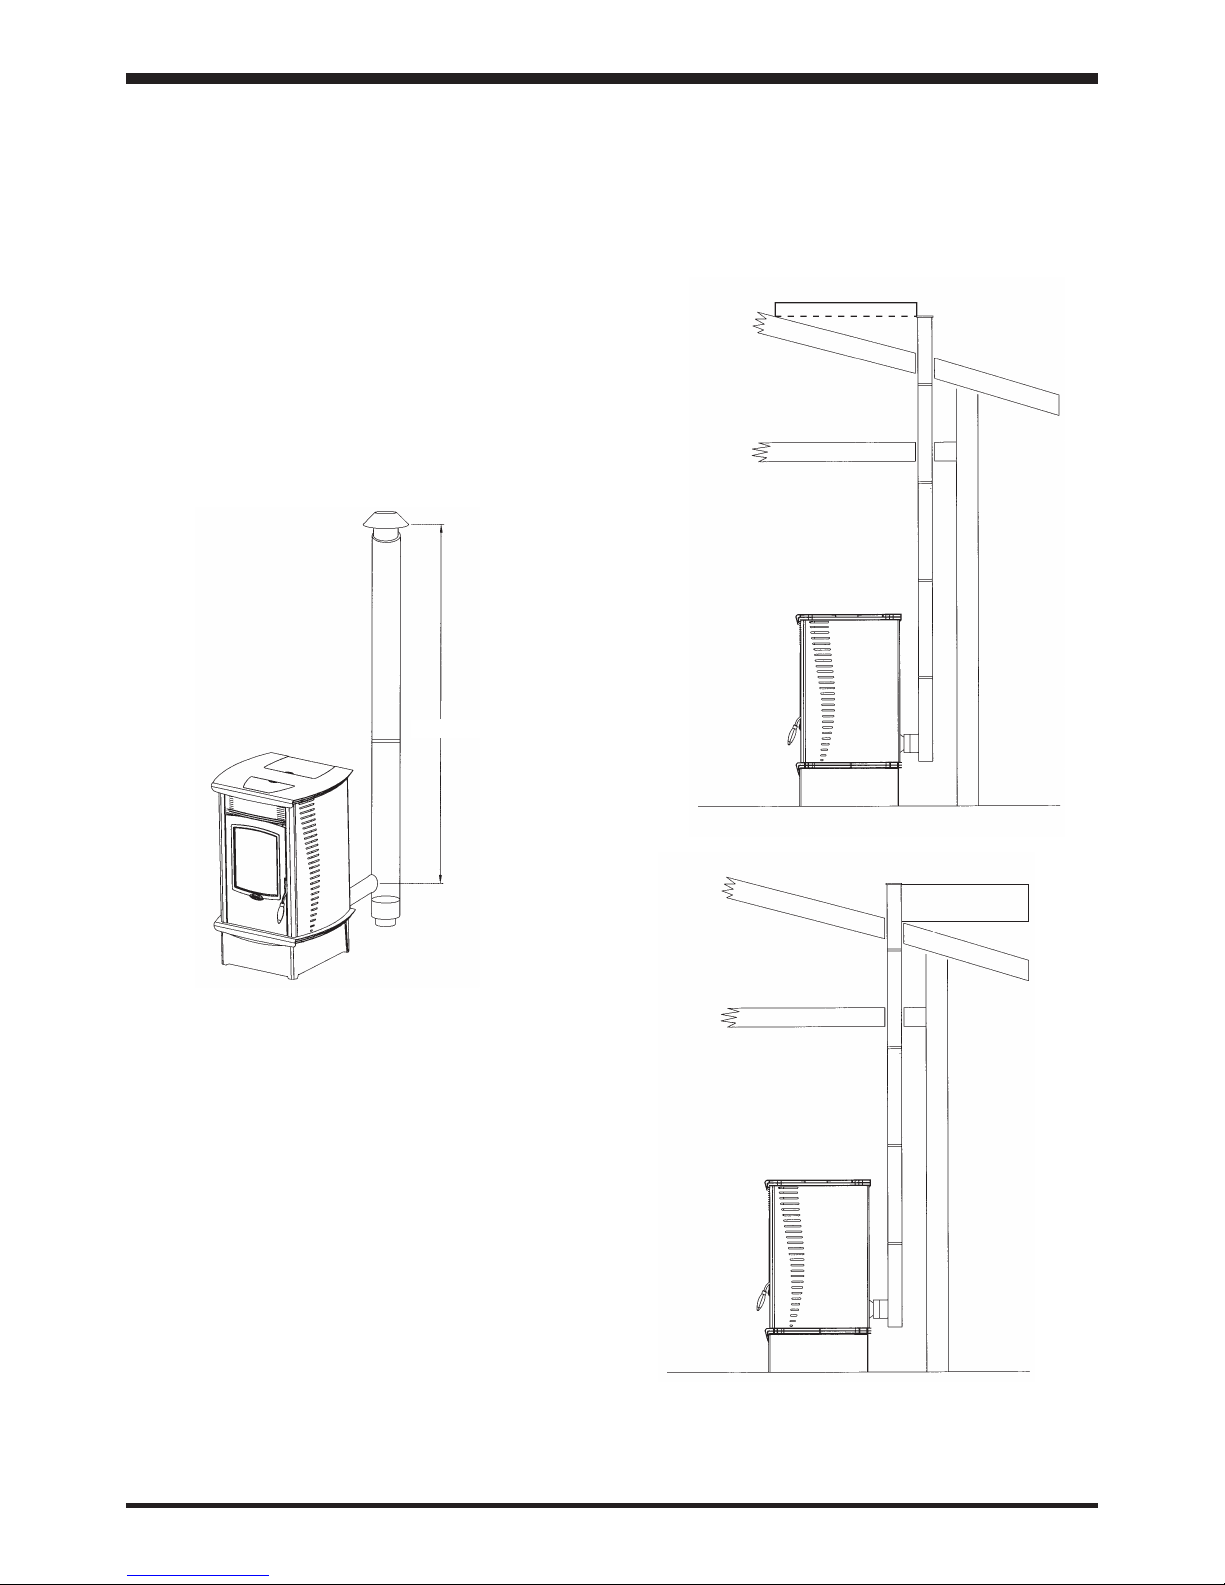
Where it is necessary to have a horizontal length of
pipe, there must be a minimum positive gradient of
3% along its length.
Do not run flue pipe in a totally horizontal plain or in
a reverse gradient.
Do not install the smoke outlet at pavement level,
on public streets, car-parks or anywhere that might
cause annoyance to people and/or animals.
The flue must be installed with the outlet above roof
level complying with current building regulations. A
maximum flue length of 8 metres is allowed. For
each 90° bend or T fitting, reduce the length by one
metre. A minimum flue draught of 10 Pascals is
required.
IMPORTANT: All sections of the flue pipe must be
accessible for inspection, and allow for internal
cleaning, removal or substitution.
Do not place a net or grill over the flue outlet. When
they become dirty they will obstruct the outlet and
cause poor combustion, and the stove may be
blocked with soot.
COMBUSTION AIR
The process of combustion requires oxygen, and
therefore air. When in operation, the stove draws air
from the room in which it is installed; poor
combustion may therefore result if the room is
insufficiently ventilated.
To resolve this problem, a suitable vent hole must
be provided to allow a permanent supply of fresh air
from the outside. The cross-section of the vent must
be 6cm² for each kW of energy consumed at
maximum input therefore the ventilation hole must
have a cross-sectional area of 83cm² if a flue
draught stabiliser is fitted.
If no flue draught stabiliser is fitted the ventilation
requirement is 44cm².
If the stove is located in a room containing another
appliance cooker hood or extractor fan, it is
essential to provide ventilation equivalent to the
sum of the air requirement for all appliances.
The vent must not be placed directly beside the
appliance in order to avoid drawing in air that is too
cold: at certain times of the year when the
appliance is very cold, the stove may be locked out
when you first attempt to light it. If this occurs, the
situation should be considered absolutely normal,
and you can unlock the stove using the switch #4
located on the control panel. Then switch on again.
6
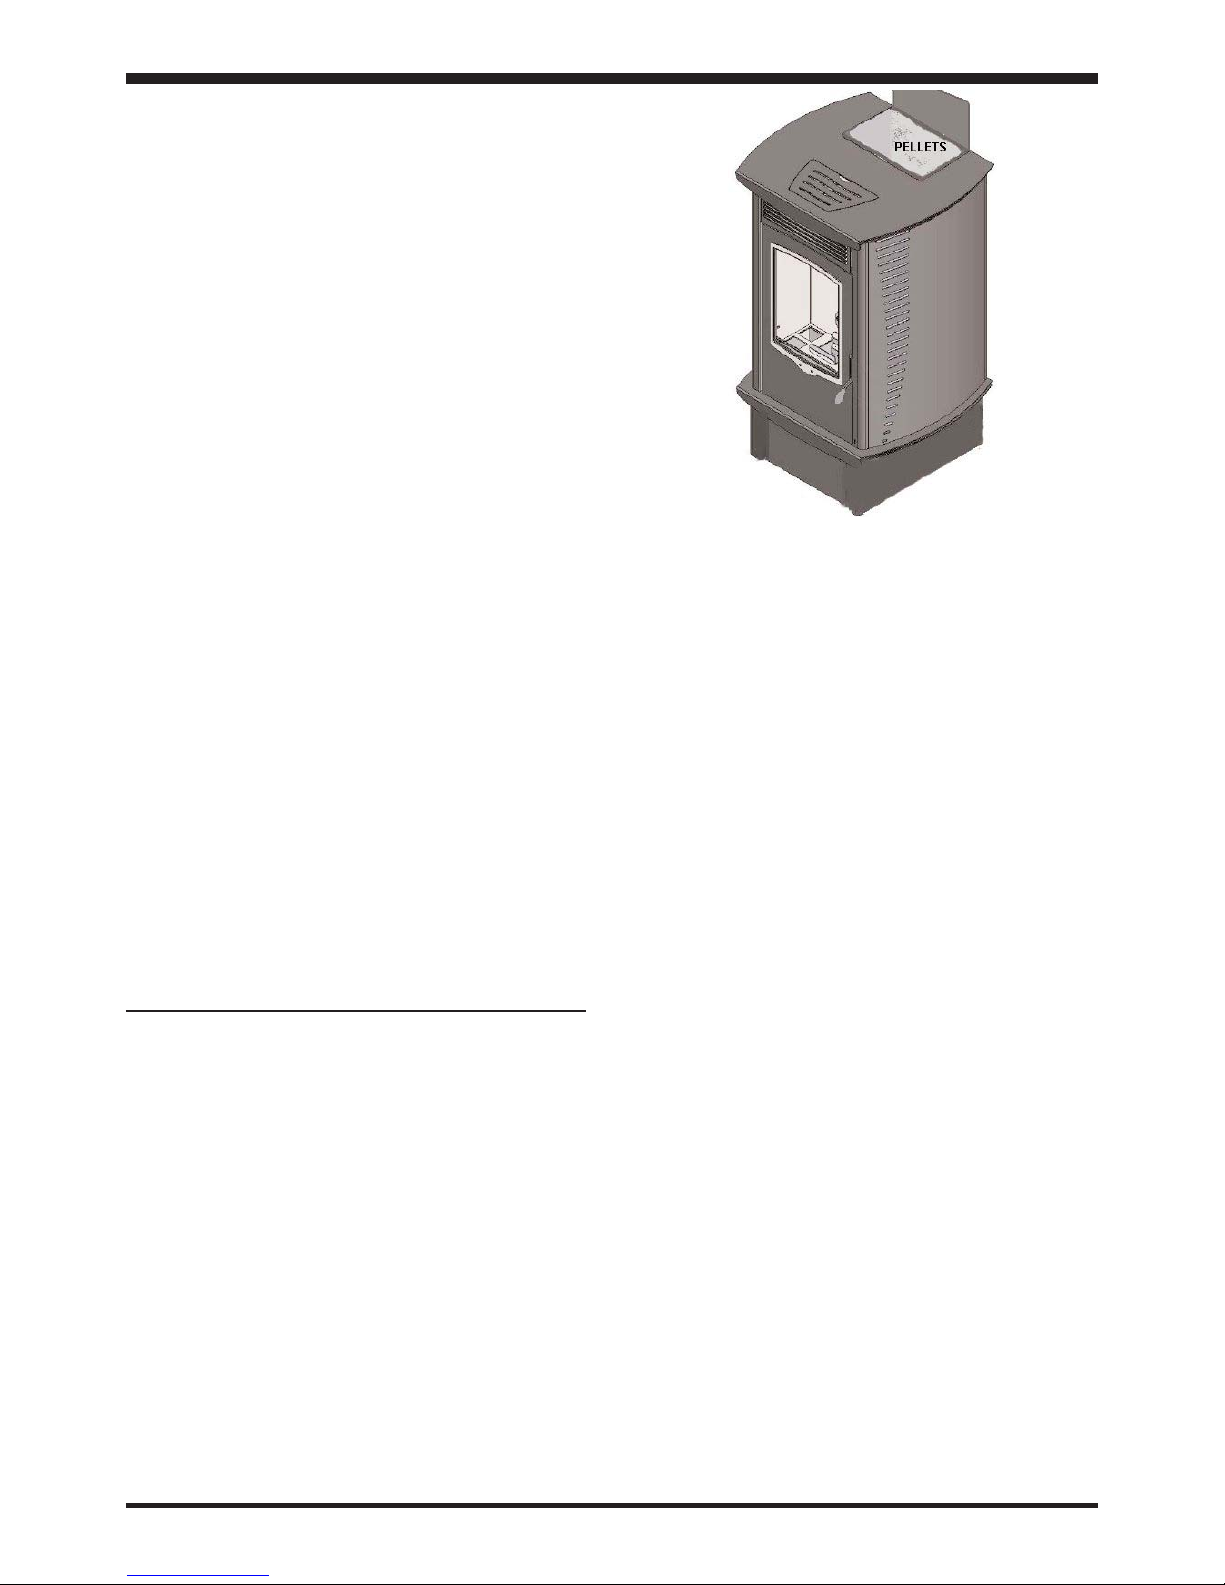
INITIAL COMMISSIONING
It is vital that the installation of the AGA Fusion
Pellet stove is in accordance to manufacturer’s
instructions.
On commissioning the appliance it is important
that the Auger is filled with pellets prior to firing.
To do this the fire door must be closed:
a) Fill the hopper with 6mm diameter pellets
taking care to keep sawdust in the bag.
b) Turn the power ON to the appliance and press
the power switch ON (located on the back of
the unit).
c) Press and hold button 4 for 4 seconds to turn
the unit ON (this will activate the fan required
to activate the air pressure switch), then re-
press button 4 for 4 seconds to turn the unit
OFF. Leave the mains power onto the
appliance.
d) Press buttons 5 and 6 together, this will
activate the Auger, hold the buttons until
pellets are seen to enter the burner from the
pellet chute, the Auger should now be loaded.
e) Remove pellets from the burner pot.
The stove has sequence settings which are
factory-set by the manufacturer and these should
not be altered.
However these must be checked during initial
commissioning before firing. To do this press
button 3 a number of times until UT01 shows. If
the lower display shows OFF then you will need to
set the correct day and time (See Page 10).
Day 1 - Monday
Day 2 - Tuesday
Day 3 - Wednesday
Day 4 - Thursday
Day 5 - Friday
Day 6 - Saturday
Day 7 - Sunday
1. Press button 3 until UT04 shows on the upper
display.
2. Press buttons 1 or 2 until A9 shows on the
lower display, then press button 3.