AgriMetal TB-270 User manual

1
1 INTRODUCTION
Congratulations on your choice of an AgriMetal Pull-Type Turbine Debris Blower to complement your op-
eration. This equipment has been designed and manufactured to meet the needs of a discerning turf care
industry.
Safe, ecient and trouble free operation of your AgriMetal Debris Blower requires that you and anyone else
who will be operating or maintaining the machine, read and understand the Safety, Operation, Maintenance
and Trouble Shooting information contained within the Operator's Manual.
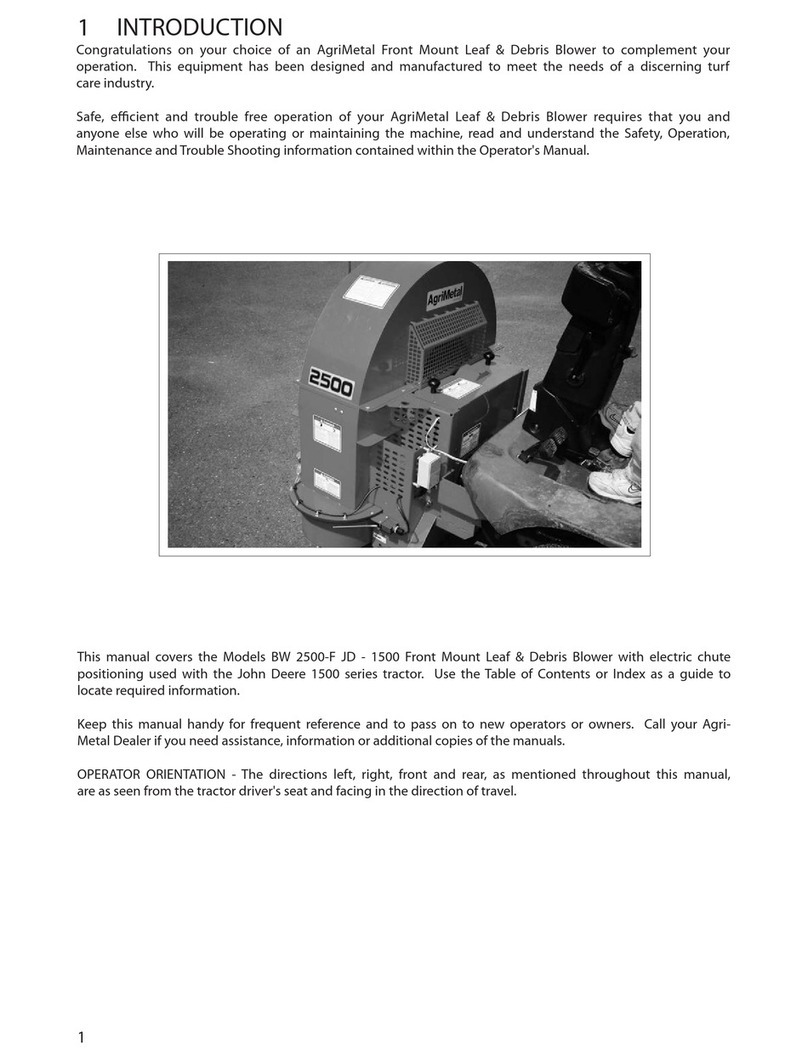
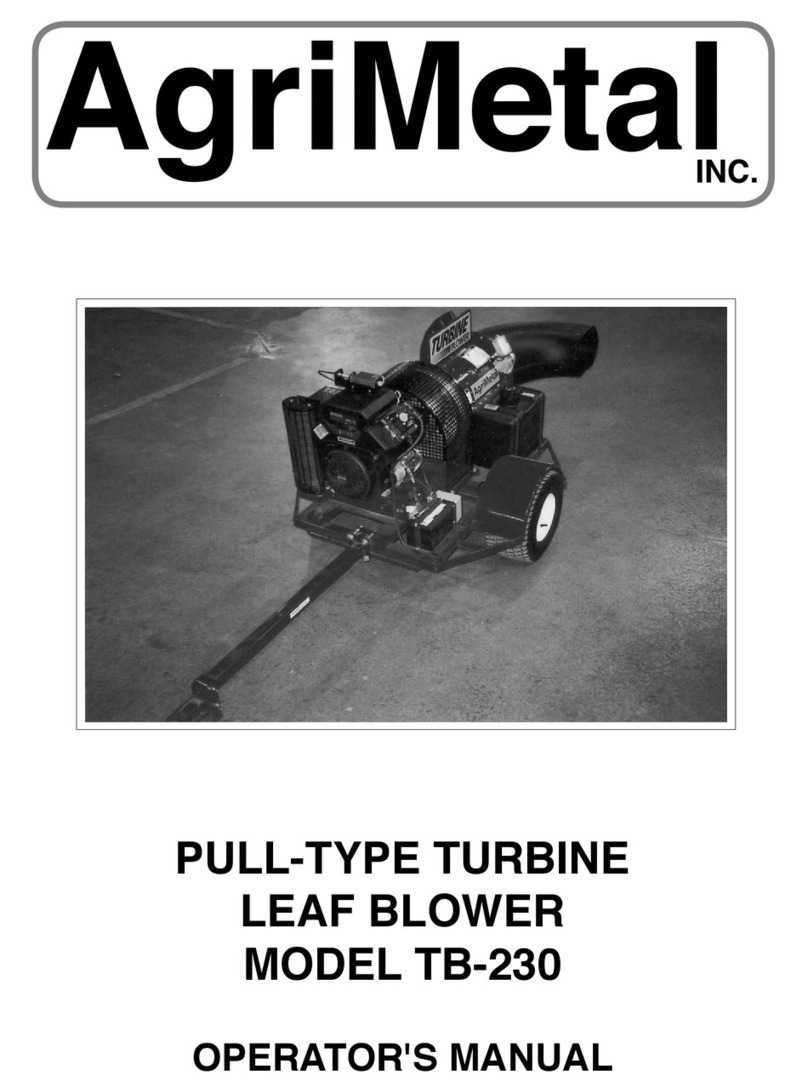
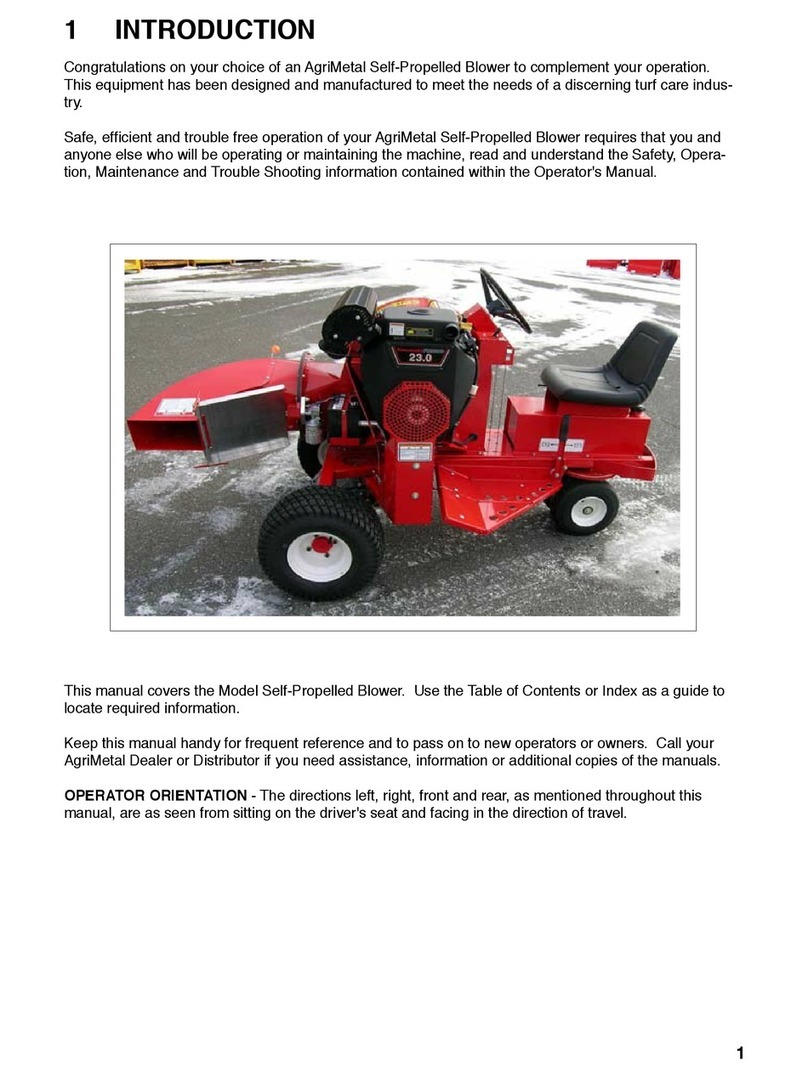
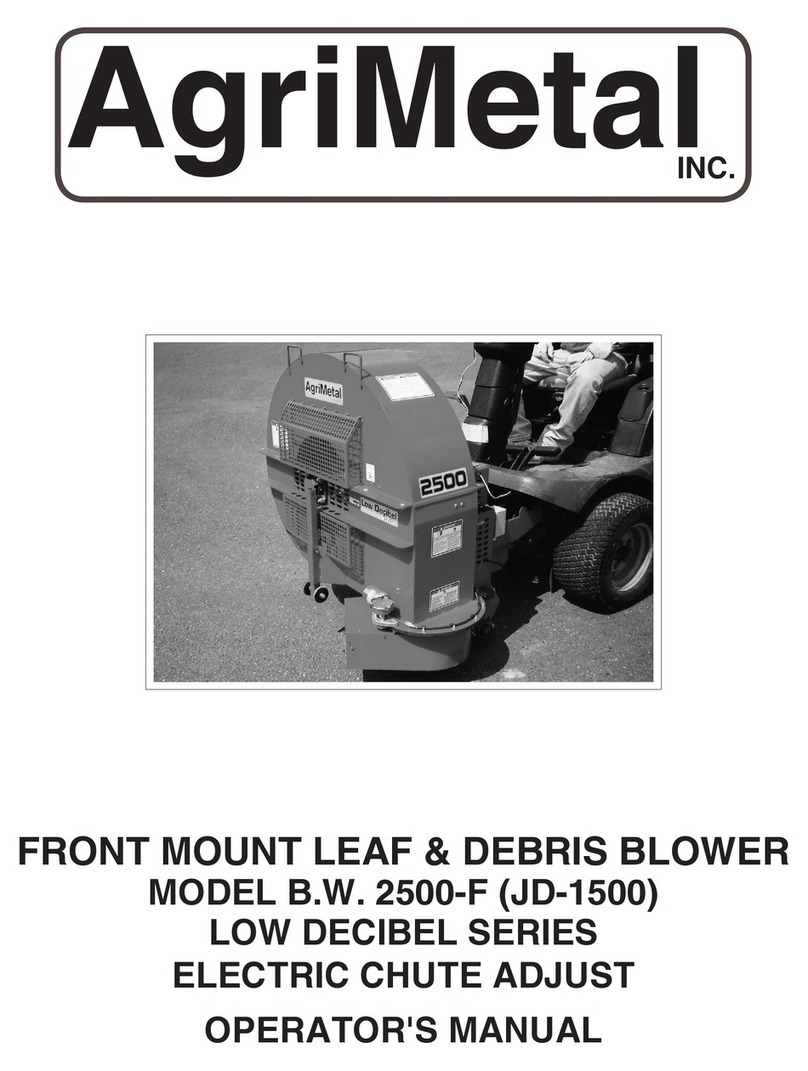
This manual covers the Model 270 Pull-Type Turbine Debris Blower. Use the Table of Contents or Index as a guide
to locate required information.
Keep this manual handy for frequent reference and to pass on to new operators or owners. Call your Ag-
riMetal Dealer if you need assistance, information or additional copies of the manuals.
OPERATOR ORIENTATION - The directions left, right, front and rear, as mentioned throughout this manual,
are as seen from behind the tractor driver's seat and facing in the direction of travel.

2

3
The Safety Alert symbol identies
important safety messages on the
AgriMetal Pull-Type Turbine Debris
Blower and in the manual. When you
see this symbol, be alert to the pos-
sibility of personal injury or death.
Follow the instructions in the safety
message.
If you have any questions not answered in this manual or require additional copies or the manual is dam-
aged, please contact your dealer or AgriMetal Inc., 1006 Rue Principale, Wickham, Quebec, Canada, J0C
1S0. Phone (819) 398-6883 or fax (819) 398-5311.
2 SAFETY
SAFETY ALERT SYMBOL
Why is SAFETY important to you?
This Safety Alert symbol means
ATTENTION! BECOME ALERT! YOUR
SAFETY IS INVOLVED!
Accidents Disable and Kill
Accidents Cost
Accidents Can Be Avoided
3 Big Reasons
DANGER - Indicates an imminently hazardous situa-
tion that, if not avoided, will result in death
or serious injury. This signal word is to be
limited to the most extreme situations typi-
cally for machine components which, for
functional purposes, cannot be guarded.
WARNING - Indicates a potentially hazardous situation
that, if not avoided, could result in death or
serious injury, and includes hazards that
are exposed when guards are removed. It
may also be used to alert against unsafe
practices.
CAUTION - Indicates a potentially hazardous situation
that, if not avoided, may result in minor or
moderate injury. It may also be used to alert
against unsafe practices.
SIGNAL WORDS:
Note the use of the signal words DANGER,
WARNING and CAUTION with the safety
messages. The appropriate signal word for
each message has been selected using the
following guide-lines:

4
SAFETY
YOU are responsible for the SAFE operation and
maintenance of your AgriMetal Pull-Type Turbine
Debris Blower. YOU must ensure that you and any-
one else who is going to operate, maintain or work
around the Debris Blower be familiar with the op-
erating and maintenance procedures and related
SAFETY information contained in this manual. This
manual will take you step-by-step through your
working day and alerts you to all good safety prac-
tices that should be adhered to while operating the
Debris Blower.
Remember, YOU are the key to safety. Good safety
practices not only protect you but also the people
around you. Make these practices a working part of
your safety program. Be certain that EVERYONE
operating this equipment is familiar with the recom-
mended operating and maintenance procedures
and follows all the safety precautions. Most acci-
dents can be prevented. Do not risk injury or death
by ignoring good safety practices.
• Debris Blower owners must give operating in-
structions to operators or employees before
allowing them to operate the machine, and at
least annually thereafter.
• The most important safety device on this equip-
ment is a SAFE operator. It is the operator’s re-
sponsibility to read and understand ALL Safety
and Operating instructions in the manual and to
follow these. Most accidents can be avoided.
• A person who has not read and understood all
operating and safety instructions is not qualied
to operate the machine. An untrained operator
exposes himself and bystanders to possible se-
rious injury or death.
• Do not modify the equipment in any way.
Unauthorized modication may impair the func-
tion and/or safety and could aect the life of the
equipment.
• ThinkSAFETY!WorkSAFELY!
2.1 GENERAL SAFETY
1. Read and understand the
Operator’s Manual and all
safety signs before operating,
maintaining, adjusting or un-
plugging the Debris Blower.
2. Have a rst-aid kit available for
use should the need arise and
know how to use it.
3. Have a re extinguisher available for
use should the need arise and know
how to use it.
4. Do not allow riders.
5. Wear appropriate protective gear. This list in-
cludes but is not limited to:
- A hard hat
- Protective shoes
with slip resistant
soles
- Protective glasses
or goggles
- Heavy gloves
- Wet weather gear
- Hearing protection
- Respirator or lter mask
6. Install and secure all guards before starting.
7. Wear suitable ear protection for
prolonged exposure to excessive
noise.
8. Place all controls in neutral, stop engine, set
park brake, remove ignition key and wait for all
moving parts to stop before servicing, adjusting,
repairing or unplugging.
9. Clear the area of people, especially small chil-
dren, before starting the unit.
10. Review safety related items annually with all
personnel who will operating or maintaining the
Debris Blower.

5
2.2
EQUIPMENT SAFETY GUIDELINES
1. Safety of the operator and bystanders is one of
the main concerns in designing and develop-
ing a machine. However, every year many ac-
cidents occur which could have been avoided
by a few seconds of thought and a more careful
approach to handling equipment. You, the oper-
ator, can avoid many accidents by observing the
following precautions in this section. To avoid
personal injury or death, study the following pre-
cautions and insist those working with you, or
for you, follow them.
2. In order to provide a better view, certain pho-
tographs or illustrations in this manual may
show an assembly with a safety shield removed.
However, equipment should never be operat-
ed in this condition. Keep all shields in place. If
shield removal becomes necessary for repairs,
replace the shield prior to use.
3. Replace any safety sign or instruction sign that
is not readable or is missing. Location of such
safety signs is indicated in this manual.
4. Never use alcoholic beverages or drugs which
can hinder alertness or coordination while oper-
ating this equipment. Consult your doctor about
operating this machine while taking prescription
medications.
5. Under no circumstances should young chil-
dren be allowed to work with this equipment.
Do not allow persons to operate or assem-
ble this unit until they have read this manual
and have developed a thorough understand-
ing of the safety precautions and of how it
works. Review the safety instructions with all
users annually.
6. This equipment is dangerous to children and
persons unfamiliar with its operation. The op-
erator should be a responsible, properly trained
and physically able person familiar with ma-
chinery and trained in this equipment's opera-
tions. If the elderly are assisting with work, their
physical limitations need to be recognized and
accommodated.
7. Use a tractor equipped with a Roll Over
Protective Structure (ROPS).
8. Never exceed the limits of a piece of machinery.
If its ability to do a job, or to do so safely, is in
question - DON'T TRY IT.
9. Do not modify the equipment in any way.
Unauthorized modication result in serious in-
jury or death and may impair the function and
life of the equipment.
10. In addition to the design and conguration of
this implement, including Safety Signs and
Safety Equipment, hazard control and acci-
dent prevention are dependent upon the aware-
ness, concern, prudence, and proper training of
personnel involved in the operation, transport,
maintenance, and storage of the machine. Refer
also to Safety Messages and operation instruc-
tion in each of the appropriate sections of the
tow vehicle, engine and machine Manuals. Pay
close attention to the Safety Signs axed to the
tow vehicle and the machine.

6
2.3 SAFETY TRAINING
1. Safety is a primary concern in the design and
manufacture of our products. Unfortunately, our
eorts to provide safe equipment can be wiped
out by a single careless act of an operator or
bystander.
2. In addition to the design and conguration of
equipment, hazard control and accident preven-
tion are dependent upon the awareness, con-
cern, prudence and proper training of personnel
involved in the operation, transport, mainte-
nance and storage of this equipment.
3. It has been said, "The best safety feature is an
informed, careful operator."
We ask you to be that kind
of an operator. It is the op-
erator's responsibility to read
and understand ALL Safety
and Operating instructions in the manual and to
follow these. Accidents can be avoided.
4. Working with unfamiliar equipment can lead
to careless injuries. Read this manual, and
the manual for your tow vehicle, before as-
sembly or operating, to acquaint yourself
with the machines. If this machine is used by
any person other than yourself, or is loaned
or rented, it is the machine owner's respon-
sibility to make certain that the operator, pri-
or to operating:
a. Reads and understands the opera-
tor's manuals.
b. Is instructed in safe and proper use.
5. Know your controls and how to stop tow vehicle,
engine, and machine quickly in an emergency.
Read this manual and the one provided with
your tow vehicle.
6. Train all new personnel and review instructions
frequently with existing workers. Be certain only
a properly trained and physically able person will
operate the machinery. A person who has not
read and understood all operating and safety
instructions is not qualied to operate the ma-
chine. An untrained operator exposes himself
and bystanders to possible serious injury or
death. If the elderly are assisting with work, their
physical limitations need to be recognized and
accommodated.
2.4 SAFETY SIGNS
1. Keep safety signs clean and legible at all times.
2. Replace safety signs that are missing or have
become illegible.
3. Replaced parts that displayed a safety sign
should also display the current sign.
4. Safety signs are available from your authorized
Dealer Parts Department or the factory.
How to Install Safety Signs:
• Be sure that the installation area is clean and
dry.
• Besuretemperatureisabove50°F(10°C).
• Determine exact position before you remove the
backing paper.
• Remove the smallest portion of the split backing
paper.
• Align the sign over the specied area and care-
fully press the small portion with the exposed
sticky backing in place.
• Slowly peel back the remaining paper and care-
fully smooth the remaining portion of the sign in
place.
• Small air pockets can be pierced with a pin and
smoothed out using the piece of sign backing
paper.

7
2.5 PREPARATION
1. Never operate the tow vehicle and machine until
you have read and completely understand this
manual, the Tow Vehicle Operator's Manual,
and each of the Safety Messages found on the
safety signs on the tow vehicle and machine.
2. Personal protection
equipment includ-
ing hard hat, safety
glasses, safety shoes,
hearing protection
and gloves are rec-
ommended during
assembly, installation, operation, adjustment,
maintaining, repairing, removal, or moving the
implement. Do not allow long hair, loose tting
clothing or jewelry to be around equipment.
3. PROLONGED EXPOSURE TO
LOUD NOISE MAY CAUSE
PERMANENT HEARING LOSS!
Tow Vehicles with or without
equipment attached can often
be noisy enough to cause per-
manent, partial hearing loss. We recommend
that you wear hearing protection on a full-time
basis if the noise in the Operator's position ex-
ceeds 80db. Noise over 85db on a long-term
basis can cause severe hearing loss. Noise over
90db adjacent to the Operator over a long-term
basis may cause permanent, total hearing loss.
NOTE: Hearing loss from loud noise (from trac-
tors, chain saws, radios, and other such sources
close to the ear) is cumulative over a lifetime
without hope of natural recovery.
4. Operate the machine only with
a tractor equipped with an ap-
proved Roll-Over-Protective
Structure (ROPS). Always wear
your seat belt. Serious injury or
even death could result from
falling o the tractor ---particu-
larly during a turnover when the operator could
be pinned under the ROPS or the tractor.
5. Clear working area of stones, branches or hid-
den obstacles that might be hooked or snagged,
causing injury or damage.
6. Operate only in daylight or good articial light.
7. Be sure machine is properly attached, adjusted
and in good operating condition.
8. Ensure that all safety shielding and safety signs
are properly installed and in good condition.

8
2.6 OPERATING SAFETY
1. Please remember it is important that you read
and heed the safety signs on the Blower. Clean
or replace all safety signs if they cannot be
clearly read and understood. They are there for
your safety, as well as the safety of others. The
safe use of this machine is strictly up to you, the
operator.
2. All things with moving parts are potentially haz-
ardous. There is no substitute for a cautious,
safe-minded operator who recognizes potential
hazards and follows reasonable safety practic-
es. The manufacturer has designed this Turbine
Debris Blower to be used with all its safety
equipment properly attached, to minimize the
chance of accidents. Study this manual to make
sure you have all safety equipment attached.
3. If a safety shield or guard is removed for any
reason, it must be replaced before the machine
is again operated.
4. When the use of hand tools is required to per-
form any part of assembly, installation, adjust-
ment, maintaining, repairing, removal, or mov-
ing, be sure the tools used are designed and
recommended by the tool manufacturer for that
specic task.
5. Personal protection equipment including hear-
ing protection, hard hat, safety glasses, safety
shoes, and gloves are recommended during
assembly, installation, operation, adjustment,
maintaining, repairing, removal, or moving. Do
not allow long hair, loose tting clothing, or jew-
elry to be around moving parts.
6. Always use two people to handle heavy, un-
wieldy components during assembly, installa-
tion, removal or moving.
7. Never place any part of your body where it
would be in danger if movement should occur
during assembly, installation, operation, main-
taining, repairing, removal or moving.
8. Never place yourself between the tow vehicle
and machine while equipment is in operation.
9. Place all controls in neutral, stop engine, set
park brake, remove ignition key and wait for all
moving parts to stop before servicing, adjusting,
repairing or unplugging.
10. A heavy load can cause instability of the tow
vehicle. Use extreme care during travel. Slow
down on turns and watch out for bumps. The tow
vehicle may need front counterweights to coun-
terbalance the weight of the machine.
11. Never use alcoholic beverages or drugs which
can hinder alertness or coordination while oper-
ating this equipment. Consult your doctor about
operating this machine while taking prescription
medications.
12. Do not allow riders on the machine or tow ve-
hicle at any time. There is no safe place for any
riders.
13. Before you operate the machine, check over all
pins, bolts, and connections to be sure all are
securely in place. Replace any damaged or
worn parts immediately.
14. Do not allow anyone who is not familiar with the
safety rules and operation instructions to use
this machine.
15. Never allow children to operate or be around this
machine.
16. Do not reach into blower openings when the en-
gine is running. Keep others away also.
17. Clear the work area of objects which might be
picked up and snagged or entangled in the
machine.
18. Keep hands, feet, hair, jewelry, and clothing
away from all moving and/or rotating parts.
19. Do not direct the air stream toward people, ani-
mals or buildings to prevent injury or damage.
20. Do not place hands, feet or other body parts into
air stream.

9
2.7 TRANSPORT SAFETY
1. Comply with state and local laws governing
highway safety and movement of machinery
on public roads.
2. The use of ashing amber lights is accept-
able in most localities. However, some locali-
ties prohibit their use. Local laws should be
checked for all highway lighting and marking
requirements.
3. At all times when driving the tow vehicle and
equipment on the road or highway under
20 mph (32 kph), use ashing amber warn-
ing lights and a slow moving vehicle (SMV)
identication emblem. Do not exceed 20 mph
(32 kph). Reduce speed on rough roads and
surfaces.
4. Plan your route to avoid heavy trac.
5. Use a drawbar pin with provisions for a re-
tainer. Install the retainer.
6. Do not drink and drive.
7. Attach safety chain between tow vehicle and
machine before transporting.
8. Be a safe and courteous driver. Always yield to
oncoming trac in all situations, including nar-
row bridges, intersections, etc. Watch for trac
when operating near or crossing roadways.
9. Turn into curves or go up or down hills only at
a low speed and at a gradual steering angle.
Make certain that at least 20% of the tow vehi-
cle's weight is on the front wheels to maintain
safe steerage. Slow down on rough or uneven
surfaces.
10. Never allow riders on either tow vehicle or
machine.
11. Install lighting bar before transporting.
2.8 STORAGE SAFETY
1. Store the unit in an area away from human
activity.
2. Do not permit children to play on or around
the stored machine.
3. Store the unit in a dry, level area. Support the
frame with planks if required.
2.9 REFUELLING SAFETY
1. Handle fuel with care. It is highly ammable.
2. Allow engine to cool for 5 minutes before re-
fuelling. Clean up spilled fuel before restarting
engine.
3. Do not refuel the machine while
smoking or when near open
ame or sparks.
4. Fill fuel tank outdoors.
5. Prevent res by keeping machine clean of ac-
cumulated trash, grease and debris.
2.10 TIRE SAFETY
1. Failure to follow proper procedures when mount-
ing a tire on a wheel or rim can produce an ex-
plosion which may result in serious injury or
death.
2. Do not attempt to mount a tire unless you have
the proper equipment and experience to do the
job.
3. Have a qualied tire dealer or repair service per-
form required tire maintenance.
4. When replacing worn tires, make sure they meet
the original tire specications. Never undersize.

10
2.11 MAINTENANCE SAFETY
1. Good maintenance is your responsibility. Poor
maintenance is an invitation to trouble.
2. Follow good shop practices.
- Keep service area
clean and dry.
- Be sure electrical
outlets and tools are
properly grounded.
- Use adequate light
for the job at hand.
3. Make sure there is plenty of ventilation. Never
operate an engine in a closed building. The ex-
haust fumes may cause asphyxiation.
4. Before working on this machine, shut o the
engine, set the brakes, and remove the ignition
keys.
6. Never work under equipment unless it is blocked
securely.
7. Always use personal protection devices such
as eye, hand and hearing protectors, when per-
forming any service or maintenance work.
8. Where replacement parts are necessary for pe-
riodic maintenance and servicing, genuine fac-
tory replacement parts must be used to restore
your equipment to original specications. The
manufacturer will not be responsible for injuries
or damages caused by use of unapproved parts
and/or accessories.
9. A re extinguisher and
rst aid kit should be kept
readily accessible while
performing maintenance
on this equipment.
10. Periodically tighten all bolts, nuts and screws
and check that all cotter pins are properly in-
stalled to ensure unit is in a safe condition.
11. When completing a maintenance or service
function, make sure all safety shields and de-
vices are installed before placing unit in service
2.12 BATTERY SAFETY
1. Keep all sparks and ames away from batteries,
as gas given o by electrolyte is explosive.
2. Avoid contact with battery electrolyte: wash o
any spilled electrolyte immediately.
3. Wear safety glasses when working near
batteries.
4. Do not tip batteries more than 45 degrees, to
avoid electrolyte loss.
5. To avoid injury from spark or short circuit, dis-
connect battery ground cable before servicing
any part of electrical system.

11
2.13 GAS MOTOR SAFETY
BEFORE STARTING ENGINE, READ AND UN-
DERSTAND THE OPERATING AND MAINTE-
NANCE INSTRUCTIONS THAT CAME WITH
YOUR ENGINE.
WARNING: DO NOT
1. DO NOT run engine in an enclosed area.
Exhaust gases contain carbon monoxide, an
odorless and deadly poison.
2. DO NOT place hands or feet near moving or ro-
tating parts.
3. DO NOT store, spill, or use gasoline near an
open ame, or devices such as a stove, furnace,
or water heater which use a pilot light or devices
which can create a spark.
4. DO NOT refuel indoors where area is not well
ventilated. Outdoor refuelling is preferred.
5. DO NOT ll fuel tank while engine is running.
Allow engine to cool for 5 minutes before refuel-
ling. Store fuel in approved safety containers.
6. DO NOT remove fuel tank cap while engine is
running.
7. DO NOT operate engine if gasoline is spilled.
Move machine away from the spill and avoid
creating any ignition until the gasoline has
evaporated.
8. DO NOT smoke when lling fuel tank.
9. DO NOT choke carburetor to stop engine.
Whenever possible, gradually reduce engine
speed before stopping.
10. DO NOT run engine above rated speeds. This
may result in injury.
11. DO NOT tamper with governor springs, gover-
nor links or other parts which may increase the
governed engine speed.
12. DO NOT tamper with the engine speed selected
by the original equipment manufacturer.
13. DO NOT check for spark with spark plug or
spark plug wire removed. Use an approved
tester.
14. DO NOT crank engine with spark plug removed.
If engine is ooded, place throttle in "FAST" po-
sition and crank until engine starts.
15. DO NOT strike ywheel with a hard object or
metal tool as this may cause ywheel to shatter
in operation. Use proper tools to service engine.
16. DO NOT operate engine without a muer.
Inspect periodically and replace, if necessary.
If engine is equipped with muer deector, in-
spect periodically and replace, if necessary with
correct deector.
17. DO NOT operate engine with an accumulation
of grass, leaves, dirt or other combustible mate-
rials in the muer area.
18. DO NOT use this engine on any forest covered,
brush covered, or grass covered unimproved
land unless a spark arrester is installed on the
muer. The arrester must be maintained in eec-
tive working order by the operator. In the State of
California the above is required by law (Section
4442 of the California Public Resources Code).
Other states may have similar laws. Federal
laws apply on federal lands.
19. DO NOT touch hot muer, cylinder or ns be-
cause contact may cause burns.
20. DO NOT run engine with air cleaner or air clean-
er cover removed.
WARNING: DO
1. ALWAYS DO remove the wire from the spark
plug when servicing the engine or equipment
TO PREVENT ACCIDENTAL STARTING or
disconnect the negative wire from the battery
terminal.
2. DO keep cylinder ns and governor parts free of
grass and other debris which can aect engine
speed.
3. DO examine muer periodically to be sure it is
functioning eectively. A worn or leaking muer
should be repaired or replaced as necessary.
4. DO use fresh gasoline. Stale fuel can gum car-
buretor and cause leakage.
5. DO check fuel lines and ttings frequently for
cracks or leaks. Replace if necessary.

12
2.14 SIGN-OFF FORM
AgriMetal follows the general Safety Standards specied by the American Society of Agricultural Engineers
(ASAE) and the Occupational Safety and Health Administration (OSHA). Anyone who will be operating and/
or maintaining the Pull-Type Turbine Debris Blower must read and clearly understand ALL Safety, Operating
and Maintenance information presented in this manual.
Do not operate or allow anyone else to operate this equipment until such information has been reviewed.
Annually review this information before the season start-up.
Make these periodic reviews of SAFETY and OPERATION a standard practice for all of your equipment. We
feel that an untrained operator is unqualied to operate this machine.
A sign-o sheet is provided for your record keeping to show that all personnel who will be working with the
equipment have read and understand the information in the Operator’s Manual and have been instructed
in the operation of the equipment.
SIGN-OFF FORM
DATE EMPLOYEE'S SIGNATURE EMPLOYER'S SIGNATURE

13
3 SAFETY SIGN LOCATIONS
The types of safety signs and locations on the equipment are shown in the illustrations that follow. Good
safety requires that you familiarize yourself with the various safety signs, the type of warning and the area,
or particular function related to that area, that requires your SAFETY AWARENESS.
• ThinkSAFETY!WorkSAFELY!
REMEMBER - If safety signs have been damaged, removed, become illegible or parts replaced without
safety signs, new signs must be applied. New safety signs are available from your authorized dealer.
B CA
A
C
B
NC13-33-0183 NC13-33-0192 NC13-33-0185

14
The types of safety signs and locations on the equipment are shown in the illustrations that follow. Good
safety requires that you familiarize yourself with the various safety signs, the type of warning and the area,
or particular function related to that area, that requires your SAFETY AWARENESS.
• ThinkSAFETY!WorkSAFELY!
REMEMBER - If safety signs have been damaged, removed, become illegible or parts replaced without
safety signs, new signs must be applied. New safety signs are available from your authorized dealer.
B

15
4 ASSEMBLING
4.1 MACHINE ASSEMBLY
The machine is shipped from the factory in a par-
tially disassembled conguration and attached to a
pallet that provides for easy moving and handling.
Always use tools, equipment and forklifts of appro-
priate size and capacity for the job. Always use 2
men when lifting, moving and assembling the ma-
chine.
When the machine is shipped, follow this pro-
cedure when preparing for the customer:
1. Clear the area of bystanders especially small
children before starting.
2. Remove the pallet tie-downs.
Shipping
Removing Tie-Downs
FIG. 1 SHIPPING CONFIGURATION

16
3. Use a forklift to lift the pallet/machine from the
truck. Carry the load close to the ground as it is
moved to the assembly area and positioned.
4. Remove duct and hitch tie-downs and lay-out.
Hitch
Duct
Lay-Out
FIG. 2 ANCHOR BOLTS

17
5. Remove the anchor bracket clamps from around
the rim of the duct.
Removing
Holding Fastener
FIG. 3 DUCT CLAMPS

18
Aligning
Flange
Bracket
Secured
FIG. 4 DUCT INSTALLATION
6. Slide the duct into the discharge ange.
7. Install the mounting bolts through the anchor
brackets to secure the duct to the ange.
8. Tighten fasteners to their specied torque.

19
10. Remove the remote controller and ignition key
from the manual cannister.
11. Install key into ignition switch.
Cannister
Removed
FIG. 5 CONTROLLER

20
12. Remove the hitch mounting bolts.
13. Attach the hitch to the front of the frame.
a. Install all the anchor bolts through the hitch
and mounting plate.
b. Center the hitch on the frame. Measure to
be sure.
c. Install fasteners.
Centering
Aligning
Fasteners
FIG. 7 HITCH INSTALLATION
FIG. 6 BOLTS
Table of contents
Other AgriMetal Blower manuals
Popular Blower manuals by other brands

LawnMaster
LawnMaster BV1211 Operator's manual

Shindaiwa
Shindaiwa EB633RT Operator's manual

Cooper
Cooper Duroflow 4500 series Service manual

Echo
Echo PB-251E - PARTS CATALOG SN P07611001001 - P07611999999 REV... parts catalog

Little Wonder
Little Wonder Optimax 9270-12-59 Owner's manual and safety instructions

Yard-Man
Yard-Man YMESV1300 Operator's manual