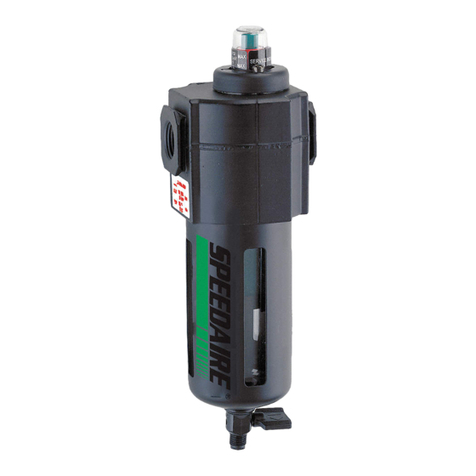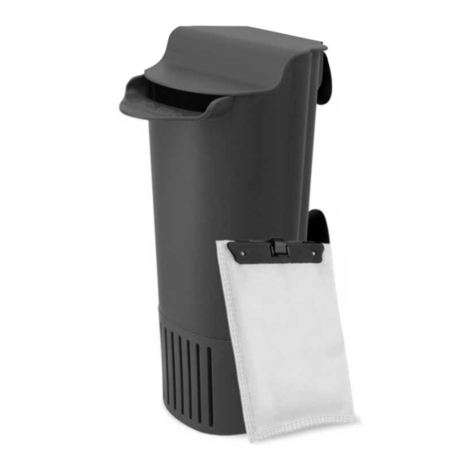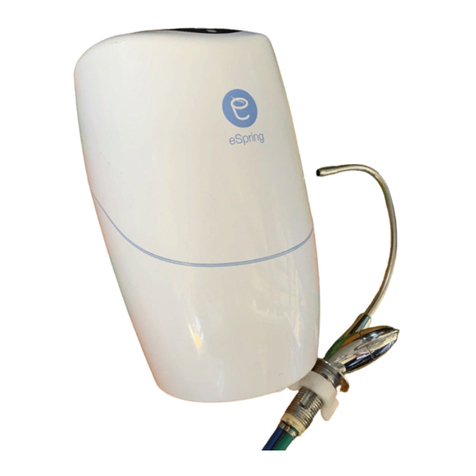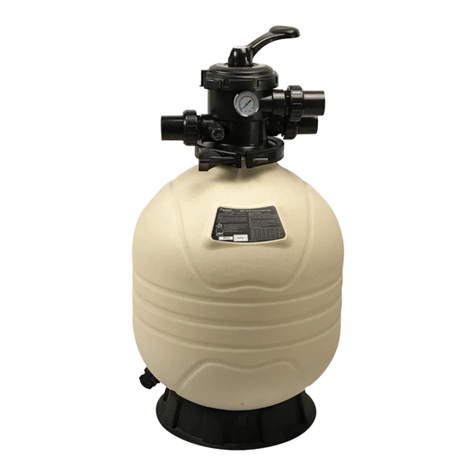
1. Distiller
2. Collection Jug with Storage Cap
3. Spout Cap
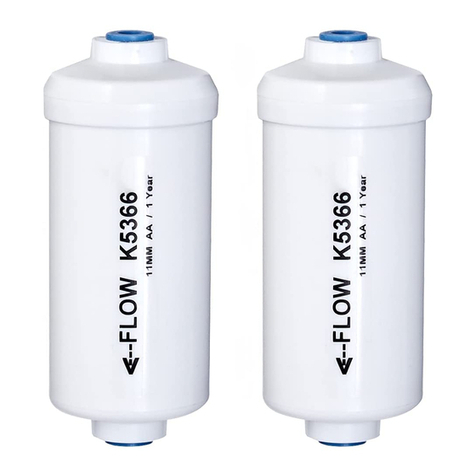
4. Carbon Filters
5. Power Cord
6. Cleaning Powder
7. Manual
1. Remove collection jug from inside of distiller base. *
2. Place distiller base onto a stable surface.
3. Fill distiller base to ll line. Do not overll tank.
4. Place top cover onto distiller base. Be sure the silicone seal is
correctly in place around the entire rim.
5. Connect cord from the top cover to distiller base.
6. Place spout cap on collection jug. Place jug beneath distiller
spout.
7. Connect power cord on distiller base to power outlet.
8. Press “ON” button.
9. Fan should start (if it does not, rmly push on both cords with
the palm of your hand at the back to ensure they click into
place). Tank will begin to heat.
10. Water should drip into opening in bottle after approximately
thirty minutes. It should take then 4 hours to complete.
11. Unit will automatically turn itself o when cycle is nished.
* When using the distiller for the rst time, discard rst bottle of
distilled water. It will take one full distilling cycle for distiller to
self clean.
• Use unit in a dry, well ventilated area.
• Keep the body of the unit dry.
• Do not immerse any part of the unit in water.
• To stop unit mid-cycle unplug power cord from outlet.
• Leave power cord unplugged when distiller is not in use.
• Allow unit to cool before starting another distilling cycle.
• Do NOT remove cover while unit is mid-cycle.
• To prevent steam injury. Take care when removing the top from
the unit after use.
1. Rinse and wipe out the tank every day with clean water.
Calcication and scale will build up on the inner surface of the
tank. Remove this buildup every two weeks.
2. Pour in enough hot water to cover buildup in tank, along with
1-4 teaspoons of cleaning powder (depending on amount of
scale buildup).
3. Leave lid o unit and push the ‘ON’ button.
4. Let distiller run for 30 minutes, pour out hot water and wash
the inside of the tank with clean water.
5. If scale is still present, repeat process.
6. Replace the lter in the lid every 2-3 months.
1. Unpack bottle pieces. (1 handle with 2 screws and washers; 2
metal bands) Remove screws from handle.
2. Wrap one metal band around top groove in bottle with bent
ends facing outwards.
3. Place handle between bent ends. Line up the top hole in the
handle and the holes in the band. Insert screw through all three
holes, attach and rmly tighten washer.
4. Repeat with second band at the base of the jug.
5. Pry o storage cap, and replace with spout cap before use.

