3(10)
25.7.2015
Introduction
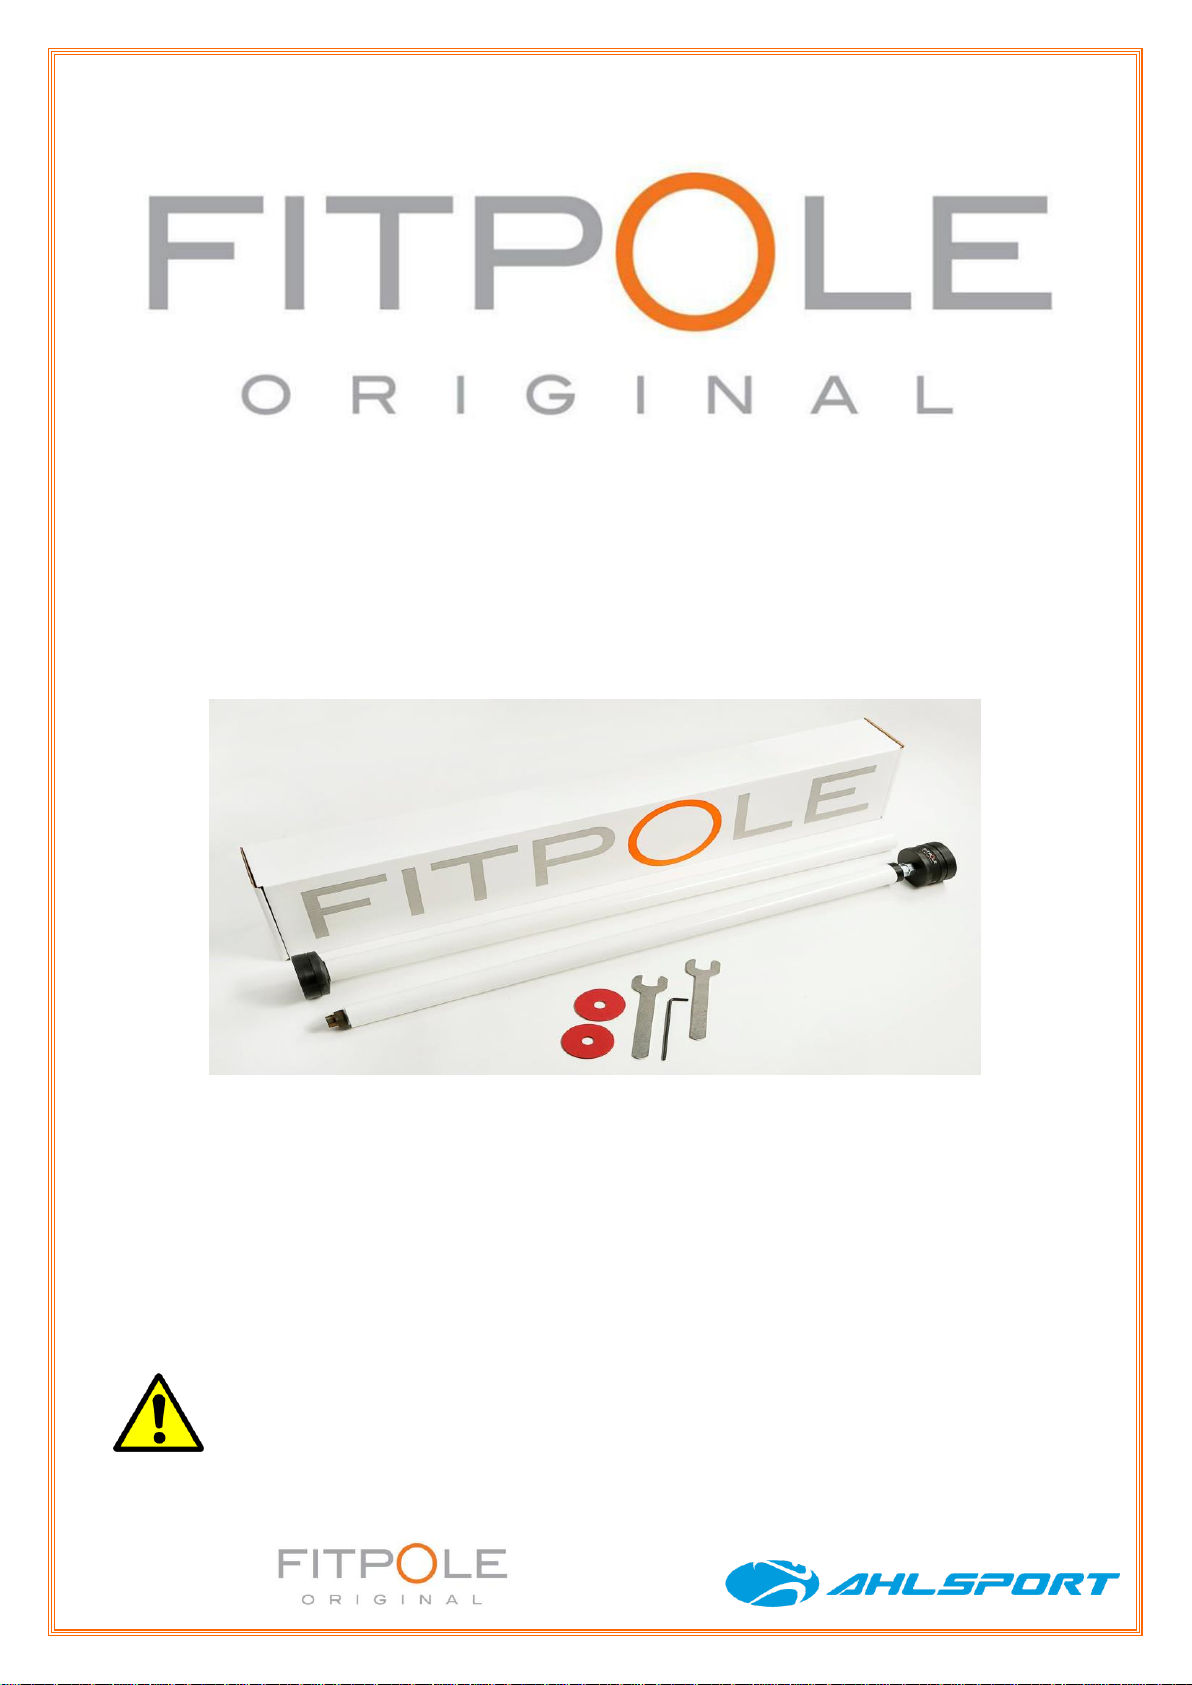
Fitpole
Fitpole is a mobile and portable pole which is installed between the ceiling and the floor.
Standard Fitpole can be used in rooms with room height between 240 and 265 cm.
The pole can be extended by using extension pieces. With an extension piece of 25 cm,
the pole can be used in a room with room height between 265 and 290 cm. With an
extension piece of 50 cm, the pole can be installed in a room with room height between
290 and 315 cm. Instructions on extension pieces and their usage are given in section
"How to install an extension piece".
Physical results
-Improves muscle strength and power
-Improves physical coordination skills
-Improves balance and mobility
-Improves circulatory and respiratory systems’ efficiency
-Burns fat and tones muscles
Safety instructions
Notes
Ignoring the following instructions can lead to severe accidents during exercises!
-Have a medical check-up before embarking on exercising. This way you can make
sure that you can safely use the pole for exercising.
-If you feel dizzy or you otherwise do not feel well during an exercise, do not continue
with the exercise. Have your physical condition checked before using the pole again.
-Make sure that there is enough free space around you. Fitpole is not a toy. An adult
must always supervise minors’ exercise.
-Use Fitpole only for its intended purpose.
-Always check Fitpole before exercising. If you notice any anomalies, do not use the
pole.
-Follow possible exercise instructions.
- Warning! Some moves might require excellent mobility and balance. Take this into
account when exercising and start carefully.
-The manufacturer or its partners are not responsible for any injuries or material
damages caused by using this product.
Fitpole is not directly controlled by Ahlsport. Ahlsport, Ahlsport e-store, retailers, and
salespersons or any other persons or companies cooperating with Ahlsport will not
assume responsibility for any accidents to users or for any injuries or property damages to
third parties. However, general consumer rights are respected.
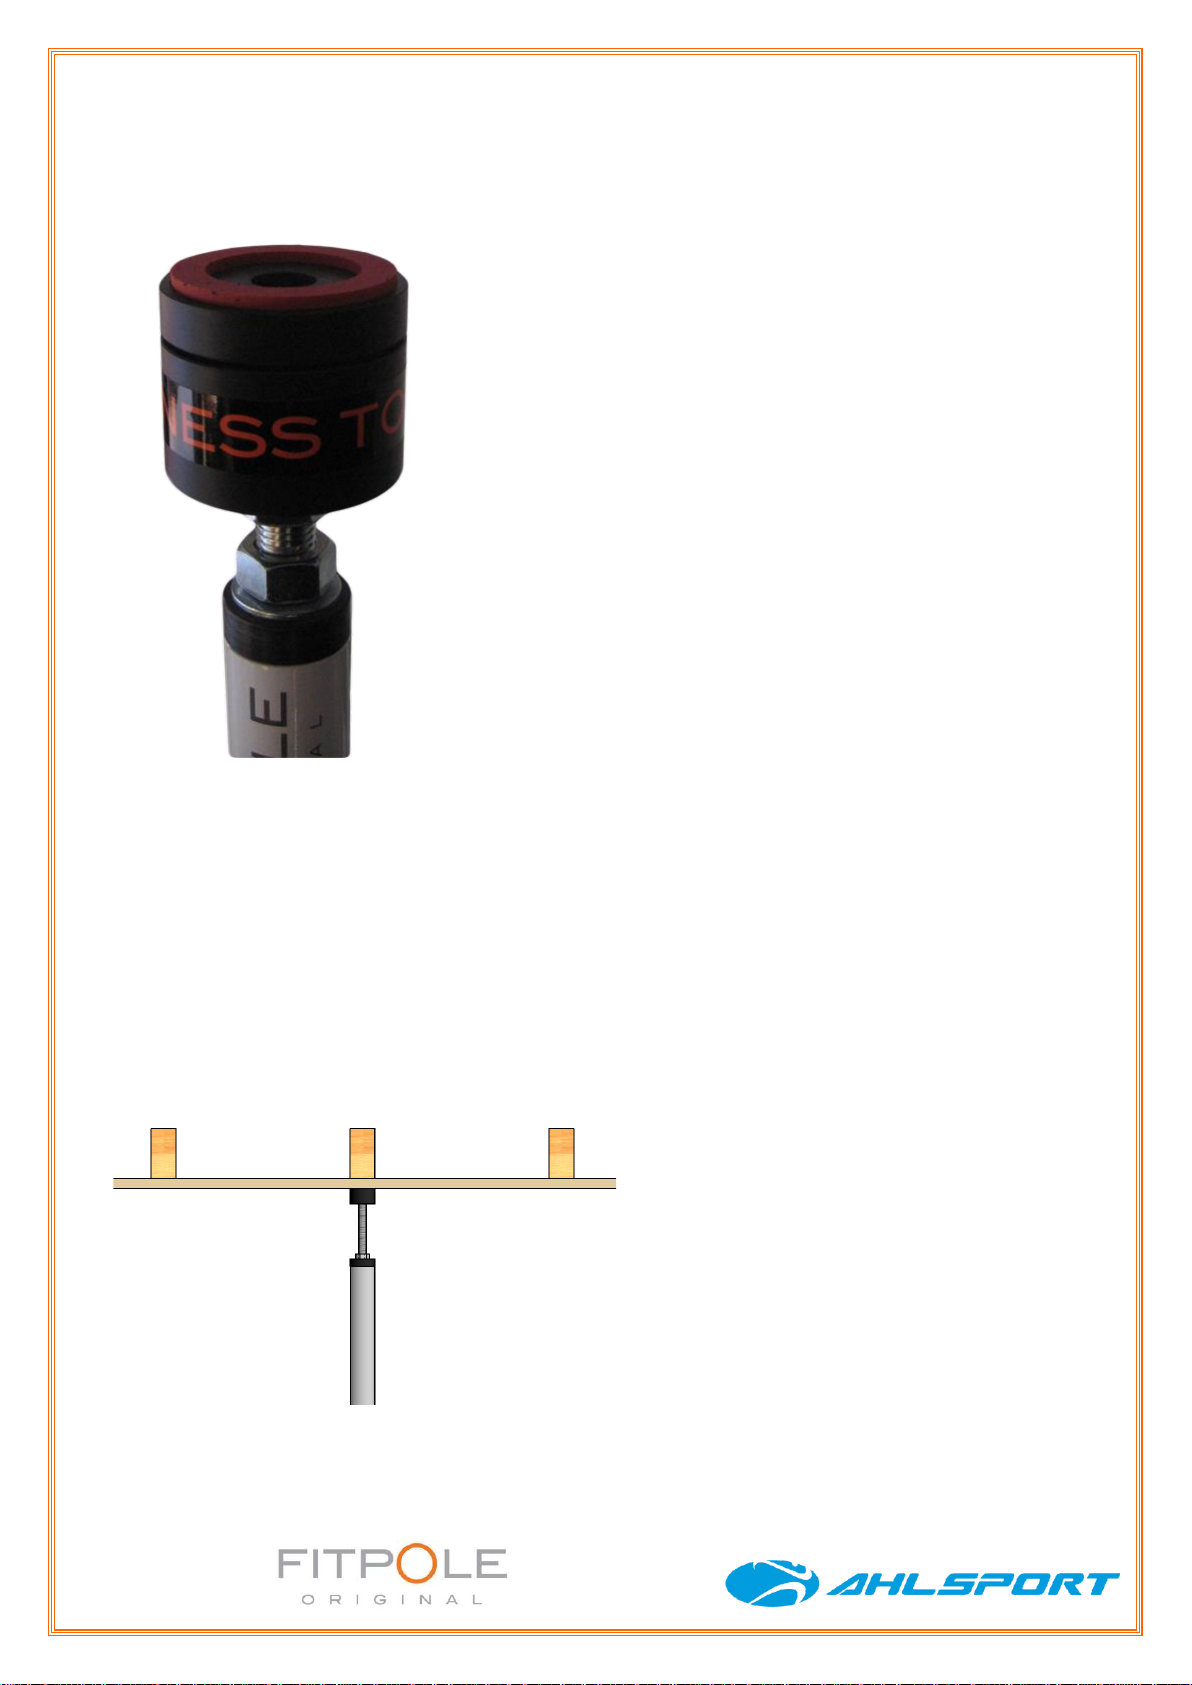
Fitpole is a mobile and portable pole which is installed between the ceiling and the floor.
Because of this it can cause damage to the floor or the ceiling. In this respect Fitpole is no
different from any other poles which are installed between the ceiling and the floor. This
has to be understood in order to minimise the risks before using the pole.