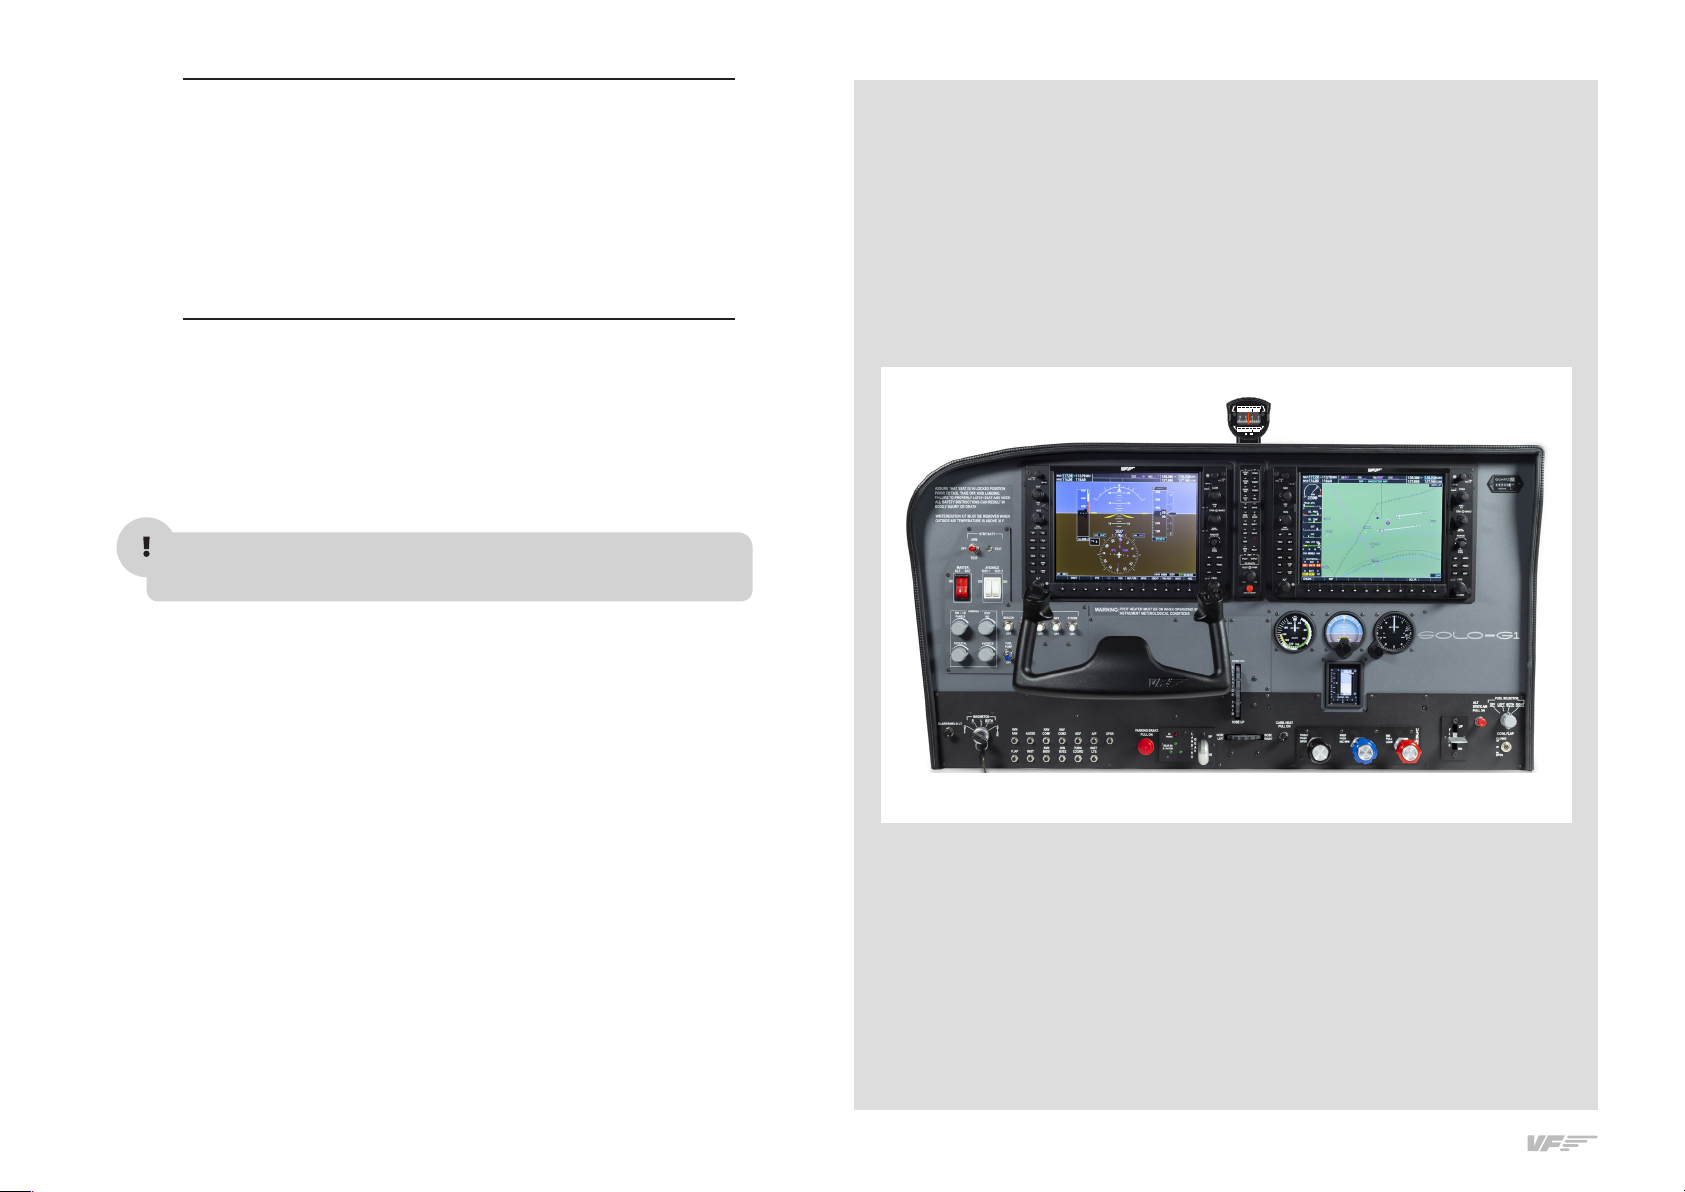
7
2. INSTALLATION - SOLO-G1 USER'S MANUAL
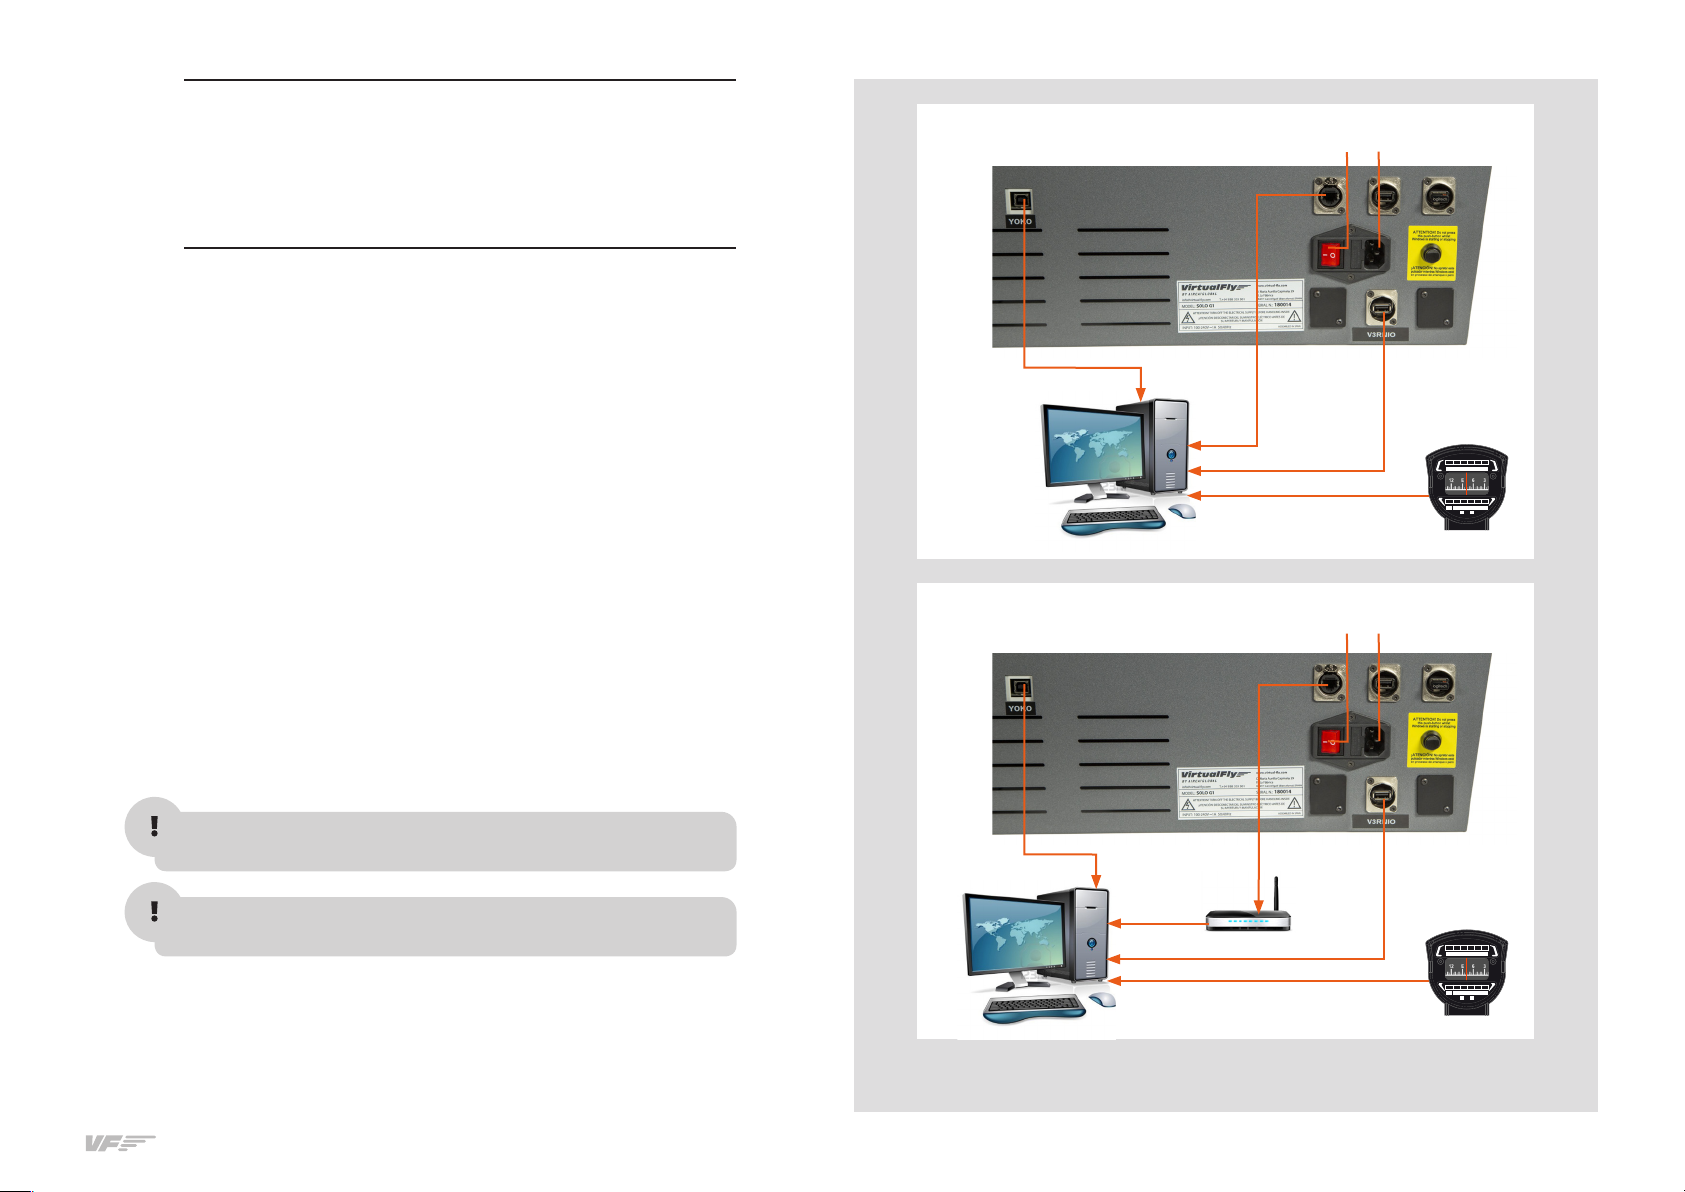
V3RNIO
Configuration Using VF-Test&Calibrate-S
• Disable "VirtualFly - TPM VRNIO" assignments on MFS/PD "Button
and keys" tab and "Axes" tab.
• Just double click on the "VF-Test&Calibrate-S.exe" file to execute it.
• Go to "TQ/VRNIO" tab and select the VRNIO device from the "Se-
lect device:" list.
• Click on "Save Current Configuration" button.
• In "TQ/VRNIO" tab you can test the device.
VF-COMPASS
Configuration Using VF-Test&Calibrate-S
• Just double click on the "VF-Test&Calibrate.exe" file to execute it.
• Go to "VF-COMPASS" tab and select the VF-COMPASS device from
the "Select device:" list.
• Click on "Save Current Configuration" button.
• In "VF-COMPASS" tab you can control the backlight and test the device.
As "VF-Test&Calibrate-S” Control Panel communicates data from
YOKO, VRNIO and VF-COMPASS with MFS-PreparD, Keep in mind,
that VF-Test&Calibrate- S Control Panel has to remain ON when you
use MFS-PreparD.
.. VF-COMPASS, YOKO & VRNIO FLIGHT CONTROLS
CONFIGURATION
YOKO
YOKO calibration on Windows (example based on Windows 7)
• Go to control panel, “Devices and printers”.
If you see a YOKO+ instead of a YOKO, you can skip this step and
close the "Devices and printers" tab and go directly to "YOKO
Configuration Using VF-Test&Calibrate-S ".
• In the “Devices and printers”, right click on “VirtualFly - YOKO”.
• From the menu choose “Game controller settings”.
• In the Game controller window, double click on “VirtualFly - YOKO”
• Choose the “Settings” tab.
• Click on “Calibrate”.
• Once calibration is completed, go to the “Test” tab to check the correct
operation. Leaving the control in neutral position, the cross should be
centered in the box. Check the function of the six buttons as well.
• Click on “Apply”. Click “OK” to exit.
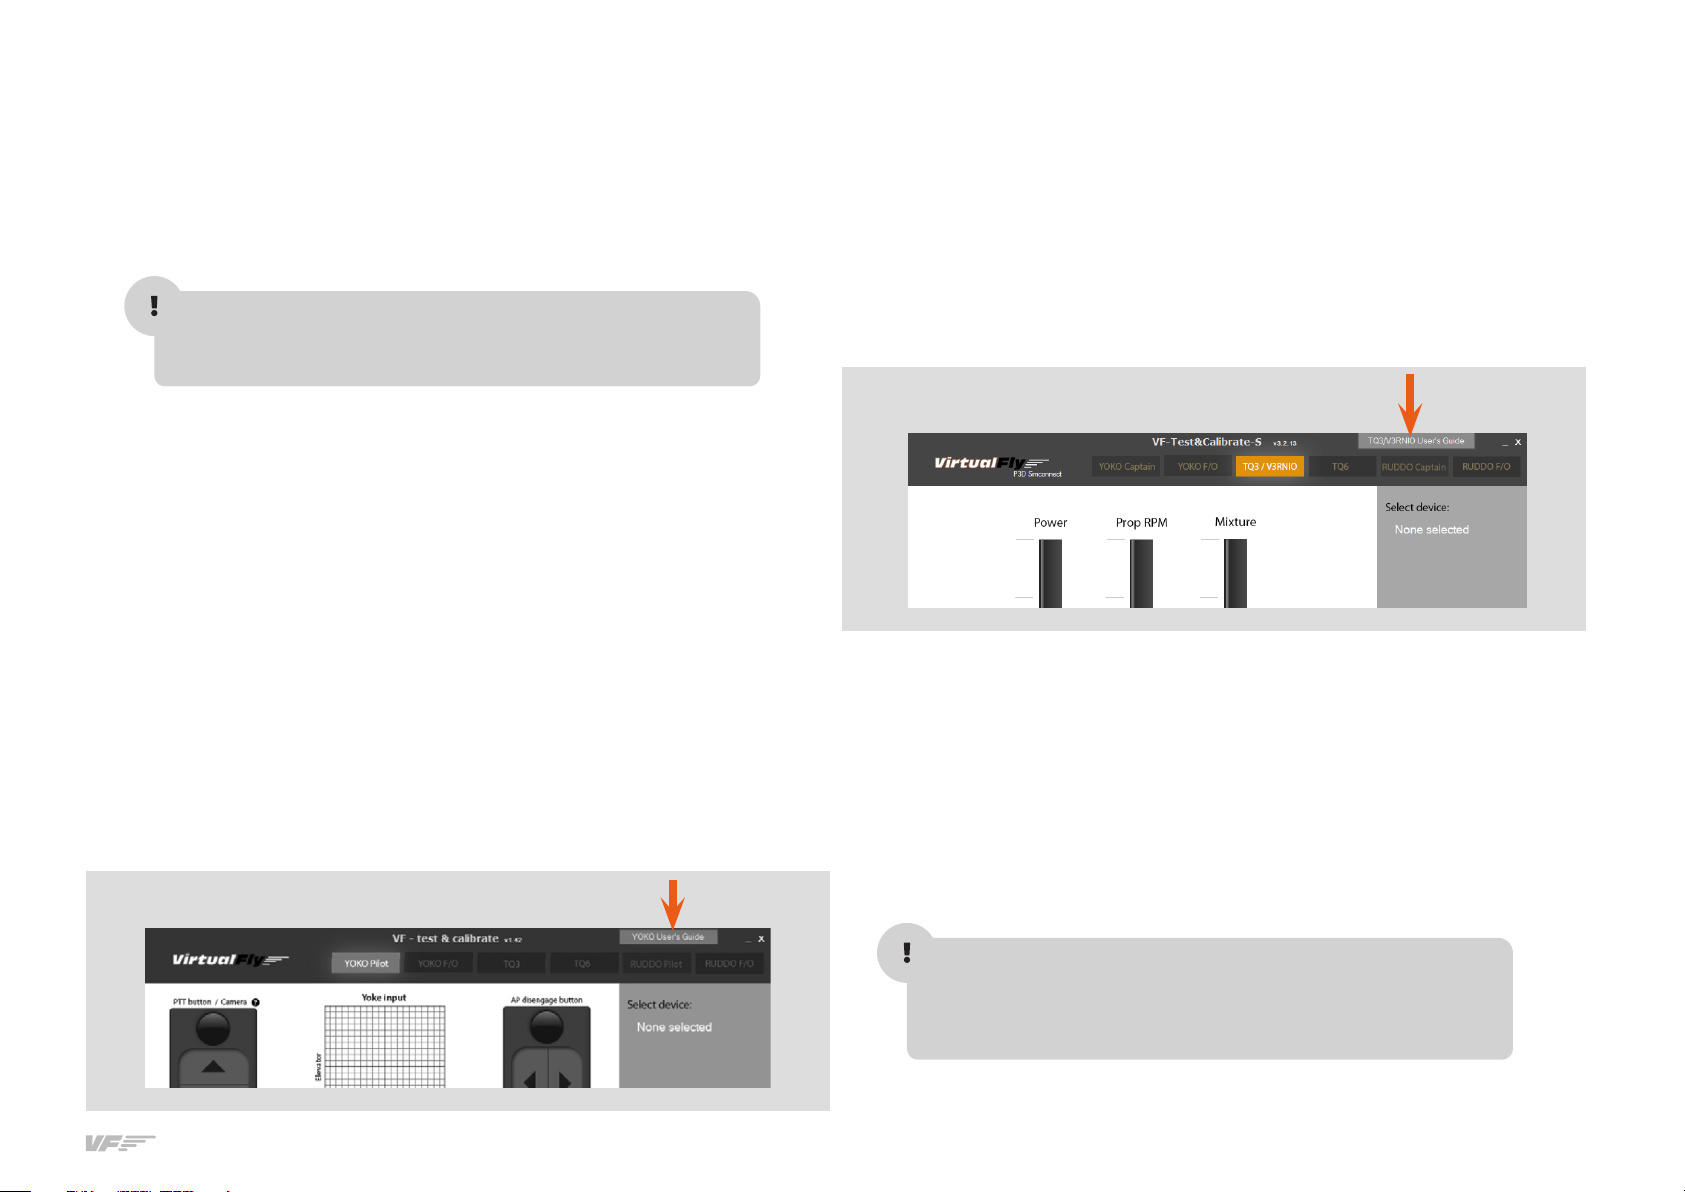
YOKO Configuration Using VF-Test&Calibrate-S
• Disable “Virtual-Fly YOKO” assignments on MFS/PD “Button and
keys” tab and “Axes” tab.
• Just duble click on the “VF-Test&Calibrate-S.exe” file to execute it.
• To configurate the YOKO, you will find “VF-Test&Calibrate-S” user's gui-
de inside the Control Panel. See the arrow in the following figure.
• Click on "Save Current Configuration" button.