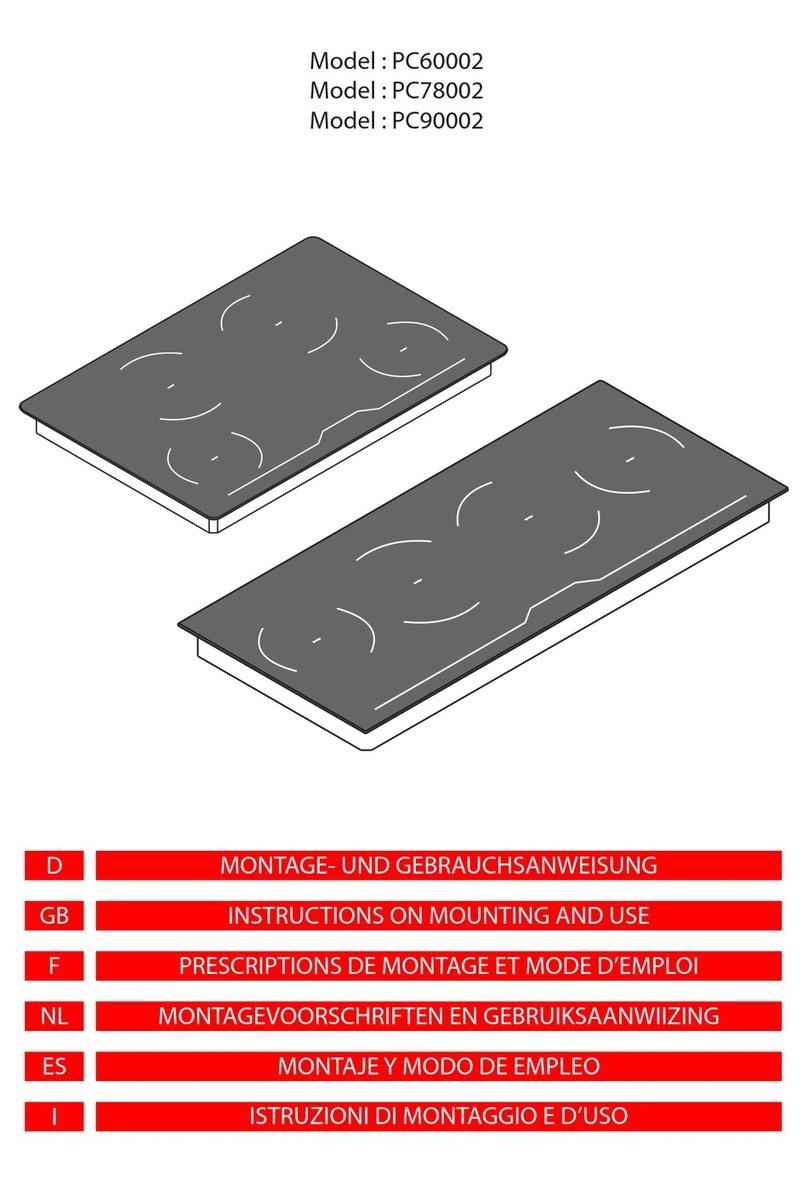
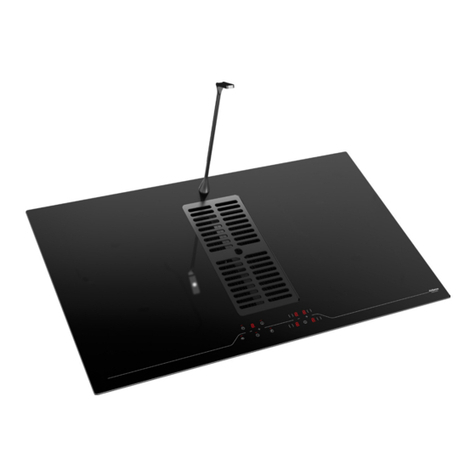
AIRFORCE Integra DD-4 Technical manual

integra
MONTAGE- UND GEBRAUCHSANWEISUNG
D
INSTRUCTIONS ON MOUNTING AND USE
PRESCRIPTIONS DE MONTAGE ET MODE D’EMPLOI
MONTAGEVOORSCHRIFTEN EN GEBRUIKSAANWIIZING
MONTAJE Y MODO DE EMPLEO
ISTRUZIONI DI MONTAGGIO E D’USO
GB
F
NL
ES
I

ANWEISUNGEN
D
11
WARNINGS GB
11
T
his instruction handbook is conserved together with the INTEGRA for future consultation. If
the equipment is sold or transferred to another person, make certain the instruction handbook is
supplied together with it, so that the new user can become aware of the operation of the cooker
hood and related warnings. These warnings have been compiled for your safety and the safety
of others. Please take the time to read them carefully before installing and using the equipment.
Be sure to also consult the drawings in the front pages, including the alphabetic and numeric
references in the text descriptions. Closely follow the instructions in this manual. The manufacturer
declines all responsibility for any inconveniences, damage or res caused due to non-compliance
with the instructions in this manual. The installation and electrical connection must be provided
by a qualied service technician. The supplier is not liable for any warranty for damages caused
by improper installation or improper use of the appliance. Do not modify or seek to modify the
specications of this appliance.
T
he cooking top must always be used within the limits of normal domestic use, not for
professional use, but simply to prepare and keep dishes warm. Any other use is not allowed. The
unit should not be left unsupervised during its operation.
T
his appliance can be used by children from the age of 8 onwards, and by persons with
reduced physical, sensory or mental capabilities, or lack of experience and knowledge,
provided they are properly monitored, or if they have been instructed in the safe use of the
appliance and are aware of related dangers.
C
hildren must not be allowed to play with the appliance. Cleaning and maintenance must not be
carried out by children without proper supervision.
M
ake use of the locking device to prevent children from accidentally turning on the device, or
modifying its functions. The unit should not be left unsupervised during its operation.
D
o not control the cooking top using a remote timer.
T
he unit should not be left unsupervised during its operation.
Make certain children at home are prevented from toppling hot pots and pans to the oor. Turn
the handles and knobs of pots and pans to the side on the cooking top, so that they are above the
cooking top, and to prevent the risk of burns.
F
or safety reasons, the cooking top must be used only after having been installed in its recessed
housing.
Do not seal the area between the glass and the worktop with silicone because should the
cooktop need to be replaced, the glass could break during removal.
P
rior to proceeding with the installation, check to make sure there are no visible signs of damage .
Caution

ANWEISUNGEND
12
WARNINGSGB
12
to the cooking top. Never start up a damaged unit, as it may pose a safety risk.
The unit’s installation and electrical connection to the power grid must be carried out by qualied
service technicians only. The device’s electrical safety can be guaranteed solely if a regular ground
connection is provided for the cooking top. If in doubt, have the electrical system checked by a
qualied electrician. If the power cord is damaged, it must be replaced by a qualied service centre
or technician only.
Do not connect the cooking top to the mains using extension cords or multiple sockets, since they
will not guarantee the required safety (e.g. risk of overheating).
Prior to connecting the cooktop, compare the connection specications (voltage and frequency)
indicated on the unit’s identication nameplate with those of the mains electricity supply.
These specications must absolutely correspond, otherwise the unit may be subject to damage.
Contact an electrician if in doubt.
D
isconnect the unit from the mains when carrying out installation work, maintenance or repairs.
Comply with all air discharge regulations.
CAUTION: If the surface is cracked, switch o the appliance to avoid the possibility of electric
shock.
Never open unit’s outer casing. Any contact with live parts or the modication of electrical or
mechanical parts can cause operating abnormalities.
The induction hob should not be used as a work surface.The rough underside of food containers
can scratch the surface of the cooktop.
Always keep the cooking areas and underside of food containers perfectly dry.
Oil and grease that are too hot will catch re quickly. Do not leave overheated oil or grease
unsupervised. If oil or grease should catch re, do not attempt to put out the ames with water.
Extinguish the ames with a lid or plate, or with a reproof blanket. Turn o the cooking zone.
Never place ammable items on the hob.
WARNING: Fire hazard: do not leave objects on the cooking surface.
Fire hazard

ANWEISUNGEN
D
13
WARNINGS GB
13
CAUTION: This appliance and its accessible parts become very hot during use. Pay attention to
avoid touching the heating elements. Keep children under 8 years of age away from the appliance,
unless they are continually monitored.
D
o not place objects such as knives, forks, spoons or lids on the induction top, as they may
overheat.
D
o not
heat closed containers, such as tin receptacles, on the cooking top. The excess pressure
generated could blow up the container.
O
nly ferromagnetic containers are suitable for induction cooking; the following receptacles, in
particular, are suitable: enamelled steel, cast iron, special dishes for induction cooking in stainless
steel.
Use only pots and pans with a smooth bottom. Do not introduce any objects between the bottom
of the pot and the glass ceramic surface, such as adapters.
Cooking zone Minimum diameter Maximum recommended
diameter
1 90mm-100mm
(Booster power)
160mm*
2120mm 200mm*
3120mm 200mm*
4 90mm-100mm
(Booster power)
160mm*
* the maximum recommended diameter corresponds to the diameter of the cooking zone; pots of
a greater diameter can be used but the heat will spread much less uniformly.
T
o nd whether receptacles are suitable, check whether they are attracted by a magnet.
A
nother type of special receptacle exists for induction cooking, with a bottom that is not
entirely ferromagnetic.
Burn hazard
Suitable food containers

ANWEISUNGEND
14
WARNINGSGB
14
N
ever use recipients made of: normal negrained steel, glass, pottery, copper and
aluminium. Do not place empty containers on the cooking zone, as they may cause
damage.
D
o not place hot recipients on the control panel, in the area of the pilot lights or on the edge of
the cooking top, as they may cause damage.
P
ots from which liquids have completely evaporated can cause damage to the glass ceramic top,
for which the manufacturer does not assume any responsibility.
WARNINGS
T
he appliance is equipped with a cooling fan. If a drawer is set under the recessed hob, a suitable
distance must be ensured between the contents of the drawer and the lower part of the unit,
in order to avoid compromising ventilation.Do not store small objects or sheets of paper in the
drawer under the cooking hob, since such objects may be aspirated and could break the fan,
thus hindering the unit’s cooling; likewise, do not store metal or inammable objects, which could
become very hot or catch re.
The worktop should be at and horizontal. The furniture should be cut to measure before installing
the appliance. Remove any chips to avoid compromising the operation of electrical components.
Considering the ventilation of the cooktop, the following must be provided:
-a 20 mm space between the rear side of the furniture and kitchen’s wall (g.1-2).
-if the cooktop is installed above a drawer, leave a 65 mm space between the drawer and the top of
the cooktop (g.1).
I
f the cooking hob is assembled behind a cabinet door, power it on only with the door left open.
Close the cabinet door only if the appliance and residual heat indicator lights are o.
The cooktop should not be installed above dishwashers because the steam released by the
latter may lead to faulty operation of the electronic circuit of the cooktop.
I
f the unit is assembled above an oven or an electric pyrolytic stovetop, it should not be operated
while the pyrolytic process is ongoing, as it can trigger the cooktop’s overheating protection.
D
o not make use of any steam devices, as steam can reach the appliance’s live parts and cause
a short circuit.
A
ny interventions or repairs on the unit during the warranty period must be carried out solely
by the manufacturer’s authorised service centre; conversely, the warranty will be is invalidated
Non-suitable food containers
Danger of mishaps

ANWEISUNGEN
D
15
WARNINGS GB
15
and terminated immediately. The manufacturer will not recognise any warranties under any
circumstances for any problems subsequently encountered.
Replace any defective or damaged parts with original spare parts: only original spare parts can
ensure compliance with safety standards.
N
otice to persons with pacemakers: keep in mind that an electromagnetic eld is generated in
the immediate vicinity of the unit while it is in operation.
The possibility that the pacemaker’s operation may be aected is very remote. If in doubt, contact
the pacemaker manufacturer or your doctor.
I
nduction can generate slight noise emissions, which can vary depending on the material, type of
pot and power setting selected.
When the cooktop is used frequently, the cooling fan turns itself on to protect the electronics,
generating a buzzing sound: this is perfectly normal.
Noise emissions

ANWEISUNGEND
16
WARNINGSGB
16
CAUTION: install the special carbon lters provided before using the cooker hood.
CAUTION: this appliance is not designed to be used with the gas cooking plates.
I
t is absolutely forbidden to position the limbs or any other part of the human body, or of a pet
animal, in the vicinity of the range of movement of the hood’s movable trolley, delimited by the
xed frame at the base of the cabinet.
Do not place pots, pot handles or any other objects in the range of movement of the hood’s
movable trolley, as specied above. Pay attention to the accessible parts of the hood, since they
may be hot during or after cooking.
I
t is absolutely forbidden to insert objects of any nature, limbs or any other part of the human
body, or a pet animal, in the rear vent grills.
T
he system and aspiration and ltering technology adopted for the hood have been specically
designed in Airforce laboratories to ensure the best performance. In particular, the rear vent grills
for aspirated and ltered air (which follow a straight extraction path) have been developed and
calibrated to diuse outgoing air in a circular 360° path along its perimeter. It is thus preferable to
avoid positioning walls or other objects behind the hood. In the event that this is not possible, the
minimum distance between the hood frame and any obstacle behind it must never be less than
10 cm. In all cases, avoid ames in the vicinity of the right, left and rear areas of the hood while it
is powered on.
T
his instruction handbook is conserved together with the cooker hood for future consultation. If
the equipment is sold or transferred to another person, make certain the instruction handbook is
supplied together with it, so that the new user can become aware of the operation of the cooker
hood and related warnings. These warnings have been compiled for your safety and the safety
of others. Please take the time to read them carefully before installing and using the equipment.
Be sure to also consult the drawings in the front pages, including the alphabetic and numeric
references in the text descriptions. Closely follow the instructions in this manual. The manufacturer
declines all responsibility for any inconveniences, damage or res caused due to non-compliance
with the instructions in this manual. The installation and electrical connection must be provided
by a qualied service technician. The supplier is not liable for any warranty for damages caused
by improper installation or improper use of the appliance. Do not modify or seek to modify the
specications of this appliance.
D&D Hood

ANWEISUNGEN
D
17
WARNINGS GB
17
T
he minimum distance between the closed movable trolley and the surface above it must be at
least 600 mm.
C
AUTION: if the hood is safety-locked (with the ! button and on/o button illuminated in red)
and the position of the trolley allows the release procedure to be brought forward, qualied
service technicians can raise or lower the trolley by simultaneously pressing the ! button and
grease lters saturation button (trolley ascent in successive increments), or the ! button and carbon
lters saturation button (trolley descent in successive increments). This procedure bypasses all
safety systems on the cooker hood, and as such must be carried out only by authorised service
technicians.
I
n the remote possibility that a safety-lock occurs due to a misalignment of the moveable
trolley, simply lift the upper trolley slightly by a few centimetres, then delicately release it and
simultaneously press the ! button and on/o button.
A
ny slight oscillations of the cooker hood during the ascent and descent phases should be
considered normal, since they are due to its natural movement and in no way aect its operation
or safety.
C
AUTION: the narrow slits along the outside perimeter of the cooker hood are necessary for its
movement; ensure that no liquids or other objects fall inside them.
I
n is absolutely forbidden to ame foods beneath the hood. Open ames will damage the lters
and may cause a re, so must be avoided in all cases. Frying must be constantly monitored, since
oils and greases, and the cooking temperature can trigger a re in accumulated grease in the
metal lters, if the lters haven’t been washed according to the pre-specied time.
First usage
Use a damp cloth to clean and dry the cooktop before using it for the rst time.
It is recommended to dry the appliance after having cleaned it with a damp cloth, in order to
prevent the build-up of limescale.
W
hen the unit is powered on for the rst time, odours or fumes may be generated. The odour
will diminish with each subsequent use, until it disappears altogether. Odours and any fumes are
not caused by a faulty connection or damage to the appliance, and are not hazardous to health.


X : Schublade
X : Drawer
X : Tiroir
X : Schuif
X : Cajón
X : Cassetto
Y : Einbauküche / Einbauofen
Y : Built-in cooker / built-in oven
Y : Cuisine encastrable / four encastrable
Y : Inbouwfornuis/ inbouwoven
Y : Cocina empotrada/ horno empotrado
Y : Cucina da incasso / forno da incasso


FUNZIONAMENTO
I
66
OPERATIONGB
66
If a cooking zone remains lit for too long at the same power level, the appliance will
automatically switch it o, and the residual heat indicator H will appear. Switch it back on to reset
the cooking zone’s operation.
The table below lists the maximum uninterrupted operating time for each power level:
Powen Operating limit in minutes
1520
2402
3318
4260
5212
6 170
7 139
8113
990
P 5
The timer function can be set from 1 to 99 minutes on each cooking zone.
To activate the timer: select a cooking zone and set the desired power level, then simultaneously
press the + and - keys, and press + or – to set the desired minutes. A buzzer will sound of 2 minutes
duration will indicate the end of the time setting, and the cooking zone will switch o automatically.
The countdown function can be activated both with the cooktop o or on, ranging from 1 to
99 minutes; however, contrary to the timer, it does not have a built-in cooking zone switch o
function.
With the cooktop switched o: simultaneously press the + and - keys, the press + or – to set the
desired minutes; the display will switch o and two dots will ash at the bottom right.
A buzzer will sound to indicate the end of the time setting.
With the cooktop switched on: without selecting any cooking zone in particular, perform the same
procedure as described for the cooktop switched o.
The cooktop is equipped with a safety-lock to ensure that it is not inadvertently switched on by
children. It can be activated only if the cooking zones have not been selected. To enable the Child
Timer
Countdown
Child-Lock safety function

FUNZIONAMENTO
I
67
OPERATION GB
67
Lock function: touch the power button, then simultaneously press the button that indicates the
cooking zone at the lower right, followed by the – key; press the button that indicates the cooking
zone at the lower right once again.Once the Child Lock function has been enabled, the symbol
L will appear on the display.To disable the Child Lock function: touch the power button, then
simultaneously press the button that indicates the cooking zone at the lower right, followed by
the – key; press the – key once again.
General notes: the controls are touch-sensitive. To activate any function, simply press the keys
lightly.
! button: when illuminated and ashing, indicates that the trolley is ascending or descending;
when illuminated steady with the on/o button lit, indicates that the cooker hood is in safety-lock
mode (e.g. due to the grease lters having been removed or incorrectly positioned). If this occurs
during the descent phase, the hood will stop and then re-ascend by a few centimeters. To unlock it,
reset or correctly reposition the grease lters and
simultaneously press the ! button and on/o button.
ON/OFF button: the trolley is set in motion when the on/o button is touched; with the hood
closed, the trolley ascends up to its operating position, without switching on the motors; with the
hood open, the trolley descends down to its idle position and switches o the motors if they were
switched on.
Motor button: the motors are switched on or o when this button is touched: when the
motors are switched on, a brief test is performed, after which the motors will set themselves at the
fth operating speed.
Caution: when pressed with the hood closed, this control button will also activate the trolley’s
ascent, together with switching on the motors.
Speed settings: press the “+” or “-“ keys to vary the desired suction speed (power) at 9
dierent levels, as shown on the display.
D&D OPERATION
Table of contents
Other AIRFORCE Hob manuals

AIRFORCE
AIRFORCE Aspira Induction slim g5 OCTA Technical manual

AIRFORCE
AIRFORCE 5IX60260 User manual

AIRFORCE
AIRFORCE Aspira ob 60 Technical manual

AIRFORCE
AIRFORCE POP 80-4 Technical manual

AIRFORCE
AIRFORCE slim b2 Technical manual

AIRFORCE
AIRFORCE centrale 78 b2O Technical manual

AIRFORCE
AIRFORCE Aspira Centrale on board B4O 83 Technical manual

AIRFORCE
AIRFORCE Aspira Centrale Easy 80 Technical manual

AIRFORCE
AIRFORCE Centrale Aria e Luce Technical manual

AIRFORCE
AIRFORCE PC60002 Technical manual