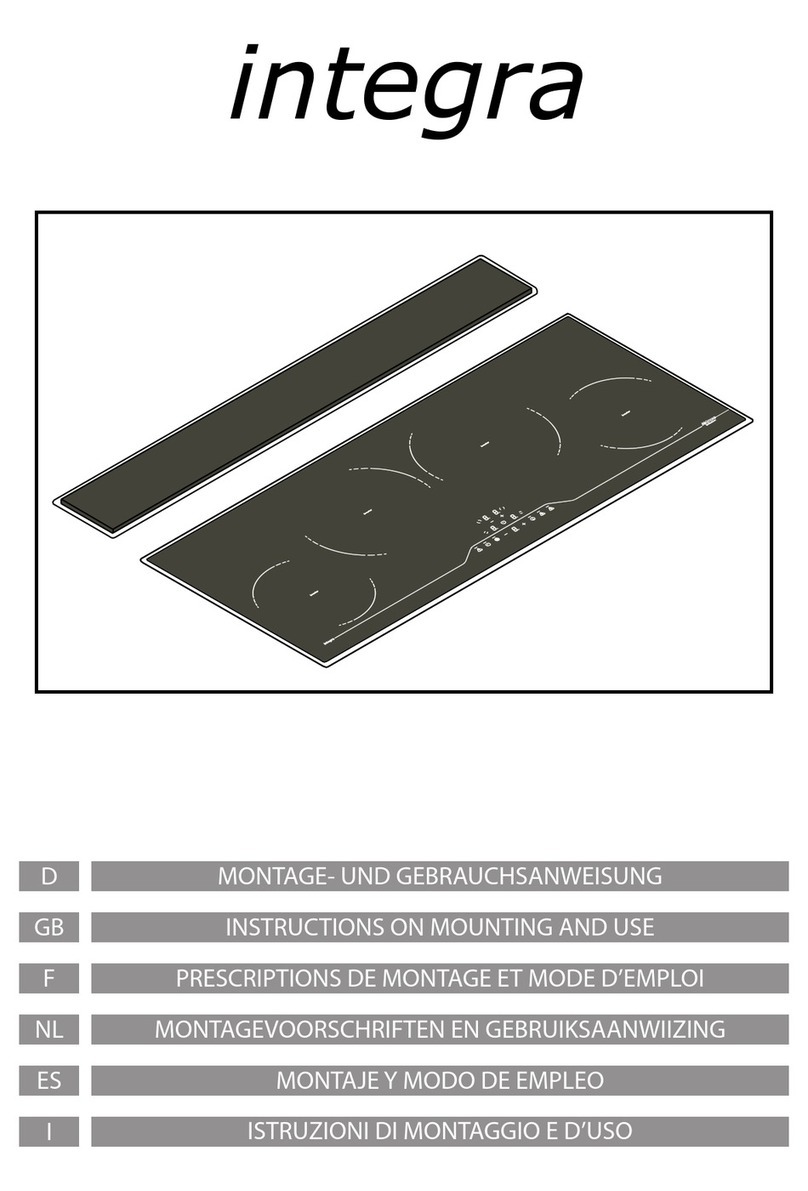
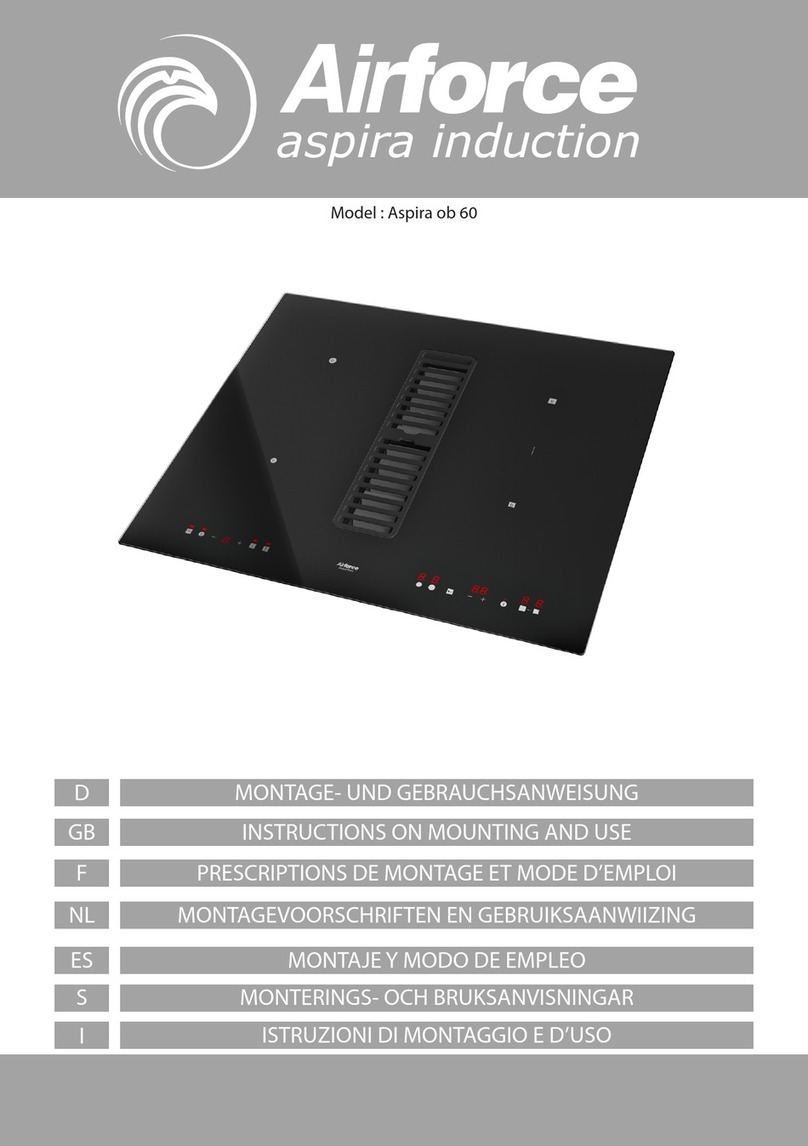
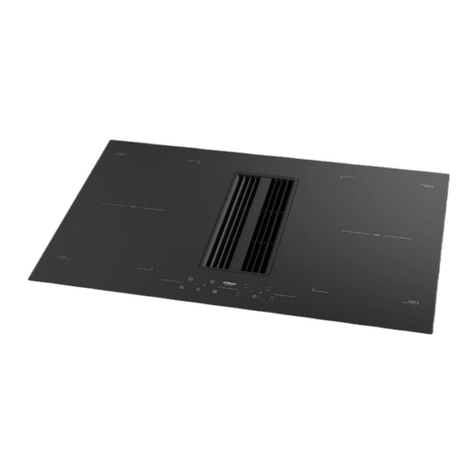
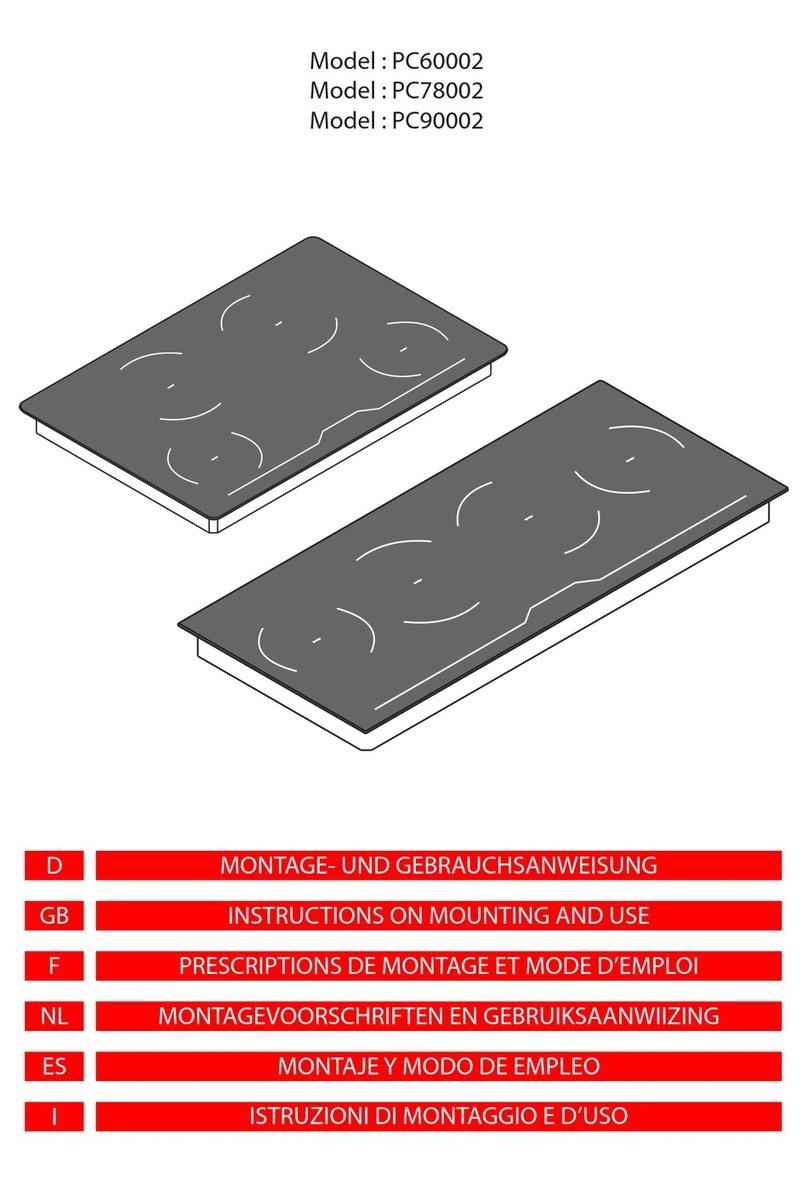
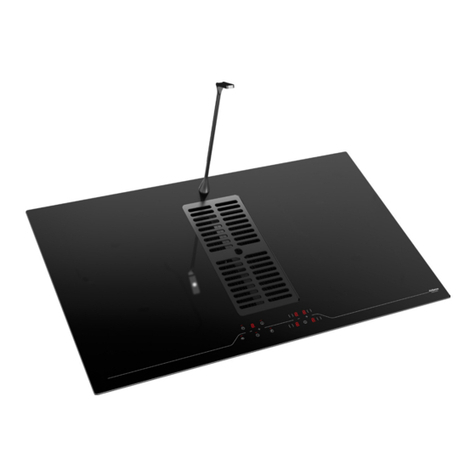
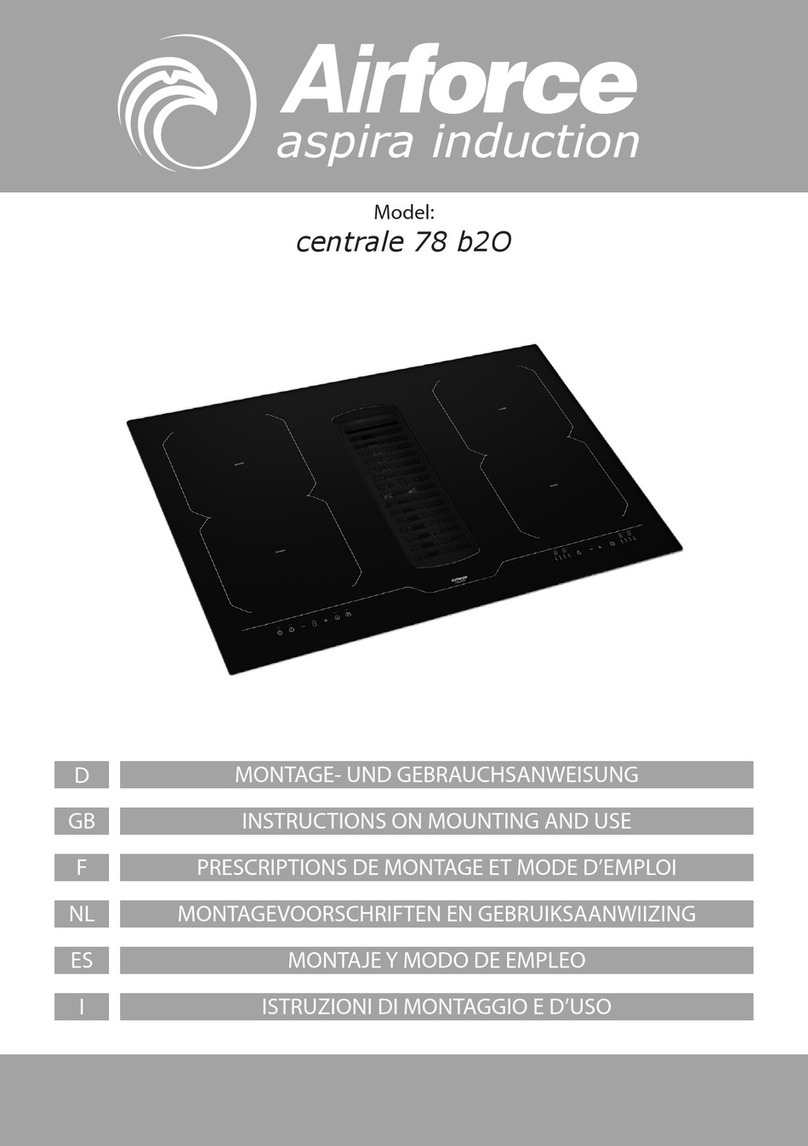
AIRFORCE Aspira Induction slim g5 OCTA Technical manual

MONTAGE- UND GEBRAUCHSANWEISUNG
D
INSTRUCTIONS ON MOUNTING AND USE
PRESCRIPTIONS DE MONTAGE ET MODE D’EMPLOI
MONTAGEVOORSCHRIFTEN EN GEBRUIKSAANWIIZING
MONTAJE Y MODO DE EMPLEO
ISTRUZIONI DI MONTAGGIO E D’USO
GB
F
NL
ES
I
aspira induction
Model: slim g5
MONTERINGS- OG BRUGSVEJLEDNING
DK
ASENNUS- JA KÄYTTÖOHJEETFI
MONTERINGS- OCH BRUKSANVISNINGARSE
INSTRUKSJONER FOR MONTERING OG BRUKNO

ANWEISUNGEND
10
WARNINGSGB
10
T
his instruction handbook is conserved together with the for future consultation. If the
equipment is sold or transferred to another person, make certain the instruction handbook is
supplied together with it, so that the new user can become aware of the operation of the cooker
hood and related warnings. These warnings have been compiled for your safety and the safety
of others. Please take the time to read them carefully before installing and using the equipment.
Be sure to also consult the drawings in the front pages, including the alphabetic and numeric
references in the text descriptions. Closely follow the instructions in this manual. The manufacturer
declines all responsibility for any inconveniences, damage or res caused due to non-compliance
with the instructions in this manual. The installation and electrical connection must be provided
by a qualied service technician. The supplier is not liable for any warranty for damages caused
by improper installation or improper use of the appliance. Do not modify or seek to modify the
specications of this appliance.
T
he cooking top must always be used within the limits of normal domestic use, not for
professional use, but simply to prepare and keep dishes warm. Any other use is not allowed. The
unit should not be left unsupervised during its operation.
T
his appliance can be used by children from the age of 8 onwards, and by persons with
reduced physical, sensory or mental capabilities, or lack of experience and knowledge,
provided they are properly monitored, or if they have been instructed in the safe use of the
appliance and are aware of related dangers.
C
hildren must not be allowed to play with the appliance.
M
ake use of the locking device to prevent children from accidentally turning on the device, or
modifying its functions. The unit should not be left unsupervised during its operation.
D
o not control the cooking top using a remote timer.
T
he unit should not be left unsupervised during its operation.
Make certain children at home are prevented from toppling hot pots and pans to the oor. Turn
the handles and knobs of pots and pans to the side on the cooking top, so that they are above the
cooking top, and to prevent the risk of burns.
F
or safety reasons, the cooking top must be used only after having been installed in its recessed
housing.
P
rior to proceeding with the installation, check to make sure there are no visible signs of damageto
the cooking top. Never start up a damaged unit, as it may pose a safety risk.
Caution


ANWEISUNGEN
D
11
WARNINGS GB
11
Cleaning and maintenance must not be carried out by children without proper supervision.
If the power cord is damaged, it must be replaced by a qualied service centre or technician only.
The electrical installation must have a breaker upstream from the appliance which ensures that
all poles are disconnected with a contact gap of at least 3mm.
CAUTION:Thehobprotectiondevicesmustbeonlythosedesignedbytheappliancemanufacturer
or those indicated as suitable in the manufacturers instructions or the hob protection devices
incorporated in the appliance.
The use of inappropriate protection devices may provoke accidents.
During the installation the equipment must be connected to a power source whose system
impedance is matched to a value of 0.005+j0.005[Ohm].
Do not seal the area between the glass and the worktop with silicone because should the cooktop
need to be replaced, the glass could break during removal.
The unit’s installation and electrical connection to the power grid must be carried out by qualied
service technicians only.The device’s electrical safety can be guaranteed solely if a regular ground
connection is provided for the cooking top. If in doubt, have the electrical system checked by
a qualied electrician. Do not connect the cooking top to the mains using extension cords or
multiple sockets, since they will not guarantee the required safety (e.g. risk of overheating).
Prior to connecting the cooktop, compare the connection specications (voltage and frequency)
indicated on the unit’s identication nameplate with those of the mains electricity supply.
These specications must absolutely correspond, otherwise the unit may be subject to damage.
Contact an electrician if in doubt.
D
isconnect the unit from the mains when carrying out installation work, maintenance or repairs.
Comply with all air discharge regulations.
CAUTION: If the surface is cracked, switch o the appliance to avoid the possibility of electric
shock.
Never open unit’s outer casing. Any contact with live parts or the modication of electrical or
mechanical parts can cause operating abnormalities.

ANWEISUNGEND
12
WARNINGSGB
12
The induction hob should not be used as a work surface.The rough underside of food containers
can scratch the surface of the cooktop.
Always keep the cooking areas and underside of food containers perfectly dry.
Oil and grease that are too hot will catch re quickly.
Do not leave overheated oil or grease unsupervised.
If oil or grease should catch re, do not attempt to put out the ames with water. Extinguish
the ames with a lid or plate, or with a reproof blanket. Turn o the cooking zone. Never place
ammable items on the hob.
WARNING: Fire hazard: do not leave objects on the cooking surface.
Fire hazard

ANWEISUNGEN
D
13
WARNINGS GB
13
CAUTION: This appliance and its accessible parts become very hot during use.
Pay attention to avoid touching the heating elements.
Keep children under 8 years of age away from the appliance, unless they are continually
monitored.
D
o not place objects such as knives, forks, spoons or lids on the induction top, as they may
overheat.
D
o not
heat closed containers, such as tin receptacles, on the cooking top. The excess pressure
generated could blow up the container.
O
nly ferromagnetic containers are suitable for induction cooking; the following receptacles, in
particular, are suitable: enamelled steel, cast iron, special dishes for induction cooking in stainless
steel.
Use only pots and pans with a smooth bottom. Do not introduce any objects between the bottom
of the pot and the glass ceramic surface, such as adapters.
Cooking zone Minimum diameter Maximum recommended
diameter
OCTA (single) 90mm 115 mm
OCTA (bridged
mode) 220 mm 245 mm
T
o nd whether receptacles are suitable, check whether they are attracted by a magnet.
A
nother type of special receptacle exists for induction cooking, with a bottom that is not
entirely ferromagnetic.
Burn hazard
Suitable food containers

ANWEISUNGEND
14
WARNINGSGB
14
N
ever use recipients made of: normal negrained steel, glass, pottery, copper and
aluminium. Do not place empty containers on the cooking zone, as they may cause
damage.
D
o not place hot recipients on the control panel, in the area of the pilot lights or on the edge of
the cooking top, as they may cause damage.
P
ots from which liquids have completely evaporated can cause damage to the glass ceramic top,
for which the manufacturer does not assume any responsibility.
WARNINGS
T
he appliance is equipped with a cooling fan. If a drawer is set under the recessed hob, a suitable
distance must be ensured between the contents of the drawer and the lower part of the unit, in
order to avoid compromising ventilation.
The worktop should be at and horizontal. The furniture should be cut to measure before
installing the appliance. Remove any chips to avoid compromising the operation of electrical
components.
Considering the ventilation of the cooktop, the following must be provided:
-if the cooktop is installed above a drawer, leave a 70 mm space between the drawer and the top
of the cooktop (g.1).
Do not store small objects or sheets of paper in the drawer under the cooking hob, since such
objects may be aspirated and could break the fan, thus hindering the unit’s cooling; likewise, do not
store metal or inammable objects, which could become very hot or catch re.
I
f the cooking hob is assembled behind a cabinet door, power it on only with the door left open.
Close the cabinet door only if the appliance and residual heat indicator lights are o.
I
f the unit is assembled above an oven or an electric pyrolytic stovetop, it should not be operated
while the pyrolytic process is ongoing, as it can trigger the cooktop’s overheating protection.
The cooktop should not be installed above dishwashers because the steam released by the latter
may lead to faulty operation of the electronic circuit of the cooktop.
D
o not make use of any steam devices, as steam can reach the appliance’s live parts and cause
a short circuit.
Non-suitable food containers
Danger of mishaps

ANWEISUNGEN
D
15
WARNINGS GB
15
A
ny interventions or repairs on the unit during the warranty period must be carried out solely
by the manufacturer’s authorised service centre; conversely, the warranty will be is invalidated
and terminated immediately. The manufacturer will not recognise any warranties under any
circumstances for any problems subsequently encountered.
Replace any defective or damaged parts with original spare parts: only original spare parts can
ensure compliance with safety standards.
N
otice to persons with pacemakers: keep in mind that an electromagnetic eld is generated in
the immediate vicinity of the unit while it is in operation.
The possibility that the pacemaker’s operation may be aected is very remote. If in doubt, contact
the pacemaker manufacturer or your doctor.
Warning: do not pour any type of liquid into the suction slot of the hood.
Warning: it is recommended to seal with silicone or adhesive tape all the joints of the pipes,
both of the exhaust pipes and the ttings that join the various parts.
In the case of installation in ltration mode, pay particular attention to the positioning of the fume
exhaust area to avoid possible turbulence, so as not to interfere either with the suction system or
with the hob.
In the installations in ltration mode, place the pipes inside of the plinth of the furniture, ensuring
air evacuation to the outside via a special grid, in order to prevent moisture from building up
inside of the same.
Turn on the suction device only when the cover is open.To open and close the cover, use only
the dedicated slot.
The liquid collection tray must be emptied on a regular basis.
Such tray is designed to contain about 0,7 litre of water; in case of spillage or fall of uids on the
device, turn o the appliance immediately and empty the tray. If the liquid fallen on the oor
is greater than the maximum capacity of the tray, turn o the device and contact the customer
service immediately.
After use, turn o the cooking hob through its control device and do not rely on the cookware
detector.

ANWEISUNGEND
16
WARNINGSGB
16
I
nduction can generate slight noise emissions, which can vary depending on the material, type of
pot and power setting selected.
When the cooktop is used frequently, the cooling fan turns itself on to protect the electronics,
generating a buzzing sound: this is perfectly normal.
Noise emissions
First usage
Use a damp cloth to clean and dry the cooktop before using it for the rst time.
It is recommended to dry the appliance after having cleaned it with a damp cloth, in order to
prevent the build-up of limescale.
W
hen the unit is powered on for the rst time, odours or fumes may be generated. The odour
will diminish with each subsequent use, until it disappears altogether. Odours and any fumes are
not caused by a faulty connection or damage to the appliance, and are not hazardous to health.

X : Schublade
X : Drawer
X : Tiroir
X : Schuif
X : Cajón
X : Cassetto
X : Skue
X : Laatikko
X : Sku
X : Låda


174231
160
405
243
198
358
83
115
98 107 132
168O
222
90
39
23
MIN 827 / MAX 982
100MIN
42
MIN ( X )
X - 17
X + 513
X + 488
X - 10
X + 86
148
X + 213
X - 32
X + 211
173
52

Um sich besser an die Beschaenheit jeder Küche anzupassen, kann slim g5
auf 4 verschiedene Weisen installiert werden; wählen sie den Montagetyp,
der am besten zu ihrem Küchenmöbel passt.
slim g5 can be installed in 4 dierent modes to better suit the layout of every
kitchen; choose the mounting type that is more suitable for your furniture.
slim g5 peut être installée de quatre façons diérentes, pour s’intégrer au
mieux à chaque cuisine ; choisir le type de montage le plus adapté à votre
meuble.
slim g5 kan op 4 verschillende manieren geïnstalleerd worden, om zich
beter te kunnen aanpassen aan de vorm van elke keuken; kies het type
montage dat het best past bij uw meubel.
slim g5 puede instalarse de 4 maneras diferentes para adaptarse mejor a la
conformación de cada cocina; elija el tipo de montaje que mejor se adapte a
su mueble.
slim g5 può essere installare in 4 modi diversi, per meglio adattarsi alla
conformazione di ogni cucina; scegliere il tipo di montaggio più congeniale
al vostro mobile.
slim g5 kan installeres på 4 forskellige måder, for bedre at kunne tilpasse sig
udformningen af hvert køkken; Vælg den installationstype, der passer bedst
til jeres møbel.
slim g5 voidaan asentaa 4 eri tavalla, jotta se saataisiin mukautettua
parhaalla mahdollisella tavalla jokaiseen keittiötyyppiin; valitse kalusteeseen
sopiva paras asennustyyppi.
slim g5 kan installeres på 4 forskjellige måter for at man skal kunne tilpasse
den til utformingen av alle kjøkkener. Velg den installasjonstypen som passer
best til deres innredning.
slim g5 kan installeras på 4 olika sätt, för att bättre anpassa sig till
utformningen av alla olika kök; välj den monteringstyp som passar bäst för
din möbel.

42MIN
255
10 250
173
128
Installation Version 1
Installation version 1
Installatie versie 1
Versión de instalación 1
Installazione versione 1

10 45
MIN 827 / MAX 982
100MIN
750
42
MIN ( X )
310
340 R 10MAX
X-17,5
O70
100
862
495
R 5MAX
110
Installation Version 1
Installation version 1
Installatie versie 1
Versión de instalación 1
Installazione versione 1

82MIN
168
296
10
126
6
Installation Version 2
Installation version 2
Installatie versie 2
Versión de instalación 2
Installazione versione 2

B
B
10 45
MIN 827 / MAX 982
100MIN
750
100
O70
120
82MIN ( X )
495
862
R 5MAX
280
340 R 10MAX
X - 17,5
Installation Version 2
Installation version 2
Installatie versie 2
Versión de instalación 2
Installazione versione 2

223MIN
309
85
12
255
6
Installation Version 3
Installation version 3
Installatie versie 3
Versión de instalación 3
Installazione versione 3

B
B
10 45
MIN 827 / MAX 982
100MIN
750
223MIN ( X )
280
340 R 10MAX
O70
100
295
862
495
R 5MAX
X - 187,5
Installation Version 3
Installation version 3
Installatie versie 3
Versión de instalación 3
Installazione versione 3

263MIN
349
125
13 128 173
Installation Version 4
Installation version 4
Installatie versie 4
Versión de instalación 4
Installazione versione 4

10 45
MIN 827 / MAX 982
100MIN
750
263MIN ( X )
280
340
R 10MAX
100
O70
295
862
495
R 5MAX
X -187,5
Installation Version 4
Installation version 4
Installatie versie 4
Versión de instalación 4
Installazione versione 4
This manual suits for next models
1
Table of contents
Other AIRFORCE Hob manuals

AIRFORCE
AIRFORCE Integra DD-4 Technical manual

AIRFORCE
AIRFORCE slim g5 Technical manual

AIRFORCE
AIRFORCE centrale 78 b2O Technical manual

AIRFORCE
AIRFORCE DOMINO POP 30 Technical manual

AIRFORCE
AIRFORCE PC60002 Technical manual

AIRFORCE
AIRFORCE Centrale 110 XXL Technical manual

AIRFORCE
AIRFORCE Aspira ob 60 Technical manual

AIRFORCE
AIRFORCE Aspira Centrale Easy 80 Technical manual

AIRFORCE
AIRFORCE slim b2 Technical manual

AIRFORCE
AIRFORCE Centrale Aria e Luce Technical manual