crossover capability.
RESET Button :
Reboot & Restore the ARM-104_v3 setting to factory
defaults.
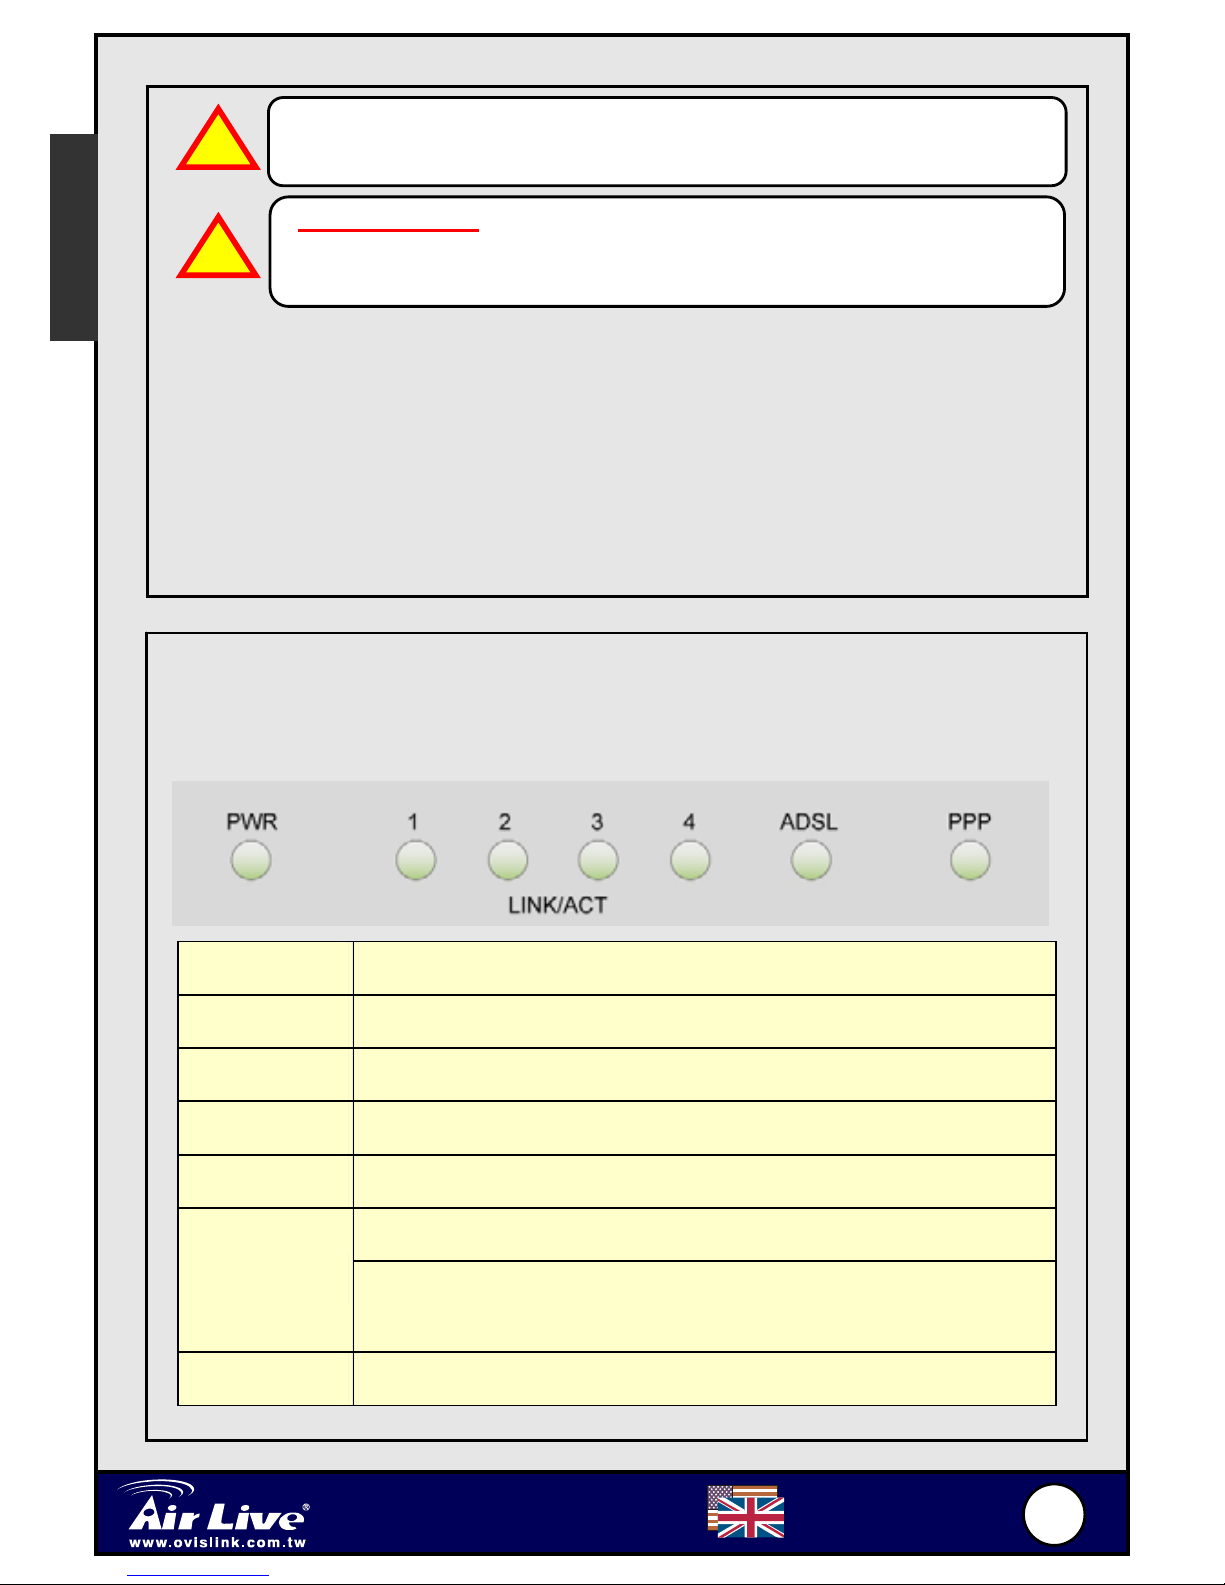
1.2 Front Panel
The ARM-104_v3 ADSL2/2+ Modem Router’s LEDs indicators display
information about the device’s status.
PWR Lights up when the ARM-104_v3 is powered on.
1 LINK/ACT Blinking when the ARM-104_v3 is Sending/Receiving data.
2 LINK/ACT Blinking when the ARM-104_v3 is Sending/Receiving data.
3 LINK/ACT Blinking when the ARM-104_v3 is Sending/Receiving data.
4 LINK/ACT Blinking when the ARM-104_v3 is Sending/Receiving data.
Blinking when the ARM-104_v3 system is ready.
ADSL Lights up when a successful ADSL connection is
established.
PPP Lights up when a PPP connection is established.
To Reset the ARM-104_v3 ADSL2/2+ Modem Router:
Ensure that the device is powered on.
Press the Reset button for 10~15 seconds and release.. Do not
power off the device during the reset process.
The default settings are now restored after 30 seconds.
!
English