CW-720IR Package Contents
Please check the package contents and contact
your distributor if any part is missing.
CW-720IR 12V/1A
Power Adaptor
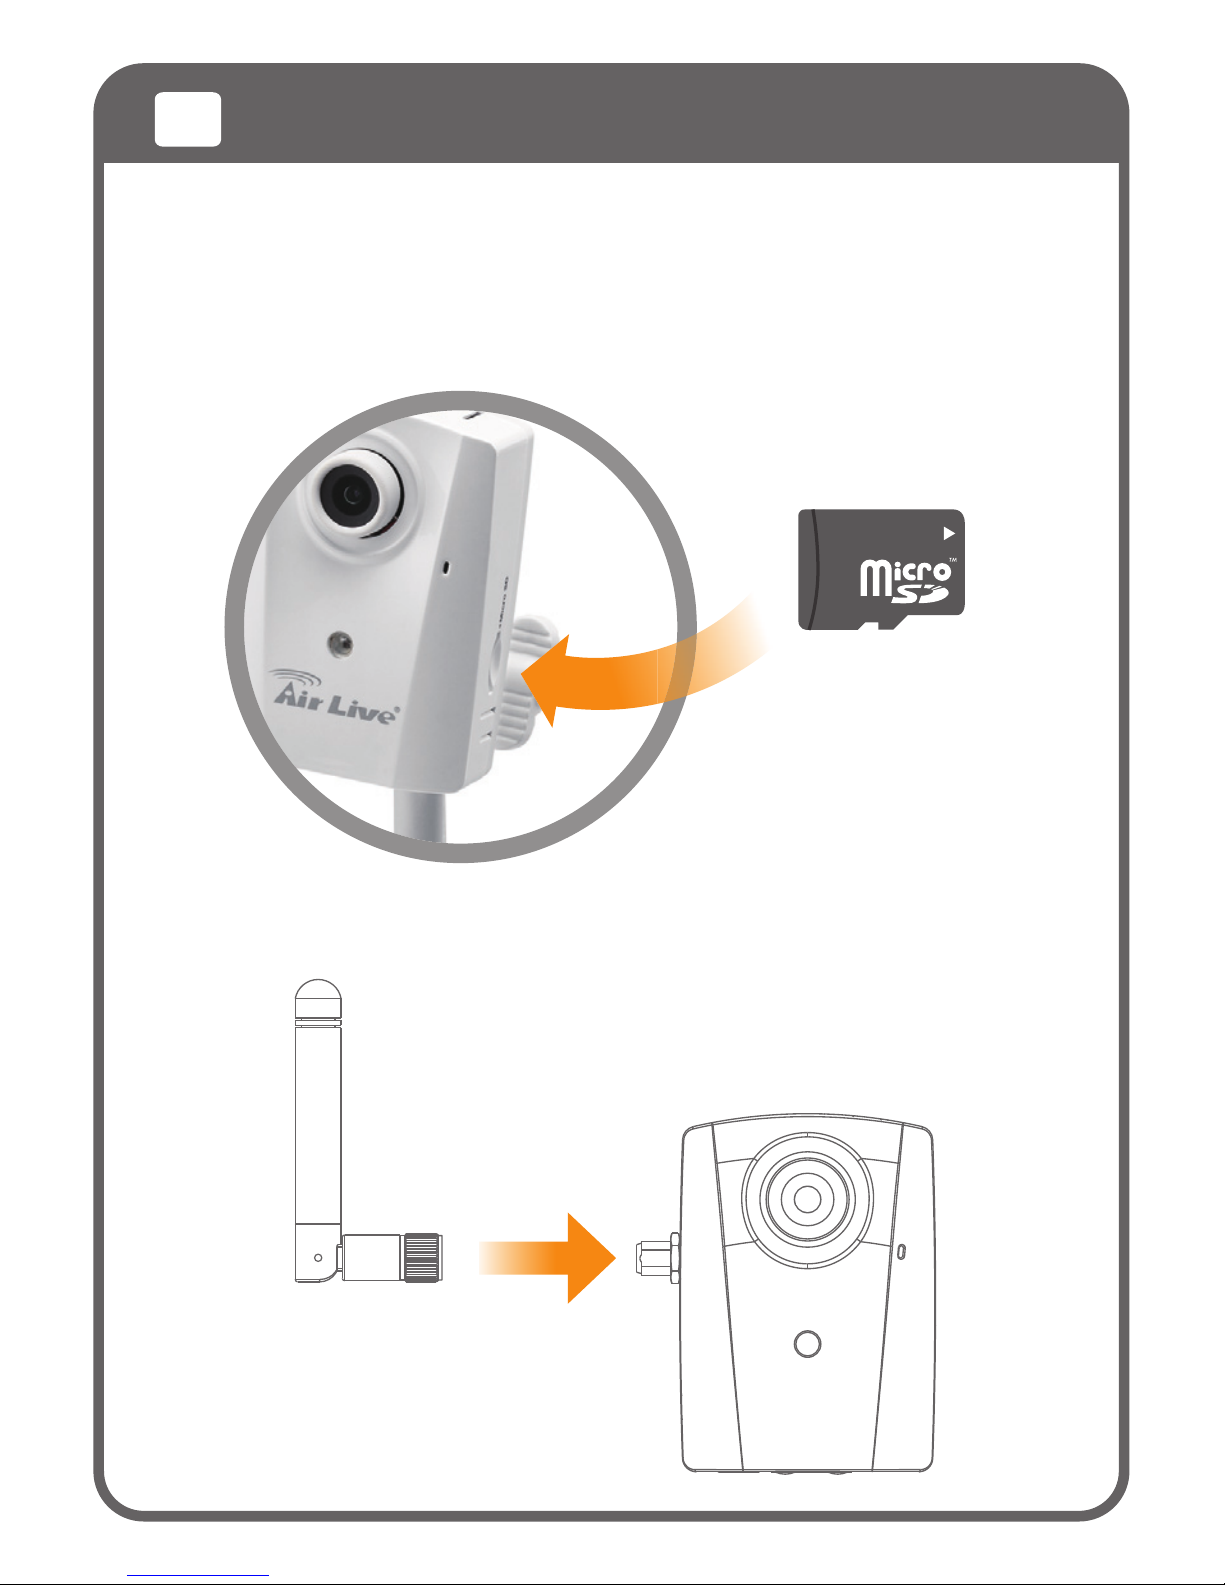
Detachable
WLAN
Antenna
User
Manual
CD
Quick
Installation
Guide
Quick
Start
Guide
Stand
with Screws
or
RJ45
Port
12V Passive PoE
DC Injector Included
Passive PoE Installation Guide
This device uses 12V passive PoE. It is not compatible with 802.3af or
802.3at PoE switch. Please do not connect this device to PoE switch, or
the device might be damaged.
Please use Cat.5E or better Ethernet cable for the PoE.
The cable distance should not exceed 30 meter
English
EN
Deutsch
DE
Installationsanleitung für passives PoE
Dieses Gerät nutzt passives PoE mit 12 Volt. Es ist NICHT kompatibel mit
802.3af oder 802.3at Switchen! Bitte verbinden sie es niemals mit einem
solchen PoE Switch, andernfalls könnten die Geräte beschädigt werden.
Bitte nutzen Sie ein Ethernetkabel der Kat.5E oder höherwertig für PoE
Die maximale Kabellänge darf 30 Meter nicht überschreiten
Ελληνικός
GR
CU-720IR
Note:
This device uses 12V passive PoE. It
is not compatible with 802.3af or
802.3at PoE switch. Please do not
connect this device to PoE switch, or
the device might be damaged.
Declaration of Conformity
We, Manufacturer/Importer
Declare that the product
720P Day/Night Wireless IPCAM
AirLive CW-720IR, CU-720IR
is in conformity with
In accordance with 2004/108/EC Directive and 1999/5 EC-R & TTE Directive
Clause Description
OvisLink Corp.
5F, No.6, Lane 130, Min-Chuan Rd., Hsin-Tien Dist.,
New Taipei City 231, Taiwan
■
■
■
■
■CE marking
EN 300 328 V1.8.1
EN 301 489-1 V1.9.2:2011
EN 301 489-17 V2.2.1:2012-2009
EN 55022: 2010 (Class B)
Electromagnetic compatibility and Radio spectrum Matters (ERM);
Wideband transmission systems; Data transmission equipment
operating in the 2,4 GHz ISM band and using wide band modulation
techniques; Harmonized EN covering the essential requirements of
article 3.2 of the R&TTE Directive
Electromagnetic compatibility and Radio spectrum Matters (ERM);
ElectroMagnetic Compatibility(EMC) standard for radio equipment
and services; Part 1: Common technical requirements
Electromagnetic compatibility(EMC) standard for radio equipment And
Part 17:Specific conditions for Wideband data and HIPERLAN equip