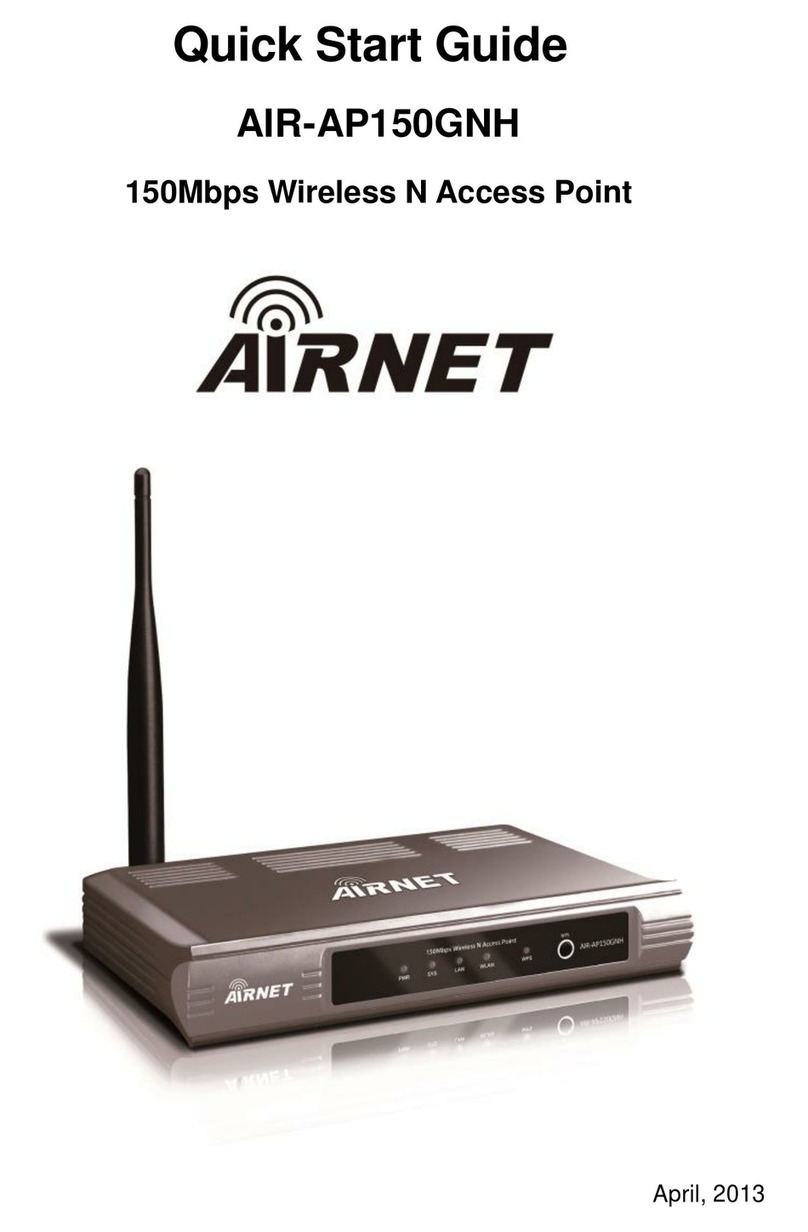
airnet AIR-AP54GH User manual

Quick Start Guide
AIR-AP54GH
54Mbps High Power Wireless Access Point
April, 2013


Note
Note Please use only wired network connections to configure the AP.
The power adapter can be directly connected to the AP too. In this way
you can connect your computer directly to the AP with an Ethernet cable.
Turn off all your network
devices, including you
r
computer(s), powe
r
injector and the AP.
Connect your compute
r
to the LAN port on the
power injector with an
Ethernet cable.
Plug the provided powe
r
adapter into the DC jack
on the power injector,
and the other end to a
standard electrical wall
socket.
Connect your AP to the
PoE port on the powe
r
injector with an Ethernet
cable.
1

Login
Open your web browser
and type in 192.168.1.254
in the address bar and
press Enter.
Solid light
Flashing if the Wireless Radio
function is enabled
Note If the LEDs display abnormally, please check to see if all the cable
connectors (power adapter and Ethernet cable) are well connected to you
r
device.
Solid light or flashing
Flashing
Turn on all your network devices and then check to see if the LEDs on the AP
display normally as the diagram below describes.
Note You will need to assign your computer a Static IP address within the
same range as the AP’s IP address. See the Troubleshooting T3 if you
need assistance.
2

Operation Mode Setting
A dialog box will prompt you fo
r
the User name and Password.
Enter the default values and click
OK.
Note If the dialog box does not pop up, please refer to T3 in the Troubleshooting
guide. T2 will give you some help if you forget the password.
The web management page
will display after successfully
logging in.
User nameǖadmin
Passwordǖadmin
Click OK
Click Quick Setup
Click Next
This page will then display.
3

Click Next
2
A. Configuration For WISP Client (CPE)
After choosing the AP Client Router mode on the above page, this page will then
display.
Click Next
Choose the Operation
Mode Type appropriate to
your needs.
Click Next
Choose your WAN
Connection Type provided by
your WISP. Here we choose
PPPoE as an example.
Enter the Username
and Password given
by your WISP.
The AP supports three operation mode types: AP Client Router, AP
Router and AP.
a) If you want to connect to your WISP, please choose
A
P Client
Router mode and proceed to AǗ
b) If you want to configure a point to point connection, please skip to B;
c) If you want to configure a repeater, please skip to C;
Note
4

Click Finish
B. Configuration For Point to Point Connection
The Username and Password are provided by your WISP.
Enter the SSID provided
b
y
y
our WISP.
Click Next
1) The AP Setting
Click Finish to exit the Quick
Setup wizard and wait until the
A
P completes rebooting
automatically. The changes will
take effect after rebooting.
Note Two AIR-AP54GH Access Points are needed for this application.
Enter a unique name for your
wireless network; however,
choose a name that is easily
remembered by network users.
Here we enter AIRNET_975808
as the SSID for example.
Select your region from the
drop-down list.
Click Next
Click Next
Select AP
Note
5

Click Wireless > Wireless
Mode
Select Client
Click Save
Click Network
Enter 192.168.1.2
in the IP Address
field.
After successfully logging in, configure the other AIR-AP54GH by following the steps
below.
Click Finish to exit the Quick
Setup wizard and wait until the
A
P completes rebooting
automatically. The changes will
take effect after rebooting.
Enter AIRNET_975808, the
SSID of the first AP you
Click Save at the bottom of this page.
The AP will begin rebooting automatically after clicking Save.
Note You should change the default LAN IP address of the Client from
192.168.1.1 to 192.168.1.X (X can be any number from 1 to 253) to avoid
an IP conflict with the former AP. Here we choose 192.168.1.2 as an
example.
Note
2) The Client Setting
Click Finish
6

C. Configuration For Repeater
Then click Save at the bottom of this page.
Click Survey
This page will then display.
The BSSID is the same as the MAC address.
Note
Click Wireless >
Wireless Mode
Select Repeater
Enter or paste the BSSID of
the remote AP into the box
under Repeater.
7

Note
T1. How do I restore my Router’s configuration to its factory default settings?
T2. What can I do if I forget my password?
1) Restore the AP’s configuration to its factory default settings. If you don’t know
how to do that, please refer to previous section T1;
2) Use the default user name and password: admin, admin;
3) Try to reconfigure your AP by following the instructions of this QSG.
Now, try to log on to the Web-based configuration page again after configuring the
settings above. If you still cannot access the configuration page, please restore your
AP to its factory default settings and reconfigure your router following the instructions
of this QSG. Please feel free to contact our Technical Support if the problem
persists.
T3. What can I do if I cannot access the web-based configuration page?
1) Make sure your wired device’s IP address is set as “Obtain an IP address
automatically”.
2) Check to see if you have input the correct address http://192.168.1.254 in the
address bar of your browser.
3) Please make sure your hardware connection is OK. You can confirm this by
the LAN LED on the front panel of AIR-AP54GH. If the LED of the LAN port,
which your Ethernet cable is connected to, is lighting green, your hardware
connection is OK; otherwise, please check your hardware connection
carefully.
4) If the problem still persists, please feel free to contact our technical support.
With the AP powered on, press
and hold the Reset button on the
rear panel for 8 to 10 seconds
before releasin
g
it.
Once the AP is reset, the current configuration settings will be lost and you
will need to reconfigure the router.
Hold it in for 8 to
10 seconds
8

1DžConfigure your computer’s IP Address.
For Windows XP OS
Click Network Connections
Go to Start > Control Panel,
you will then see the
following page.
Click Network and Internet
Connections
Click Properties
Right-click Local
Area Connection
9

Double-click Internet
Protocol (TCP/IP)
Select Use the
following IP address
automatically
Enter the 192.168.1.100
into the IP address field,
255.255.255.0 into the
Subnet mask field.
Enter the DNS server
address provided by
your ISP or network
administrator.
Select Use the following
DNS server addresses
Click OK
10

For Windows Vista OS
Click View status
Go to Start > Settings > Control
Panel, and then you will see the
following page.
Click View network
status and tasks
Click Properties
11

Double-click Internet Protocol
Version 4 (TCP/IPv4).
Select Use the following IP
address automatically
Enter the 192.168.1.100
into the IP address field,
255.255.255.0 into the
Subnet mask field.
Enter the DNS server
address provided by
your ISP or network
administrator.
Select Use the following
DNS server addresses
Click OK
12

Note
2DžConfigure your IE browser
Now, try to log on to the Web-based configuration page again after the above
settings have been configured. If you still cannot access the configuration page,
please restore your AP’s factory default settings and reconfigure your AP following
the instructions of this QIG. Please feel free to contact our Technical Support if the
problem persists.
Select Never dial
a connection
Click OK
For more details about Troubleshooting and Technical Support contact
information, please logon to our Technical Support Website:
http://www.airnetwireless.net
Open your IE browser, click
Tools tab and you will see
the following screen.
Click Internet Options
13

Technical Support
For more troubleshooting help, go to
www.airnetwireless.net
To download the latest Firmware, Driver, Utility and User Guide, go to
www.airnetwireless.net
Netkrom Technologies Inc.
2134 NW 99th Avenue Miami, FL 33172 - USA
14

Guía de Inicio Rápido
AIR-AP54GH
54Mbps High Power Wireless Access Point
Abril, 2013
15

Nota
Nota Por favor use una red cableada para configurar el AP.
El adaptador de alimentación también puede ser directamente conectado
al AP. Des esta manera usted puede conectar su computadora
directamente al AP con un cable Ethernet.
Apague todos sus equipos
de red, incluyendo su
computadora, adaptador de
alimentación y el AP.
Conecte su computadora
al puerto LAN del inyecto
r
con un cable Ethernet.
Conecte el adaptador de
alimentación al inyector y
el otro extremo hacia un
toma corriente estándar.
Conecte su AP al puerto
PoE del inyector con un
cable Ethernet.
16

Ingresando
Abra su explorador web e
ingrese 192.168.1.254 en la
barra de dirección y
p
resione Enter.
Sólido
Parpadeando si el Radio
inalámbrico está habilitado
Nota Si los LEDs se visualizan anormalmente, por favor verifique si todos los
cables están correctamente conectados al dispositivo (adaptador de
alimentación y cable Ethernet).
Sólido o parpadeando
Parpadeando
Encienda sus equipos de red y luego verifique si los LEDs del AP se
visualizan como el diagrama de abajo describe.
Nota Usted necesita asignar una Dirección IP Estática a su computadora
dentro del mismo rango que la dirección IP del AP. Vea la Resolución de
Problemas T3 si necesita asistencia.
17

Configuración del Modo de Operación
Un cuadro de diálogo le pedirá
Usuario y Contraseña. Ingrese
los valores por defecto y haga
clic en Aceptar.
Nota Si el cuadro de diálogo no aparece, por favor remítase a la sección T3 en la
guía de Resolución de Problemas. T2 le brindará ayuda si olvida la
contraseña.
La siguiente página web se
mostrará después de
autenticarse correctamente.
Usuarioǖadmin
Contraseñaǖadmin
Clic Aceptar
Clic Quick Setup
Clic Next
Esta página se mostrará luego.
18
Table of contents
Languages:
Other airnet Wireless Access Point manuals
Popular Wireless Access Point manuals by other brands

Ruijie
Ruijie RG-AP680P-L Hardware installation and reference guide

Cisco
Cisco Aironet 1100 Series Installation and configuration guide

ZDC
ZDC ZN-7100-DE500-G user manual

Edimax
Edimax Pro AP 1 How to set up

ATO Technology
ATO Technology BT60 user manual

SMC Networks
SMC Networks EliteConnect SMC2890W-AG Specifications