manuals.online logo
Brands
  1. Home
  2. •
  3. Brands
  4. •
  5. NETGEAR
  6. •
  7. Wireless Access Point
  8. •
  9. NETGEAR ProSAFE WN203-200PES User manual

NETGEAR ProSAFE WN203-200PES User manual

Installation Guide
ProSAFE® Single Band 802.11n Wireless Access Point WN203
WN203-200PES
Follow the instructions in this installation guide to set up your ProSAFE® Single
Band 802.11n Wireless Access Point WN203. For information about advanced
configuration options, see the reference manual.
Note: In this installation guide, the Wireless Access Point WN203 is referred to as
the access point.
Package Contents
Unpack the box and verify the contents:
•Wireless Access Point WN203
•Two external 2.4 GHz antennas
•Straight-through Category 5 Ethernet cable
•Power adapter and cord (12V, 1A)
•Stand
•Two wall mount screws and anchors
•Resource CD
•Installation guide
Set Up the Access Point
Setting up the access point consists of three short procedures:
•Attach the antennas and connect the access point to your computer.
•Configure the LAN and wireless access settings.
•Test wireless connectivity.
Estimated total time for these procedures: 15 minutes.
Tip: Before you mount the access point in a high location, first set up and
test the access point to verify wireless network connectivity.
Attach the Antennas and Connect the Access Point to
Your Computer
1. Attach the antennas to the SMA antenna connectors on the back panel.
2. Prepare a computer with
an Ethernet adapter:
a. If this computer is
already part of your
network, record its
TCP/IP configuration
settings.
b. Configure the
computer with a static
IP address of
192.168.0.210 and a
subnet mask of
255.255.255.0.
3. Insert an Ethernet cable
in the Ethernet port of
the computer (point Ain
the illustration).
4. Securely insert the other
end of the cable into the
Ethernet LAN port on the
back panel of the access point (point Bin the illustration).
5. Connect the power adapter to the access point and plug the power adapter
into a power outlet.
6. Verify the following:
Power LED. The Power LED is green. If the Power LED is off, check the
connections, and check if the power outlet is controlled by a wall switch
that is turned off.
Test LED. The Test LED blinks amber at startup and turns off after about
one minute.
LAN LED. The LAN LED indicates LAN speeds: green for 1000 Mbps,
amber for 100 Mbps or 10 Mbps. If no link is detected, the LAN LED is off.
WLAN LED. The WLAN LED is blue, indicating that the wireless LAN
(WLAN) is ready.
A
B
LAN port
Console port
Power
connector
Antenna connector Antenna connector
Configure the LAN and Wireless Access Settings
1. On the computer that is connected to the access point, enter
http://192.168.0.100 in the address field of a browser.
A login window displays.
2. Enter admin for the user name and
password for the password, both in
lowercase letters.
The web management interface of the
access point displays. The menu lets
you navigate to the various screens.
3. Select Configuration > System > Basic > General from the menu.
a. In the Access Point Name field, enter a unique name or leave the default
name.
b. From the Country/Region drop-down list, select the country where the
access point is installed.
c. Click Apply.
4. Select Configuration > IP > IP Settings from the menu.
By default, the access point has a static IP address of 192.168.0.100 with a
subnet mask of 255.255.255.0, and the DHCP client is disabled.
a. Configure the IP settings for your LAN.
b. Click Apply.
Tip: If you configure the access point as a DHCP client, reserve an
IP address on the DHCP server in your network by binding the
access point’s MAC address to the IP address that is issued by
the DHCP server. The next time that you log in to the access
point, you need to use the reserved IP address.
5. Select Configuration > Security > Profile Settings from the menu.
a. Configure one or more security profiles for your wireless network.
b. After configuring each security profile, click Apply.
6. Select Configuration > Wireless > Advanced > Wireless Settings.
a. Next to Antenna, select the External radio button to enable the external
antennas.
b. Click Apply.
June 2013
NETGEAR, the NETGEAR logo, and Connect with Innovation are trademarks and/or registered trademarks of
NETGEAR, Inc. and/or its subsidiaries in the United States and/or other countries. Information is subject to
change without notice. © NETGEAR, Inc. All rights reserved.
NETGEAR, Inc.
350 East Plumeria Drive
San Jose, CA 95134 USA
Test Wireless Connectivity
Using a computer or another wireless device, verify that you can establish a
wireless connection to the access point. By default, the wireless radio of the access
point is on and the default wireless mode is ng (that is, 802.11ng).
Now that you have finished the setup, you are ready to deploy the access point in
your network. You can reconfigure the computer that you used to configure the
access point back to its original TCP/IP settings.
Deploy the Access Point
1. Disconnect the access point and position it where you plan to deploy it.
The best location is elevated such as wall or ceiling mounted, at the center of
your wireless coverage area, and within line of sight of all wireless devices.
2. Connect an Ethernet cable from the Ethernet LAN port on your access point to
a LAN port on your router, switch, or hub.
3. Connect the power adapter to the access point and plug the power adapter
into a power outlet.
The Power and LAN LEDs should light.
Tip: The access point supports Power over Ethernet (PoE). If you have a
switch that provides PoE, you do not need to use the power adapter
to power the access point. This can be especially convenient when
the access point is installed in a high location far from a power outlet.
4. Using a computer or another wireless device, verify the following:
•You can establish a wireless connection to the access point.
•You can connect to the Internet through a browser.
•You can access files and printers on your network.
Troubleshooting Tips
This section provides some tips for correcting simple problems that you might
encounter. For more troubleshooting information, see the troubleshooting chapter in
the reference manual.
Problem Cause Possible Solution
No LEDs are lit
on the access
point.
The access point
has no power.
• Make sure that the power cord is connected to the
access point and plugged in to a working power
outlet or power strip.
• Make sure that you are using the correct NETGEAR
power adapter supplied with your access point.
• If the access point is using PoE, make sure that the
PoE switch is providing power to the access point.
The LAN LED
is off.
There is a
hardware
connection
problem.
• Make sure that the cable connectors are securely
plugged in to the access point and to the network
device (hub, [PoE] switch, or router).
• Make sure that the network device is turned on.
The WLAN
LED is off.
The wireless
connection does
not work.
• If the WLAN LED stays off, disconnect the power
adapter from its power source and then plug it in
again.
• Log in to the access point and verify that the radio or
radios are turned on.
• Contact NETGEAR if the WLAN LED remains off.
You cannot
configure the
access point
from a browser.
Multiple causes. • Make sure that the access point is correctly
installed, it is powered on, and the LAN connections
are good. Check that the LAN LED is lit to verify that
the Ethernet connection is good.
• Ensure that your computer is using an IP address in
the range of the access point. The access point
default IP address is 192.168.0.100, and the default
subnet mask is 255.255.255.0.
• Quit the browser, clear the cache, delete the
cookies, and launch the browser again.
Support
Thank you for selecting NETGEAR products.
After installing your device, locate the serial number on the label of your product and
use it to register your product at https://my.netgear.com.
You must register your product before you can use NETGEAR telephone support.
NETGEAR recommends registering your product through the NETGEAR website.
For product updates and web support, visit http://support.netgear.com.
NETGEAR recommends that you use only the official NETGEAR support
resources.
You can get the user manual online at http://downloadcenter.netgear.com or
through a link in the product’s user interface.
For the current EU Declaration of Conformity, visit
http://support.netgear.com/app/answers/detail/a_id/11621/.
You cannot
access the
Internet or the
LAN from a
wireless
device.
There is a
configuration
problem.
• You might not have restarted the wireless device to
let the TCP/IP changes take effect. Restart the
computer.
• Make sure that the SSID and wireless security
settings of the wireless device are the same as
those of the access point.
• The wireless device might not have the correct
TCP/IP settings to communicate with the network.
Restart the wireless device and check that TCP/IP is
set up correctly for that network. In Windows, the
usual setting for Network Properties is to obtain an
IP address automatically.
• The access point default values might not work with
your network. Check the access point default
configuration against the configuration of other
devices in your network.
For information about changing the default values of
the access point, see the reference manual.
Problem Cause Possible Solution
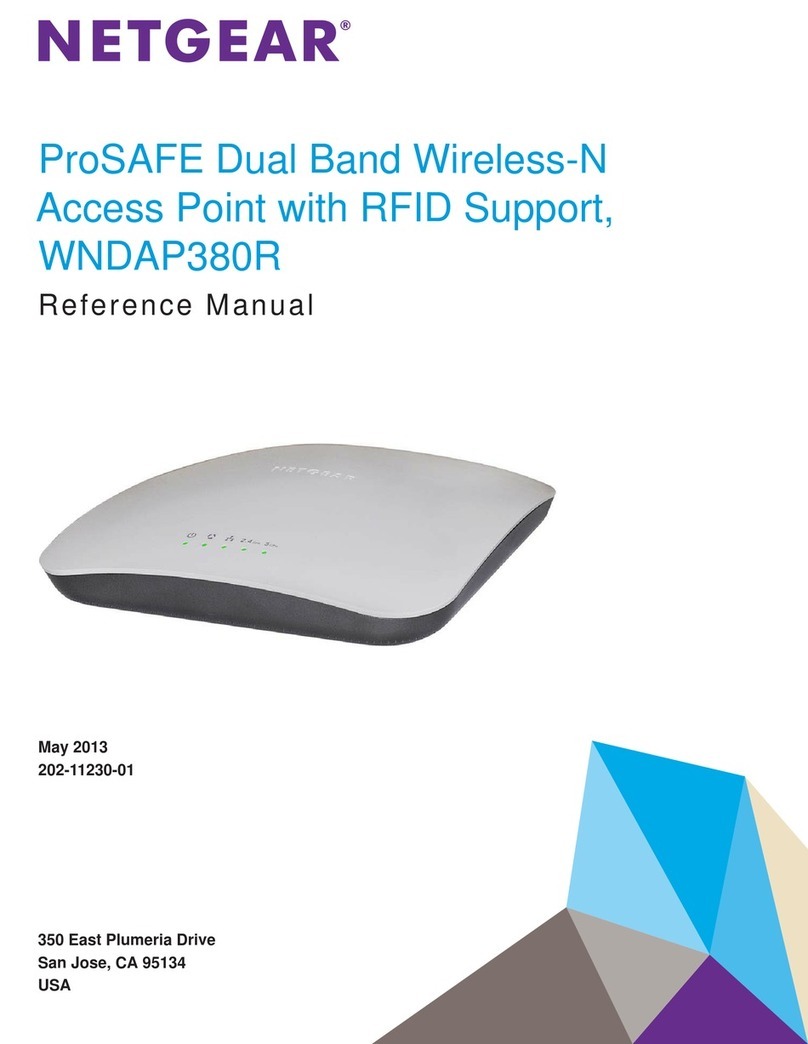
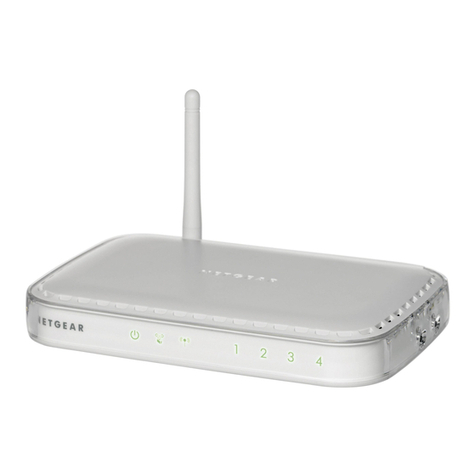
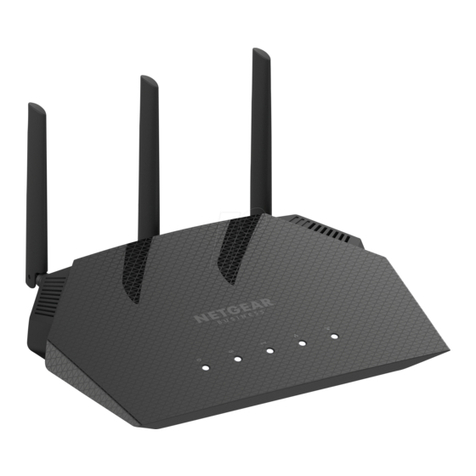
Other NETGEAR Wireless Access Point manuals

NETGEAR WN802Tv2 - Wireless-N Access Point User manual

NETGEAR

NETGEAR WN802Tv2 - Wireless-N Access Point User manual

NETGEAR ME103 - 802.11b ProSafe Wireless Access... User manual

NETGEAR

NETGEAR ME103 - 802.11b ProSafe Wireless Access... User manual

NETGEAR WN203 User manual

NETGEAR

NETGEAR WN203 User manual

NETGEAR WAX206 User manual

NETGEAR

NETGEAR WAX206 User manual

NETGEAR WAX610 User manual

NETGEAR

NETGEAR WAX610 User manual

NETGEAR WAX618 User manual

NETGEAR

NETGEAR WAX618 User manual

NETGEAR ProSafe WNAP320 User manual

NETGEAR

NETGEAR ProSafe WNAP320 User manual

NETGEAR WN604 - Wireless-N 150 Access Point User manual

NETGEAR

NETGEAR WN604 - Wireless-N 150 Access Point User manual

NETGEAR WAC104 User manual

NETGEAR

NETGEAR WAC104 User manual

NETGEAR WG102 - ProSafe Wireless Access Point User manual

NETGEAR

NETGEAR WG102 - ProSafe Wireless Access Point User manual

NETGEAR WAX206 User manual

NETGEAR

NETGEAR WAX206 User manual

NETGEAR WAX204 User manual

NETGEAR

NETGEAR WAX204 User manual

NETGEAR WiFi 6 AX1800 User manual

NETGEAR

NETGEAR WiFi 6 AX1800 User manual

NETGEAR WG302v2 - ProSafe 802.11g Wireless Access... Operating instructions

NETGEAR

NETGEAR WG302v2 - ProSafe 802.11g Wireless Access... Operating instructions

NETGEAR WAC104 User manual

NETGEAR

NETGEAR WAC104 User manual

NETGEAR WAC505 User manual

NETGEAR

NETGEAR WAC505 User manual

NETGEAR WAC505 User manual

NETGEAR

NETGEAR WAC505 User manual

NETGEAR WN604 - Wireless-N 150 Access Point User manual

NETGEAR

NETGEAR WN604 - Wireless-N 150 Access Point User manual

NETGEAR SSL312 - ProSafe SSL VPN Concentrator 25 Installation and maintenance instructions

NETGEAR

NETGEAR SSL312 - ProSafe SSL VPN Concentrator 25 Installation and maintenance instructions

NETGEAR WNHDE111-100NAS User manual

NETGEAR

NETGEAR WNHDE111-100NAS User manual

NETGEAR WAC124 User manual

NETGEAR

NETGEAR WAC124 User manual

NETGEAR WAC104 User manual

NETGEAR

NETGEAR WAC104 User manual

NETGEAR ProSafe WNDAP330 User manual

NETGEAR

NETGEAR ProSafe WNDAP330 User manual

NETGEAR WAC505 User manual

NETGEAR

NETGEAR WAC505 User manual

Popular Wireless Access Point manuals by other brands

Quantum Networks QN-I-200 user guide

Quantum Networks

Quantum Networks QN-I-200 user guide

Renkforce RF-WFE-200 operating instructions

Renkforce

Renkforce RF-WFE-200 operating instructions

3Com 8250 datasheet

3Com

3Com 8250 datasheet

Aruba 300 series install guide

Aruba

Aruba 300 series install guide

Aruba 503H installation guide

Aruba

Aruba 503H installation guide

Allied Telesis AT-TQ4600 installation guide

Allied Telesis

Allied Telesis AT-TQ4600 installation guide

Quantum QN-H-245 Quick setup guide

Quantum

Quantum QN-H-245 Quick setup guide

Amped Wireless APA2600M Installation and configuration

Amped Wireless

Amped Wireless APA2600M Installation and configuration

Aironet 2000 series user guide

Aironet

Aironet 2000 series user guide

Aruba AP-318 installation guide

Aruba

Aruba AP-318 installation guide

TP-Link TL-WA901ND Quick installation guide

TP-Link

TP-Link TL-WA901ND Quick installation guide

Intel PRO/Wireless 2011 Quick installation guide

Intel

Intel PRO/Wireless 2011 Quick installation guide

ESTeem Radius+/195M TNB user manual

ESTeem

ESTeem Radius+/195M TNB user manual

Intellinet 525787 Quick install guide

Intellinet

Intellinet 525787 Quick install guide

D-Link AirPlus Xtreme G DWL-2000AP instruction manual

D-Link

D-Link AirPlus Xtreme G DWL-2000AP instruction manual

Ubiquiti Edge Point EP-R8 quick start guide

Ubiquiti

Ubiquiti Edge Point EP-R8 quick start guide

TP-Link TL-WA701ND user guide

TP-Link

TP-Link TL-WA701ND user guide

Ubiquiti UF-Nano quick start guide

Ubiquiti

Ubiquiti UF-Nano quick start guide

manuals.online logo
manuals.online logoBrands
  • About & Mission
  • Contact us
  • Privacy Policy
  • Terms and Conditions

Copyright 2025 Manuals.Online. All Rights Reserved.