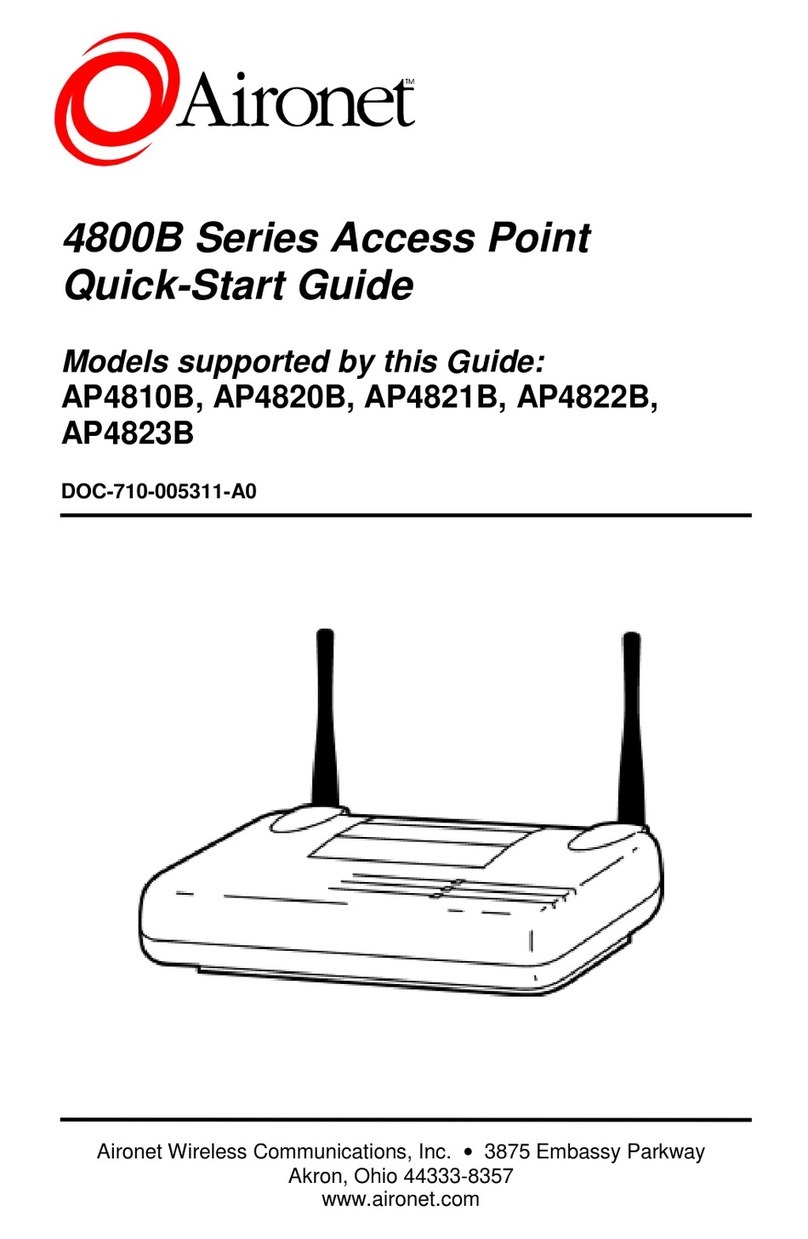
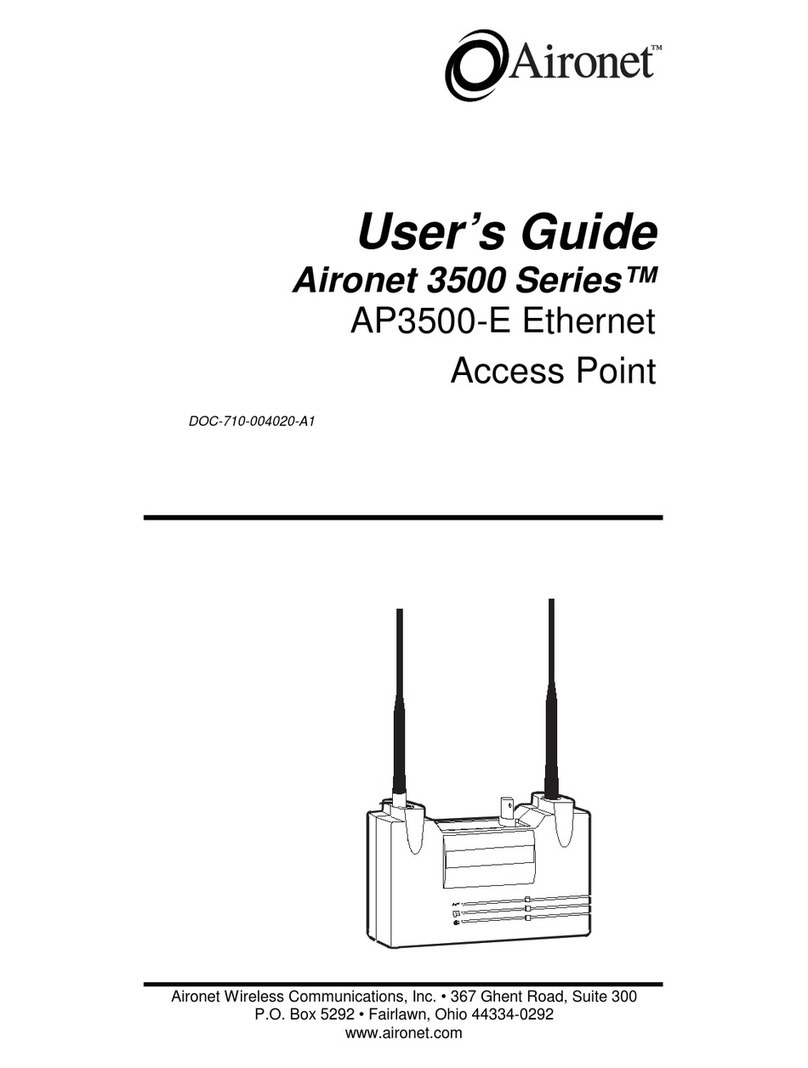
Aironet AP4800B series User manual

Aironet Wireless Communications, Inc. •3875 Embassy Parkway
Akron, Ohio 44333-8357
www.aironet.com
AP4800B Series
User’s Guide
Wireless Access Point
Products supported:
AP4810B, AP4820B, AP4821B,
AP4822B, AP4823B
DOC-710-005310-A0

_______________________________________________________ 4800B Series
AP User’s Guide
Introduction DOC-710-005310-A0
Introduction
Congratulations on your purchase of Aironet’s 4800B Series
Access Point (AP).
You’ll soon have many reasons to be very satisfied with your decision. We think one of the most important
things you will appreciate is our unique web browser Network Management System. If you have learned to
make your way around the internet using a web browser, you will quickly be managing your Aironet
wireless network with the same ease and simplicity.
The image below is the Summary Status page that serves as the “Home” page for this browser software. The
comments in the white balloons point out aids and features that you will find common to other web pages in
the Network Management System.
The browser caches pages for fast
retrieval. Use the Refresh button to see
the most up-to-date page.
The internet protocol (IP) address of the
system appears in the address line. To
reach the Network Management Pages
quickly, store this address as one of your
Favorites.
This line
shows the
name of the
Access Point.
This line provides
the AP’s model
number and the
version of the AP’s
management
software.
This set of main links
is a duplicate of the
upper set of buttons.
Pressing a link in
either set takes you to
the same destination.
The credits link
takes you to Legal
Notices and Terms
of Use information.
The Help link
opens a new
browser window
with a context-
sensi-tive, on-
line version of
this User’s
Guide.
This is the title
of the page. The
Summary Status
page is the AP’s
Home page.
The Uptime clock
shows elapsed time
since start-up or
system reset, or
shows the time that
the page was
displayed.
The Map link
opens a new
browser
window with a
list of system
management
pages, and
provides a link
to a map of the
entire wireless
network.

_______________________________________________________ 4800B Series
AP User’s Guide
Any Page DOC-710-005310-A0
How To Use This Technical User’s Guide
Express Setup
Navigation
Summary Status > Setup > Express Setup > Express Setup
Security
Changes to this page require an Administrator with Identity and Write capabilities.
Incorrect settings on this page can result in loss of network connectivity to the AP.
Express Setup Page
Overview
This page is the basic setup page and is the point of entry for initial configuration. This page also allows later changes in
configuration following initial setup.
System Name
This is the name of the system that should match the name that appears in the title of the page.
MAC Address
A unique serial number permanently assigned to a device by the manufacturer.
The bottom of each manual page shows the corresponding console screen for each browser page. The console
screen lacks the graphic interface but allows all of the same data entry and reporting capabilities as the browser
page.
Use BOOTP/DHCP?
Select “Yes” or “No”. If the selection is “Yes”, additional settings are required in the Boot Server Setup Page.
[Summary Status > Setup > Boot Server].
Default IP Address
This field allows the assignment or change of the Internet Protocol (IP) address of a device. The significance of
such a change depends on how DHCP was selected in the field immediately above. If DHCP is not enabled,
changing the default IP address could result in losing network connectivity with this device. An informed system
administrator should only make an IP address change with certain knowledge of the consequences of the change.
The Navigation section shows how you probably
got to where you are. Because there are extensive
cross-links in this browser software, there are
many alternate ways to reach a particular page and
your path might have been different from the one
shown.
The Security section
highlights critical
system security issues
and explains the
clearances required to
use the page.
Depending on the components of
your system and some
configuration details, your
browser page will differ from the
one illustrated here. And, of
course, the data and values you
see will reflect your system, not
our model. However, the page
layout and the major page
elements will match.
The Overview
section
describes the
major uses of
the page.
This section describes every term, field, menu and
button listed in the order in which they appear on
the page. The explanations for each item mostly
cover options and the features of the Aironet
Network Management software. The item
explanations assume a user who is familiar with
data traffic over local area networks and who
requires information on how Aironet products
provide wireless capability. These explanations are
not intended to serve as a networking primer.
This Technical User’s Guide is
organized by page name, and
each name matches the title of
each browser page.
_______________________________________________________ 4800B Series
AP User’s Guide
Quick-Start Setup DOC-710-005310-A0
Quick-Start Setup
Before you begin Installation
Before setting up your Access Point, ask your network system administrator for the following information:
•An IP (Internet Protocol) address for the Access Point. Each station or device on your network
must have a unique IP address. The IP address should resemble this example: 10.0.0.1
•The MAC address from the label on the bottom of the Access Point. The MAC address should
resemble this example: 0040961234BC
Note: You should configure the Access Point before mounting it on a pole or a ceiling. Some configuration
steps, such as communicating with the AP through a serial cable, may be difficult if the AP is inaccessible.
Installation Requirements
Before you begin installation, make sure that you have the following items:
•The Aironet 4800B Series Access Point
•The Access Point power supply
•The Aironet 4800 Series CD
If any of these items are missing from the Aironet 4800B Series Access Point package, contact your Access
Point supplier.
You will also need:
•A computer that is connected to the same network as the Access Point
•A nine-pin serial cable (if you use a DHCP server)

_______________________________________________________ 4800B Series
AP User’s Guide
Quick-Start Setup DOC-710-005310-A0
Installing the Aironet 4800B Series Access Point
Follow the instructions below to install the Aironet 4800B Series Access Point.
1. Adjust the antennas.*
For maximum range, make sure the antennas on your Access Point point straight up or straight down,
no matter where your Access Point is mounted.
If you keep your Access Point on a table or a desk, turn the antennas so they point straight up. If you
mount your Access Point on a wall or a pole, turn the antennas so they are vertical, even though the
Access Point is on its side. If you mount your Access Point on the ceiling, turn the antennas so they
point straight down.
2. Connect the Ethernet cable from your wired LAN to your Access Point.
Make sure the AP is not powered up when you connect your network cable.
*The AP4810B has one antenna. The AP4822B and AP4823B have reverse TNC connectors so you can
attach a wide range of antennas.

_______________________________________________________ 4800B Series
AP User’s Guide
Quick-Start Setup DOC-710-005310-A0
3. Connect the power pack.
Plug the Power Pack into a wall outlet or a power strip, and plug the connector into the power
receptacle on the back of the AP.
All three indicators on top of the access point will slowly blink amber, red, and then green in sequence.
During normal operation, the indicators will blink green. If the indicators display a solid color without
blinking, see the Top Panel Indicator Descriptions in the User Guide.
Note: If you are not using a DHCP server, skip to step 9.

_______________________________________________________ 4800B Series
AP User’s Guide
Quick-Start Setup DOC-710-005310-A0
4. If you have a DHCP server, the server automatically assigns an IP address to the Access Point when
you connect it to your network. To use the Access Point’s browser-based management system, you
need to find out the assigned IP address.
Use a 9-pin serial cable to connect the COM 1 or 2 port on your computer to the RS-232 on the back of
the access point. After you find the assigned IP address, you can remove this cable. You might need the
cable again if you need to update the AP’s configuration in the future.
5. Open the HyperTerminal program*on the workstation attached to the Access Point. This window
appears:
Type a name for the connection and click OK.
*These instructions describe HyperTerminal, but you can use any terminal-emulation program to
communicate with the Access Point.

_______________________________________________________ 4800B Series
AP User’s Guide
Quick-Start Setup DOC-710-005310-A0
6. The Connect To window appears:
Choose the port on your computer to which the serial cable is connected. Click OK.
7. The port settings window appears:

_______________________________________________________ 4800B Series
AP User’s Guide
Quick-Start Setup DOC-710-005310-A0
Set Bits per second (baud rate) to 9600, Data bits to 8, Parity to None, Stop bits to 1, and Flow control to
Xon/Xoff. Click OK.
8. The Express Setup screen appears in the HyperTerminal window:
Make a note of the IP address. In this example, the assigned IP address is 149.23.129.95.
Exit HyperTerminal.
Note: If you have a DHCP server, skip to step 10. If you have a DHCP server, your Access Point’s IP
address is assigned automatically, and cannot be overwritten with the “arp” command described in step 9.

_______________________________________________________ 4800B Series
AP User’s Guide
Quick-Start Setup DOC-710-005310-A0
9. Assign an IP address to your Access Point with the “arp” command. Follow these steps:
•Open a Command Prompt window (usually located on your Start menu under Programs).
•Type arp –s followed by the IP address from your system administrator, followed by the MAC
address from the label on the bottom of the Access Point. Your complete “arp” command might look
like the entry below.
•Press Enter to set the IP address of your Access Point.
Note: Windows 95 may require you to include your computer’s IP address in the “arp” command
immediately following the AP’s MAC address. Type arp in the Command Prompt window and
press Enter to check the proper command format for your version of Windows.
Your
AP’s IP
The MAC address
from the label on the
bottom of the Access

_______________________________________________________ 4800B Series
AP User’s Guide
Quick-Start Setup DOC-710-005310-A0
10. Browse to your Access Point’s Management Pages.
•Open your internet browser (Microsoft Explorer or Netscape Navigator, for example).
•Type your Access Point’s IP address on the browser’s address line and press Enter. Your Access
Point’s Express Setup Management Screen appears.
Your Access Point is up and running. Consult the User Guide for a description of all the Access Point’s
system management functions.
Note: If you have trouble browsing to your Access Point, you may need to use a terminal emulator to
assign your AP’s IP Address and Default Gateway. Follow the steps below to assign these settings through a
terminal emulator.

_______________________________________________________ 4800B Series
AP User’s Guide
Quick-Start Setup DOC-710-005310-A0
Assigning an IP Address and Default Gateway with the
Terminal Emulator
If you need to use the terminal emulator to assign an IP address and Default Gateway to the AP, follow
these steps:
•Complete steps 4 through 8 in the installation section above.
•At the Express Setup screen, type address and press Enter.
•Type the IP address provided by your network system administrator and press Enter.
•Type gateway and press Enter.
•Type the Default Gateway provided by your network system administrator and press Enter.
•Type apply and press Enter.
Exit the terminal emulator.
Getting Help
Use the following information to contact the Aironet
Technical Support group:
Telephone: (330) 664-7903
Fax: (330) 664-7990
e-mail: [email protected]
For additional product information and technical support, including the capability to download new
firmware and drivers, use the Aironet web site at:
http://www.aironet.com

_______________________________________________________ 4800B Series
AP User’s Guide
Common Tasks DOC-710-005310-A0
Common Tasks
The table below lists some of the tasks you may need to carry out when setting up or adjusting your Access
Point. The Task column lists the tasks, the Page column lists the system management pages you use for each
task, and the Link Path column contains the links you can follow to reach these pages.
Task Page Link Path
Add to the list of users
authorized to view and
use the Network
Management pages
User Information Summary Status > Setup > Services/Security >
User Information > User Information
Enable system
management security User Manager Setup Summary Status > Setup > Services/Security >
Security Setup > User Manager > User Manager
Setup
Enter or change the AP
name Express Setup Summary Status > Setup > Express Setup
Enter or change the
AP’s IP address Express Setup Summary Status > Setup > Express Setup
Enter or change the
AP’s SSID Express Setup Summary Status > Setup > Express Setup
Enter or change an
SNMP community
name
Express Setup
Or
User Information
Summary Status > Setup > Express Setup
or
Summary Status > Setup > Services/Security >
User Information > User Information
Tune radio performance Express Setup Summary Status > Setup > Express Setup
Update system firmware Aironet Services Setup Summary Status > Setup > Services/Aironet
Services > Fully Update Firmware via Browser
Check Access Point and
client card associations Association Table Summary Status > Associations
Perform radio link tests
with devices associated
with the AP
Station Summary Status > Associations > MAC address
of an associated device > Link Test button
Perform an IP “ping” to
any device on the
network
Station Summary Status > Associations > MAC address
of any device > Ping button
View current radio
firmware versions PC4800 Port Summary Status > PC4800 > Detailed Config.
button > Apply button
Manually set Ethernet
port speed Ethernet Hardware Summary Status > Ethernet > Set Properties
Change AP role from
root device to Repeater Express Setup Summary Status > Setup > Express Setup

_______________________________________________________ 4800B Series
AP User’s Guide
How do I…? DOC-710-005310-A0
How do I…?
1. How do I know that a client is connected to my Access Point?
If the green light on your Aironet client card blinks slowly and steadily (about once every two seconds),
it’s communicating with an Access Point. Likewise, if the status light (the middle LED) on your Access
Point blinks green slowly (about every half-second), it’s communicating with a client. To check which
Access Point your client is talking to, open the WinDGS utility that you installed with your Aironet
client card. A message at the bottom left of the window tells you the name of the Access Point your
card is communicating with.
To see all the clients that are connected to your Access Point, browse to your Access Point’s
management pages with your web browser (type your Access Point’s IP address in the browser’s
address line and press Enter). Then select the Associations link on the Summary Status page. All the
clients connected to your Access Point appear on the Association Table page.
2. How do I make my Access Point more secure?
You can protect data moving to and from your AP in several ways:
•Enabling WEP (Wired Equivalent Protection) makes your wireless data communications as secure
as your wired LAN. Browse to your Access Point’s Setup page with your web browser (type your
Access Point’s IP address in the browser’s address line and press Enter). Select the Setup link
from the Summary Status page, and then select the Security link. Next, click Radio Data
Encryption (WEP). The PC4800 Data Encryption page appears. Type a WEP key in one of the
WEP key entry fields. Type ten hexadecimal characters (and numeric character 0 through 9 and
any letter character a through f, either upper-case or lower-case) for a 40-bit WEP key and 26
hexadecimal characters for a 128-bit WEP key. Select the WEP level for the key, 40 or 128, from
the pull-down menu beside the entry field. Select the button to the left of the key to transmit data
using that key. In the Use of Data Encryption by Stations is pull-down menu, select Full
Encryption. Next, click Apply or OK. WEP is enabled on the AP, and only stations using the
WEP key you set will be allowed to communicate with the AP.
•You can limit communication with your AP to clients using the AP’s SSID (Service Set Identifier).
Browse to your Access Point’s Setup page with your web browser. Select the PC4800 Hardware
link under Network Ports at the bottom of the page. The PC4800 Hardware page appears. Select
no for the Allow “Broadcast” SSID to Associate? option.
•You can protect your Access Point’s management pages with its Security Setup feature. Browse to
your Access Point’s Setup page with your web browser. Select the Setup link from the Summary
Status page, and then select the Security link. Next, click User Information. Click Add New
User, and fill in the user name, password, and capabilities fields in the User Management window.
To enable Security, click back to the Security Setup page, click User Manager, and click the
Enabled button.
•You can also tighten your Access Point’s security by disabling SNMP on the SNMP Setup page,
and disabling telnet access on the Console/Telnet page.

_______________________________________________________ 4800B Series
AP User’s Guide
How do I…? DOC-710-005310-A0
3. How do I set up my AP so an SNMP manager can use it?
Browse to the Express Setup page (Summary Status > Setup > Express Setup). Type an SNMP
Administrator Community name in the SNMP Admin. Community field. Click Apply or OK. The
SNMP Administrator can now browse to the management pages from an SNMP station.
4. How do I telnet to my Access Point?
If you know your Access Point’s IP address, you can access its management pages through telnet. Open
your telnet software and provide your Access Point’s IP address. (Your Access Point’s default IP
address is 10.0.0.1. If a different IP address has been assigned to your Access Point, you can find out
what it is by connecting to your Access Point through HyperTerminal; see the instructions below.) Only
one console session (telnet or HyperTerminal) can be connected to the Access Point at any time.
5. How do I connect to my Access Point using a browser?
If you know your Access Point’s IP address, you can open its management system with your web
browser. (Your Access Point’s default IP address is 10.0.0.1. If a different IP address has been assigned
to your Access Point, you can find out what it is by connecting to your Access Point through
HyperTerminal; see the instructions below.)
Just type your Access Point’s IP address in the browser’s address line and press Enter. If your
management pages have never been changed, the Express Setup page appears. If you’ve already made
changes to the management pages, the Summary Status page appears.
6. How do I connect to my Access Point using Hyperterminal?
Connect a nine-pin, straight-through serial cable to your computer’s Com-1 or Com-2 port, and connect
the other end to the RS-232 port on your Access Point. Open HyperTerminal and create a new
connection with these settings: Bits per second (Baud rate) = 9600; Data bits = 8; Parity = none; Stop
bits = 1; Flow control = Xon/Xoff. You can change these settings on the AP Management system’s
Console/Telnet page (Summary Status > Setup > Console/Telnet). Baud rate, for example, can be set to
115,200.
If the screen is blank when HyperTerminal is connected, press the equal sign (=). If your management
pages have never been changed, the Express Setup page appears. If you’ve already made changes to the
management pages, the Summary Status page appears.
7. How do I test my Access Point’s range?
Open the WinDGS utility and select Site Survey from the Commands menu. The Site Survey window
appears, providing real-time displays of signal strength, signal quality, and link speed. Carry your
computer away from your Access Point, and check the site survey displays at various points in your
facility. Use this technique to draw a map of your Access Point coverage.
You can also use the AP’s management system to conduct a link test on a client. Browse to the
Association Table page (Summary Status > Associations > Association Table). Click the MAC address
link for a client associated to the AP. When the Station page appears for the client, click the Link Test
button to see detailed communication statistics with the client.

_______________________________________________________ 4800B Series
AP User’s Guide
Using a Terminal Emulator (optional) 710-005310
Using the Console to Adjust Your Access Point (optional)
You can set up your Access Point through a terminal emulation program instead of through your browser.
Although using your browser to access the System Management pages is much simpler than using a terminal
emulator, you may wish to use a program such as Microsoft’s HyperTerminal. Follow these steps:
1. Connect a nine-pin, straight-through cable from your computer’s Com-1 or Com-2 serial port
to the RS-232 port on the Access Point.
2. Open a terminal emulator connection using these settings as a baseline:
Bits per second (baud rate): 9600
Data bits: 8
Parity: none
Stop bits: 1
Flow control: Xon/Xoff
Type =or press Enter to display the Access Point’s Express Setup or Summary Status screen.
AP4800-E:23b298 Express Setup Uptime: 20:21:51
System [Name ][AP4800-E:23b298 ]
[Terminal Type ][teletype]
MAC Address : 00:40:96:25:85:4d
Config. Server [Protocol ][DHCP]
IP [Address ][10.0.0.1 ]
IP [Subnet Mask ][255.255.255.0 ]
Default [Gateway ][255.255.255.255]
[Radio Service Set ID (SSID)][tsunami ]
[Role in Radio Network ][Access Point/Root]
[Optimize Radio Network For ][Throughput] [Hw Radio]
Ensure Compatibility With: [2Mb/sec Clients][_] [non-Aironet 802.11][_]
[SNMP Admin. Community ][ ]
[Apply] [OK] [Cancel] [Restore Defaults]
___________________________________
[Home] - [Network] - [Associations] - [Setup] - [Logs] - [Help] [END]
:Back, ^R, =, <RETURN>, or [Link Text]:
Settings
appear on
the left. Type
the first few
letters of a
bracketed
setting name
to select it.
To select IP
Address, for
example,
you would
type
ad
.
Setting values appear
on the right.
Commands and links to other system
management pages appear at the
bottom. Type the first few letters of a
bracketed command or link to select it.
Your typing appears
on the command line.
Type apply or OK and
press Enter to apply new
settings.

_______________________________________________________ 4800B Series
AP User’s Guide
Setting up your Browser for the Help Files 710-005310
Setting up your Browser for the Help Files
To make sure the Help files for your Access Point are accessible to any web browser, type this location in
the Default Help Root URL setting on the Web Server Setup page (Summary Status > Setup >
Services/Web Server > Web Server Setup):
file:///C:\Aironet\Help
(Although C is specified in the example above, you can use any drive letter on your system. Be sure to copy
the Help pages from the Aironet system CD to the drive and location you specify.)
Default Help Root URL Setting on Web Server Setup page

_______________________________________________________ 4800B Series
AP User’s Guide
LED Indicators DOC-710-005310-A0
LED Indicators
The three LED indicators on top of the Access Point show system activity and status.
LED Indicator Descriptions
The table below describes information provided by the LEDs.
Message
Classification Wired LAN LED Status LED Radio LED Description
Blinking green
every one-eighth
second
One or more nodes
associated
Blinking green
every half-second No nodes
associated
Blinking green Transmitting/
receiving radio
packets
Operational
Blinking green Transmitting/
receiving packets
over wired LAN
Blinking red Blinking red Packet was lost
Blinking amber Maximum
retries/buffer full
occurred on radio
Error/Warning
Blinking amber Transmitting/
receiving errors
over wired LAN

_______________________________________________________ 4800B Series
AP User’s Guide
LED Indicators DOC-710-005310-A0
Message
Classification Wired LAN LED Status LED Radio LED Description
Error/Warning Blinking amber General warning;
check the
information logs
Red Red Red Software failure
Off Red Amber DRAM test failed
Failure
Off Amber Amber System FLASH ID
failed
Firmware Upgrade
via Boot Block Red Flashing the
firmware
Amber Amber Amber Motherboard
configuration error
Red DRAM
configuration error
Amber Red Amber DRAM
configuration error
after a
motherboard
configuration error
Red Red DRAM fatal error
Red Red Amber DRAM fatal error
after a
motherboard
configuration error
Amber Red Red Bootstrap CRC
error
Amber Red Off System board ID
bad (MAC
address)
Red Red Red Firmware
uncompress error
Error
Any Any Red Unsupported radio

_______________________________________________________ 4800B Series
AP User’s Guide
Aironet Services Setup Page DOC-710-005310-A0
Aironet Services Setup
Navigation
Summary Status > Setup > Services/Aironet Services > Aironet Services Setup
Security
There are no security restrictions for this link page, but each of the destination pages require an
Administrator with Identity capabilities to make changes.
Aironet Services Setup Page
Overview
This page provides links to manage and install Aironet software licenses and firmware.
Settings
Manage Installation Keys
Use this link to read specifications of the Aironet software license and to install a new license.
Manage System Configuration
Use this link to restart the AP, download a configuration file, or reset AP settings to factory defaults.
Distribute Firmware to other Aironet Devices
Use this link to send a new firmware version to other Aironet devices on your network.
This manual suits for next models
5
Table of contents
Other Aironet Wireless Access Point manuals

Aironet
Aironet AP4500-E Product manual

Aironet
Aironet AP4500 User manual

Aironet
Aironet UC3500 Product manual

Aironet
Aironet 3500 Series User manual

Aironet
Aironet AP4810B User manual

Aironet
Aironet 2000 series User manual

Aironet
Aironet AP1200-E User manual

Aironet
Aironet AP3500-E User manual

Aironet
Aironet Arlan 630 User manual
Popular Wireless Access Point manuals by other brands

Linksys
Linksys EtherFast Instant Broadband BEFW11S4 Brochure & specs

Conrad
Conrad N150 operating instructions

ZyXEL Communications
ZyXEL Communications NWA Seres user guide

EnGenius
EnGenius ECB350 manual

D-Link
D-Link AirPremier N DAP-2690 user manual

Allied Telesis
Allied Telesis AT-TQ2403 user guide