Setup
You can setup your Air 7120 quickly and easily by following the steps below:
1. Place the batteries provided into the remote controller.
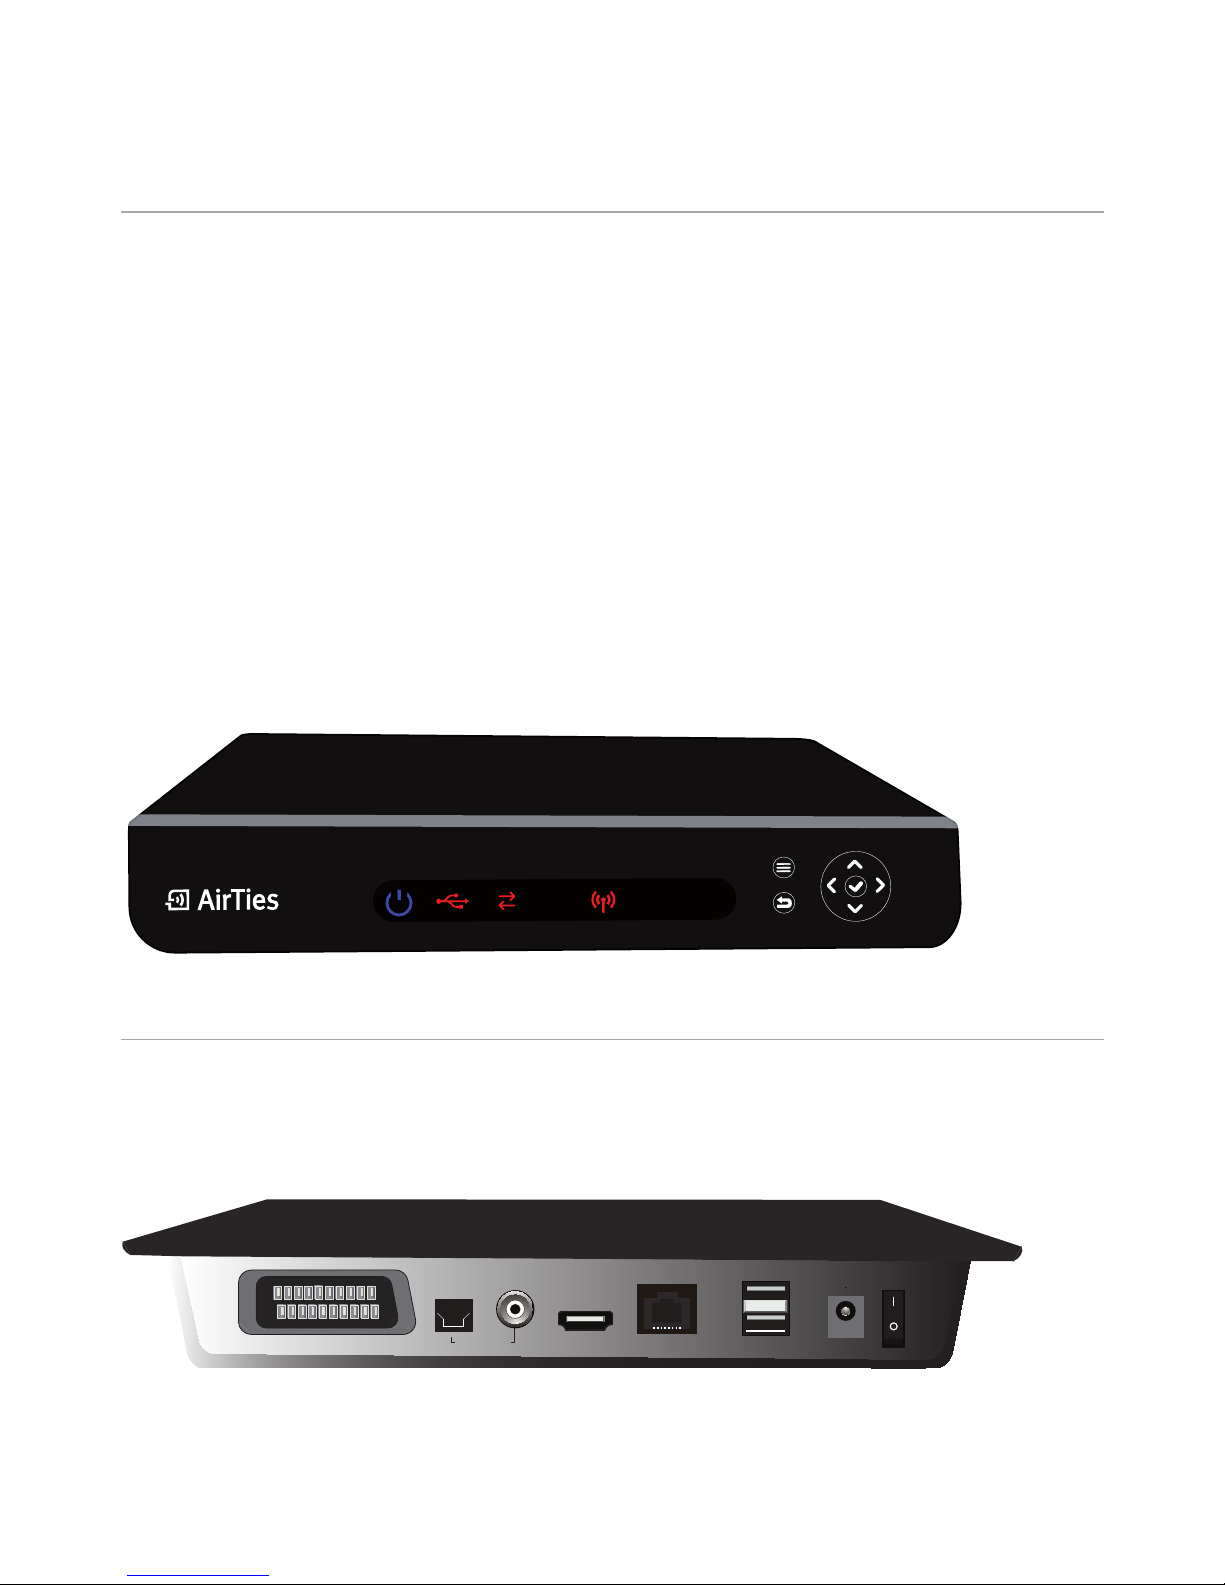
2. Connect the audio/video outputs of the Air 7120 to the audio/video inputs of
your television using either SCART or HDMI cable provided with the product. If
your television has an HDMI video input, it would be best to use it since HDMI
video output provides higher visual quality. High resolution video is only possible
through the HDMI output.
3. Connect the Ethernet cable provided with the product, to Air 7120.
Note: If your unit is wireless, in other words if it works without the Ethernet cable,
please go to the “Setting up a wireless connection” section.
4. Connect the power adaptor provided to the wall outlet and connect the other
end to your Air 7120. Turn on the power switch at the back panel.
5. On power up, it is possible that the device would check the network and upgrade
its rmware to the latest version. In this case, the Power LED and Network LED
would alternately blink. When upgrade is nished, the device will automatically
restart.
6. The “POWER” LED will light up indicating that the unit is now powered up and
ready for operation.
7. In order to display the video coming from Air 7120, you may need to change the
settings on your television set so that its input matches to the television’s physi-
cal connection to the set-top box.
8. You should be able to see the broadcast coming from Air 7120. (The main menu
seen here will depend on your Service Provider).
You should be able to select Menu options using your remote control.
When you press the “POWER” button on your remote control, the Air 7120 will go
to standby mode.
For more information, please refer to section titled “Using Your Air 7120”.
If you run into any problems with your device, please contact your Service Provider
rst. After doing the rst level problem resolution involving the network and your
account, they may refer you to AirTies support center if necessary.