manuals.online logo
Brands
  1. Home
  2. •
  3. Brands
  4. •
  5. Akura
  6. •
  7. TV DVD Combo
  8. •
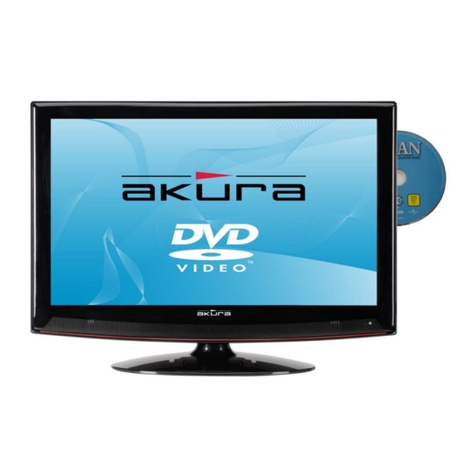
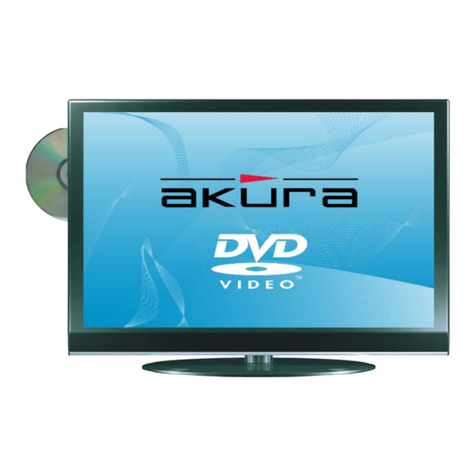
  9. Akura ATDVD1930W User manual

Akura ATDVD1930W User manual

Other Akura TV DVD Combo manuals

Akura APLDVD21568 FD User manual

Akura

Akura APLDVD21568 FD User manual

Akura APLDVD2621W User manual

Akura

Akura APLDVD2621W User manual

Akura ATLDVD1930W-ID User manual

Akura

Akura ATLDVD1930W-ID User manual

Akura APLDVD2049W-HDID User manual

Akura

Akura APLDVD2049W-HDID User manual

Akura ACLTDVD1921W User manual

Akura

Akura ACLTDVD1921W User manual

Akura APLDVD2668 User manual

Akura

Akura APLDVD2668 User manual

Akura APLDVD2668FD User manual

Akura

Akura APLDVD2668FD User manual

Akura ABLDVD2202W-HDIDUC User manual

Akura

Akura ABLDVD2202W-HDIDUC User manual

Akura AH21DVD User manual

Akura

Akura AH21DVD User manual

Akura AHLTV15DVD User manual

Akura

Akura AHLTV15DVD User manual

Akura APLDVD2YR18518 User manual

Akura

Akura APLDVD2YR18518 User manual

Akura APLDVD21568 FD User manual

Akura

Akura APLDVD21568 FD User manual

Akura APLDVD2YR18518 User manual

Akura

Akura APLDVD2YR18518 User manual

Akura APLDVD3268 User manual

Akura

Akura APLDVD3268 User manual

Akura AXDVD1515-HDID User manual

Akura

Akura AXDVD1515-HDID User manual

Akura APLDVD2YR3268FDVH User manual

Akura

Akura APLDVD2YR3268FDVH User manual

Akura ATLDVD1930W-HDID User manual

Akura

Akura ATLDVD1930W-HDID User manual

Akura APLDVD2YR2268VH User manual

Akura

Akura APLDVD2YR2268VH User manual

Akura APLDVD3268FD User manual

Akura

Akura APLDVD3268FD User manual

Akura APLDVD2668 User manual

Akura

Akura APLDVD2668 User manual

Akura APLDVD2YR1968VH User manual

Akura

Akura APLDVD2YR1968VH User manual

Akura APLDVD21668 FD User manual

Akura

Akura APLDVD21668 FD User manual

Akura APLDVD21668 FD User manual

Akura

Akura APLDVD21668 FD User manual

Akura ASDVCR210R-S User manual

Akura

Akura ASDVCR210R-S User manual

Popular TV DVD Combo manuals by other brands

Sansui HDLCDVD225 owner's manual

Sansui

Sansui HDLCDVD225 owner's manual

Memorex MVDT2002SM Service manual

Memorex

Memorex MVDT2002SM Service manual

Akai ALED2609TWE user manual

Akai

Akai ALED2609TWE user manual

Toshiba VTD1432 user guide

Toshiba

Toshiba VTD1432 user guide

Philips DVD 580M Directions for use

Philips

Philips DVD 580M Directions for use

RCA RLEDV2238A-B instruction manual

RCA

RCA RLEDV2238A-B instruction manual

LENCO DVT-1933 user manual

LENCO

LENCO DVT-1933 user manual

LG KU-17WDVD Service manual

LG

LG KU-17WDVD Service manual

Sylvania SKCR2706BT instruction manual

Sylvania

Sylvania SKCR2706BT instruction manual

Memorex MVDT2002A owner's manual

Memorex

Memorex MVDT2002A owner's manual

iLive ITDE2288 user guide

iLive

iLive ITDE2288 user guide

Wintal 27LDVD05 operating manual

Wintal

Wintal 27LDVD05 operating manual

Toshiba 23HLV84 owner's manual

Toshiba

Toshiba 23HLV84 owner's manual

AOC LC19W060C user manual

AOC

AOC LC19W060C user manual

JVC LT-32DM20 user guide

JVC

JVC LT-32DM20 user guide

Sylvania LD320SSX Guide d'utilisation

Sylvania

Sylvania LD320SSX Guide d'utilisation

Haier L15C10B user manual

Haier

Haier L15C10B user manual

Dynex DX-24LD230A12 user guide

Dynex

Dynex DX-24LD230A12 user guide

manuals.online logo
manuals.online logoBrands
  • About & Mission
  • Contact us
  • Privacy Policy
  • Terms and Conditions

Copyright 2025 Manuals.Online. All Rights Reserved.

LCD TV/DVD COMBINATION
ATDVD1930W
Safety Information………………………………………2
1.Product Features……………………………………4
2.A c c e s s o r i e s … … … … … … … … … … … … … … … … 4
3.Front View……………………………………………5
4.Rear Vi e w……… … … …………… … …………… … 6
5.R e m o t e C o n t r o l … … … … … … … … … … … … … … 7
6.Basic Installation……………………………………9
7.OSD Menu……………………………………………10
7.1Sound Menu…………………………………………11
7.2Channel Menu………………………………………12
7.3Function Menu………………………………………13
7.4PC Menu………………………………………………14
8.DVD Operation…………………………………………15
9.System Operation……………………………………20
10.User Help Guide……………………………………23
11.Disc Care and Handling……………………………24
12.Technical Specifications……………………………25
Mains Plug wiring…………………………………………26
Wall bracket mounting instructions…………………….26
Safety Information
The lightening flash with arrowhead symbol, within an equilateral triangle, is
intended to alert the user to the presence of un-insulated “dangerous
voltage” within the products enclosure that may be of sufficient magnitude
to constitute a risk of electric shock to the persons.
The exclamation point within an equilateral triangle is intend to alert the user
to the presence of important operating and maintenance (servicing)
instructions in the literature accompanying the appliance.
Correct disposal of this Product
(Waste Electrical & Electronic Equipment (WEEE)
The crossed out “Wheelie bin” is intended to show that this appliance must not
be placed with ordinary household waste at the end of its useful life. To prevent
possible harm to the environment or human health from uncontrolled waste
disposal, please keep separate from other household waste and recycle it
responsibly to promote the sustainable reuse of material resources.
Household users should contact either the retailer where you purchased the
product, or their local government office for details of where and how you can
take this item for environmentally safe re-cycling.
Business users should contact their supplier and check the terms and conditions
of the purchase contract. This product must not be mixed with other
commercial wastes for disposal
1. THIS LABEL IS ATTACHED TO THE PLACE AS ILLUSTRATED TO INFORM
THAT THE APPARATUS CONTAINS A LASER COMPONENT.
2. THE WARNING LABEL INFORMING OF RADIATION IS PLACED INSIDE
THEn UNIT. AS SHOWN IN THE ILLUSTRATION. TO WARN AGAINST
FURTHER MEASURES ON THE UNIT. THE EQUIPMENT CONTAINS A
LASER RADIATING LASER RAYS ACCORDING THE LIMIT OF LASER
PRODUCT OF CLASS
This unit complines with European safety and electrical interference directives.
Safety Information cont.
Do not place the Tv on an unstable surface, it may tip over and cause injury or damage
to the LCD screen.
Do not place the tv in a cabinet where airflow is restricted, ensure the ventilation holes
are not covered to prevent overheating. Do NOT cover the DC mains adaptor, this will
feel warm to the touch and must be allowed to radiate the heat.
Do not use the Tv in wet or damp conditions, if water or liquids are allowed to enter the
case, disconnect the power and call the Technical Help line. Do not handle the Tv or
Power adaptor with wet hands.
During an Electrical storm or when going on holiday, disconnect from the mains supply
and aerial (if external or rooftop).
Do not place heavy objects on the mains lead or DC supply lead, do not place where
they can be stepped on, cut or damaged. If the leads do become damaged please call
the Technical Help Line for advice.
Do not drop or damage the Tv. If the casing becomes damaged it may cause a safety
issue, Do not open the case or Power adaptor, you risk a severe electric shock, injury
or death.
Do not drop objects into the Tv ventilation slots or DVD disc slot. Should an object enter
the Tv, contact the Technical Help Line for advice.
Do not place the Tv near heat sources such as radiators or direct sunlight
Cleaning the Tv. Disconnect from the supply before cleaning. Do NOT use petrol
based or chemical cleaning fluids. You may wipe with a soft damp cloth. For stubborn
sticky dirt use a dilute detergent solution..
LCD Screen. Do NOT use chemical solvents on the screen surface, sticky finger
marks must only be removed with a dilute detergent solution. Occasionally one or two
bright dots may be seen on the screen, this is not considered a fault.
- Inputs : Tuner, Scart, VGA, CVBS (video), Audio, S-Video, PC Audio
- Tv Systems : PAL (B/G,I,D/K). SECAM (B/G,D/K,L,LL) for UK use PAL “I”.
- Memory. Up to 200 channels may be stored
- No Signal (TV) Auto standby.
- Timer functions
- Programme exchange (swap)
- Power requirements (DC 12V 5 A (60W).
- LCD Screen 1440 x 900 pixels
- Tuning Range VHF / UHF 48 Mhz 847 Mhz
Users' Manual Remote Control Adapter Adapter Cable
1.Product Features
2.Accessories
SYSTEM
LCD TV/DVD COMBINATION
ATDVD193 0 W
1(IR)Infrared Receiver:Receives IR signals from the remote control.
(Power on/Standby)LED Indicator: Press POWER to turn on and off.
Indicator on(Red) Standby mode
Indicator on(Green) Power on mode
The effective range of the I/R signal is approx 6 metres and an angle of +/- 30 deg
2 The functions of the buttons are described as below:
MENU: Press to display the OSD menu, Press again to exit the menu.
CH-/CH+: Press to scan through channels. When pressing and holding down either button
user can scan channels quickly.
They are also can be used to move down/up in the OSD menu screen.
VOL-/VOL+: Press to adjust the volume.
they are also can be used to move left/right in the OSD menu screen.
VOL+ button can be used to skip forward to next menu.
TV/AV: Press to select the source: TV,AV,SVIDEO,PC,DVD,SCART
Power: Turn on/off the TV set.
3.Front View
MENU
CH-
CH+
VOL-
VOL+
TV/AV
load/eject DVD disc
Remote control window(IR)
(keep clear)
Led Indicator
Play/pause stop DVD
Next track or chapter
Previous track or chapter
4.Rear View
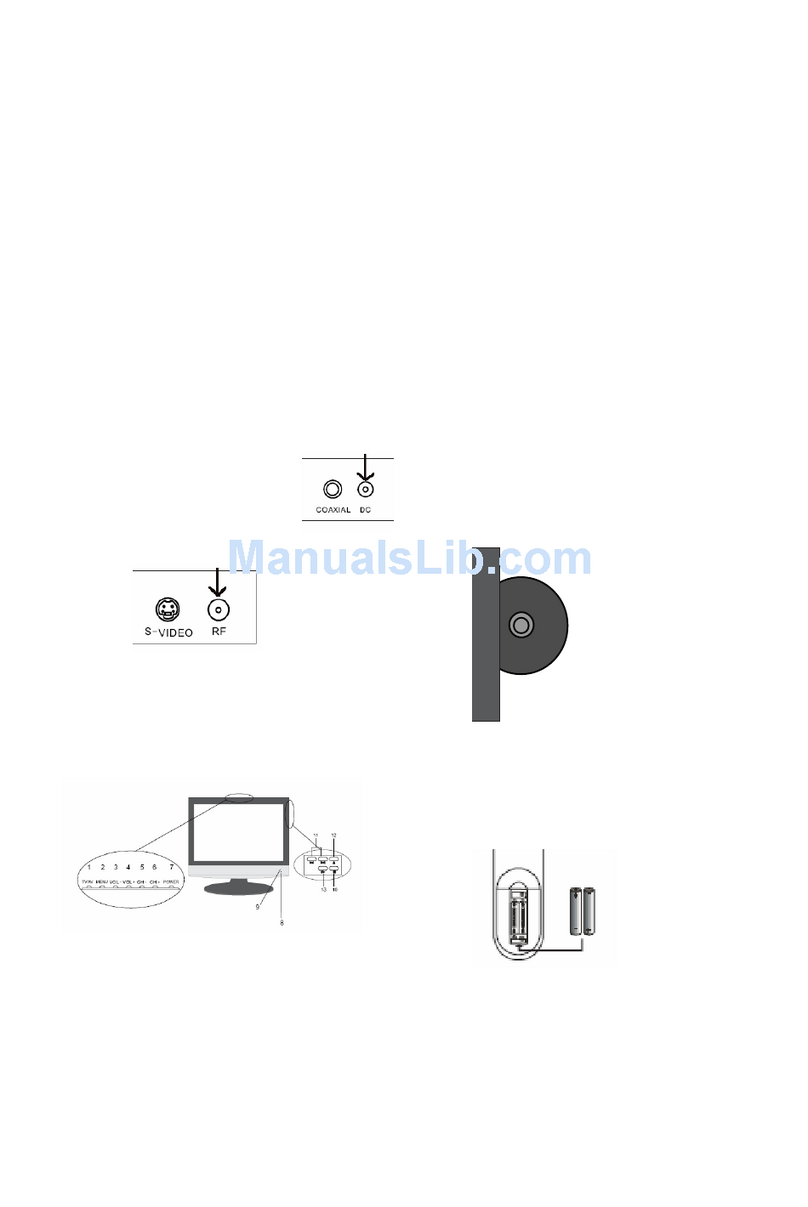
Coax : Output to Audio amplifier (RF encoded)
Power : Connection to Power adaptor.
SCART : Composite video and Audio input from VCR or other devices.
PC Audio : Audio connection from PC.
VGA : PC Monitor display input. Connect to your Pc Mini D15 pin connector.
AV-R,AV-L (Phono): Right and Left Audio input from other sources such as Camcorder.
Video : CVBS video input from other sources such as Camcorder.
S-Video In : Alternative High Quality Video only (sound via AV-R,AV-L).
RF : Tuner / Antenna RF input.
DVD
5.Remote control
Buttons for TV functions
1 POWER: turn the TV on or turn it standby.
2 TV/AV: select the input source.
3 0-9,-/--:press 0 to 9 for the first ten channel, press -/--
for 10 to 99, and again for 100 to 199.
7 MUTE: press to go into the silence status or cancel.
8 RETURN: go back to play the last channel.
9 VOL+/-: volume up/down.
10 CH+/-: channel up/down,
CH+ CH- : direction buttons for OSD menu.
ENTER: CONFIRM BUTTON for OSD menu.
11 SYS MENU: TV system menu(see page 9)
12
13 SOUND: press to select the sound mode: User,
Normal,Movie and News.
14 TIMER: press to set a sleep time, the TV will go standby
after the time you setting.
15 PICTURE: press to select the picture mode: User,
Normal, Soft or Vivid.
16 NICAM/A2: press to select mono or stereo.
Buttons for Teletext
21 CANCEL: turn off the Teletext display.
22 REVEAL: reveal any hidden text, for example-
quiz answers.
23 TV/TXT: turn off/on the Teletext display.
25 SIZE: press to see top half of page double size.
press again to see the bottom half of page
double size.
Press again for normal size.
26 SUBPAGE: for example, to go directly to subpage 4:
press SUBPAGE,then 0,0,0,4;
press SUBPAGE again to cancel subpage mode.
27 HOLD: hold or carry on the current subpage.
28 INDEX: direct recall of page 100.
29-32 Colour buttons: short cuts-follow the coloured
links in the text.
DISPLAY: Press to show current mode
Note:
1. Fit two AA batteries, making sure that
they are the correct way round, as
marked on the case.
2. Aim the remote control at the window
to keep the right side of the screen, and
keep the window clear at all times.
3. Do not press the buttons on the remote
control too quickly-allow time for the
set to respond.
DISPLAY
Buttons for DVD functions
4. : load/eject DVD disc.
5. : play/pause DVD program.
6. : stop DVD program.
17 ZOOM: adjust picture size in DVD mode.
18 SUBTITLE: turn on/off the DVD subtitle display.
19 LANGUAGE: select DVD disc language.
20 SEARCH: DVD search, Tracks or Chapters.
21
22 ANGLE: select DVD picture angle.
23 SETUP: DVD system setup.
24 TITLE: DVD title.
25 : DVD fast forward.
26 : DVD previous chapter.
27 : DVD fast reverse.
28 : DVD next chapter.
MENU (PBC): DVD play list/Disc menu
29 SLOW: play DVD programs at slow speed.
30 REPEAT: play the title or chapter once again.
31 PROGRAM: edit the program and play.
32 A-B: select and play the preferable paragraph of
DVD program by pressing this key twice at the
beginning and end of it.
DISPLAY
Battery Disposal.
When the batteries are exhausted and need replacing,
do NOT break open or throw on a fire.
Contact your local waste authority for disposal instructions,
do not throw in the domestic waste.