A
B
DVD/IN
MODE
B
DVD/IN
MODE
12 13
DVD XVID CD
2X 4X
8X16X32X
2X 4X
8X16X32X
DVD XVID CD
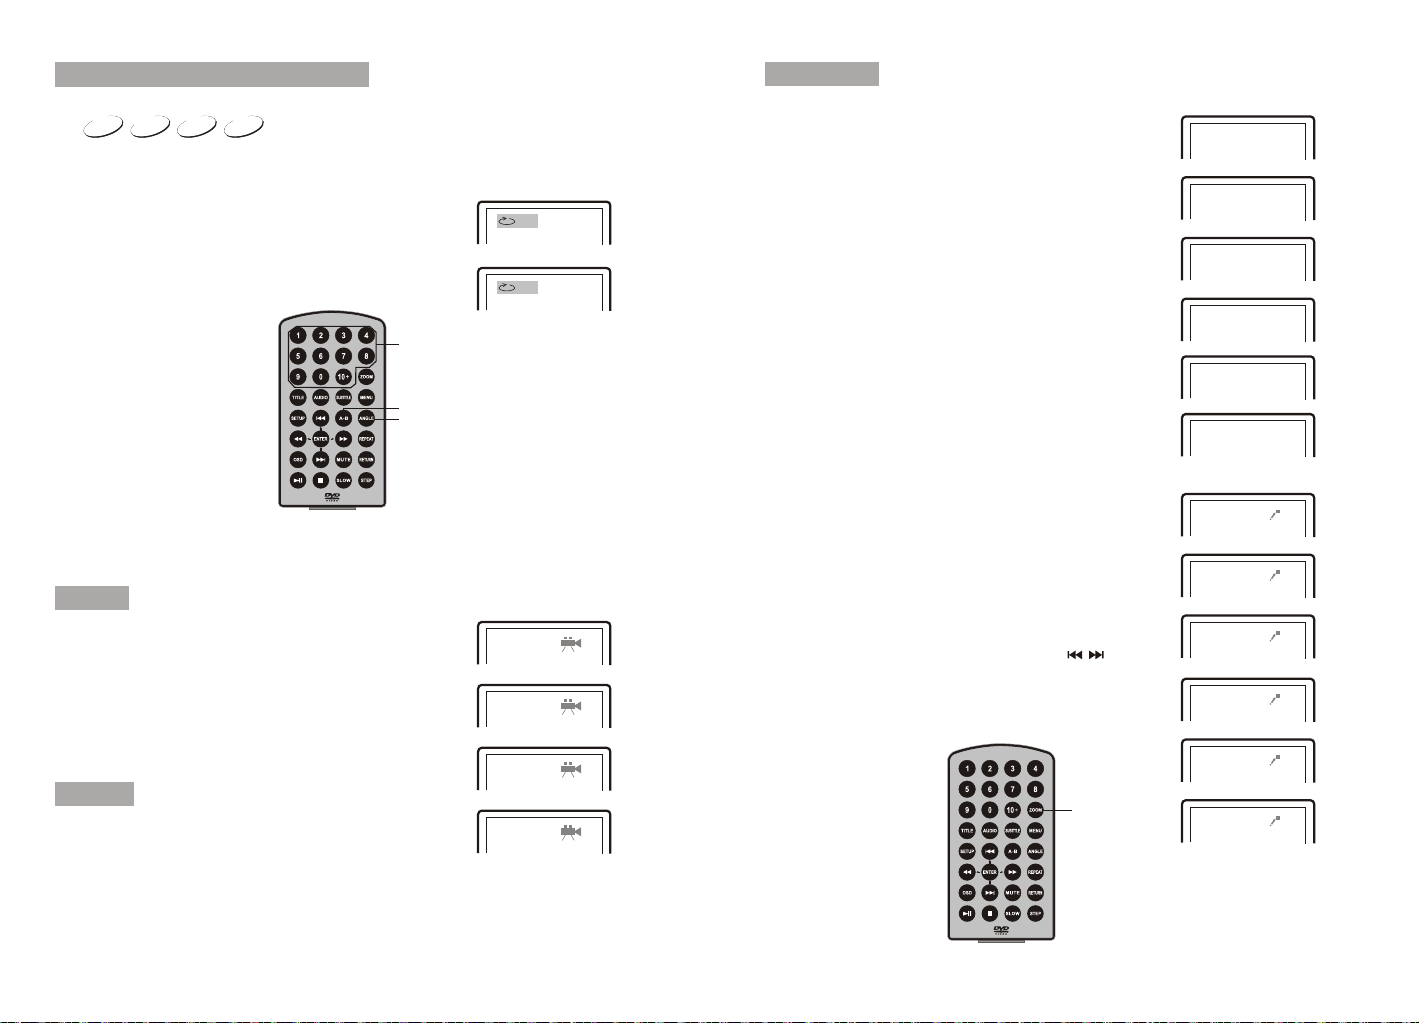
Search forward
Fast Forward And Fast Backward
When playing disc of DVD, XVID , CD, the unit can search forward or backward.
1. Press , the unit will search forward. Press it repeatedly ,the unit will play at 2, 4, 8, 16,
32 times of speed.
2. Press , the unit will search backward. Press it repeatedly ,
the unit will play at 2, 4, 8, 16, 32 times of speed.
When playing discof DVD, XVID, CD, usercan repeat playingone chapter,title or all
the whole disc.
For DVD disc,press "repeat" button,user can repeatplaying one Chapter;press it
again to repeatplaying Title;press it thethird time torepeat playing thewhole disc.
For MP3 disc,press "repeat" torepeat playing presentfile; press itagain to repeat
playing the folder;press it thethird time tocancel repeat playing.
Search backward
Chapter Title All
Repeat off
Repeat one Repeat folder
Repeat off
Repeat playing
Playing disc ofDVD, XVID ,CD, MP3.
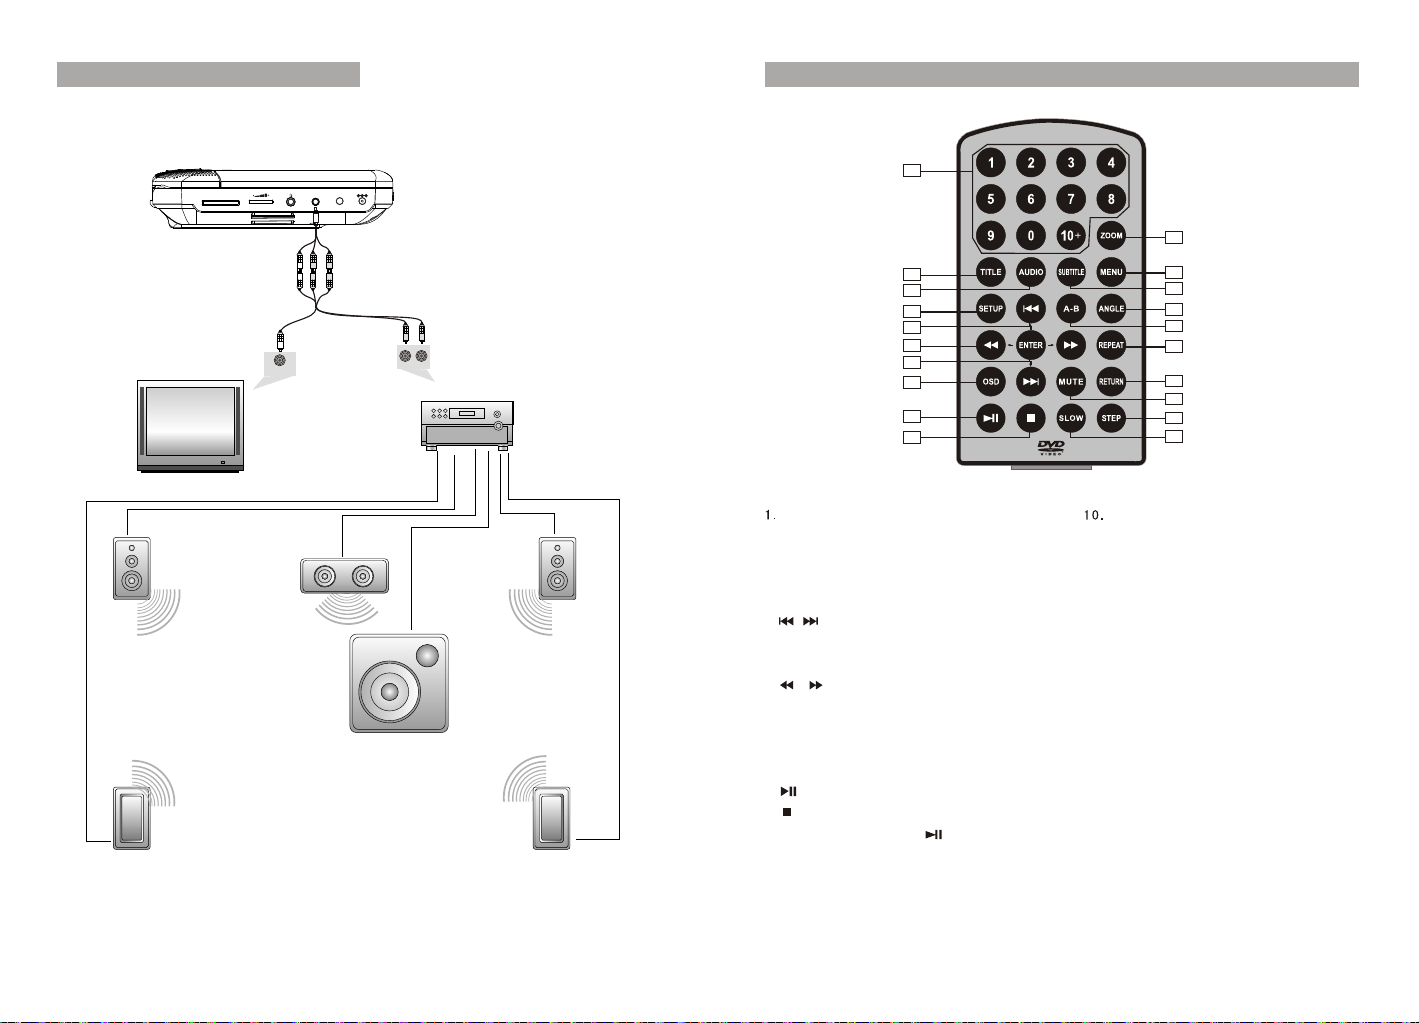
1.
2. Open thedisc door andinsert a discinto the doorwith the labelside facing
up.
3. Close thedisc door.The unit will load thedisc and startplaying.
4. Press toonce to stopplayback; then press to resume playbackfrom
the point whereyou stoped; press twice to stopplayback completely).
5. During playback,press to pause;press it againto resume playback.
6. When theplaying is finished,please turn off the powerby sliding ON/OFF
switch to OFF.
7. For someDVD disc withTitle or Chapter menu, press “ MENU” button to
enter menu page,and use to select. Press ENTER to confirm.
Basic Operation
Play/pause
DVD XVID CD MP3
Cursor button
ENTER
Title Menu
Note: Please donot disconnect USBdevices or plugout SD/MMC cards
while they areworking with theunit. Functional failuremay occur in
case of wrongoperations.
In the SourceMode ,you canpress " "," ",to select and"ENTER" key toenter the
source you want.
DVD SD USB