8
3-2. Functional Description
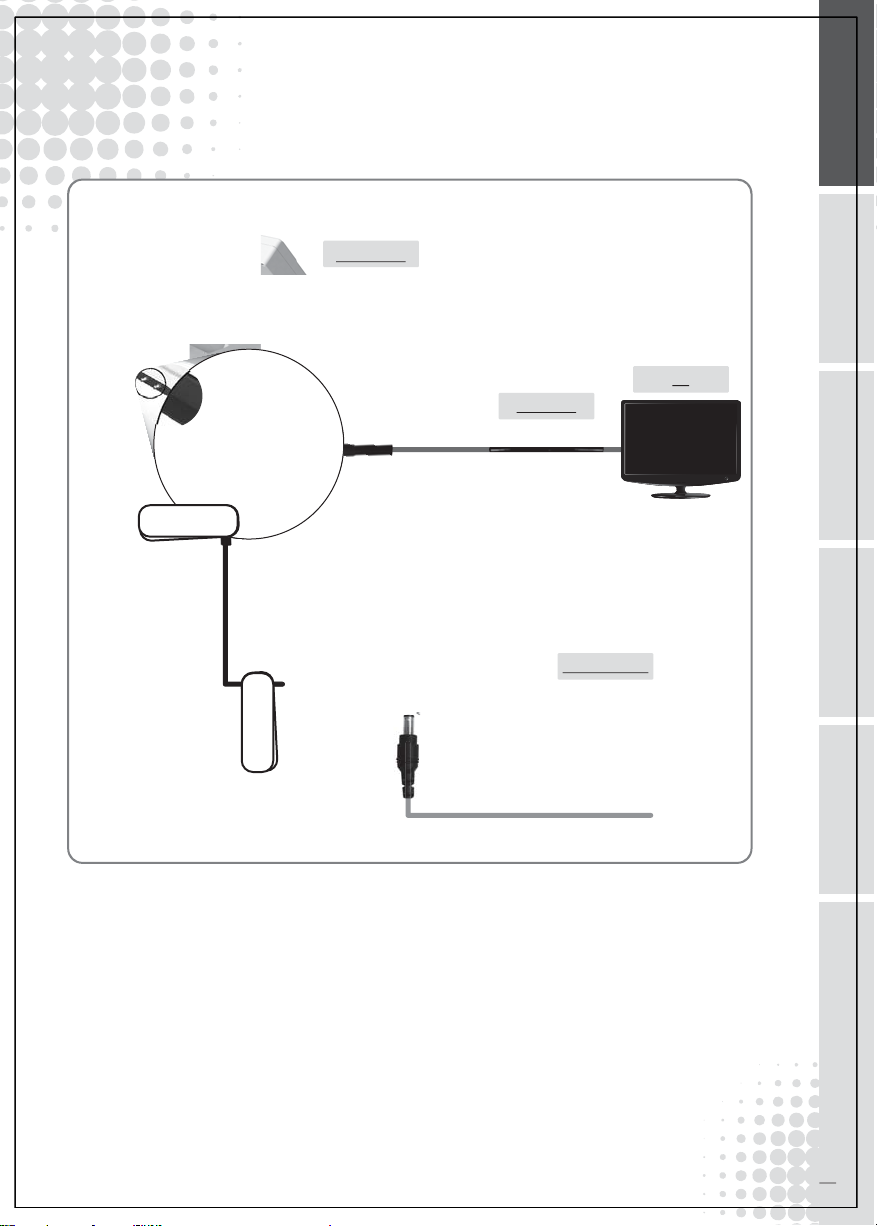
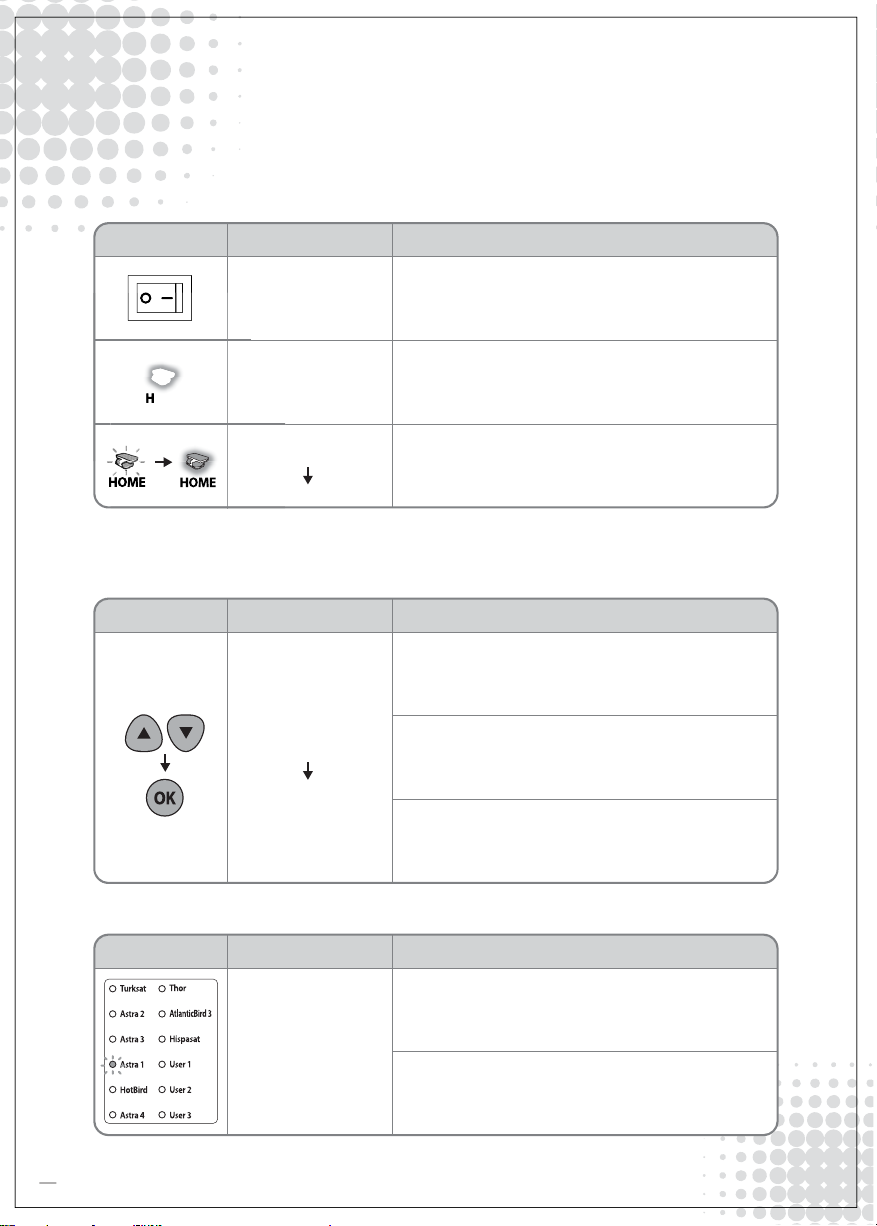
A. Power On
When the all cable connections are completed, switch on
with the “Power Switch” button on the top of the controller.
◆ Home position means antenna folded completely to the body part that is basic position for carrying in hard
case or mounting on the car.
If the position of antenna was in home position, “Home
state light” will be solid on to show it is ready to use.
If the position of antenna was not in home position, “Home
state light” might be ashing, and the antenna will be back
in home position within maximum 2 minutes. Then “Home
state light” will be solid on.
Function Description
“Power” Switch
“Home State”
Light Solid ON
Solid ON
“Home State”
Light Solid ON
Operation
Once antenna and controller are communicated, you can
select & change the satellite as you want.
Select the desired satellite using the “Up/Down” buttons,
then press the “OK” button to accept the setting.
If you select wrong satellite, you could re-search target
satellite using the “Up/Down” button, then press the “OK”
button to accept the new setting.
i.
ii.
iii.
After the satellite selection, “Home State” light will light o
and the LED light of the selected satellite will be ashing.
Once selceted satellite found, the LED light of the satellite
become solid.
Function Description
“Satellite” light
Operation
i.
ii.
i.
ii.
iii.
Function Description Operation
B. Selecting the satellite
“OK” Button
“Satellite
Up / Down button” Light
C. Searching the satellite