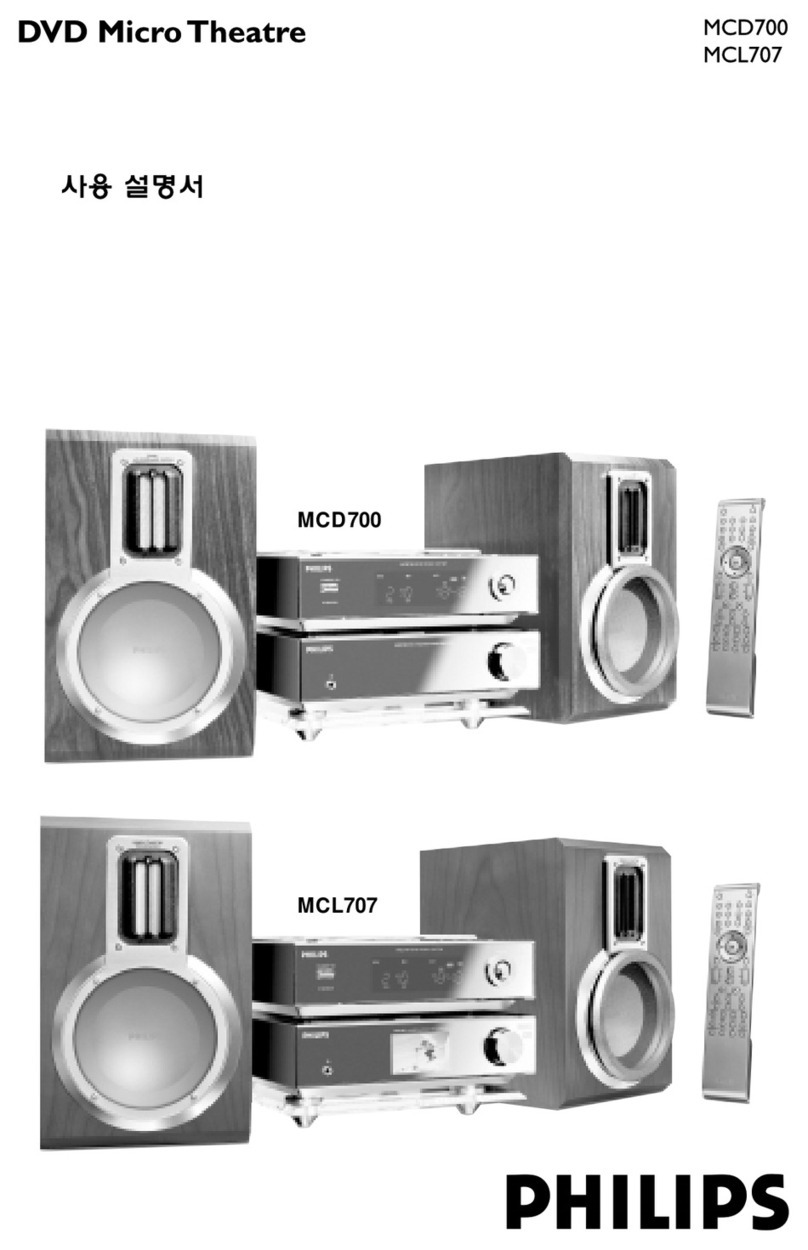
Alcorn Mcbride DVM-7400 User manual

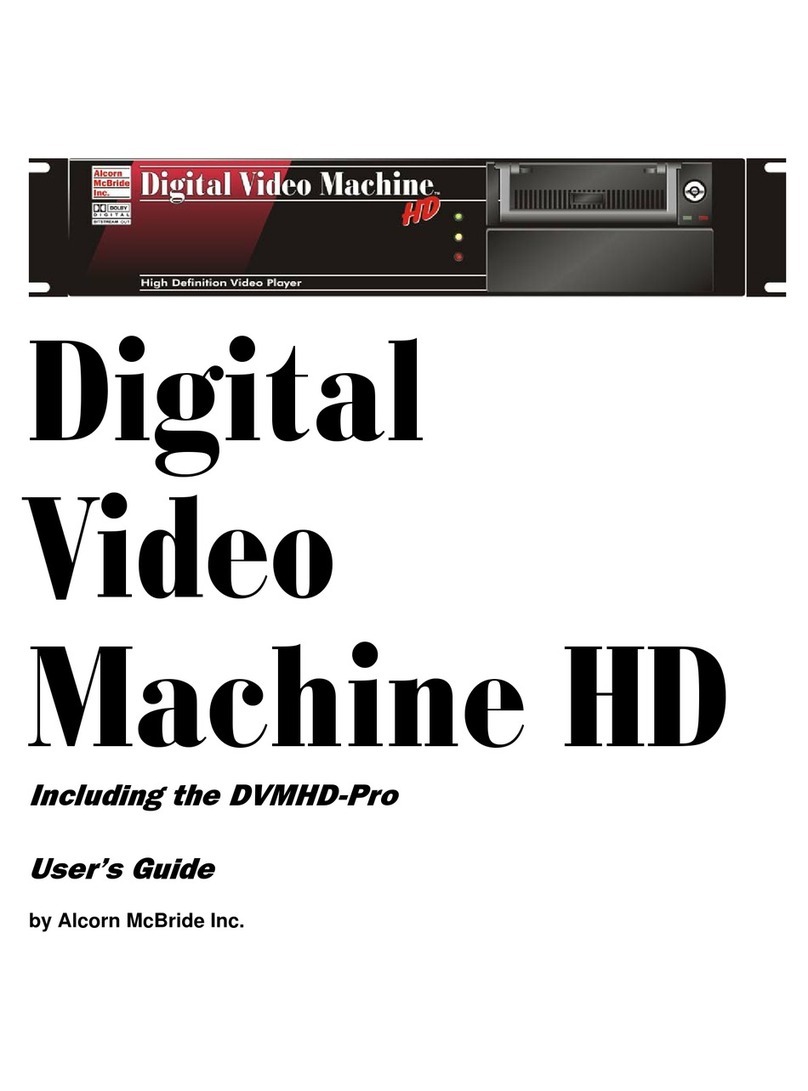
Digital Video Machine
User's Manual
DVM-7400


Document Revision 2.0
August 24, 2009
Every effort has been made to assure the accuracy of the information contained in this manual, and the reliability
of the Alcorn McBride DVM7400 Digital Video Machine hardware and software. Errors can sometimes go
undetected, however. If you find one, please bring it to our attention so that we can correct it for others. Alcorn
McBride welcomes comments and suggestions on the content and layout of its documentation.
Applications described herein are for illustrative purposes only. Alcorn McBride Inc. assumes no responsibility or
liability for the use of these products, and makes no representation or warranty that the use of these products for
specific applications will be suitable without further testing or modification. Alcorn McBride products are not
intended for use in applications where a malfunction can reasonably be expected to result in personal injury.
Customers using or selling Alcorn McBride products for use in such applications do so at their own risk, and
agree to fully indemnify Alcorn McBride for any damages resulting from such improper use or sale.
Alcorn McBride Inc. reserves the right to make changes to these products, without notice, in order to improve
their design or performance.
Digital Video Machine™ is a trademark of Alcorn McBride Inc., all rights reserved.
Copyright ©2005 Alcorn McBride, Inc. All rights reserved.
Dolby is a trademark of Dolby Laboratories.
Hardware Design: Jim Carstensen, Scott Harkless, Jeremy Scheinberg
Firmware Design: Scott Harkless, Chris Harden
Software Design: Scott Harkless, Chris Harden, Joy Burke
Documentation: Jim Carstensen, Chris Harden, Scott Harkless
Mechanical Design: Martin Chaney
Document Number 110-101065.55
Alcorn McBride Inc.
3300 S. Hiawassee, Suite 105
Orlando, Florida 32835
Tel: (407) 296-5800
Fax: (407) 296-5801
http://www.alcorn.com


Alcorn McBride Digital Video Machine DVM-7400 User’s Manual Rev 1.5 i
Table of Contents
WELCOME!............................................................................................................................................................5
STANDARD FEATURES............................................................................................................................................6
OPTIONAL FEATURES .............................................................................................................................................6
TECHNICAL SUPPORT .........................................................................................................................................7
GETTING STARTED ..............................................................................................................................................9
PLAYING A TEST VIDEO ..........................................................................................................................................9
CONTROLS AND INDICATORS..........................................................................................................................11
TEST BUTTON .....................................................................................................................................................12
STATUS LED ......................................................................................................................................................12
CONFIGURATION DIP SWITCHES ...........................................................................................................................12
Voltage / Contact Closure.............................................................................................................................13
Restore Factory Defaults ..............................................................................................................................13
NTSC / PAL..................................................................................................................................................13
Spare............................................................................................................................................................13
Ground Lift....................................................................................................................................................14
Serial Port Mode...........................................................................................................................................14
POWER CONNECTOR ...........................................................................................................................................14
AUDIO/VIDEO OUTPUTS .......................................................................................................................................14
SERIAL PORT:DB-9 CONNECTOR .........................................................................................................................15
VOLUME CONTROL ..............................................................................................................................................15
PARALLEL PORT:DB-37 CONNECTOR ...................................................................................................................15
OPTIONAL MODULES ........................................................................................................................................17
AMPLIFIER OPTION (/A)........................................................................................................................................17
PROFESSIONAL AUDIO OPTION (/B).......................................................................................................................17
PROFESSIONAL VIDEO OPTION (/P).......................................................................................................................18
DIP Switches ................................................................................................................................................18
HD-15 Pinout ................................................................................................................................................19
COMPONENT VIDEO OPTION (/R) ..........................................................................................................................19
DIGITAL VIDEO OPTION (/D) .................................................................................................................................20
DIP Switches ................................................................................................................................................20
ETHERNET MODULE (/E) ......................................................................................................................................21
COMMAND PROTOCOL .....................................................................................................................................23
PLAYBACK COMMANDS.........................................................................................................................................23
Select File.....................................................................................................................................................23
Play...............................................................................................................................................................24
Play File........................................................................................................................................................24
Loop Play......................................................................................................................................................24
Loop File.......................................................................................................................................................25
Play Next ......................................................................................................................................................25
Loop Next .....................................................................................................................................................25
Still................................................................................................................................................................26
Pause............................................................................................................................................................26
Stop ..............................................................................................................................................................26
Audio Control................................................................................................................................................26
Video Control................................................................................................................................................27
Active Mode Request....................................................................................................................................27
Chapter Request...........................................................................................................................................27
Frame Request.............................................................................................................................................27
CONFIGURATION COMMANDS ................................................................................................................................28
Set Colorspace .............................................................................................................................................28

Set Sync-On-Green...................................................................................................................................... 28
Set Brightness.............................................................................................................................................. 28
Set Contrast ................................................................................................................................................. 29
Set Saturation............................................................................................................................................... 29
Set Aspect Ratio........................................................................................................................................... 29
Set Test Pattern ........................................................................................................................................... 30
Set User Name............................................................................................................................................. 30
Set Password............................................................................................................................................... 30
MISCELLANEOUS COMMANDS ............................................................................................................................... 31
Format Media............................................................................................................................................... 31
Set Baud Rate.............................................................................................................................................. 31
Set Device ID ............................................................................................................................................... 32
Software Reset............................................................................................................................................. 32
Send Serial String ........................................................................................................................................ 32
Set Relay Outputs........................................................................................................................................ 33
Set On-Screen Display (OSD)...................................................................................................................... 33
COMMAND ERROR CODES ................................................................................................................................... 34
COMMAND PROTOCOL SUMMARY.................................................................................................................. 35
PLAYBACK COMMAND LIST................................................................................................................................... 35
CONFIGURATION COMMAND LIST .......................................................................................................................... 36
SERIAL CONTROL ............................................................................................................................................. 39
ETHERNET CONTROL ....................................................................................................................................... 41
PLAYLIST CONTROL ......................................................................................................................................... 43
OVERVIEW ......................................................................................................................................................... 43
SPECIAL PLAYLIST COMMANDS............................................................................................................................. 44
EXAMPLE PLAYLISTS ........................................................................................................................................... 45
USING PLAYLIST BUILDER .................................................................................................................................... 46
SCHEDULER CONTROL .................................................................................................................................... 47
SCHEDULE FILE FORMAT ..................................................................................................................................... 47
Field Summary............................................................................................................................................. 47
Fields in Detail.............................................................................................................................................. 49
Restrictions................................................................................................................................................... 51
SCHEDULE BUILDER ............................................................................................................................................ 52
GPS CONTROL................................................................................................................................................... 55
OVERVIEW ......................................................................................................................................................... 55
GPS BUILDER .................................................................................................................................................... 56
What is GPS Builder?................................................................................................................................... 56
Main Spreadsheet ........................................................................................................................................ 57
Map Display.................................................................................................................................................. 58
GPS Device Setup ....................................................................................................................................... 58
Connecting a GPS Sensor to a PC ............................................................................................................. 59
Creating a GPS Playlist................................................................................................................................ 59
Configuring the DVM for GPS Operation...................................................................................................... 60
Overlapping GPS Routes............................................................................................................................. 61
PARALLEL CONTROL........................................................................................................................................ 63
PARALLEL INPUTS ............................................................................................................................................... 63
Parallel Outputs............................................................................................................................................ 66
FILE TYPES AND STORAGE ............................................................................................................................. 67
WHAT IS AN MPG FILE? ..................................................................................................................................... 67
HOW DO IMAKE AN MPG FILE? .......................................................................................................................... 67
MPEG-2 FORMATS............................................................................................................................................. 68
The MPEG-2 Program Stream..................................................................................................................... 68
What is a Variable Bitrate?........................................................................................................................... 68

Alcorn McBride Digital Video Machine DVM-7400 User’s Manual Rev 1.5 iii
DOLBY DIGITAL 5.1 SURROUND SOUND .................................................................................................................69
DVM Hardware Requirements......................................................................................................................69
COMPACT FLASH MEDIA.......................................................................................................................................69
Formatting the Compact Flash......................................................................................................................69
TRANSFERRING FILES TO THE DVM.......................................................................................................................70
Copying Files Directly Using a PC................................................................................................................70
Copying Files Using an FTP Connection ......................................................................................................71
REQUIRED FILE NAME FORMATS ...........................................................................................................................72
FILE SYSTEM LIMITATIONS –2GB FILE SIZE...........................................................................................................73
SYNCHRONIZATION ...........................................................................................................................................75
CONFIGURING THE DVM FOR EXTERNAL SYNC.......................................................................................................75
SYNCHRONIZING MULTIPLE DVM’S.......................................................................................................................76
Sharing Video Sync Between DVM’s............................................................................................................76
Triggering Synchronized DVM’s Simultaneously...........................................................................................77
POWER UP OPERATION ....................................................................................................................................79
UPDATING FIRMWARE.......................................................................................................................................81
ETHERNET STEP BY STEP................................................................................................................................82
Network Architecture.....................................................................................................................................82
Hardware......................................................................................................................................................83
Addresses and Routing.................................................................................................................................84
Connecting the Hardware .............................................................................................................................84
PC Configuration...........................................................................................................................................85
Device Configuration.....................................................................................................................................87
Setting Device IP Addresses.........................................................................................................................87
Try It Out.......................................................................................................................................................88
TROUBLESHOOTING GUIDE / FAQ...................................................................................................................90
MECHANICAL INFORMATION............................................................................................................................93
Mechanical Dimensions................................................................................................................................93
Surface Mounting..........................................................................................................................................94
Rack Mounting..............................................................................................................................................95
SPECIFICATIONS................................................................................................................................................97
INDEX...................................................................................................................................................................99


Alcorn McBride Digital Video Machine DVM-7400 User’s Manual Rev 1.5 5
Welcome!
Thank you for purchasing The Alcorn McBride Digital Video Machine™ DVM7400. The Digital
Video Machine, or DVM for short, is designed to be an ultra reliable video playback source for
permanent installations. It can provide hours of superb digital video and audio. We’ve tried to
think of everything you’d need in a stand-alone video player – three types of video outputs, four
types of audio outputs, and numerous control interfaces make the DVM incredibly flexible.
The DVM was designed to be a solid-state drop-in replacement for many different brands of
DVD players and other types of video players, in a wide variety of applications. With no moving
parts, it’s far more than a DVD player replacement, offering both standard and optional
features that go way beyond what ordinary video playback solutions can offer including SMPTE
259M SDI digital video, RGB-HV or YUV analog video, balanced audio, Dolby Digital bitstream
or S/PDIF digital audio, parallel control, built-in real-time scheduling, Ethernet, and many other
features. The DVM is the ultimate choice for almost any new video installation.
We hope you enjoy using it as much as we enjoyed designing it. Have fun with your new
Digital Video Machine!
We would like to provide you with the latest Firmware updates for your DVM
and notify you when additional features become available. Please visit :
http://alcorn.com/library/lists/subscribe.html
to sign up for automatic notifications of Firmware upgrades. You can also visit
http://www.alcorn.com/support/firmware.html to check for upgrades.

Alcorn McBride Digital Video Machine DVM-7400 User’s Manual Rev 1.5
6
Standard Features
The Digital Video Machine DVM7400 offers a wide variety of standard features including:
•High resolution MPEG-2 Video at up to 15 Mbps
•Plays from solid state Compact Flash media
•Scheduled playback from built-in Real Time clock
•Operates from 12VDC to 24VDC (power supply included)
•GPS (Global Positioning Satellite) triggering capability
•Composite video output on RCA connector
•Unbalanced Stereo analog audio on RCA connectors
•720 x 480 (NTSC) or 720 x 576 (PAL) Resolution
•Seamless video transitions
•Stores thousands of individual video files
•Serial RS-232 Control is Pioneer LDP compatible.
•Removable Compact Flash.
•Parallel inputs provide discrete control of 15 files.
Optional Features
You can order your Digital Video Machine with the following optional features:
Model Number Features
DVM7400/E* 10/100BaseT Ethernet for control and FTP file transfers
DVM7400/A 20Wx2 Speaker level outputs on screw terminals.
DVM7400/B Balanced analog audio on combo XLR-1/4 inch
connectors and S/PDIF or Dolby 5.1 Digital bitstream on
RCA connector.
DVM7400/D SMPTE292M SDI output on BNC connector with
Composite or Blackburst sync input on BNC connector
and S/PDIF or Dolby 5.1 Digital bitstream on RCA
connector.
DVM7400/P RGBHV or YUV analog on HD15 connector with
Composite or Blackburst sync input on BNC connector
and S/PDIF or Dolby 5.1 Digital bitstream on RCA
connector.
DVM7400/R RGBHV or YUV analog on HD15 connector.
*Note: The Ethernet option can be combined with any of the other options. (For example, the
DVM7400/A/E includes both the Amplifier and Ethernet options)

Alcorn McBride Digital Video Machine DVM-7400 User’s Manual Rev 1.5 7
Technical Support
You can obtain information about specifying, installing, configuring, updating and programming
your Alcorn McBride Digital Video Machine from several sources:
For… Contact… When?…
Firmware Updates http://www.alcorn.com/support Any Time
Knowledge Base http://www.alcorn.com/kb Any Time
Fax Support (407) 296-5801 M-F 9am-5pm (EST)
Telephone Support (407) 296-5800 M-F 9am-5pm (EST)

Alcorn McBride Digital Video Machine DVM-7400 User’s Manual Rev 1.5
8

Alcorn McBride Digital Video Machine DVM-7400 User’s Manual Rev 1.5 9
Getting Started
Throughout this manual you will find detailed discussions on all the features of the
product. But below are a few points to get you going with the Digital Video Machine
right out of the box!
Playing a Test Video
Every DVM comes with a Compact Flash card that is preloaded with an Alcorn
McBride test clip. The card is already installed in the DVM’s Compact Flash socket.
To get the DVM to play this test clip, please follow these step-by-step directions.
•Don’t plug anything in yet!
•Connect the red and white audio RCA jacks to an amplifier capable of
playing line level in signals.
•Set the Volume Control knob to 50%. At 50%, the notch in the volume knob
should be facing straight up (12 o’clock).
•Connect a video monitor to the yellow composite video RCA connector.
•Plug in the DVM with the included power supply. The status LED should
briefly blink green and then remain off. If this is not the case, refer to the
Troubleshooting Guide for assistance.
•Press the black test button located on the front-panel beside the status LED.
•Verify you see the status LED turn Green. At this time, you should be seeing
video and hearing audio.
NOTE: If you have any trouble identifying any components mentioned is this guide,
refer to the diagrams in the Controls and Indicators section. Controls and Indicators

Alcorn McBride Digital Video Machine DVM-7400 User’s Manual Rev 1.5
10

Alcorn McBride Digital Video Machine DVM-7400 User’s Manual Rev 1.5 11
Controls and Indicators
The Digital Video Machine provides controls that can accommodate a wide variety of installations. The
front panel incorporates a test button, status indicator, and a Compact Flash Socket. The rear panel
provides the composite video, unbalanced audio outputs, and control connectors. Depending on which
option cards are installed, the rear panel can also contain speaker-level outputs, balanced audio, digital
audio, digital video, component video, video sync, or Ethernet.
A/V Module Option Slot
Test Button Status LED Compact Flash
Socket
Parallel Control
Connecto
r
Optional
Ethernet Jack
(/E option)
Composite Video
Out
p
ut
L/R Line-Level
Audio Out
p
uts
Volume
Control
RS232
Connector
Power
Input

Alcorn McBride Digital Video Machine DVM-7400 User’s Manual Rev 1.5
12
Test Button
The test button will not
trigger playlists. It will
only trigger videos
that are named using
the VIDxxxxx.MPG
convention.
A push-button is located on the front of the unit. This button is used to “test” play the
unit and will play the lowest number video file on the media. For example, if the
media contained the files VID00001.MPG and VID00002.MPG, VID00001.MPG would
be triggered by the test button.
The test button is also used to format the Compact Flash card. If you hold in the test
button while inserting the card, a format operation will take place. While formatting,
the Status LED will turn orange. The operation varies in duration based on media
size and type. It can take anywhere from 1-60 seconds to format the card. The
operation is complete when the status LED turns off.
IMPORTANT: Formatting will result in the loss of all data on the Compact Flash
card!
Status LED
A multi-color LED located on the front of the DVM indicates status.
LED Behavior LED Meaning
Steady green Playing
Steady orange Paused, Stilled, Searched, Formatting Media
Steady red Audio Muted
Flashing red Fault, No Compact Flash Card
Flashing green Drive Access or GPS input active
Flashing green/red/orange Updating OS
Off Idle
The LED blinks green briefly during initialization.
Configuration DIP Switches
Two sets of Configuration DIP Switches are located on the side of the DVM. One set
contains a bank of four switches, while the other has two switches. In this section,
ON refers to the DIP switch being in the DOWN position, while OFF means it is in the
UP position.
NOTE: On some models, you may be required to flip open the DVM’s top panel to
access the configuration DIP switches. Also, be sure to configure these switches
before mounting the DVM or they may be inaccessible.

Alcorn McBride Digital Video Machine DVM-7400 User’s Manual Rev 1.5 13
Voltage / Contact Closure
The first key in the 4-key bank selects between voltage inputs or contact closures for
the discrete controls. More information on these inputs may be found in the section
entitled Rear Panel Connectors. For contact closure mode, set this key to the ON
position.
Restore Factory Defaults
Be sure to return this
key to the ON position
once the defaults
have been restored.
Failing to do so will
result in the DVM
restoring the defaults
every time it powers
on.
Setting the second key in the 4-key bank causes the DVM to reset all stored settings to
the factory defaults. These settings include the video configuration, password, network
address, and any other non-volatile settings stored on the DVM. Once you switch the
key to the OFF position, it only takes a moment to reset the defaults.
NTSC / PAL
The third key in the 4-key bank determines whether the DVM’s output format is PAL
or NTSC. When the key is ON, the DVM will output NTSC. When the key is OFF, the
DVM will output PAL.
PAL NTSC
Spare
The fourth key of the 4-key bank is currently unused.
The following two switches are located to the right of the bank of four described
above.
Contacts
Voltage
Restore Def. Normal

Alcorn McBride Digital Video Machine DVM-7400 User’s Manual Rev 1.5
14
Ground Lift
In the event of AC hum, video banding, or other noise caused by potential ground
loops the first key on the 2-key DIP switch, may be opened to isolate the DVM’s ground
from its chassis. To implement a ground lift, turn this switch OFF.
Serial Port Mode
Refer to the GPS
section in this manual
for details.
When in GPS mode,
the DVM will not
respond to
Pioneer/AMI
commands.
For normal serial port control, turn ON the second key on the 4-key DIP switch. To
enable GPS mouse operation, turn this switch OFF.
Power Connector
The power input is a 2.5x5.5x10mm barrel connector with center pin (+) and the outer
rim (-). The Digital Video Machine requires 12.0 VDC to 24.0 VDC at 2 Amp. This is
useful for mobile applications where an automotive battery is used to power a
Compact Flash Card. An external 100-250 VAC 50/60Hz input universal switching
power supply is provided with the unit.
A plastic strain relief can be threaded through slots near the power input jack to
secure the barrel connector if the DVM is installed in a high-vibration environment.
DO NOT EXCEED THE SPECIFIED INPUT VOLTAGE RANGE!
Audio/Video Outputs
The audio RCA
outputs provide a
standard -10dbu
unbalanced signal.
The composite video
type can be set to
NTSC or PAL using a
DIP-switch on the
DVM’s side-panel.
Every DVM comes equipped with unbalanced stereo audio as well as composite video
outputs. These outputs are provided on RCA jacks that are color-coded.
Open Closed
Normal GPS Mode

Alcorn McBride Digital Video Machine DVM-7400 User’s Manual Rev 1.5 15
Serial Port: DB-9 Connector
Volume Control
To increase the
volume level, rotate
the knob clockwise.
Please refer to the
Command Protocol
section of this manual
for details on
changing volume
levels remotely.
The volume control is the gray colored knob protruding from the rear of the unit next
to the RCA jacks. It controls volume for the audio RCA line level outputs, as well as
for the optional speaker or balanced outputs. It does not control the volume on the
optional S/PDIF digital audio output.
You can also control the volume via serial control, Ethernet control, or playlists using
the Audio Control command. When changing the volume remotely, keep in mind that
the setting of the volume control knob is very important. For example, if the knob
were set to a level of 75%, 75% would be the maximum volume level that the remote
volume control would be able to achieve.
Parallel Port: DB-37 Connector
Be sure to configure
the Digital Video
Machine for contact
closures or voltage
inputs before
connecting any wires.
This connector provides all of the signals needed to interface to the Digital Video
Machine. Files numbered 1 through 15 of the DVM may be played, paused or stopped
using eight parallel inputs located on the rear connector. These inputs may be either
contact closures such as momentary buttons, or voltage inputs from a controller such
as a PLC. The DIP switch located on the side of the unit next to the connector selects
between the two input types. More information on these inputs may be found in the
section entitled Parallel Control.
Two dry-contact relay outputs provide Fault and Playing status (closed when active).
A current-limited (100mA max.) 5VDC output can be used to light external LED
indicators, and an extra power supply input exists so that the 37-pin connector can be
used to supply power instead of the barrel jack. Any of the ground connections may
be used for the return.
A serial cable is
provided with each
Digital Video Machine.
This input is a standard DB-9 male RS-232C connector. The purpose of this port is to
connect to a PC or other control device using a straight-through (not null-modem) 9-
pin cable. The connector pin assignments are listed in the table below.
Pin Function
2 TXD (data from DVM)
3 RXD (data to DVM)
5 GND

Alcorn McBride Digital Video Machine DVM-7400 User’s Manual Rev 1.5
16
Pin Function Pin Function
1 Resume 20 Ground
2 Still 21 Ground
3 Stop 22 Ground
4 Loop 23 Ground
5 File Select 1 24 Ground
6 File Select 2 25 Ground
7 File Select 4 26 Ground
8 File Select 8 27 Ground
9 Playing Output (contact 1) 28 Playing Output (contact 2)
10 Fault Output (contact 1) 29 Fault Output (contact 2)
11 Resume (voltage input) 30 5 VDC output, 100 mA max.
12 Still (voltage input) 31 Ground
13 Stop (voltage input) 32 Ground
14 Loop (voltage input) 33 Ground
15 File Select 1 (voltage input) 34 Ground
16 File Select 2 (voltage input) 35 Ground
17 File Select 4 (voltage input) 36 Ground
18 File Select 8 (voltage input) 37 Ground
19 Aux Power Supply**
** This pin is connected directly to the positive (+) barrel tip of the power supply input.
When the standard barrel power supply is used, this pin can be used as a power
source (for an external device). If the standard supply is not used (and is therefore
disconnected), power can be supplied to the DVM through pin 19. This is ideal for
high vibration environments where a barrel connector is not secure enough to
maintain a reliable connection.
Table of contents
Other Alcorn Mcbride DVD Player manuals

Alcorn Mcbride
Alcorn Mcbride Digital Binloop User manual

Alcorn Mcbride
Alcorn Mcbride DVMHD-8400 User manual

Alcorn Mcbride
Alcorn Mcbride A/V Binloop Uncompressed User manual

Alcorn Mcbride
Alcorn Mcbride Digital Video Machine HD User manual

Alcorn Mcbride
Alcorn Mcbride Digital Binloop HD User manual

Alcorn Mcbride
Alcorn Mcbride Digital Video Machine HD User manual

Alcorn Mcbride
Alcorn Mcbride Digital Video Machine 4 User manual