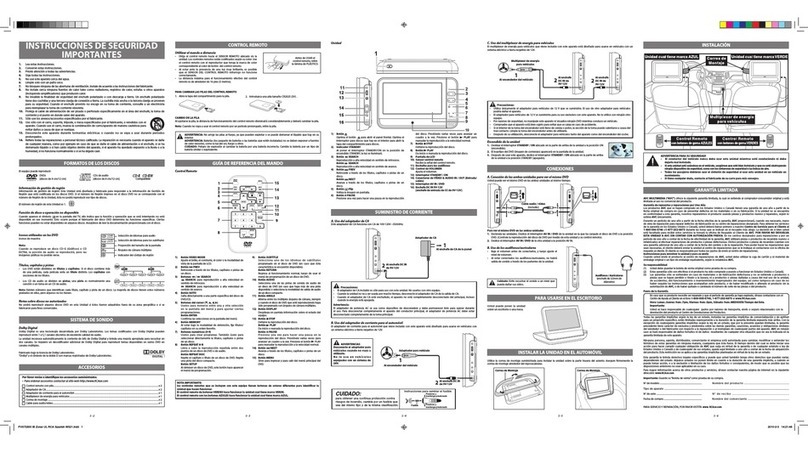
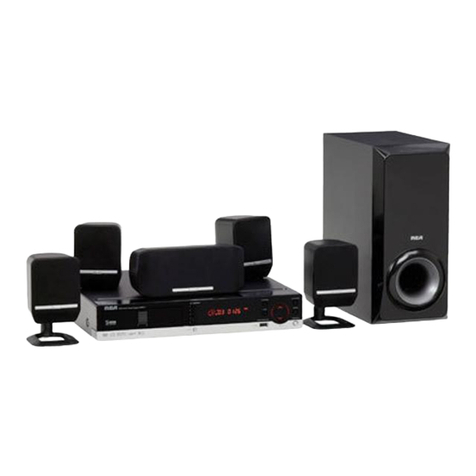
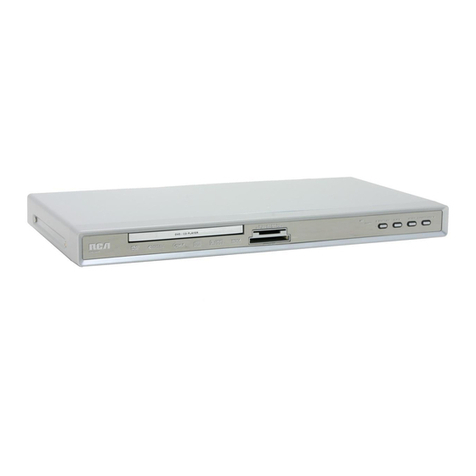
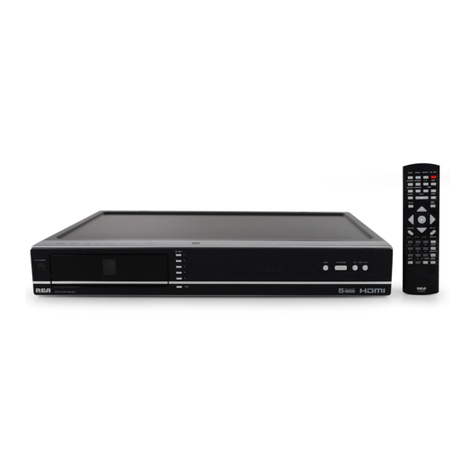
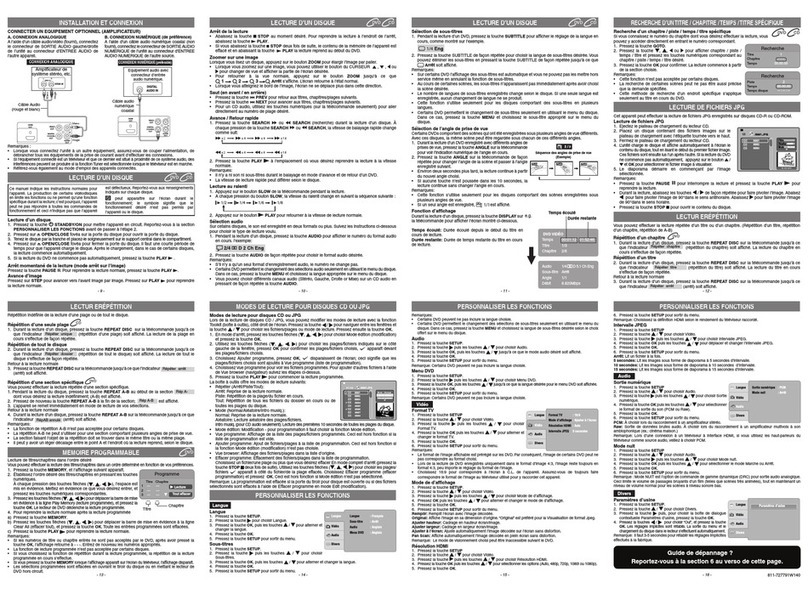
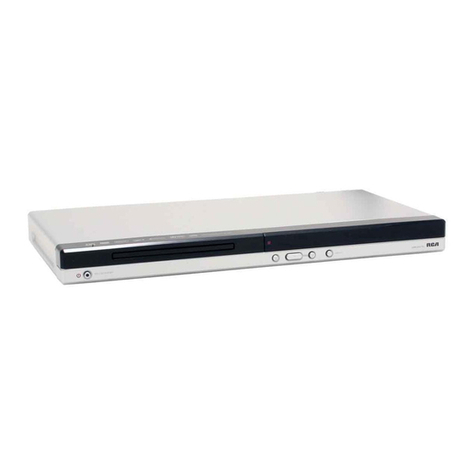
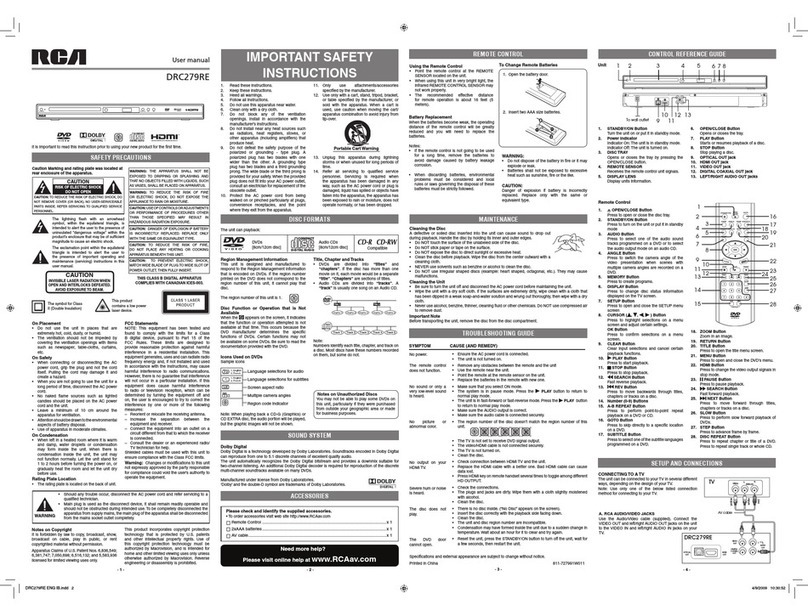
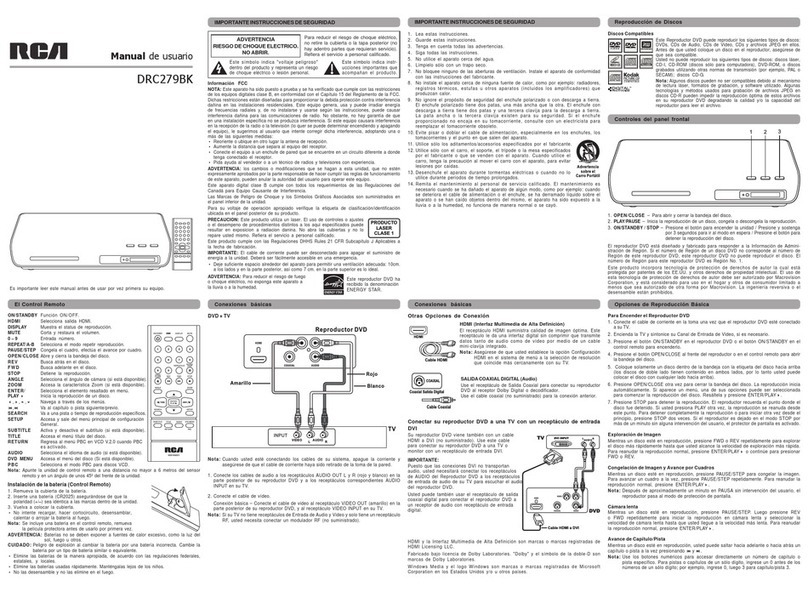
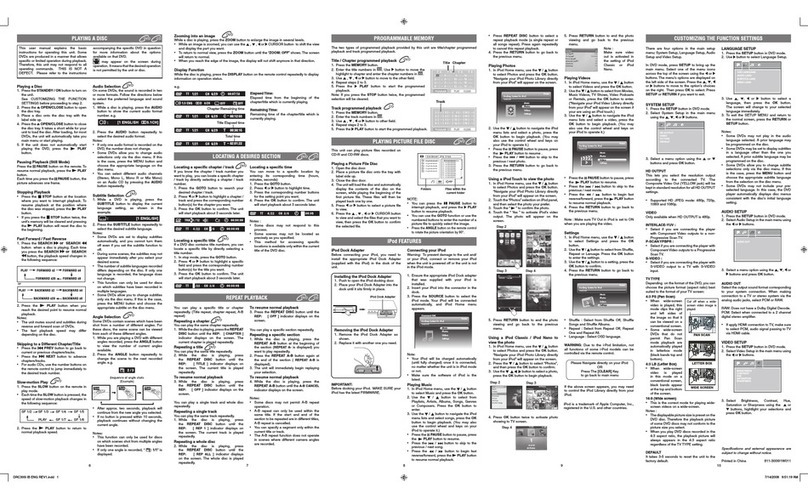
RCA DRC277B User manual

Aspect Ratio
1. Press the SETUP button.
2. Press the / button to select Video.
3. Press the button, then the / button to select Aspect
Ratio.
4. Press the OK button, then the / button to shift and
change the aspect ratio.
5. Press the OK button.
6. Press the SETUP button to exit the menu.
Notes:
View Mode
1. Press the SETUP button.
2. Press the / button to select Video.
3. Press the button, then the /
4. Press the OK button, then the /
5. Press the OK button.
6. Press the SETUP button to exit the menu.
Fill
Original
Height Fit
Width Fit
Auto Fit
Pan Scan
HDMI Resolution
1. Press the SETUP button.
2. Press the / button to select Video.
3. Press the button, then the /
4. Press the OK button, then the / button to select the options (Auto, 480p, 720p, 1080i or 1080p).
Digital Output
1. Press the SETUP button.
2. Press the / button to select Audio.
3. Press the button, then press the / button to select
4.
Press the OK button, then press the / button to select the
5. Press the OK button.
6. Press the SETUP button to exit the menu.
PCM :stereo
Raw:
Night Mode
1. Press the SETUP button.
2. Press the / button to select Audio.
3. Press the button, then press the /
4. Press the OK button, then press the /
5. Press the OK button.
6. Press the SETUP button to exit the menu.
Language
1. Press the SETUP button.
2. Press the button to select Language.
3. Press the OK button, then the / button to shift and
change the Language.
4. Press the OK button.
5. Press the SETUP button to exit the menu.
Subtitle
1. Press the SETUP button.
2. Press the button, then the / button to select Subtitle.
3. Press the OK button, then the / button to shift and change the Language.
4. Press the OK button.
5. Press the SETUP button to exit the menu.
Notes:
the MENU button and choose the appropriate subtitle language from the selection on the disc menu.
CONNECTING TO OPTIONAL EQUIPMENT (AMPLIFIER)
A. ANALOG CONNECTION
B. DIGITAL CONNECTION (preferred)
Using a coaxial digital audio cable (not included),
other source.
Notes:
White
White
Red
Red
Audio Cable
ANALOG CONNECTION
DIGITAL
AUDIO IN
Audio Cable
DIGITAL CONNECTION (preferred)
SETUP AND CONNECTIONS
Need to troubleshoot?
See section 6 on other side of this sheet.
AUDIO
Subtitle Selection
SUBTITLE
2. Press the SUBTITLE
SUBTITLE Off
Notes:
the subtitle function to off.
recorded, the language does not change.
MENU button and choose the appropriate subtitle on the disc menu.
Angle Selection
press the ANGLE
2. Press the ANGLE
the next recorded angle.
Notes:
recorded.
Display Function
DISPLAY button on
operation status.
Elapsed Time: Elapsed time from the beginning of the
Remaining Time: Remaining time of the chapter/title
Playing a Disc
1. Press the STANDBY / ON button to turn on the unit.
See CUSTOMIZING THE FUNCTION SETTINGS before proceeding to step 2.
2. Press the OPEN/CLOSE
4. Press the OPEN/CLOSE
PLAY button.
Pausing Playback (Still Mode)
Press the PAUSE PLAY button.
Frame Advance
STEP PLAY to resume normal
CUSTOMIZING THE FUNCTION SETTINGS
PLAYING A DISC
PLAYING A DISC PLAYING A DISC
Use Default Settings
1. Press the SETUP button.
2. Press the /
3. Press the
dialogue box and press OK button.
4. Press the / OK
PLAYING PICTURE FILE DISC
Playing a Picture File Disc
3. Close the disc door.
the / OK
Notes:
PAUSE PLAY button to resume
/ to rotate picture
STOP button to return the contents of the disc.
W: 515 H:770
Repeat
:
Off
Mode
:
Normal
1/
3
Locating a specific chapter / track / title / time
1. Press the GOTO
title / time.
2. Press , , or
/ time and press the corresponding number button(s) for the
3. Press the OK
3 seconds later.
Notes :
disc.
LOCATING A DESIRED SECTION
Search
Title
Chapter
Time
1
- - -
00. 00. 00
Search
Track
Time
Disc Time
2
00. 00. 00
-- : -- : --
REPEAT PLAYBACK
Repeating a chapter
REPEAT
DISC button until the
Repeating a title
the REPEAT DISC button until the
Repeating a single track
the REPEAT DISC button until the
Repeating a whole disc
the REPEAT DISC button until the
3. Press the REPEAT DISC button until the
Repeating a specific section
REPEAT A-B
button at the beginning of the section (
2. Press the REPEAT A-B button again at the
end of the section (
selection.
REPEAT
A-B button until the indicator
Notes:
operation.
recorded.
Elapsed time
Remaining time
e.g.
1. Press the MEMORY
, , , ), the
the corresponding number buttons.
3. Press the Cursor buttons ( , , ,
OK
a) Press the MEMORY button.
b) Press the Cursor buttons ( , , ,
“Clear All”, then press the OK
c) Press the PLAY
Notes:
OK button,
- - -
MEMORY
Title number
Chapter
number
PLAY MODES FOR CD OR JPG DISC
screen. Press the / /
OK button.
1. Press the Cursor buttons ( , , , ) to select “Edit mode” then press the OK button.
2. Use the Cursor buttons ( , , ,
the OK
3. Select “Add to program”, then press the OK button. “
5. Press the PLAY
STOP
Use the Cursor buttons ( , , ,
OK
“Edit mode” is not selected.
“Clear program”.
5. Press the OK button.
6. Press the SETUP button to exit the menu.
JPEG Interval
1. Press the SETUP button.
2. Press the / button to select Video.
3. Press the button, then the /
4. Press the OK button, then the /
5. Press the OK button.
6. Press the SETUP button to exit the menu.
Off
5 seconds
10 seconds
15 seconds
Language
Video
Audio
Misc
Stopping Playback
STOP
PLAY button.
STOP
PLAY
Zooming into an image
ZOOM
, , or
ZOOM button until the 1 2 3 Off
Skipping (Forward / Reverse)
PREV
NEXT
Fast Forward / Fast Reverse
1. Press the SEARCH or SEARCH SEARCH
or SEARCH button,
2. Press the PLAY
Notes:
Slow-motion Play
1. Press the SLOW
SLOW
1/2 1/4 1/6 1/8
2. Press the
Audio Selection
AUDIO
2. Press the AUDIO
Notes:
the MENU button and choose the appropriate language on the disc menu.
PROGRAMMABLE MEMORY
Audio
1. Press the SETUP button.
2. Press the button, then the / button to select Audio.
3. Press the OK button, then the /
4. Press the OK button.
5. Press the SETUP button to exit the menu.
Note:
on the disc.
DVD Menu
1. Press the SETUP button.
2. Press the button, then the /
3. Press the OK button, then the /
4. Press the OK button.
5. Press the SETUP button to exit the menu.
Note:
- 9 - - 10 - - 11 - - 12 -
- 13 - - 14 - - 15 - - 16 -

Icons Used on DVDs
Sample lcons
Language selections for audio
Language selections for subtitles
Screen aspect ratio
Region code indicator
Title, Chapter and Tracks
“titles” and
“chapters”
“title”. “Chapters” are sections of titles.
“tracks”. A
“track”
Note:
on them, but some do not.
Disc Function or Operation that is Not Available
appears on the screen, it indicates that the function or operation attempted is not
DISC FORMATS
Notes on Unauthorized Discs
for business purposes.
SAFETY PRECAUTIONS
On Placement
etc.
On Safety
cord.
cord and the unit.
On Condensation
before use.
Rating Plate Location
FCC Statements
protection against harmful interference in a
is connected.
– Consult the dealer or an experienced radio/
Warning:
WARNING
Notes on Copyright
IMPORTANT SAFETY
INSTRUCTIONS
DISC FORMATS
Compatible Discs
Region Management Information
1. Read these instructions.
2. Keep these instructions.
instructions.
produce heat.
consult an electrician for replacement of the
obsolete outlet.
13. Unplug this apparatus during lightning
time.
fallen into the apparatus, the apparatus has
been exposed to rain or moisture, does not
Portable Cart Warning
Using the Remote Control
remote operation is about 16 feet (5 meters).
Battery Replacement
batteries.
Notes:
problems must be considered and local
REMOTE CONTROL
batteries.
door.
To Change Remote Batteries
TROUBLESHOOTING GUIDE
Printed in China
CONTROL REFERENCE GUIDECONTROL REFERENCE GUIDE
1. Disc Tray
2. OPEN/CLOSE Button
3. Remote Sensor
4. PLAY Button
5. POWER Indicator
6. STANDBY/ON • STOP Button
Unit 1 2 3 4 5 6
7 8 9 10
- 1 - - 2 - - 3 - - 4 -
1. OPEN/CLOSE Button
2. STANDBY/ON Button
mode.
3. AUDIO Button
4. ANGLE Button
multiple camera angles are recorded on a
5. MEMORY Button
6. DISPLAY Button
Press to change disc status information
7. SETUP Button
Press to open and close the SETUP menu
screen.
8. CURSOR ( , , , ) Button
Press to highlight selections on a menu
OK Button
screen.
9. CLEAR Button
Clear input selections and cancel certain
10. PLAY Button
11. STOP Button
12. SEARCH Button
13. REV Button
14. Number (0-9) Buttons
15. A-B REPEAT Button
16. GOTO Button
17. SUBTITLE Button
Press to select one of the subtitle languages
18. ZOOM Button
Zoom in an image.
Remote Control
1
16
17
19
21
22
23
25
24
20
18
26
27
28
2
4
6
7
9
11
13 12
10
8
5
3
14
15
19. RETURN Button
20. TITLE Button
Press to open the title menu screen.
21. MENU Button
22. HDMI Button
stop mode.
23. PAUSE Button
24. SEARCH Button
25. NEXT Button
26. SLOW Button
27. STEP Button
28. DISC REPEAT Button
SOUND SYSTEM
MAINTENANCE
Cleaning the Disc
malfunctions.
Cleaning the Unit
cloth.
Important Note
WARNING:
CAUTION:
SETUP AND CONNECTIONS
CONNECTING TO A TV
A. RCA AUDIO/VIDEO JACKS
Use the Audio/Video cable (supplied). Connect
Yellow
Yellow
White
White Red
AV Cable
(included)
B. CONNECTING TO A DISPLAY (Using a
HDMI cable)
source), and so is the preferred
ACCESSORIES
Please check and identify the supplied accessories.
Remote Control .......................................................................................................... x 1
.......................................................................................................... x 1
AV Cable .................................................................................................................... x 1
7. HDMI OUT Jack
8. VIDEO OUT Jack
9. DIGITAL COAXIAL OUT Jack
10. LEFT/RIGHT AUDIO OUT Jacks
input signal.
Audio
this sheet).
HDMI button on the remote control in
Notes:
connections.
- 5 - - 6 - - 7 - - 8 -
Need more help?
Please visit online help at www.RCAav.com
SAFETY PRECAUTIONS
intended to alert the user to the presence of
triangle is intended to alert the user to
the presence of important operating and
user manual.
THIS CLASS B DIGITAL APPARATUS COMPLIES
WITH CANADIAN ICES-003.
CET APPAREIL NUMÉRIQUE DE LA CLASSE B EST
CONFORME À LA NORME NMB-003 DU CANADA.
WARNING:
WARNING:
CAUTION:
CAUTION:
CAUTION:
CAUTION:
* SEE GRAPHIC SYMBOLS ONTHE BOTTOM OF UNIT *
User Manual
SYMPTOM CAUSE (AND REMEDY)
PLAY button to return to
PLAY button
unit.
data lost.
Press HDMI
Resolution settings (Auto, 480p, 720p, 1080p, 1080i).
No Disc appears on the screen).
STANDBY/ON
does not function.
No audio, poor
audio, or missing
audio channels.
No picture or
abnormal color.
is heard.
cannot open.
E1
Dolby Digital
Other RCA DVD Player manuals

RCA
RCA RC5500P User manual

RCA
RCA HDV5000 User manual

RCA
RCA DRC233N - Progressive-Scan DVD Player User manual

RCA
RCA DRC225N User manual

RCA
RCA DRC290 User manual

RCA
RCA DRC69705 - Dual Screen Portable DVD Player User manual

RCA
RCA DRC300iH Manual

RCA
RCA DRC97283 User guide

RCA
RCA DRC480N User manual

RCA
RCA RC5240P User manual