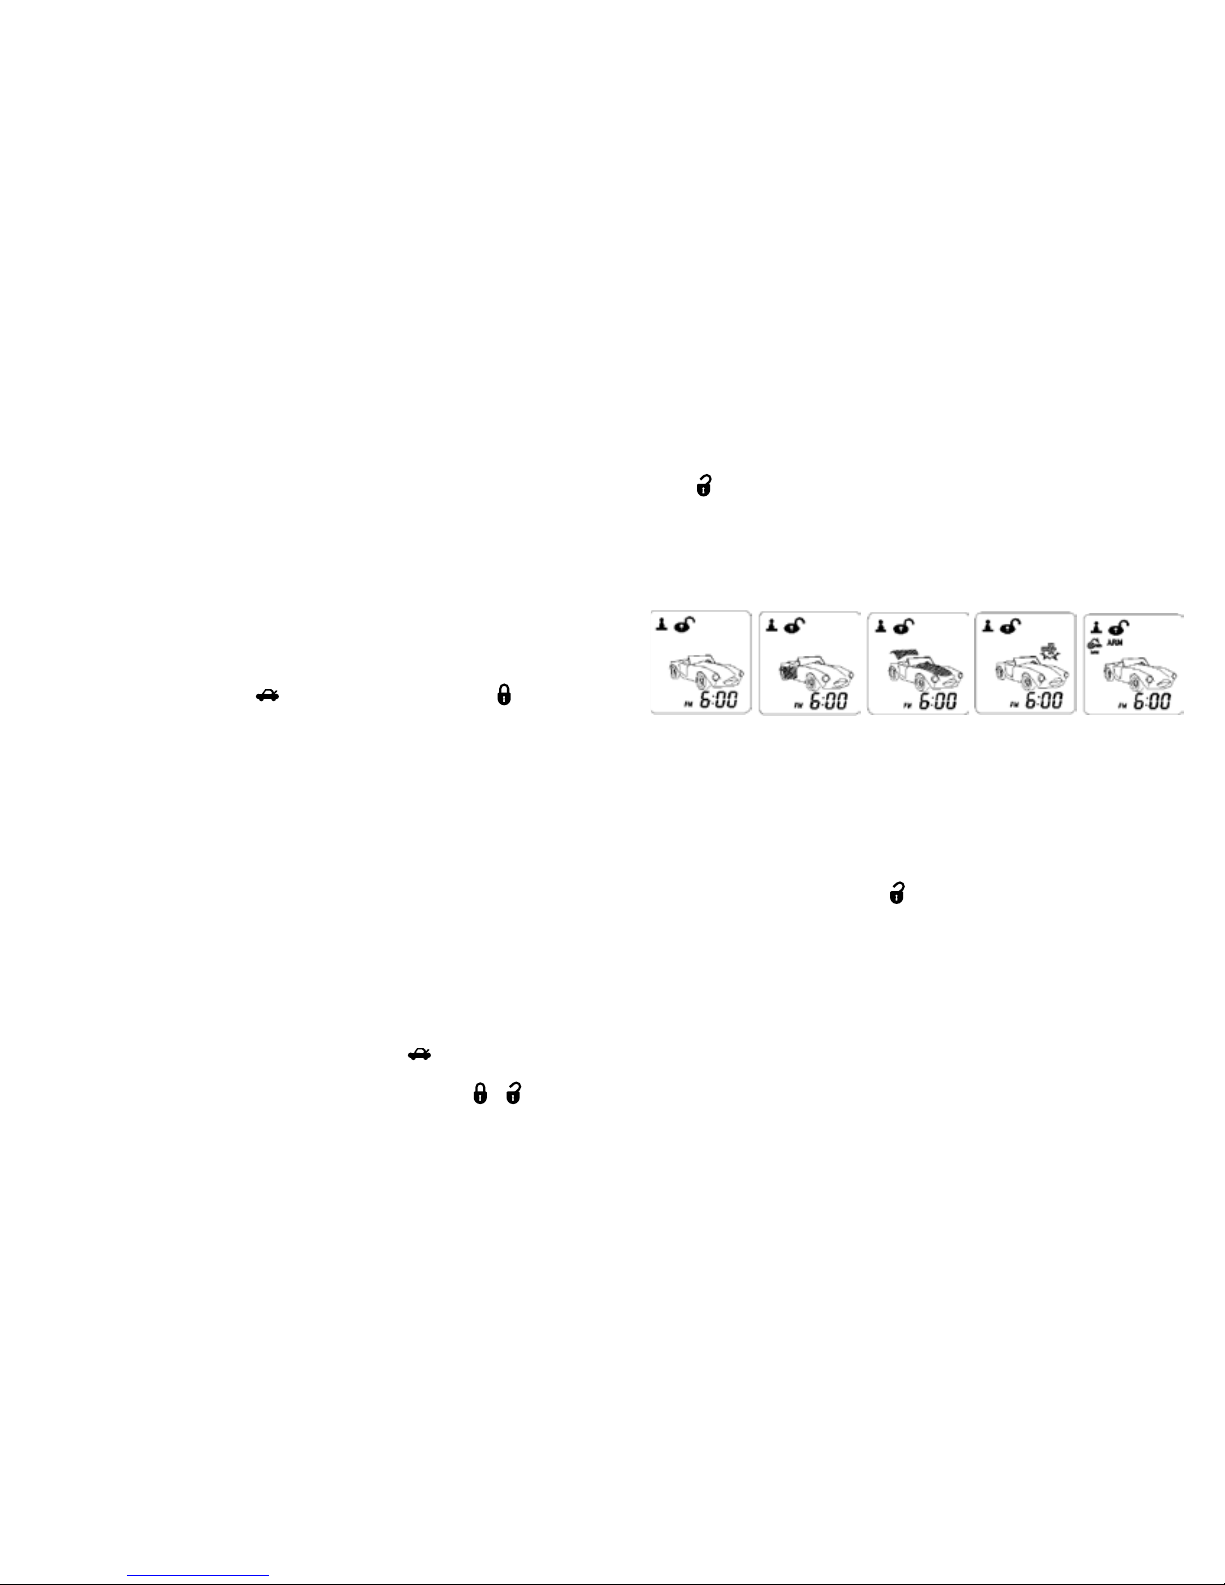
REMOTE START OPERATION
A. TO REMOTE START THE VEHICLE:
When you want to start your vehicle,
1. Press ✱button twice on the transmitter
2. The parking light will activate to indicate the
remote start received the signal. (A melody
sounding from your Remote LCD transceiver
and“ ”icon will ashes on the LCD screen
to conrm the remote start was activated.)
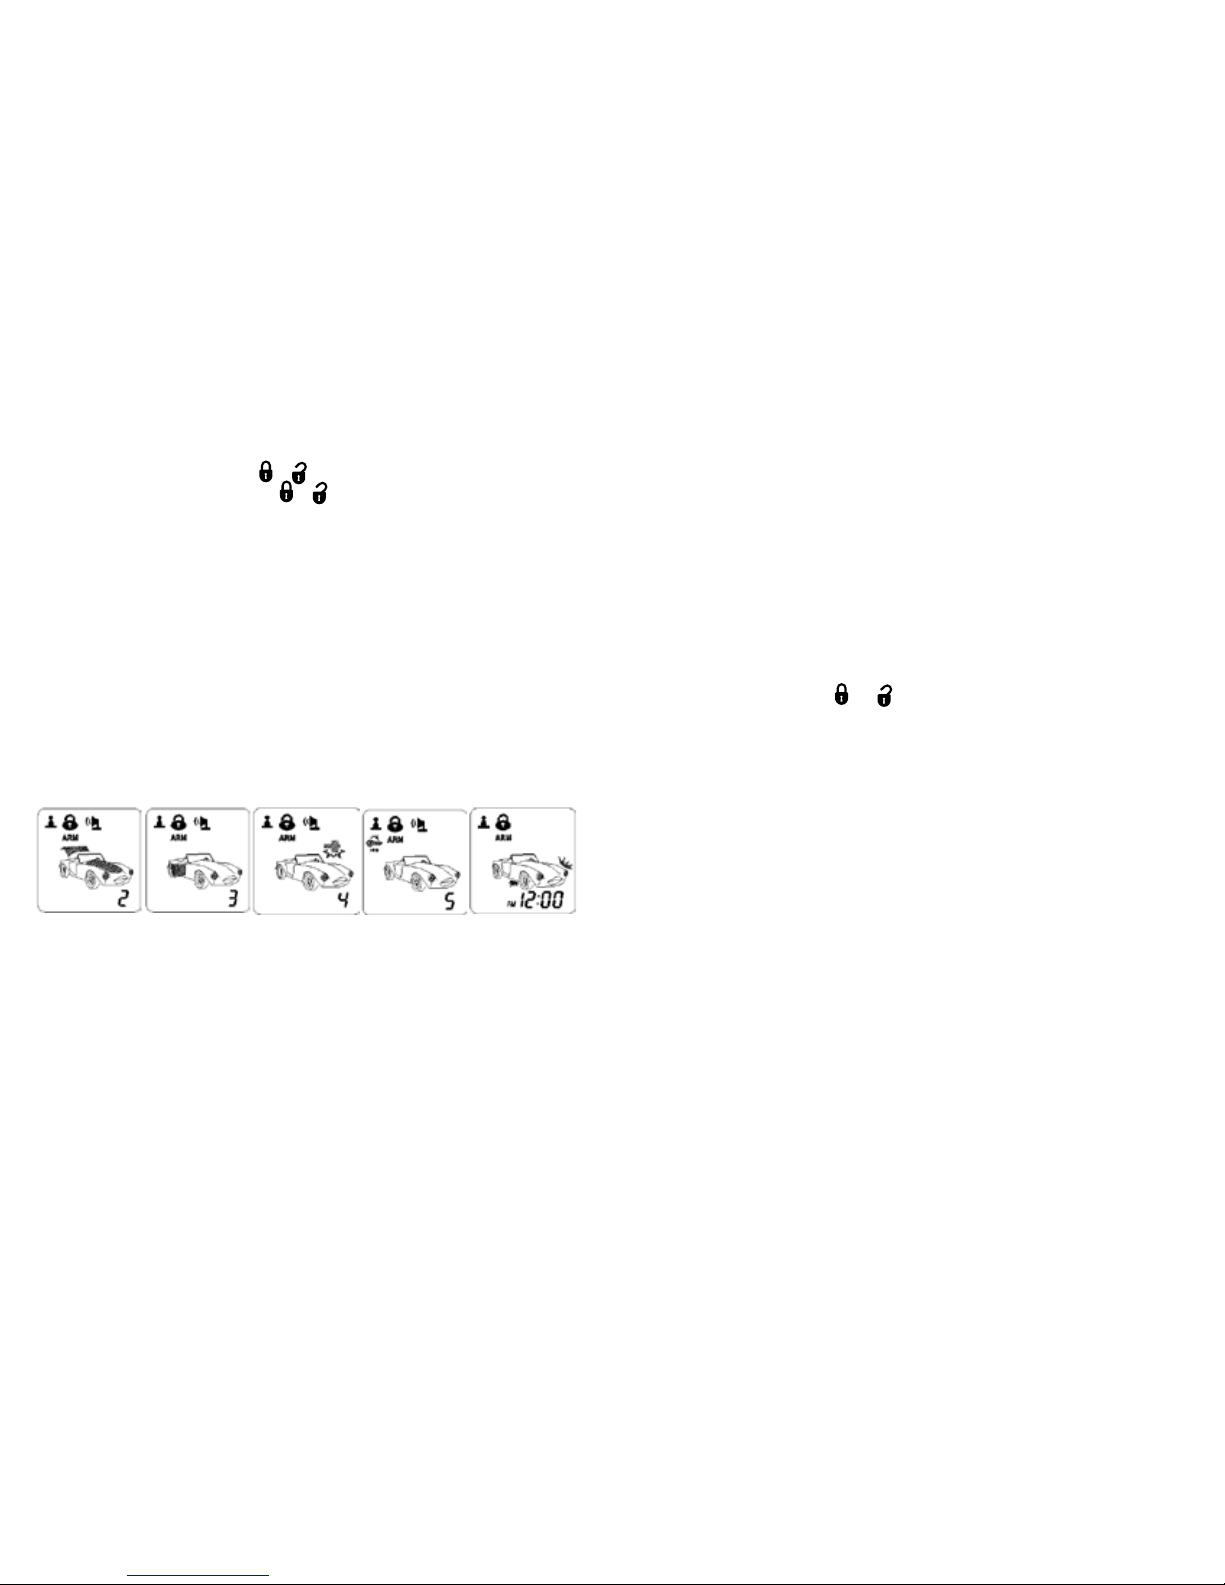
3. The engine will start approximately 5 seconds.
4. Once the engine is running, after couple seconds the parking light will turn on again and cli-
mate controls will activate and adjust the vehicles interior temperature to your preset setting.
(While the vehicle is running, the “ ”icon and the“minutes”digit on the LCD screen will
ash and it will indicate count down timer based on the 5, 10, 20 or 30 minute run time set up
by your installation center.)
5. The vehicle will run for 5 to 30 minute cycle and automatically shut down. (When the unit
shuts o the count down timer will turn o and the transmitter will play a melody.)
Note: The Remote Start Unit will not start the vehicle if any one of the following conditions exists:
1. The hood is opened.
2. The brake pedal is pressed.
3. Move the optional remote start enable toggle switch to OFF position. (If installed)
4. The gear selector is in any gear other then“PARK”or“NEUTRAL”
5. Pull down the hand brake. (for StandardTransmission Gear Vehicle)
SAFE START (Child safety mode)
Factory defaults setting to press the ✱button twice on the transmitter to start the vehicle.
Programming this feature to eliminate an accidental remote start. It requires the user presses the
transmitter and ✱buttons at the same time to start the vehicle.
B. ENGINE START MEMORIZING FOR THE VEHICLE WITH STANDARD
(MANUAL)
TRANSMISSION GEAR (Cut the VIOLET LOOPWIRE for Standard transmission gear vehicle)
The system senses the neutral transmission gear position automatically and there is no prior set-
up required.The system in the standard transmission vehicle operates as following process when
you exit the vehicle to sense and memorize the neutral transmission gear position. If the vehicles
are of automatic transmission gear, this process is omitted.
1. While engine is running by ignition key, pull up the hand brake and place the transmission
gear in the neutral position.
2. Before turning o the engine, press the ✱button twice on the transmitter. -- The LED indica-
tor will ash 3 times to conrm enter.
3. Pull o the“Ignition Key”from the key cylinder. -- Engine continues running until the pre-
programmed time elapsed or shutdown input is received.--
4. Exit from the vehicle and Close all doors. -- The engine still continues running and it is normal
operating process.--
5.
Within 1 minute from the time of step 1, press the button on the transmitter to lock the doors.
6-1. If the engine shuts down immediately and the system is now ready for next remote (or
programmable) engine starts.
6-2. If the engine not shuts down immediately, the system is failed in engine start memorize set
up, repeat above process again.
If the door is opened after above process, the prior memorization for the next remote or pro-
grammed engine start sequence is delete and the function shall not work until you repeat above
process again.
Note: If the engine start memorize is set up, the dome light convenience delay function will be
temporarily By-pass.
C.
TO OPERATE THE VEHICLE WHILE RUNNING ON THE REMOTE START:
To operate the vehicle while engine running on the remote start.
1. Insert the ignition key and turn it to“ON”(not the start) position.
2. Press the brake pedal.
Note: If the brake pedal is pressed before the key is in the ON position, the engine will shut down.
D. TEMPORARY STOP FEATURE:
This feature allows the vehicle to remain running after the key has been removed from the
ignition. This feature is useful for occasions when you wish to exit and lock the vehicle for short
Activate Remote Start Engine Running