TABLE OF CONTENTS
INTRODUCTION.............................................................................................................................................3
GETTING STARTED.......................................................................................................................................4
RESETTING THE MODULE TO FACTORY DEFAULTS ..........................................................................4
CHECK FOR UPDATES ...........................................................................................................................4
CALIBRATE YOUR HI-HAT PEDAL..........................................................................................................4
DEACTIVATE WRITE PROTECTION .......................................................................................................4
THE BASICS...................................................................................................................................................5
NAVIGATING MENUS & ADJUSTING SETTINGS ...................................................................................5
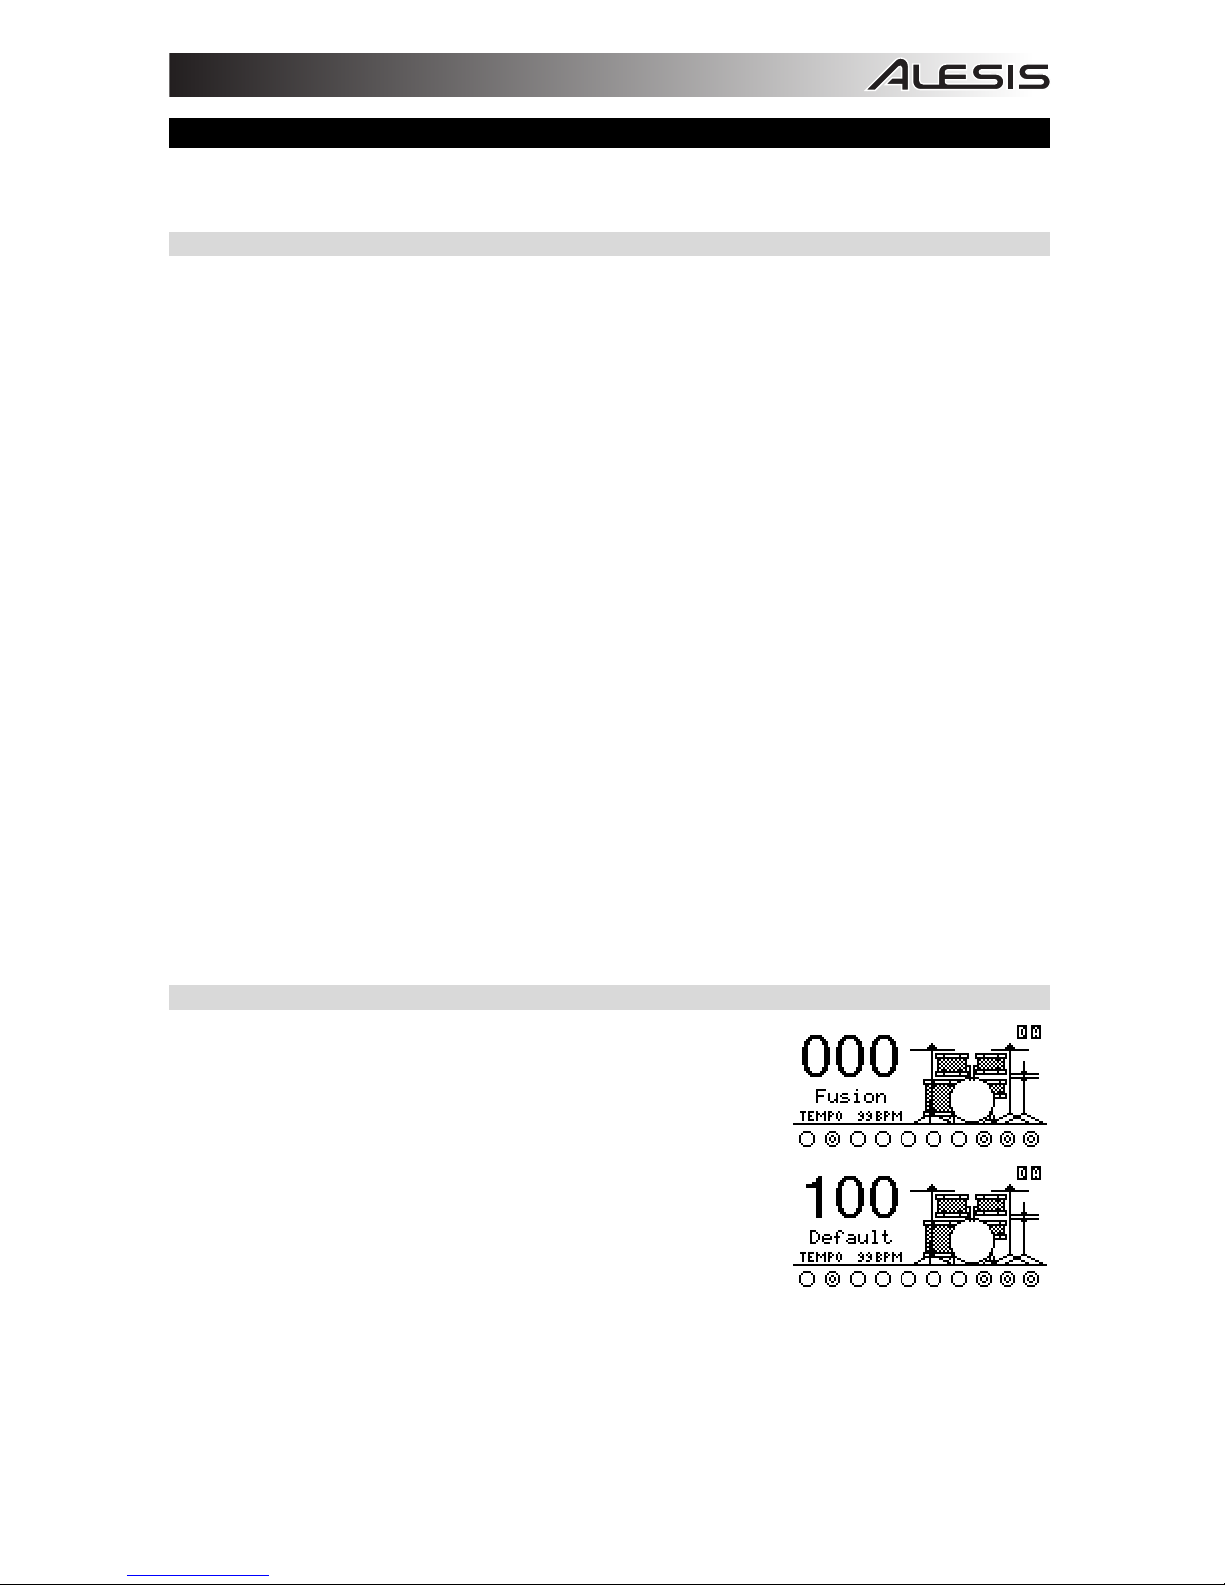
KITS ..........................................................................................................................................................5
VOICES: LAYERS & INSTRUMENTS.......................................................................................................6
VOLUME ...................................................................................................................................................6
SEQUENCES............................................................................................................................................6
STORING DATA .......................................................................................................................................7
UTILITY.....................................................................................................................................................7
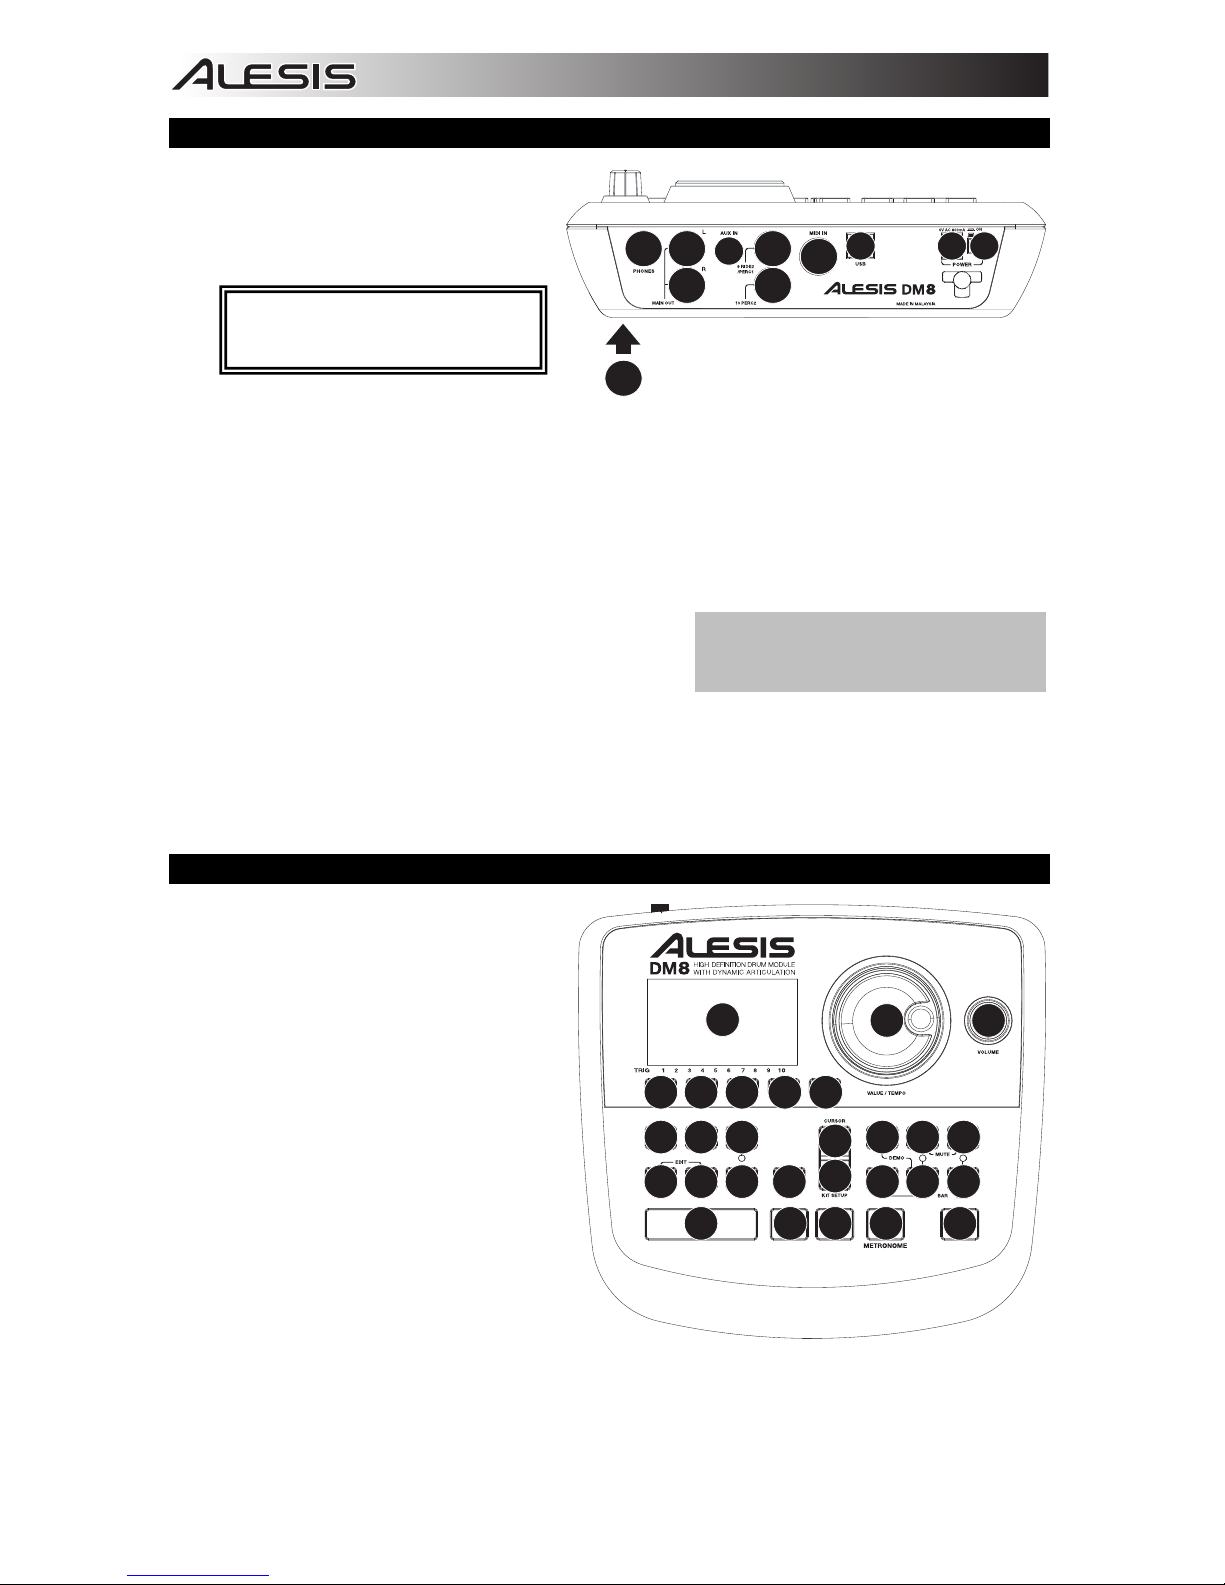
REAR PANEL FEATURES .............................................................................................................................8
TOP PANEL FEATURES................................................................................................................................8
KITS, VOICES, ACCOMPANIMENT & INSTRUMENTS...............................................................................10
SELECTING A KIT ..................................................................................................................................10
EDITING INSTRUMENTS IN A KIT.........................................................................................................10
EDITING ACCOMPANIMENT IN A KIT...................................................................................................11
EDITING VOICE & ACCOMPANIMENT PARAMETERS.........................................................................12
EDITING MIDI PARAMETERS................................................................................................................14
EDITING EFFECTS PARAMETERS .......................................................................................................15
DRUM KIT SETUP ..................................................................................................................................18
SEQUENCES................................................................................................................................................19
PLAYING SEQUENCES .........................................................................................................................19
RECORDING SEQUENCES ...................................................................................................................20
EDITING SEQUENCES (DRUMS) ..........................................................................................................20
EDITING SEQUENCES (ACCOMPANIMENT)........................................................................................21
SETTING UP THE CLICK TRACK ..........................................................................................................22
EDITING QUANTIZATION SETTINGS....................................................................................................23
STORING & COPYING DATA ......................................................................................................................24
NAMING..................................................................................................................................................24
STORING & COPYING KITS ..................................................................................................................24
COPYING INSTRUMENTS .....................................................................................................................25
STORING SEQUENCES.........................................................................................................................25
STORING TRIGGER SETTINGS ............................................................................................................25
EXT. TRIG MENU .........................................................................................................................................26
TRIGGER INPUT PARAMETERS...........................................................................................................26
TRIGGERING PARAMETERS ................................................................................................................27
VELOCITY CURVE .................................................................................................................................28
MODE (RIDE BOW & BELL) ...................................................................................................................28
HI-HAT CALIBRATION............................................................................................................................29
STORING EXT. TRIG SETTINGS...........................................................................................................29
EXPLORING OPTIMAL SENSITIVITY AND THRESHOLD SETTINGS ..................................................29
UTILITY MENU .............................................................................................................................................30
GENERAL ...............................................................................................................................................30
METRONOME (F1) .................................................................................................................................30
MIDI (F2).................................................................................................................................................32
TRIG (F3) ................................................................................................................................................33
SYS (F4) .................................................................................................................................................33
UPDATING THE MODULE ...........................................................................................................................34
MIDI SETUP..................................................................................................................................................35
RESTORING BACKUP SYSEX FILES .........................................................................................................36
MIDI IMPLEMENTATION CHART ................................................................................................................37
DM8 KITS .....................................................................................................................................................38
DM8 SEQUENCES .......................................................................................................................................39
DM8 INSTRUMENTS ....................................................................................................................................40