3.3 Racking/ Transferring Wine into glass
with the All in One Wine Pump
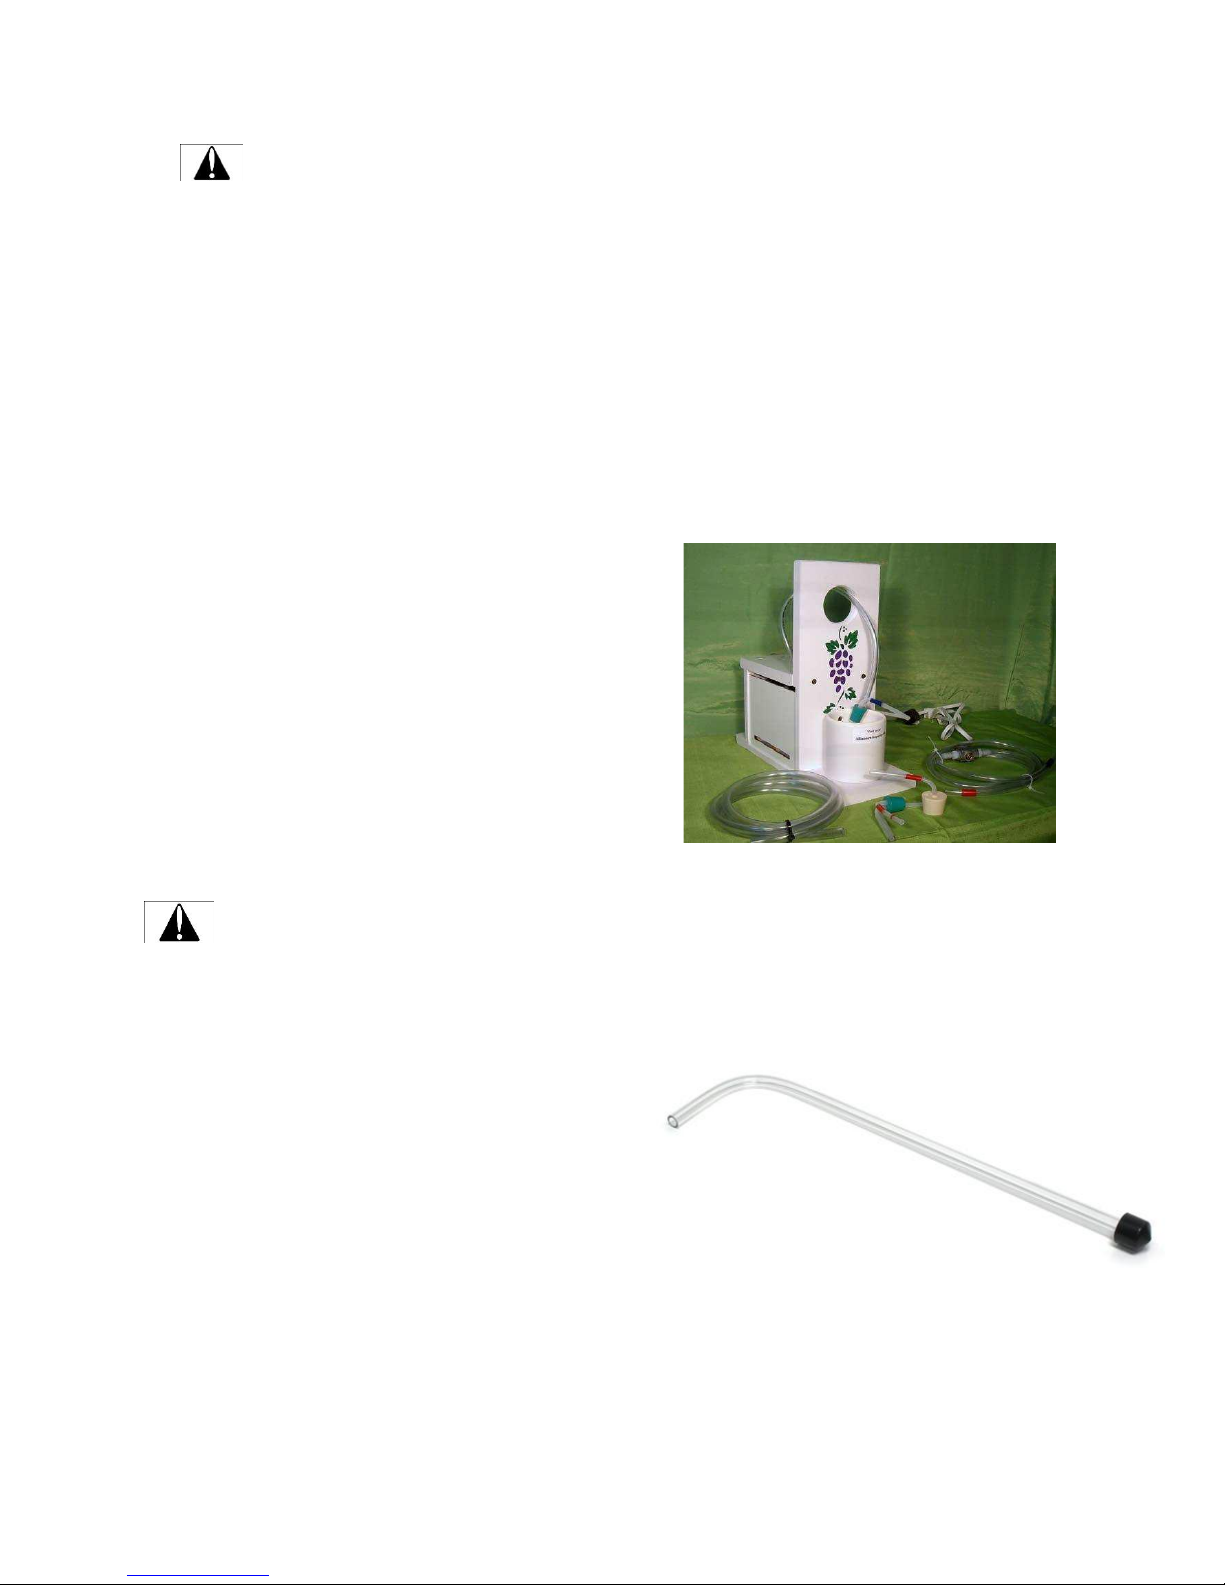
The All in One Wine Pump makes it very
simple for you transfer your wine. With this unit,
you now have the ability to transfer wine side by
side from a glass carboy or an open-top
fermenter to receiving glass carboy. You can
even transfer wine from the floor to an elevated
surface. This avoids the need to lift a heavy filled
carboy! The All in One can transfer from
virtually any container, as long as it is
transferring into a glass carboy that can
withstand the vacuum pressure.
Before using your new pump for the first
time, make sure to review all instructions
outlined in this manual. If you are having
trouble getting set up, videos are available on
allinonewinepump.com. Or you can contact us
directly at Allinonewinepump.com
We recommend you practice with
water first to gain experience and an
understanding of how the pump works.
1. Sanitize the unit (Section 2.3) (When
testing the unit with water, forgo the
sanitization process until you learn how
to set-up the All in One Wine Pump.
Otherwise, when using the pump with
wine, as always, the first step is to
sanitize the tubing, racking canes and
your glass carboy.
2. Connect your vacuum tubing by
matching BLUE to BLUE on the over-
flow container and matching RED to
RED to the #6.5 bung.
3. Connect your wine transfer tubing to the
racking cane and the other end to the
racking cane that is inserted in the #6.5
bung.
4. Insert the #6.5 bung into the receiving
glass carboy. Push downward on the
bung to ensure you have a good
seal.
5. Insert the racking cane into your carboy
of wine.
6. Turn the unit on.
7. Wine will start to flow from the full
vessel to the empty one.
8. With the installation of the vacuum
control valve (sold separately,) you can
slow the flow down as it reaches the
top. This will give you your desired fill-
level and will prevent wine from
entering the vacuum tubing.
9. Once the receiving vessel is full, press
the vacuum release valve to stop flow
and stop the vacuum.
10. Turn off the unit. Remove the #6.5 bung
assembly, top up the vessel and replace
your bung with air-lock or a solid bung.
If you are unable to top up your vessel
at this time, a headspace eliminator is
available at allinonewinepump.com
11. Rinse the wine transfer tubing with
warm water and hang dry. The vacuum
tubing will not need rinsing unless wine
has been sucked through into the over-
flow container.
Racking/ transferring from a large
vessel to a smaller vessel. When the wine
transfer is complete and the bung racking
assembly is left in the receiving carboy, wine
could be sucked back through the wine transfer
tubing and into the donor carboy in an attempt
at equilibrium between the two vessels. This may
happen even when the pump is shut off.
To prevent this:
Lift the racking cane out of the wine in
the donor vessel to get a small amount
of air in the wine transfer line.
Or remove the #6.5 bung racking
assembly and set it aside or in the next
receiving carboy.
Note: The All in One Wine Pump can also
be used to transfer wine into plastic (PET)
carboys. Please visit allinonewinepump.com for
the the Plastic (PET) Carboy Transfer Kit.