manuals.online logo
Brands
  1. Home
  2. •
  3. Brands
  4. •
  5. ALLIANCE
  6. •
  7. Antenna
  8. •
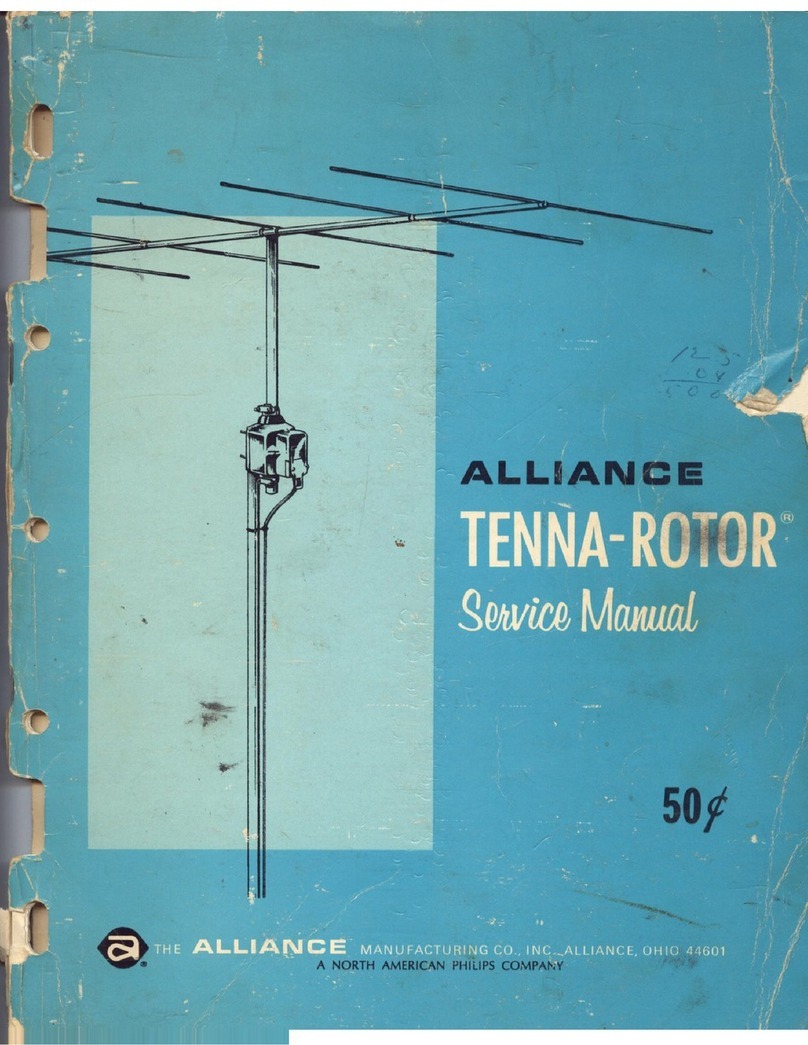
  9. ALLIANCE TENNA-ROTOR U-110 User manual

ALLIANCE TENNA-ROTOR U-110 User manual

From The N3UJJ.COM Document LibraryFrom The N3UJJ.COM Document Library
ALLIANCE
®
Automatic
TENNA
-
ROTO
ft®
GENERAL INFORMATION
The
Allianc~
Tenna
-
Roto~
Model U-110 is a fully
automatic unit.
The
control knob is turned
to
the
desired direction and the roof mounted rotor auto-
matically rotates the antenna to that position and
stops. The dial of the control box lights when the
direction is selected and turns offwhen the antenna
reaches that position. The U-110 will rotate most
residential TV antennas.
CARTON CONTENTS
The U-110 Tenna-Rotor includes a control box
(FIG. 1), rotor (FIG. 2), mast clamp (FIG. 3) and one
hardware bag containing U-bolts, terminal
cover
and mounting hardware (FIG.
4)
.
FIG.
1
AG
. 2
FIG.
3
FIG. 4
MATERIAL REQUIRED
1:
To complete the installation
of
your Tenna-Rotor
you will need
to
purchase 4-conductor rotor wire,
a rotor support mast (not to exceed 1-3/8" outside
dimension) and cable Insulated stand-offs.
Forproperperformance donotexceed themaximum
lengths per wire size as shown in the chart (FIG. 5).
4
CON
DUCTOR ROTOR W
IR
E LENGTHS
'
I I I
.
I
A
WQ
~
.
!
te
100
1\0
"'
DO
...
~
-
ll
,,
"
'!·
n n
~
·
n r t
,.J
1.
JC
•
•
, •
lll
, • ' I
...
I
oouaQ)
I
• ' I
-.
a
a~
I
J0 •
.10
-
~
-
~~
I
10
1311
1-
-
1-
tt • lD
II
ooua.m
-
lhJO
FIG. 5
Model
U-110
ANTENNA SYSTEMS
Thereare numeroustypes
of
residential TVantennas
andmounting methods. Please taketimetostudythe
following illustration and wording. This will help you
in the installation
of
your Tenna-Rotor.
ROTOO
SUI'~UAST
/
._,
__
TO
JV
!;FT
J
~O()F
M()liNT
, CH
Wi
EY
t
t
OO
NT
,.
IL
LU
ST
RATION A
WARNING
You
must
realize that the 120/240 volt power
linesrun intoyourhomeaswellasthe 7200volt
line run by your utility company to the
transformer in your immediate neighborhood
are lethal voltages and must not be contacted
by your antenna tower, mast,guy wires, cable
or
rotor under any condition.
CAUTION
The installation
of
the Tenna-Rotor requires access
toand
the
ability
to
work underconditionsofextreme
height. Safety is
of
paramount concern and you are
urgedtoplanaccordingly.The manufacturerassumes
no
responsibili
ty
for personal injury
or
damageto the
product sustained during the installation.
INSTALLATION
OF
SUPPORT
MAST
Determine which type mounting fixture can best
be
adapted
for
your antenna system installati
on
and
install the rotor support mast.
From The N3UJJ.COM Document LibraryFrom The N3UJJ.COM Document Library
NOTE: Since the rotor and antenna will
be
mounted
on topofthe supported mast(ILL. A,
PG
.
1)
be
certain
the heightofthesupportmast is within safe and acces-
sible reach. Should your height requirements prevent
this, assemble the rotor and antenna on the ground
and then mount to the roof or tower. Assistance will
be required.
ROTOR INSTALLATION
STEP
1
Removetheterminal cover from the parts bag. Feed
the
4-conductorrotorwirethrough
the
slots
of
theter-
minal cover as shown in FIG. 6.
FIG. 6
STEP 2
T
E~M
I
NA
L
COVER
Remove about
3/4"
of insulation from theconductors
and separate the leads.
STEP 3
Note the numbering sequence
of
the 4 terminals on
the
rotor (FIG. 7).
The
wiring sequence made at this
time must
be
duplicated when the 4-conductor rotor
wire is connected
to
the control box in a later step.
e~
/BI
r--r=
===::;-'1
~
/6
FIG. 7
STEP 4
Twistthe4wires clockwise around theterminal screws
and tighten securely. Make certain loose strands
of
wiredo NOTtouch adjacentterminals
or
metal case.
IMPORTANT:
Be
certain
you
note
exact
location
and
terminal
connection
of
each
wire.
STEP 5
Slide the terminal cover upthe rotor wire and fasten
overterminalsas shown in
FIG
.8.Securetheterminal
cover with the washers and nuts supplied.
2
FIG. 8
STEP
6
WASHERS,
NUTS
Attach set screw and nutto mast clamp as shown in
FIG.
9.
Attach the mast clamp to the rotor as shown
in FIG.
10,
usingthenutssupplied. Donottighten the
nuts at this time.
SET
SC
REW
FIG.fO
STEP 7
Mounttherotorontopofthe support mastand secure.
Tighten the set screw in the mast clamp. The 3 bot-
tom holes in the mastclamp may be used forguying
if required. (FIG. 11)
FIG.
11
STEP 8
Attach antenna and antenna lead wire per antenna
manufacturer'sinstructions.Becertain antennamast
does not exceed 1-3/8" outside diameter. Insert
antenna mast into the hollow shaft of the rotor (FIG.
12).
Allowantennamasttoextend from bottomofhollow
shaft at least
2"
.
From The N3UJJ.COM Document LibraryFrom The N3UJJ.COM Document Library
1\NTENNA
MAST
STEP 9
F
IG
. 12
_
sUPPORT
MAST
Pointthe back(large part)
of
theantenna in thedirec-
tion
of
most desired viewing stations (FIG. 13).
The
antennacrossbar should
be
no
morethan
12"
above
therotor. Securethe antennamastin thispositionus-
ing the U-bolts supplied (FIG.
14).
CLAMP
SUPPORT-
MAST
STEP 10
FIG. 13
~_.,..
U.SOLT
FIG. 14
Attach 1
stand-<>ff
just abovetherotorand 1
stand-<>ff
justbelow the rotor. Insert the antenna lead wire into
thetwo
stand-<>ffs
allowing sufficientsl
ack
of approx-
imately 24" f
or
one
complete
360°
revolution
of
the
antenna. (FIG. 15)Attachanother
stand-<>ff
and insert
the
rotor wire as shown.
ST
ANO
.()FF
'
--~
ANTENNA~
WIRE
SLACK
ANTENNA
LEJ\OWIAE
'
STEP 11
FIG.
15
Completerouting of the antenna lead wire and rotor
wiretothe
TV
setperantenna manufacturer'sinstruc-
tions. Continue
to
use separate stand-offs for anten-
na
wire
and
rotor wire.
CONTROL BOX INSTALLATION
STEP A
Connectthe4-conductorrotorwire
to
terminals
on
the
bottom
of
the control
box
(FIG. 16).
IMPORTANT! As ref
er
red to In steps 3and 4, ter-
minal
conn
ecti
ons MUST
be
I
dent
ical
to
the ter-
minal connecti
on
s made
on
the rotor.
STEP B
BOTTOM
VIEW
F
IG
. 16
SVNCH
RON
i
lA
TJON
LEVEA
ALIGNMENT
r.================:;;:z:~
HOLE
FIG. 17
Checktheantenna direction (small end).Removethe
black knob from the control box. Use a small
screwdriver or pen and insert through small hole
behindtheblack knob(FIG. 17).Movethe "Gold Dial
Indicator" to
the
same direction as the antenna.
3
From The N3UJJ.COM Document LibraryFrom The N3UJJ.COM Document Library
STEP C
Replace the black knob
~ith
thegold pointer aligned
with the "Gold Dial Indicator".
OPERATING INSTRUCTIONS
• Plug
contr
ol
bo
x Into a 120 v
olt
, 60 cyc
le
A.C.
o
utlet
.
• Si
mp
ly
tum
"knobpointer" to
desired
direction.
The "
Gold
Dial Indicator" s
how
s
position
of
antenna
as
It
is
movi
ng
.
•
Allow
unit
to
c
ome
to r
es
t before
re
v
ersing
di
rec
tion
.
•
If
des
ired
to
t
urn
a c
omplete
cir
cle (
from
stop
to s
top
)
mo
ve
kn
ob
halfway
and
allow
"
Gold
Dial Indic
ator
"
to
come
to
re
st,
then
t
um
knob
remainder
of
way.
•
Do
not
for
ce
knob
when
"s
tops
"
are
reached.
CAUTION:
Do
not
operate
with
cov
er removed
or
alter
this
device
in
any
way
.
Do
not
build
Into
other
devi
ces.
Do
not
uset
his
device for
any
purpo
se
o
ther
than
its
intended
use.
SYNCHRONIZATION:
If
the light in the control box
remainson afterthe
"G
old Dial Indicator" stops, this
indicates the control box and rot
or
are out
of
"synchronization
".
Instructions for re-synchronizing
the unit are located on the bottom
of
the control box.
LIGHTNING PROTECTION
For an approved installation
of
this equipment,
It
is
recommended that the two outside wir
es
of
the
4-conductorcable,whichconnectsbetween thecon-
trol box and the antenna rotor
on
the mast,
be
grounded throughan Underwriter's Laboratories ap-
proved discharge unit. Thedischarge unitshould be
located close to the point
of
entry
of
the
4
wire cable
into the building.
WIRING DIAGRAM
SPECIFICATIONS
Fully automatic control with lighted dial
Zinc diecast, weather-seal
ed
motor housing
Maximum antenna wind toad area
of
5
square feet
Brake withstands
1440
inch-ounces o
ft
orque Control 115V, 60 Hertz,
0.7
amperes, with
51/2
foot cord
Motor operates on
24
volts AC
Full feed-through mast mounting
Fo
ur conductor lead required
360°
rotation in one minute ULlisted and CAS certified
Convenient synchronization switch
4
Thedevice described herein
is
manufactured underone
or
more
of
the followi
ng
U.S. Patents.
2,861,265 2,883,596
3,126,506 3,297,923
3,495
,1
43 3,496,632
3,005,190
3,327
,1
87
3,541,367
Licensed in Canada
4-26-00,
~
.
5-3-60,
4-21-64,
The
Genie Company
Alliance
,
Ohio 44601
3,022,460
3,329,945
3,667,024
4-17-62,
4-12-66
4 division
of
Genie Manufacturing, Inc
X-2
1494-C

Other ALLIANCE Antenna manuals

ALLIANCE Tenna-Rotor T-10 User manual

ALLIANCE

ALLIANCE Tenna-Rotor T-10 User manual

ALLIANCE U-100 User manual

ALLIANCE

ALLIANCE U-100 User manual

Popular Antenna manuals by other brands

Bauhn FPA38558 instruction manual

Bauhn

Bauhn FPA38558 instruction manual

Antennas Direct Clearstream Micron XG Quick start assembly/installation instructions

Antennas Direct

Antennas Direct Clearstream Micron XG Quick start assembly/installation instructions

Sarantel SL1300 Soldering Guidelines

Sarantel

Sarantel SL1300 Soldering Guidelines

Feig Electronic ID ANT.U290/290-EU installation manual

Feig Electronic

Feig Electronic ID ANT.U290/290-EU installation manual

Symbol WSAP-5110-100-WW installation guide

Symbol

Symbol WSAP-5110-100-WW installation guide

Sennheiser AC 3 instruction manual

Sennheiser

Sennheiser AC 3 instruction manual

TRENDnet TEW-AO08O Quick installation guide

TRENDnet

TRENDnet TEW-AO08O Quick installation guide

Triax UFO Marine Antenna Assembly and mounting instructions

Triax

Triax UFO Marine Antenna Assembly and mounting instructions

RFI YCP4047-11 installation guide

RFI

RFI YCP4047-11 installation guide

Naxa NAA-303 manual&nbsp;

Naxa

Naxa NAA-303 manual&nbsp;

Antennas Direct C1-C ClearStream 1 Convertible Assembly instructions

Antennas Direct

Antennas Direct C1-C ClearStream 1 Convertible Assembly instructions

PRO.SIS.TEL. PST-32 Assembling instructions

PRO.SIS.TEL.

PRO.SIS.TEL. PST-32 Assembling instructions

Sirio Antenne TAIFUN 118-480 installation manual

Sirio Antenne

Sirio Antenne TAIFUN 118-480 installation manual

Proxim Antenna Tsunami MP.11 Specifications

Proxim

Proxim Antenna Tsunami MP.11 Specifications

Intellinet 521413 installation guide

Intellinet

Intellinet 521413 installation guide

DirecTV SlimLine installation manual

DirecTV

DirecTV SlimLine installation manual

Alaris OMNI-A0092 Technical reference manual

Alaris

Alaris OMNI-A0092 Technical reference manual

CG Antenna GW-1000 user manual

CG Antenna

CG Antenna GW-1000 user manual

manuals.online logo
manuals.online logoBrands
  • About & Mission
  • Contact us
  • Privacy Policy
  • Terms and Conditions

Copyright 2025 Manuals.Online. All Rights Reserved.